Love this? Save it for later!
Share the inspiration with your friends
My cousin Vivian wasn’t trying to change my life that Tuesday afternoon. I’d stopped by to borrow a car seat—ours had a mysterious sticky situation in the back—and the smell hit me before I even got through the screen door. It wasn’t fancy. It wasn’t some complicated thing she’d been planning for days. It was just… warm. Earthy. The kind of smell that makes you suddenly realize you haven’t eaten since breakfast. Vivian was standing at the counter, stacking what looked like little flour packages onto a baking sheet, with a toddler on her hip and a cartoon playing loudly in the background. “Oh, these?” she said when I asked, barely looking up. “Just some burritos. I make them when I’m trying to clean out the fridge.” She said it like it was nothing. Like she wasn’t holding the answer to my weeknight dinner prayers in her hands. I stood there watching her work—quick, efficient, not measuring a single thing—and honestly, I felt a little embarrassed by how impressed I was. She handed me one warm, straight off the sheet, and let me tell you, I almost forgot about the car seat entirely. That first bite had this unexpected kick of cumin and the softest black beans I’d ever had. My kids ate three each that night. Vivian just shrugged. “It’s nothing, really.” But it was everything, and I’ve been making them ever since. Maybe you’ve been there—standing in someone’s kitchen feeling like you’ve just discovered a secret that everyone else already knew.
Why You’ll Love This Recipe
These turkey black bean burritos are the kind of recipe that makes you feel like you’ve got your life together, even on the chaotic days. I’ve tested this version more times than I can count, tweaking the seasoning, adjusting the moisture level so they freeze perfectly, and figuring out exactly how to wrap them so nothing leaks. This is the final, foolproof version that I feed my own family without hesitation.
- Quick & Easy: From start to finish, you’re looking at about 40 minutes of active time. That’s it. And then you’ve got a freezer full of ready-to-go meals.
- Simple Ingredients: Ground turkey, black beans, cheese, tortillas, and a few pantry spices. Nothing weird, nothing expensive, nothing you have to hunt down at a specialty store.
- Perfect for Busy Families: These are made for those nights when soccer practice runs late, or someone has a fever, or you just don’t have the energy to cook. Pull one out, heat it up, dinner is done.
- Crowd-Pleaser: My kids inhale these. My picky nephew who “doesn’t like beans” ate two. Even my husband—who usually wants a steak—asks when I’m making another batch.
- Unbelievably Delicious: The secret is in the seasoning blend and the way the turkey gets browned just right. It’s not dry, it’s not bland, it’s genuinely good food.
What makes these different from every other burrito recipe out there? It’s the moisture balance. I’ve learned the hard way that too much liquid turns frozen burritos into a soggy mess. This recipe has been calibrated so the filling stays juicy but not wet, even after a month in the freezer. It’s comfort food you can actually plan ahead for—healthier than takeout, cheaper than delivery, and way more satisfying.
What Ingredients You Will Need
This recipe relies on simple, affordable ingredients that come together to create something genuinely delicious. Most of these are pantry staples or easy to find at any grocery store, which is exactly how I like it when I’m feeding a family on a budget.
- For the Filling:
- 1 tablespoon olive oil (or avocado oil, whatever you have on hand)
- 1 pound lean ground turkey (93/7 works great; drain any excess fat after browning)
- 1 medium yellow onion, diced (about 1 cup; adds sweetness and depth)
- 3 cloves garlic, minced (fresh is best, but the jarred stuff works in a pinch)
- 1 can (15 ounces) black beans, drained and rinsed (I prefer Bush’s or Goya for consistent texture)
- 1 can (4 ounces) diced green chiles (mild heat, adds so much flavor)
- 1 teaspoon ground cumin (this is non-negotiable for that authentic warmth)
- 1 teaspoon chili powder (use your favorite blend; I like McCormick)
- ½ teaspoon smoked paprika (adds a subtle smokiness you’ll miss if you skip it)
- ½ teaspoon salt (plus more to taste)
- ¼ teaspoon black pepper
- ½ cup shredded cheddar or Monterey Jack cheese (or a Mexican blend; pre-shredded is fine)
- For Assembly:
- 6 large flour tortillas (burrito-size, about 10 inches; I like Mission or Guerrero)
- Optional: ¼ cup sour cream or Greek yogurt (mix into the filling for extra creaminess)
- Optional: ¼ cup chopped cilantro (for freshness, if your family likes it)
Ingredient Tips: For the best texture, look for black beans that are firm, not mushy. I always rinse them well to remove excess sodium and that canned liquid flavor. If you can’t find lean ground turkey, ground chicken or even lean ground beef works perfectly. For a dairy-free version, skip the cheese or use your favorite plant-based shreds—they melt surprisingly well inside the burrito.
Equipment Needed
You don’t need a fancy kitchen to make these burritos. Here’s what you’ll need, along with a few alternatives if you’re working with limited tools.
- Large skillet or frying pan: For browning the turkey and sautéing the onions. A 12-inch non-stick skillet is ideal, but any large pan works.
- Cutting board and sharp knife: For dicing the onion and mincing the garlic. A dull knife makes this job miserable, so sharpen yours if needed.
- Can opener: Unless you buy the pull-tab cans.
- Colander: For rinsing the black beans. A fine-mesh strainer works too.
- Mixing bowl: To combine the filling ingredients before assembling.
- Baking sheet: For holding the assembled burritos while you wrap them. Line it with parchment paper for easy cleanup.
- Aluminum foil or freezer-safe wrap: For wrapping each burrito individually. I prefer heavy-duty foil because it holds up better in the freezer.
- Freezer-safe bag or container: For storing the wrapped burritos. Quart-size freezer bags work great.
Budget-Friendly Tip: If you don’t have a large skillet, use a Dutch oven or even a deep saucepan. The key is having enough surface area to brown the turkey evenly, not spread it out too thin. Also, skip the parchment paper and just oil the baking sheet lightly—it saves a few cents and works just as well.
Preparation Method
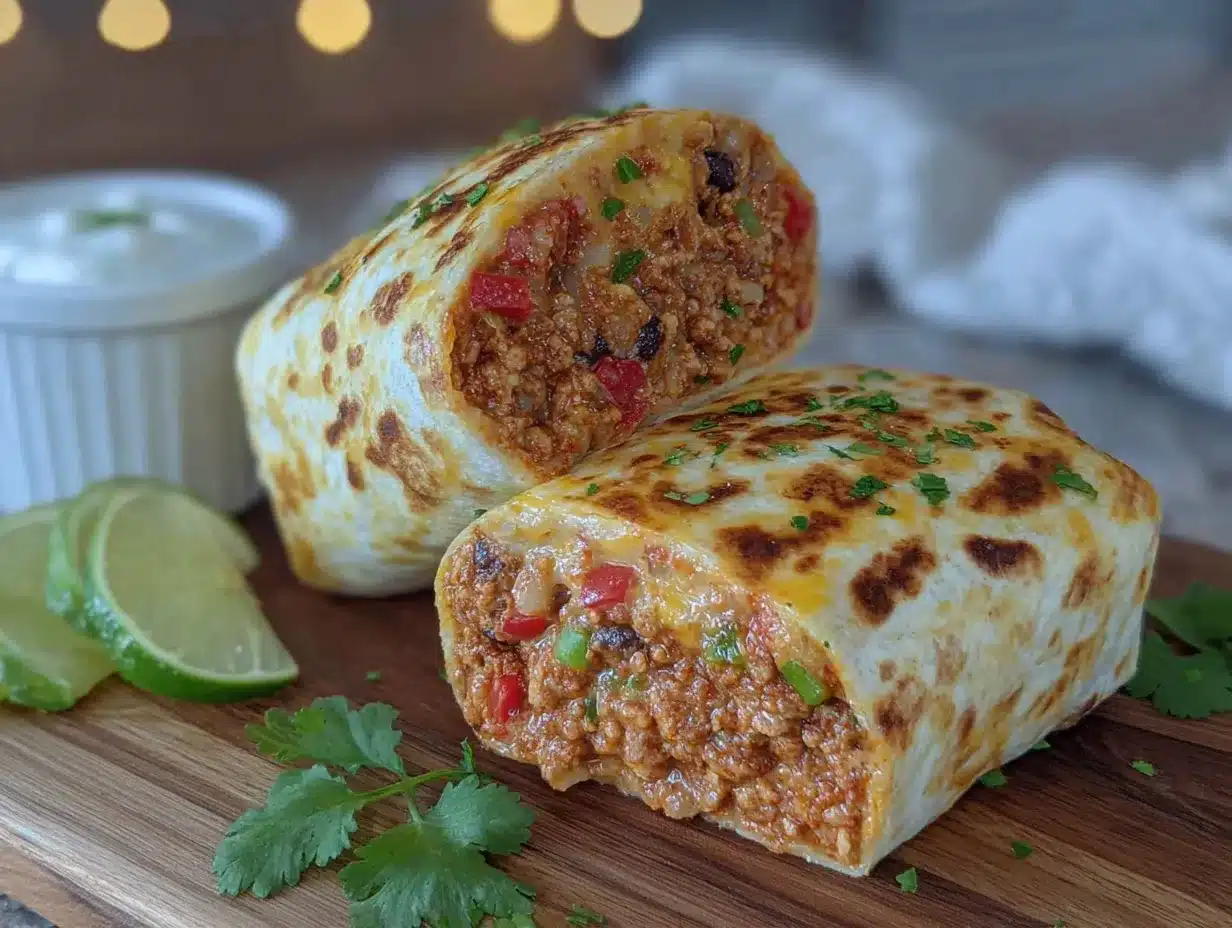
Let me walk you through this step by step. I’ve made these burritos dozens of times, and I’ve learned a few tricks along the way that make the process smoother and the results better.
- Cook the turkey and aromatics. Heat the olive oil in a large skillet over medium-high heat. Add the ground turkey and cook, breaking it up with a wooden spoon, until it’s no longer pink—about 5 to 7 minutes. Don’t rush this step; you want some nice brown bits on the bottom of the pan for flavor. Add the diced onion and cook for another 3 minutes until it softens. Stir in the minced garlic and cook for 30 seconds until fragrant. If there’s excess liquid in the pan, drain it off now. (I learned this the hard way after making soggy burritos the first time.)
- Season the mixture. Reduce the heat to medium. Add the drained black beans, diced green chiles, cumin, chili powder, smoked paprika, salt, and pepper. Stir everything together until the spices are evenly distributed. Cook for 2 to 3 minutes, letting the flavors meld. The mixture should look cohesive and smell incredible at this point—like a warm hug in a skillet.
- Cool the filling slightly. Transfer the turkey and bean mixture to a mixing bowl. Let it sit for 5 to 10 minutes to cool down. This is important because if you add cheese to hot filling, it will melt completely and make the burrito harder to wrap. While it cools, stir in the shredded cheese (and sour cream or cilantro if using). The residual heat will soften the cheese without melting it entirely.
- Warm the tortillas. Stack the tortillas on a plate and microwave them for 20 to 30 seconds, or until they’re pliable. You can also warm them one at a time in a dry skillet for about 15 seconds per side. Warm tortillas are much easier to fold without tearing—trust me on this.
- Assemble the burritos. Lay a warm tortilla on a clean work surface. Spoon about ⅔ cup of the filling into the center, spreading it into a log shape. Don’t overfill, or you’ll struggle to close them. Fold the sides of the tortilla inward over the filling, then fold the bottom flap up and over the filling, tucking it tightly. Roll the burrito away from you, keeping the sides tucked in, until it’s sealed. Place it seam-side down on the prepared baking sheet. Repeat with the remaining tortillas and filling.
- Cool completely before freezing. Let the assembled burritos sit on the baking sheet at room temperature for about 20 minutes. This step is crucial—if you wrap them while they’re still warm, condensation will form inside the foil and create ice crystals. Nobody wants icy burritos.
- Wrap for freezing. Once the burritos are completely cool, wrap each one tightly in aluminum foil. Make sure the foil is snug against the burrito with no air pockets. Place the wrapped burritos in a freezer-safe bag or container, squeeze out as much air as possible, and seal. Label the bag with the date and contents. They’ll keep for up to 3 months.
Cooking Tips & Techniques
Over the years, I’ve made just about every mistake you can make with freezer burritos. Here’s what I’ve learned so you don’t have to repeat my failures.
Don’t skip the draining step. The first time I made these, I was in a hurry and didn’t drain the fat from the turkey. The filling was greasy, and the burritos leaked in the freezer. Now I always tilt the pan and spoon out any excess liquid before adding the beans. It makes a world of difference.
Season generously. Ground turkey is leaner than beef, so it needs a little help in the flavor department. Don’t be shy with the cumin and chili powder. I’ve found that the smoked paprika is the secret weapon here—it adds a depth that makes people think you spent hours on this.
Let the filling cool. I know it’s tempting to start assembling right away, but warm filling creates steam inside the tortilla, which leads to sogginess. Give it those 5 to 10 minutes. Use the time to clean up your skillet or set out the tortillas.
Wrap tightly. A loosely wrapped burrito is a sad, falling-apart burrito. When you roll, keep the sides tucked in firmly. The foil should be tight enough that the burrito holds its shape but not so tight that you crush the filling. It takes a little practice, but you’ll get the hang of it after the first one.
Label everything. I cannot stress this enough. Frozen burritos all look the same after a week. Write the date and what’s inside on the foil or the bag. Your future self will thank you when you’re digging through the freezer at 6 PM on a Tuesday.
Variations & Adaptations
One of the best things about this recipe is how flexible it is. Here are a few ways I’ve adapted it for different tastes and dietary needs.
- Vegetarian Version: Swap the ground turkey for an extra can of black beans (drained and rinsed) or a cup of cooked quinoa. Add a little more cumin and chili powder to keep the flavor bold. My sister-in-law makes this version and says it’s even better than the original.
- Spicy Kick: If your family likes heat, add a diced jalapeño along with the onion, or stir in ½ teaspoon of cayenne pepper with the other spices. You can also use pepper jack cheese instead of cheddar for extra warmth.
- Low-Carb Option: Use large lettuce leaves or low-carb tortillas instead of flour tortillas. The filling itself is naturally low in carbs, so this swap makes the whole meal keto-friendly. Just note that lettuce wraps don’t freeze well—make these fresh.
- Cheesy Upgrade: Mix in ¼ cup of cream cheese with the shredded cheese for an ultra-creamy filling. I tried this on a whim one night when I had leftover cream cheese, and it was ridiculously good. My kids didn’t notice the difference, but I sure did.
- Add Veggies: Finely diced bell peppers, corn kernels, or even shredded zucchini (squeeze out the excess moisture first) can be added to the filling. This is a great way to sneak in extra vegetables without anyone complaining.
Serving & Storage Suggestions
These burritos are designed for maximum convenience, but a little attention to detail makes them even better.
How to Reheat: The best way to reheat a frozen burrito is in the microwave. Remove the foil, wrap the burrito in a damp paper towel, and microwave on high for 2 to 3 minutes, flipping halfway through. If you prefer a crispy exterior, unwrap it after microwaving and finish it in a dry skillet over medium heat for 1 to 2 minutes per side. For the oven, place the foil-wrapped burrito on a baking sheet at 350°F for 25 to 30 minutes. The microwave method is fastest, but the skillet gives you that nice golden crust.
What to Serve With Them: These burritos are a meal on their own, but they pair beautifully with a simple side of Mexican rice, a scoop of guacamole, or a dollop of sour cream. For a lighter option, serve with a crisp green salad dressed with lime vinaigrette. My kids love them with a side of tortilla chips and salsa for dipping.
Storage: Wrapped tightly in foil and stored in a freezer bag, these burritos will stay fresh for up to 3 months. The flavors actually meld and deepen over the first week in the freezer, so don’t be surprised if they taste even better after a few weeks. To thaw, simply move a burrito from the freezer to the refrigerator the night before, or reheat directly from frozen—no thawing required.
Flavor Development: Something magical happens to these burritos after they’ve been frozen for a week or two. The spices settle, the textures marry, and the whole thing tastes more cohesive. I’ve actually started making a double batch just so I can have some that have “aged” a bit. It’s weird, but it works.
Nutritional Information & Benefits
Here’s an estimated breakdown for one burrito (using lean ground turkey, flour tortillas, and cheddar cheese). Values will vary based on specific ingredients and brands.
| Nutrient | Amount per Burrito |
|---|---|
| Calories | 385 |
| Protein | 28g |
| Carbohydrates | 38g |
| Fiber | 8g |
| Fat | 14g |
| Saturated Fat | 5g |
| Sodium | 720mg |
Health Benefits: Lean ground turkey is an excellent source of high-quality protein, which helps keep you full and supports muscle health. Black beans are packed with fiber and plant-based iron, making these burritos a great choice for digestive health and steady energy. The cumin and chili powder add antioxidants and anti-inflammatory properties. If you use whole wheat tortillas, you’ll get even more fiber and nutrients. This is a balanced meal that satisfies without weighing you down.
Dietary Considerations: This recipe is naturally nut-free and can be made dairy-free by omitting the cheese or using a plant-based alternative. For a gluten-free version, use corn or gluten-free tortillas. The filling itself is gluten-free, so the swap is simple. Always check labels on canned goods and spices to ensure they meet your dietary needs.
Conclusion
These turkey black bean burritos have become a staple in my kitchen, and I honestly can’t imagine going back to life without them. They’re the kind of recipe that makes you feel like you’ve got a secret weapon—something that saves dinner on the hard days and makes the good days even better. The best part? They’re completely customizable. Add more spice, swap in different beans, load up on veggies, or keep it simple. This recipe is a starting point, not a rulebook.
I’d love to hear how these turn out for you. Did your kids love them? Did you try a variation that blew your mind? Drop a comment below and share your experience. And if you found this helpful, share it with a friend who could use a little freezer-friendly magic in their life. Trust me—they’ll thank you later.
Frequently Asked Questions
Can I use ground beef instead of turkey?
Absolutely. Ground beef, chicken, or even pork work perfectly in this recipe. Just drain any excess fat after browning to keep the filling from getting greasy.
How long do these burritos last in the freezer?
Properly wrapped and stored, they’ll stay fresh for up to 3 months. After that, the texture may start to decline, but they’re still safe to eat.
Can I make these burritos without cheese?
Yes, the cheese is optional. The filling is flavorful enough on its own, but if you want extra creaminess, try adding a spoonful of Greek yogurt or sour cream instead.
Do I need to thaw the burritos before reheating?
Not at all. You can reheat them directly from frozen in the microwave, oven, or skillet. Just adjust the cooking time accordingly.
Can I use homemade tortillas for this recipe?
Definitely. Homemade tortillas will work, but keep in mind they may be a bit more delicate than store-bought. Make sure they’re large enough to hold the filling and wrap securely.
Pin This Recipe!
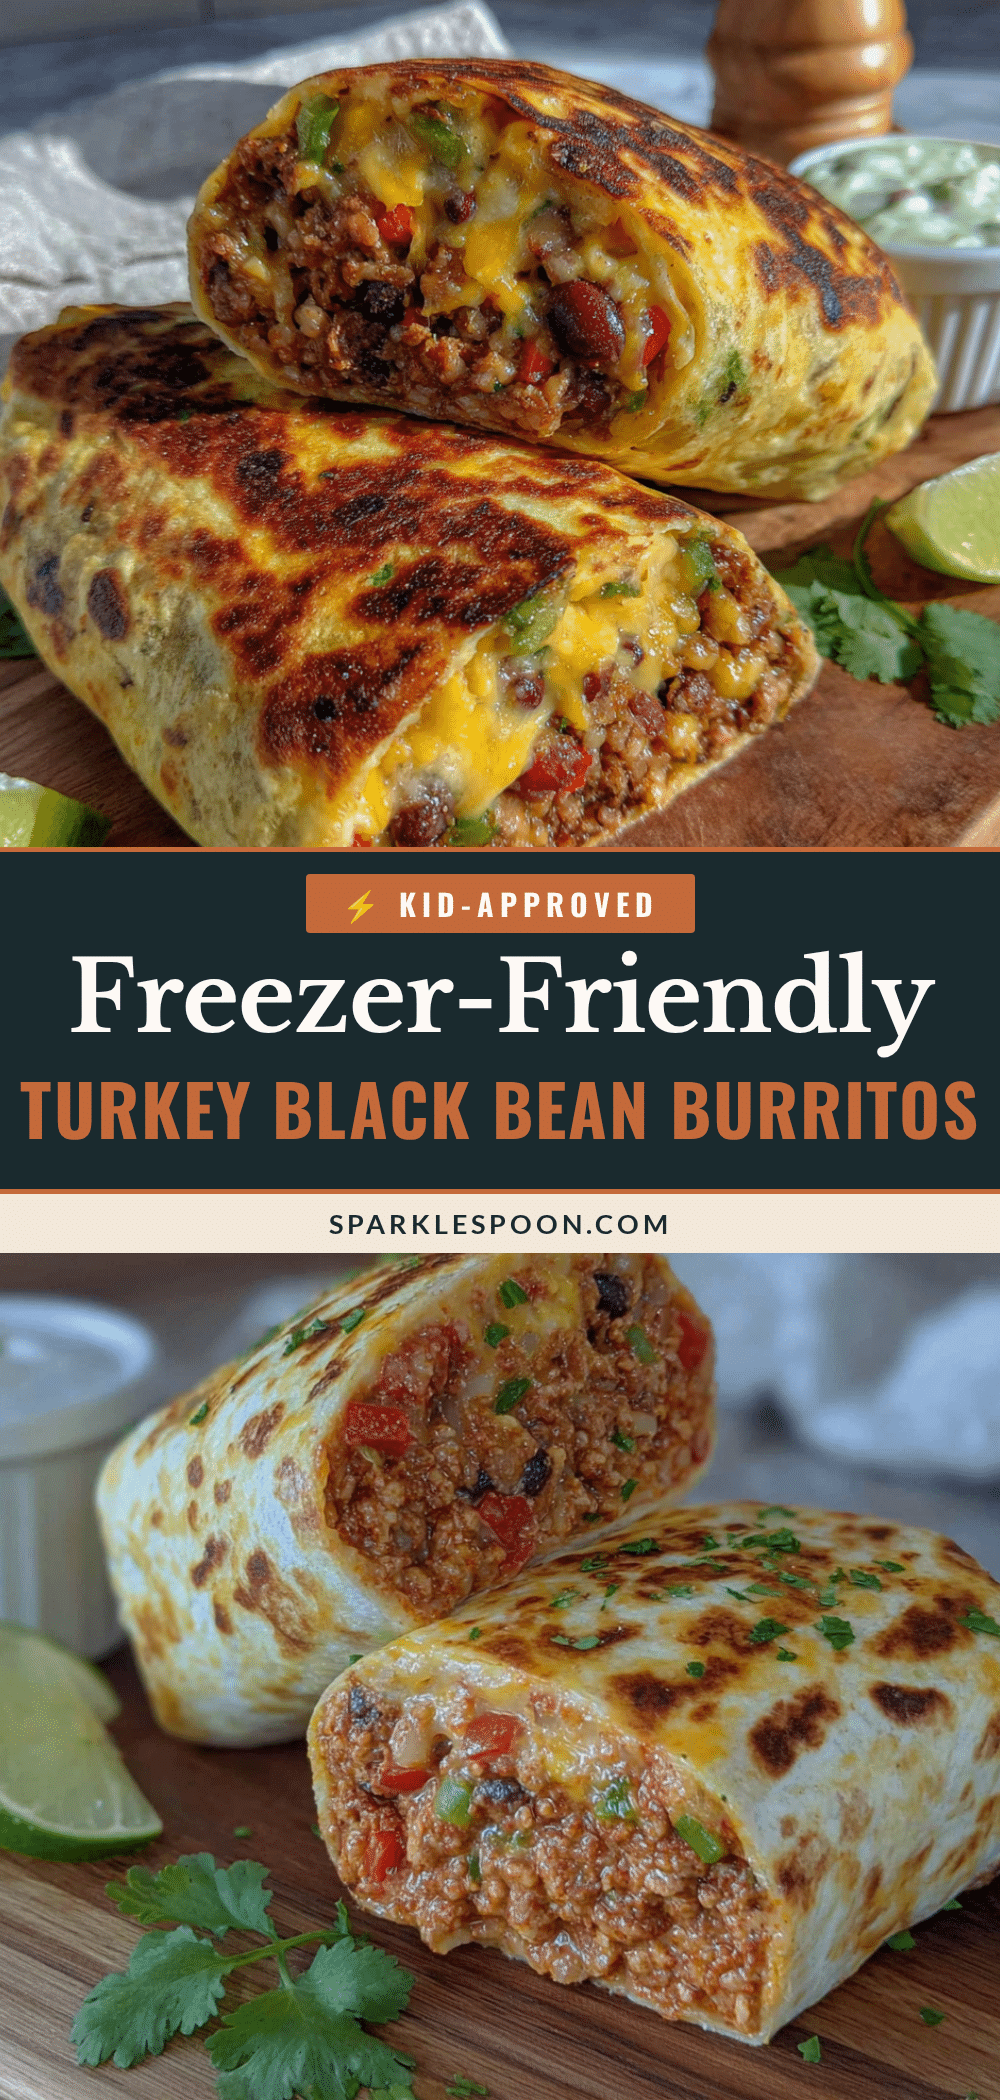
Turkey Black Bean Burritos: Easy Freezer Meal Kids Love

These turkey black bean burritos are the perfect freezer-friendly meal for busy families. Made with simple ingredients like ground turkey, black beans, cheese, and a few pantry spices, they are quick to assemble and reheat beautifully.
- Prep Time: 20 minutes
- Cook Time: 20 minutes
- Total Time: 40 minutes
- Yield: 6 servings 1x
- Category: Main Course
- Cuisine: Mexican
Ingredients
- 1 tablespoon olive oil
- 1 pound lean ground turkey (93/7)
- 1 medium yellow onion, diced (about 1 cup)
- 3 cloves garlic, minced
- 1 can (15 ounces) black beans, drained and rinsed
- 1 can (4 ounces) diced green chiles
- 1 teaspoon ground cumin
- 1 teaspoon chili powder
- ½ teaspoon smoked paprika
- ½ teaspoon salt
- ¼ teaspoon black pepper
- ½ cup shredded cheddar or Monterey Jack cheese
- 6 large flour tortillas (burrito-size, about 10 inches)
- Optional: ¼ cup sour cream or Greek yogurt
- Optional: ¼ cup chopped cilantro
Instructions
- Heat the olive oil in a large skillet over medium-high heat. Add the ground turkey and cook, breaking it up with a wooden spoon, until no longer pink (5-7 minutes). Add the diced onion and cook for 3 minutes until softened. Stir in the minced garlic and cook for 30 seconds until fragrant. Drain any excess liquid.
- Reduce heat to medium. Add the drained black beans, diced green chiles, cumin, chili powder, smoked paprika, salt, and pepper. Stir to combine and cook for 2-3 minutes until flavors meld.
- Transfer the mixture to a mixing bowl and let cool for 5-10 minutes. Stir in the shredded cheese (and sour cream or cilantro if using).
- Warm the tortillas in the microwave for 20-30 seconds or in a dry skillet for 15 seconds per side until pliable.
- Lay a warm tortilla on a clean surface. Spoon about ⅔ cup of filling into the center, forming a log shape. Fold the sides inward, then fold the bottom flap up and over the filling, tucking tightly. Roll the burrito away from you until sealed. Place seam-side down on a baking sheet. Repeat with remaining tortillas and filling.
- Let the assembled burritos cool completely at room temperature (about 20 minutes).
- Wrap each burrito tightly in aluminum foil, ensuring no air pockets. Place wrapped burritos in a freezer-safe bag or container, squeeze out air, seal, and label with date. Freeze for up to 3 months.
Notes
For best results, drain excess liquid from the turkey after browning to avoid soggy burritos. Let the filling cool before assembling to prevent condensation. Wrap burritos tightly in foil to maintain shape and prevent freezer burn. Reheat from frozen: microwave on high for 2-3 minutes (remove foil, wrap in damp paper towel), or oven at 350°F for 25-30 minutes (in foil).
Nutrition
- Serving Size: 1 burrito
- Calories: 385
- Sugar: 2
- Sodium: 720
- Fat: 14
- Saturated Fat: 5
- Carbohydrates: 38
- Fiber: 8
- Protein: 28
Keywords: turkey black bean burritos, freezer burritos, easy freezer meal, kid-friendly burritos, make-ahead burritos



