Love this? Save it for later!
Share the inspiration with your friends
I used to think skillet cookies were a gimmick. Honestly, I did. A friend brought one to a dinner party years ago, and I remember thinking, “It’s just a giant cookie baked in a pan. What’s the big deal?” I was polite about it, of course. I took a small slice, maybe an inch wide, just to be gracious. Then I took another slice. And then I found myself standing near the skillet, fork in hand, having a quiet, slightly embarrassing conversation with myself about portion control. The edges were crispy in a way that regular cookies just can’t manage, and the center was so soft and gooey it was almost like eating warm cookie dough, but better. I had to admit I was wrong. Let me tell you, that’s not something I do easily.
The thing that really got me was how this version managed to be both indulgent and, well, reasonable. It wasn’t a massive sheet pan of cookies that would go stale by Tuesday. It was a single, perfect skillet cookie meant for two people, or maybe just one if you’re having that kind of week. The recipe the friend used was complicated though—multiple bowls, chilled butter, a whole song and dance. I knew I could simplify it without losing that magic contrast between the crunchy edge and the molten center. After a few Sunday afternoon experiments (and one memorable incident where I forgot the baking powder entirely, resulting in a very dense, very sad cookie pancake), I landed on this version. It’s the one I keep coming back to, and the one I now bring to every small gathering. It’s just the right amount of sweet, and it makes you look like you tried way harder than you actually did.
Why You’ll Love This Recipe
This isn’t just another chocolate chip cookie recipe. This is the one that solves the classic problem of wanting a warm, homemade dessert without committing to a dozen cookies you don’t need. Here’s why it works so well:
- Truly Small-Batch: This recipe is designed for one 6 to 8-inch skillet. No leftovers staring at you from the counter, tempting you at 10 PM. It’s perfect for a quiet night in.
- One Bowl, One Skillet: You mix everything in one bowl and bake it in the same skillet you serve it in. Minimal cleanup means more time enjoying that first warm bite.
- That Texture Contrast: The edges get beautifully caramelized and crispy, while the center stays soft, gooey, and almost molten. It’s the best of both cookie worlds in every single bite.
- Ready in Under 30 Minutes: From the moment you pull out the butter to the moment you’re digging in with a spoon, it takes about 25 minutes. That’s faster than ordering delivery.
- Completely Customizable: This is a base recipe that begs for your favorite add-ins. Got some chopped pecans? Throw them in. Feeling fancy? A sprinkle of flaky sea salt on top changes everything.
I have tested this recipe more times than I care to count. I have made it with salted butter when I only had unsalted, with dark chocolate chips when I ran out of milk chocolate, and once with a handful of crushed pretzels on top (highly recommended, by the way). It is forgiving and foolproof, which is exactly what a weeknight dessert should be. It is the kind of recipe that makes you close your eyes after that first forkful, not because it’s fancy, but because it’s just so perfectly, simply good.
What Ingredients You Will Need
This recipe uses simple, pantry-friendly ingredients to create that signature skillet cookie texture. Each one plays a specific role, so here is what to grab and why it matters.
- 4 tablespoons unsalted butter, melted: Melted butter is the secret to a chewy, dense texture without needing to chill the dough. It creates a richer flavor than softened butter. If you only have salted butter, just reduce the added salt in the recipe by a pinch.
- 1/4 cup granulated sugar: This adds sweetness and helps the edges crisp up in the skillet. It also contributes to that beautiful golden-brown color.
- 1/4 cup packed light brown sugar: Brown sugar is where the magic happens. It adds moisture, a hint of molasses flavor, and makes the center of the cookie incredibly soft and tender. I use light brown sugar, but dark brown sugar works too for a deeper, more caramel-like flavor.
- 1 large egg yolk: We only use the yolk here, not the whole egg. This is a crucial trick. The yolk adds richness and moisture without thinning the dough out too much, which helps the cookie hold its shape while staying gooey in the middle. Save the egg white for an omelet in the morning.
- 1/2 teaspoon vanilla extract: Use real vanilla extract if you have it. It rounds out the sweetness and makes the chocolate flavor pop. Imitation vanilla will work in a pinch, but the flavor is noticeably less complex.
- 1/2 cup all-purpose flour: Standard all-purpose flour gives the perfect structure. Spoon it into your measuring cup and level it off with a knife. Scooping directly from the bag can pack in too much flour and make the cookie dry.
- 1/4 teaspoon baking soda: This is the leavening agent that gives the cookie a little lift. Don’t skip it, or you will end up with a dense, flat puck.
- 1/4 teaspoon salt: Salt is not optional in cookies. It balances the sweetness and enhances the flavor of the chocolate. I use fine sea salt for the dough and a sprinkle of flaky salt on top.
- 1/3 cup semi-sweet chocolate chips: I prefer semi-sweet chips because they are not too sweet and they hold their shape well during baking. You can use milk chocolate for a sweeter cookie or dark chocolate for a more intense flavor. Chopped chocolate bar works great here too, creating little pools of melted chocolate.
Ingredient Note: For the best results, I recommend using a brand like King Arthur Flour for the flour and Guittard or Ghirardelli for the chocolate chips. These are my personal favorites because they deliver consistent results every time.
Equipment Needed
The beauty of this recipe is that you don’t need much. Here is the short list of what you will need to pull this off.
- A 6 to 8-inch cast iron skillet: This is non-negotiable for the best results. Cast iron heats evenly and creates that perfect crispy edge. A 6-inch skillet makes a thicker, more decadent cookie, while an 8-inch skillet gives you a slightly thinner one with more crispy surface area. I have an old, well-seasoned Lodge skillet that I use for everything, and it works perfectly here.
- A medium mixing bowl: Any bowl will do. I use a simple ceramic bowl.
- A whisk or fork: For mixing the wet ingredients together.
- A rubber spatula: This is essential for folding in the chocolate chips without overmixing the dough.
- Measuring cups and spoons: For accuracy. Baking is a science, even if this recipe is forgiving.
If you don’t have a cast iron skillet, you can use a small oven-safe non-stick skillet or even a small baking dish. The edges won’t get quite as crispy, but it will still be delicious. Just make sure whatever you use is oven-safe up to 350°F.
Preparation Method
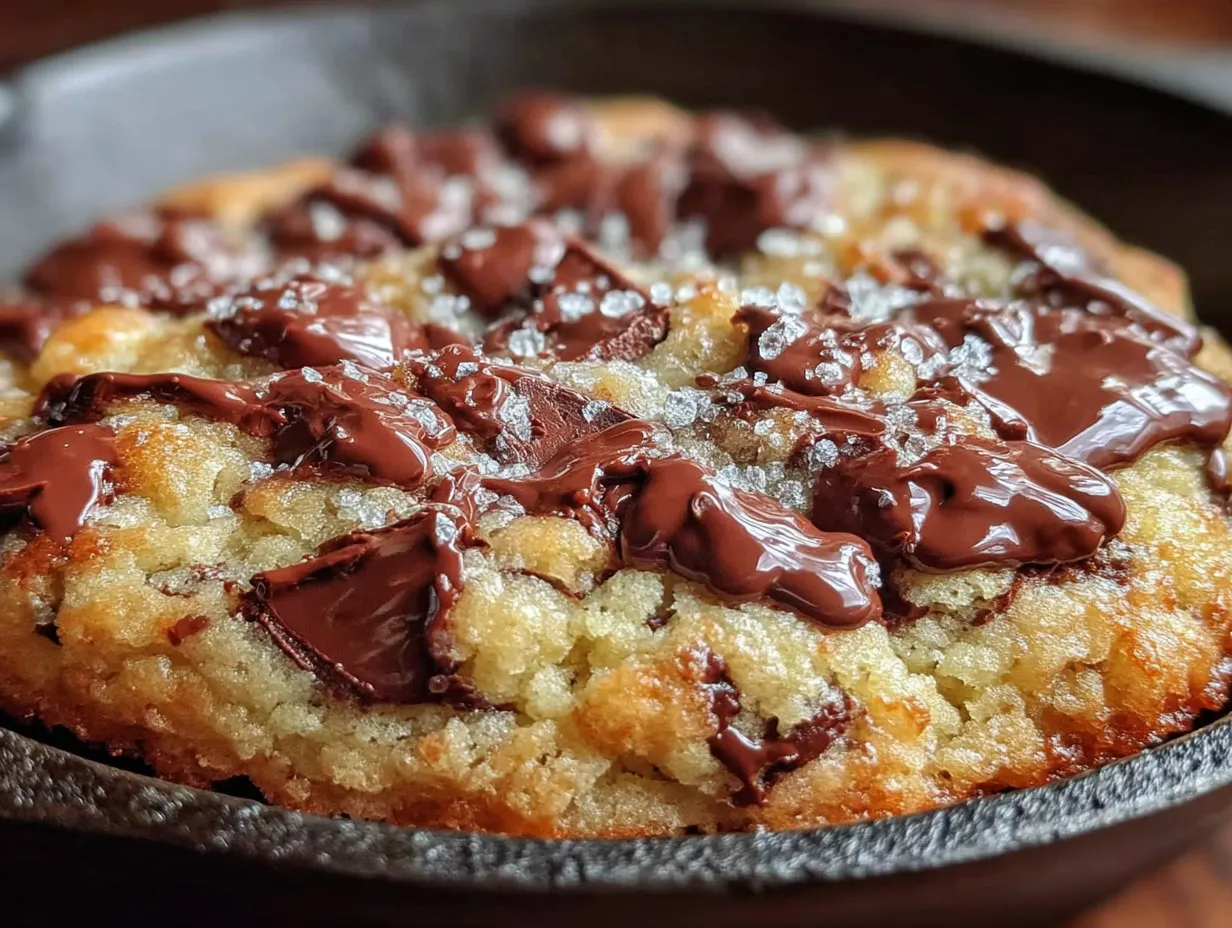
Follow these steps carefully, and you will have a perfect skillet cookie in under half an hour. I have broken it down so you know exactly what to look for at each stage.
- Preheat your oven to 350°F (175°C). Place your cast iron skillet inside while the oven heats up. This is a little trick I learned from making cornbread. A hot skillet means the edges start cooking immediately, giving you that superior crispy crust. Just be careful when you pull it out.
- Melt the butter. In your medium mixing bowl, melt the 4 tablespoons of unsalted butter. You can do this in the microwave in 20-second bursts, or in a small saucepan on the stove. Let it cool for a minute or two. You don’t want it to be piping hot when you add the other ingredients, or it might cook the egg yolk.
- Mix the sugars. Add the 1/4 cup of granulated sugar and 1/4 cup of packed light brown sugar to the melted butter. Whisk them together until the mixture looks like wet sand and is well combined. It should be smooth and glossy.
- Add the egg yolk and vanilla. Drop in the single egg yolk and the 1/2 teaspoon of vanilla extract. Whisk vigorously until the mixture becomes pale, thick, and slightly lighter in color. This should take about 30 to 45 seconds. This step is important because it incorporates air and helps give the cookie a nice texture.
- Combine the dry ingredients. In a small separate bowl, whisk together the 1/2 cup of all-purpose flour, 1/4 teaspoon of baking soda, and 1/4 teaspoon of salt. This ensures the baking soda and salt are evenly distributed throughout the flour.
- Fold in the dry ingredients. Pour the flour mixture into the wet ingredients. Use your rubber spatula to gently fold everything together. Stir just until you can’t see any more streaks of white flour. Do not overmix here. Overmixing develops the gluten and will make your cookie tough instead of tender.
- Add the chocolate chips. Fold in the 1/3 cup of semi-sweet chocolate chips. Make sure they are evenly distributed throughout the dough. If you want a cookie with chocolate in every bite, this is the time to be thorough.
- Prepare the skillet. Carefully remove the hot skillet from the oven using oven mitts. Spray it lightly with non-stick cooking spray or brush it with a little extra melted butter. The dough will be thick and slightly sticky.
- Press the dough into the skillet. Scoop the dough into the center of the hot skillet. Use the back of a spoon or your fingers (slightly wet fingers work best to prevent sticking) to press the dough into an even layer, spreading it all the way to the edges. The heat from the skillet will start cooking the bottom immediately.
- Bake. Place the skillet in the preheated oven and bake for 12 to 15 minutes. The timing depends on your oven and the size of your skillet. For a 6-inch skillet, start checking at the 12-minute mark. The cookie is done when the edges are golden brown and set, but the center still looks slightly soft and underdone. It will continue to cook from the residual heat of the skillet once you take it out.
- Cool slightly and serve. Let the cookie cool in the skillet on a wire rack for at least 5 minutes. This allows it to set up enough to hold its shape. Serve it warm, directly from the skillet, with a scoop of vanilla ice cream if you are feeling extra indulgent.
Cooking Tips & Techniques
I have made this recipe probably thirty times by now, and I have learned a few things the hard way. Here are my best tips to guarantee success every time.
Don’t skip preheating the skillet. I know it is an extra step, and it means you have to be careful with a hot pan, but this is the single most important trick for getting those crispy, caramelized edges. If you press the dough into a cold skillet, the edges will bake at the same rate as the center, and you will lose that wonderful contrast.
Watch the baking time closely. Ovens vary wildly. My oven runs a little hot, so I always check my cookie at the 11-minute mark. You are looking for the edges to be a deep golden brown and the center to look slightly puffy and soft. If you wait until the center looks fully set, you have overbaked it, and it will be more like a cookie cake than a gooey skillet cookie. Trust me on this. I have made that mistake more than once.
Let it rest. The hardest part of this recipe is waiting those 5 minutes after it comes out of the oven. I know you want to dig in immediately, but the cookie needs that time to set. If you try to eat it right away, it will be a pool of molten dough and chocolate. Still delicious, but messy. The 5-minute rest gives it the perfect spoonable texture.
Use good chocolate. This is a small recipe, so the quality of your chocolate really matters. A cheap chocolate chip can taste waxy and artificial. Spend a little extra on a good brand, and you will taste the difference. I like to use a mix of chips and chopped chocolate for the best texture.
One more thing about the egg yolk. I have tried this recipe with a whole egg, and it makes the cookie puff up too much and then collapse, leaving a cakey texture. The single yolk is the key to that dense, fudgy, almost brownie-like center. Save the white for a quick scramble the next morning.
Variations & Adaptations
This base recipe is a fantastic starting point for all sorts of creative twists. Here are a few of my favorite ways to change it up.
- Double Chocolate Skillet Cookie: Reduce the flour to 1/3 cup and add 2 tablespoons of unsweetened cocoa powder. Use dark chocolate chips or white chocolate chips for a stunning contrast. This version tastes like a warm brownie.
- Add Some Crunch: Fold in 1/4 cup of toasted chopped pecans or walnuts along with the chocolate chips. The nutty flavor pairs beautifully with the caramelized edges. I also love adding a handful of pretzel pieces for a salty-sweet crunch.
- Peanut Butter Swirl: Drop 2 tablespoons of creamy peanut butter in small dollops on top of the dough before baking. Use a knife to gently swirl it into the top layer. It creates little pockets of melty peanut butter that are absolutely divine.
- Gluten-Free Option: Substitute the all-purpose flour with a good quality 1-to-1 gluten-free baking flour blend. I have used Bob’s Red Mill brand with great success. The texture will be slightly more tender, but it is still delicious and gooey.
- Vegan Adaptation: Use a vegan butter stick (like Earth Balance) and a flax egg (1 tablespoon ground flaxseed mixed with 3 tablespoons water, let sit for 5 minutes). The texture will be a bit different, and it won’t be quite as rich, but it is a solid option for a dairy-free and egg-free dessert.
My personal favorite variation is the salted caramel version. I press the dough into the skillet, then drizzle 2 tablespoons of store-bought caramel sauce over the top and sprinkle with flaky sea salt before baking. It is dangerously good.
Serving & Storage Suggestions
This cookie is best served warm, straight from the skillet. That is the whole point of it, honestly. The contrast between the warm, gooey center and a cold scoop of vanilla ice cream is a classic for a reason. A drizzle of warm chocolate sauce or a dollop of whipped cream is also lovely.
For a more grown-up presentation, serve it with a side of lightly sweetened mascarpone cheese or a sprinkle of flaky sea salt. The salt really makes the chocolate sing.
Storage: If you have any leftovers (which is rare in my house), cover the skillet tightly with foil or plastic wrap and store it at room temperature for up to 2 days. The texture will change, and it will become more like a soft cookie bar, but it is still delicious.
Reheating: The best way to bring it back to life is to pop the skillet into a 300°F oven for 5 to 7 minutes. This will re-crisp the edges and warm the center back to that gooey state. You can also microwave individual slices for about 15 seconds, but the edges will lose their crispness.
Freezing: You can freeze the unbaked dough right in the skillet. Press it in, wrap the whole skillet in a layer of plastic wrap and then a layer of foil, and freeze for up to 3 months. When you are ready to bake, just add about 5 minutes to the baking time. No need to thaw.
Nutritional Information & Benefits
Let’s be honest, this is a treat. It is not a health food, and it is not meant to be. But knowing what is in it is still helpful.
This entire skillet cookie serves 2 to 4 people. Per serving (based on 4 servings), you are looking at approximately 320 calories, 18 grams of fat, 38 grams of carbohydrates, and 4 grams of protein.
The butter provides a small amount of vitamin A, and the dark chocolate is a source of antioxidants and minerals like iron and magnesium. The brown sugar offers a tiny bit of calcium and potassium, but honestly, the main benefit here is the joy it brings. There is something deeply satisfying about sharing a warm, homemade dessert with someone you care about. That is a benefit that doesn’t show up on a nutrition label.
If you are watching your sugar intake, you can reduce the granulated sugar to 3 tablespoons, but the texture will be slightly less crisp. For a lower-fat option, you can substitute half the butter with unsweetened applesauce, but the cookie will be more cake-like.
Conclusion
This small-batch chocolate chip skillet cookie is the dessert I turn to when I want something that feels special without a lot of fuss. It is quick enough for a Tuesday night, but impressive enough to serve to guests. It is forgiving, adaptable, and consistently delivers that perfect combination of crispy edges and a gooey, molten center that makes everyone at the table go quiet for a moment.
I hope you give it a try. Play with the add-ins, use whatever chocolate you have on hand, and don’t be afraid to eat the whole thing yourself if you need to. No judgment here. I would love to hear how it turns out for you. Did you add a secret ingredient? Did you serve it with something unexpected? Drop a comment below and let me know. And if you share a picture on Pinterest, tag me so I can see your beautiful creation. Happy baking, friends.
Frequently Asked Questions
Can I use a regular baking pan instead of a cast iron skillet?
Yes, you can. Use a small 6-inch oven-safe non-stick skillet or a small baking dish. The edges won’t get as crispy as they do in a cast iron skillet, but the cookie will still be delicious and gooey in the center.
Why did my skillet cookie turn out cakey?
This usually happens if you use a whole egg instead of just the yolk, or if you overmix the dough. The single yolk is key for a dense, fudgy texture. Also, make sure you are not overbaking it. The center should look slightly underdone when you pull it out of the oven.
Can I double this recipe?
Absolutely. Double all the ingredients and use a 10 to 12-inch skillet. You will need to increase the baking time to about 18 to 22 minutes. Keep an eye on it and look for the same visual cues: golden brown edges and a soft center.
How do I know when the cookie is done baking?
The edges should be a deep golden brown and look set. The center will still look soft, puffy, and slightly underdone. It will continue to cook from the residual heat of the skillet as it cools. Do not wait for the center to look fully baked, or it will be overdone.
Can I make the dough ahead of time?
Yes. You can prepare the dough, press it into the skillet, cover it, and refrigerate it for up to 24 hours before baking. You may need to add 2 to 3 minutes to the baking time since you are starting from a cold skillet and cold dough.
Pin This Recipe!
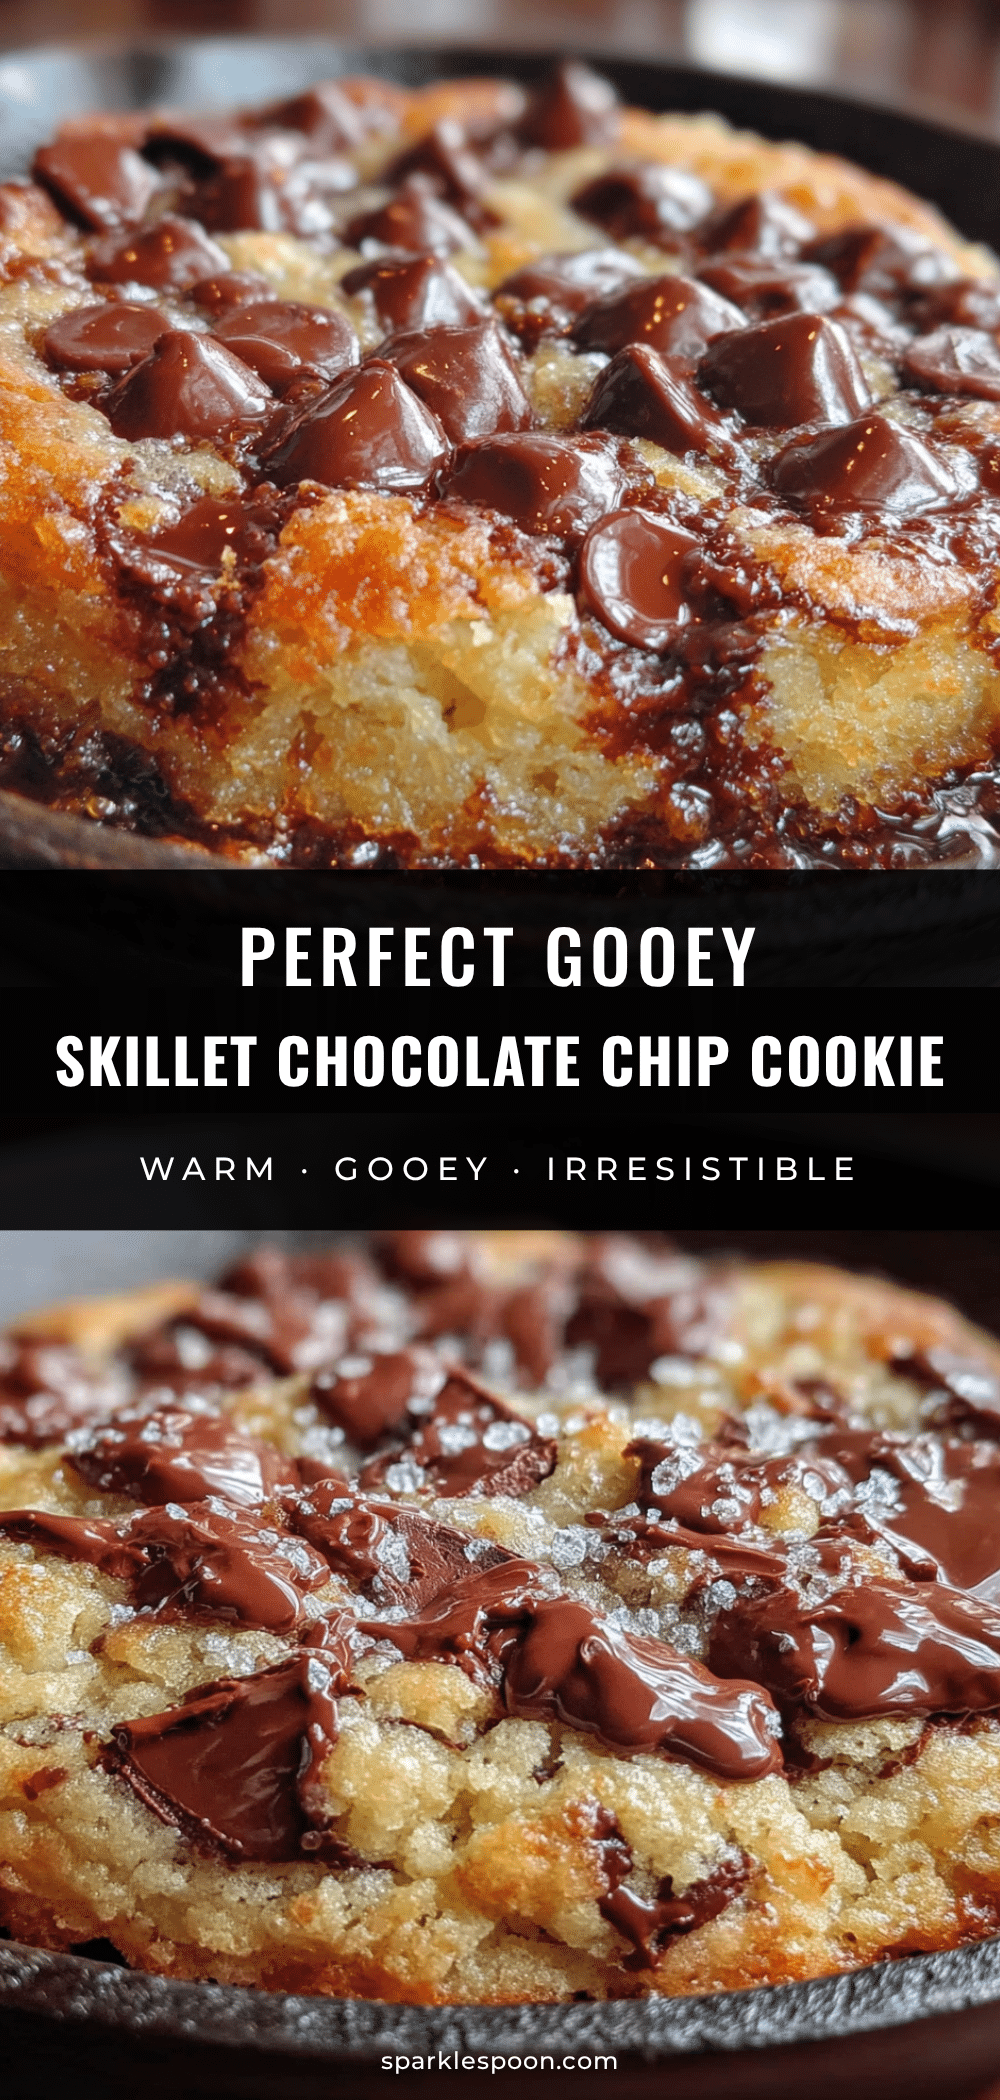
Perfect Small-Batch Chocolate Chip Skillet Cookie Recipe

This small-batch chocolate chip skillet cookie is the dessert you turn to when you want something that feels special without a lot of fuss. It is quick enough for a Tuesday night, but impressive enough to serve to guests, delivering that perfect combination of crispy edges and a gooey, molten center.
- Prep Time: 10 minutes
- Cook Time: 15 minutes
- Total Time: 25 minutes
- Yield: 4 servings 1x
- Category: Dessert
- Cuisine: American
Ingredients
- 4 tablespoons unsalted butter, melted
- 1/4 cup granulated sugar
- 1/4 cup packed light brown sugar
- 1 large egg yolk
- 1/2 teaspoon vanilla extract
- 1/2 cup all-purpose flour
- 1/4 teaspoon baking soda
- 1/4 teaspoon salt
- 1/3 cup semi-sweet chocolate chips
Instructions
- Preheat your oven to 350°F (175°C). Place your cast iron skillet inside while the oven heats up.
- Melt the 4 tablespoons of unsalted butter in a medium mixing bowl. Let it cool for a minute or two.
- Add the 1/4 cup of granulated sugar and 1/4 cup of packed light brown sugar to the melted butter. Whisk until the mixture looks like wet sand and is well combined.
- Add the single egg yolk and the 1/2 teaspoon of vanilla extract. Whisk vigorously until the mixture becomes pale, thick, and slightly lighter in color (about 30 to 45 seconds).
- In a small separate bowl, whisk together the 1/2 cup of all-purpose flour, 1/4 teaspoon of baking soda, and 1/4 teaspoon of salt.
- Pour the flour mixture into the wet ingredients. Use a rubber spatula to gently fold together until no streaks of white flour remain. Do not overmix.
- Fold in the 1/3 cup of semi-sweet chocolate chips until evenly distributed.
- Carefully remove the hot skillet from the oven using oven mitts. Spray it lightly with non-stick cooking spray or brush with extra melted butter.
- Scoop the dough into the center of the hot skillet. Use the back of a spoon or slightly wet fingers to press the dough into an even layer, spreading it all the way to the edges.
- Bake for 12 to 15 minutes. The cookie is done when the edges are golden brown and set, but the center still looks slightly soft and underdone.
- Let the cookie cool in the skillet on a wire rack for at least 5 minutes. Serve warm, directly from the skillet.
Notes
Preheating the skillet is key for crispy edges. Watch the baking time closely; the center should look slightly underdone when removed. Let the cookie rest for 5 minutes before serving. Use good quality chocolate for best flavor.
Nutrition
- Serving Size: 1/4 of skillet
- Calories: 320
- Sugar: 26
- Sodium: 220
- Fat: 18
- Saturated Fat: 11
- Carbohydrates: 38
- Fiber: 2
- Protein: 4
Keywords: skillet cookie, chocolate chip cookie, small-batch cookie, cast iron skillet cookie, easy dessert, one bowl cookie



