Love this? Save it for later!
Share the inspiration with your friends
My niece asked why I couldn’t just use a heart-shaped cookie cutter on the batter instead of piping it into molds. I started to explain why that wouldn’t work — then stopped. I looked at the bowl of thick, crimson batter and realized she was right about the shape, but wrong about the method. We ended up cutting the batter into shapes with a small knife, which was messy, uneven, and honestly kind of charming in a chaotic way. That afternoon, surrounded by flour dust and laughter, I learned that sometimes the “wrong” way creates the most memorable moments.
It was last Tuesday, and the kitchen was a disaster zone. I had promised her perfect, professional-looking treats for her school’s Valentine’s exchange. But my piping bags had leaked, and my heart-shaped pans were nowhere to be found. I felt that familiar pinch of embarrassment, the kind that makes you want to order takeout instead. Yet, watching her carefully press a fork into the batter to make jagged little hearts made me laugh. It wasn’t perfect, but it was ours. That day stuck with me because it reminded me that baking isn’t about precision; it’s about connection.
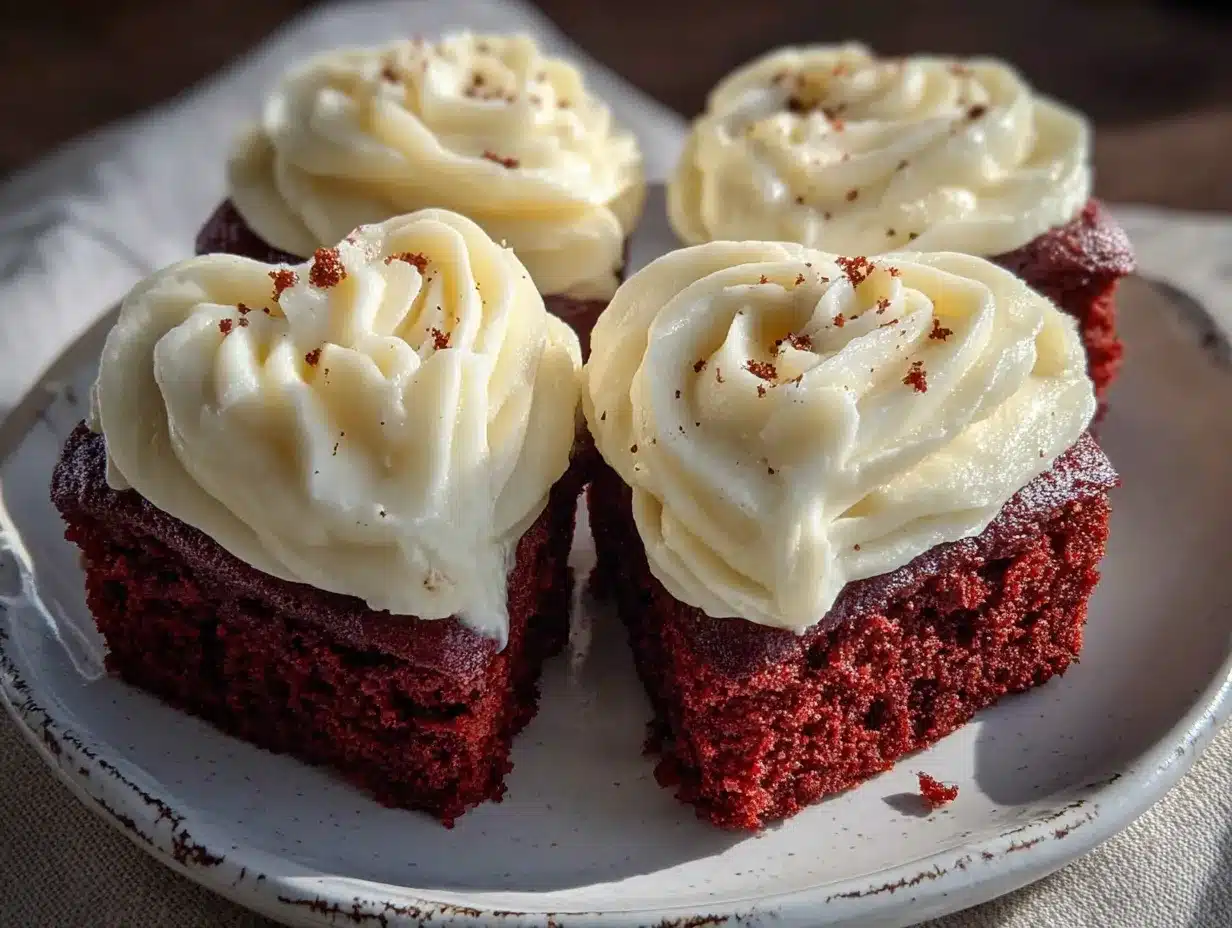
These Perfect Heart-Shaped Red Velvet Cupcakes are the result of that lesson. They aren’t just about the vibrant red color or the classic cream cheese frosting. They are about the joy of making something beautiful, even if your hands shake a little. Maybe you’ve been there too, trying to impress someone with a recipe that feels just out of reach. This recipe is my way of saying it’s okay to be imperfect. It’s about taking a classic favorite and giving it a twist that feels personal and special.
I mean, let’s face it, store-bought boxes are convenient, but they lack soul. There is something magical about mixing your own batter, watching the colors swirl, and smelling the cocoa and vanilla fill your home. These cupcakes have become a staple in my kitchen, not just for Valentine’s Day, but for any occasion that calls for a little extra love. Whether you are a seasoned baker or just starting out, this recipe invites you to slow down and enjoy the process. It’s a reminder that the best treats are the ones made with care.
So, grab your apron and let’s get into the kitchen. We are going to make cupcakes that are not only delicious but also a little bit unforgettable. You’ll see that making these Perfect Heart-Shaped Red Velvet Cupcakes is easier than you think, and the results will have everyone asking for your secret.
Why You’ll Love This Recipe
There is a reason this recipe has become a regular in my rotation. It strikes that perfect balance between comfort and celebration. Here is why you are going to love making these heart-shaped treats:
- Quick & Easy: Despite their elegant appearance, these cupcakes come together in under 45 minutes. The batter is simple to mix, and the baking time is short, making them perfect for busy weeknights or last-minute cravings.
- Simple Ingredients: You likely already have most of these in your pantry. Flour, sugar, cocoa powder, buttermilk, and red food coloring are the stars. No fancy grocery trips needed.
- Perfect for Occasions: While Valentine’s Day is the obvious choice, these are great for anniversaries, bridal showers, or just because you want to treat yourself.
- Crowd-Pleaser: The combination of moist cake and tangy frosting is a universal hit. Kids love the heart shape, and adults love the classic flavor profile.
- Unbelievably Delicious: The texture is light and airy, yet rich and moist. The cream cheese frosting adds a tangy contrast that keeps you coming back for more.
- Unique Presentation: Using heart-shaped molds or cutters sets these apart from standard round cupcakes. It adds a touch of whimsy and romance that feels special.
What makes this recipe different is the attention to detail in the batter. We use a touch of vinegar to react with the baking soda, which helps create that signature tender crumb. Plus, the red velvet flavor is balanced perfectly so it isn’t too sweet. It’s the kind of cupcake that makes you close your eyes after the first bite. It’s comfort food reimagined—classic, fast, but with a soul-soothing satisfaction that box mixes just can’t match.
What Ingredients You Will Need
This recipe uses simple, wholesome ingredients to deliver bold flavor and satisfying texture without the fuss. The key to a great red velvet is the balance between the cocoa, the buttermilk, and the acid. Here is what you need to get started:
For the Cupcakes
- All-purpose flour: 1 ½ cups (190g). I recommend King Arthur brand for consistent results.
- Cocoa powder: 1 tablespoon (5g). Unsweetened natural cocoa works best.
- Baking soda: ½ teaspoon. Fresh is key for proper rising.
- Salt: ½ teaspoon. To balance the sweetness.
- Unsalted butter: ½ cup (115g), softened. Room temperature butter creams better.
- Granulated sugar: 1 ½ cups (300g). For sweetness and moisture.
- Eggs: 2 large, room temperature. Cold eggs can curdle the batter.
- Vanilla extract: 1 teaspoon. Pure vanilla adds depth.
- Buttermilk: 1 cup (240ml). If you don’t have it, mix milk with 1 tbsp vinegar.
- Red food coloring: 1-2 tablespoons. Gel coloring gives a more vibrant hue.
- White vinegar: 1 teaspoon. Activates the baking soda for lift.
For the Cream Cheese Frosting
- Block cream cheese: 8 oz (225g), softened. Do not use whipped cheese.
- Unsalted butter: ½ cup (115g), softened.
- Powdered sugar: 3-4 cups (360-480g), sifted.
- Vanilla extract: 1 teaspoon.
- Salt: A pinch to cut the sweetness.
For the best texture, I recommend using block cream cheese rather than the spreadable kind in a tub. It has less water content and won’t make your frosting runny. Also, look for firm, small-curd cottage cheese if you want to substitute some of the cream cheese for a lighter texture, though traditional is best for this recipe. In summer, you might find the butter gets soft quickly, so keep your ingredients cool until you are ready to mix.
Equipment Needed
You don’t need a lot of fancy gear to make these, but having the right tools helps. A standard hand mixer or stand mixer is essential for creaming the butter and sugar properly. I prefer my stand mixer because it frees up my hands, but a hand mixer works fine if you are willing to arm workout.
The most important tool here is the heart-shaped cupcake pan or liner. If you don’t have heart-shaped pans, you can use standard muffin tins and cut the baked cupcakes into hearts with a small cookie cutter. Silicone heart-shaped liners are also a great option for easy cleanup. I’ve tried paper liners, but they sometimes stick to the delicate cake. Silicone is a bit more expensive upfront but lasts forever.
A large mixing bowl, a smaller bowl for dry ingredients, and a spatula for scraping down the sides are all you really need. A cooling rack is crucial so the cupcakes don’t get soggy from steam. If you are piping the frosting, a star tip like a Wilton 1M is classic and creates beautiful swirls. For a budget-friendly option, any basic metal piping tip from a local craft store will do the job just as well as the expensive brands.
Preparation Method
Let’s get baking. Follow these steps closely for the best results.
- Preheat and Prep: Preheat your oven to 350°F (175°C). If using metal pans, grease them lightly or line with heart-shaped liners. This takes about 5 minutes.
- Mix Dry Ingredients: In a medium bowl, whisk together the flour, cocoa powder, baking soda, and salt. Set this aside. It’s a quick 2-minute task.
- Cream Butter and Sugar: In a large bowl, beat the softened butter and granulated sugar on medium-high speed for about 3-4 minutes. The mixture should look pale and fluffy. This step is crucial for texture.
- Add Eggs and Vanilla: Add the eggs one at a time, beating well after each addition. Mix in the vanilla extract. Scrape down the sides of the bowl with a spatula to ensure everything is incorporated.
- Combine Wet and Dry: Add half of the dry ingredients to the butter mixture. Mix on low speed. Then add the buttermilk, and mix until combined. Add the remaining dry ingredients and mix just until no streaks of flour remain. Overmixing can make the cupcakes tough.
- Add Color and Vinegar: Stir in the red food coloring until you reach your desired shade of red. Finally, mix in the vinegar. The batter might look slightly curdled, which is normal.
- Fill Liners: Divide the batter evenly among the cupcake liners, filling them about 2/3 full. This takes about 5 minutes. Be careful not to overfill, or they will spill over.
- Bake: Bake for 18-22 minutes, or until a toothpick inserted into the center comes out clean. Do not overbake, or they will dry out. Let them cool in the pan for 5 minutes, then transfer to a wire rack to cool completely.
- Make Frosting: While cupcakes cool, beat the softened cream cheese and butter until smooth. Gradually add the powdered sugar, vanilla, and salt. Beat on high until fluffy and spreadable. This takes about 3-4 minutes.
- Decorate: Once cupcakes are completely cool, pipe or spread the frosting on top. Add any extra decorations if you like.
Keep an eye on your cupcakes around the 18-minute mark. Ovens vary, so the toothpick test is your best friend. If the toothpick comes out with wet batter, give them 2 more minutes.
Cooking Tips & Techniques
I’ve made these cupcakes so many times that I’ve learned a few tricks along the way. One common mistake is using cold ingredients. Make sure your butter, eggs, and buttermilk are at room temperature. This helps the batter emulsify properly, resulting in a smoother, more uniform crumb.
Another tip is to not overmix the batter. Once you add the flour, mix only until it disappears. Overmixing develops gluten, which leads to dense cupcakes. I often make this mistake when I’m in a hurry, and the results are noticeably heavier.
For a deeper red color, use gel food coloring instead of liquid. Liquid coloring can thin out the batter and dilute the flavor. Gel coloring is more potent and keeps the texture intact. Also, the vinegar is important. It reacts with the baking soda to create carbon dioxide bubbles, which helps the cupcakes rise and gives them that slight tang.
If your frosting is too soft, put it in the fridge for 15 minutes before piping. If it’s too stiff, add a teaspoon of milk. Multitasking is key here. While the cupcakes bake, make the frosting. Just make sure the cupcakes are completely cool before frosting, or the heat will melt the cream cheese.
Variations & Adaptations
This recipe is very flexible. Here are a few ways to make it your own:
- White Chocolate Red Velvet: Fold in ½ cup of white chocolate chips into the batter for extra sweetness and texture.
- Strawberry Red Velvet: Replace ¼ cup of the buttermilk with strawberry puree for a fruity twist.
- Gluten-Free: Use a 1:1 gluten-free flour blend. The texture might be slightly more delicate, so handle with care.
- Dairy-Free: Use vegan butter and dairy-free cream cheese. Almond milk can replace buttermilk with added vinegar.
- Mini Cupcakes: Bake for 12-15 minutes. These are great for parties and portion control.
I once tried adding matcha powder to the batter for a green velvet cupcake, and it was surprisingly good. It’s a fun way to experiment. Don’t be afraid to swap ingredients based on what you have on hand.
Serving & Storage Suggestions
These cupcakes are best served at room temperature. The frosting softens slightly, and the flavors meld together. Pair them with a cup of coffee or tea for a cozy afternoon treat. They also go well with a glass of cold milk.
Store leftovers in an airtight container in the refrigerator for up to 3 days. The cream cheese frosting requires refrigeration for food safety. Let them sit at room temperature for 20 minutes before eating to soften the frosting.
You can also freeze the unfrosted cupcakes for up to 2 months. Wrap them tightly in plastic wrap and then foil. Thaw them overnight in the fridge before frosting. The flavors actually develop over time, so they taste even better the next day.
Nutritional Information & Benefits
Each cupcake contains approximately 350 calories. The red velvet cake provides a good source of carbohydrates for energy. The cocoa powder offers antioxidants, and the cream cheese provides calcium and protein. However, these treats are indulgent, so enjoy in moderation.
They are not naturally gluten-free or dairy-free unless you use substitutions. For those with allergies, always check ingredient labels. From a wellness perspective, baking at home allows you to control the sugar content. You can reduce the sugar by ¼ cup without significantly affecting the texture.
Conclusion
Making these Perfect Heart-Shaped Red Velvet Cupcakes is a wonderful way to express love and creativity in the kitchen. It’s a recipe that brings joy to both the maker and the eater. I encourage you to try it and customize it to your taste. Maybe add some sprinkles or drizzle some chocolate on top.
I love this recipe because it connects me to those happy memories with my niece. It’s simple, delicious, and visually stunning. Please share your results with me in the comments below. I’d love to see your creations. Happy baking!
Frequently Asked Questions
Can I use cake flour instead of all-purpose flour?
Yes, cake flour will make the cupcakes even more tender. If using cake flour, add 2 tablespoons of all-purpose flour per cup to mimic the protein content of regular flour.
Why did my cupcakes sink in the middle?
This usually happens if the oven temperature is too high or if you opened the oven door too early. Make sure your baking soda is fresh and not expired.
Can I make the batter ahead of time?
It’s best to bake the batter fresh. If you must prepare ahead, store the batter in the fridge for up to 24 hours, but let it come to room temperature before baking.
How do I get a vibrant red color?
Use gel food coloring and add it gradually. Red food coloring can darken as it bakes, so start with less than you think you need.
Can I freeze the frosted cupcakes?
Yes, freeze them on a tray first, then wrap individually. They will keep for up to 1 month. Thaw in the fridge overnight.
Pin This Recipe!
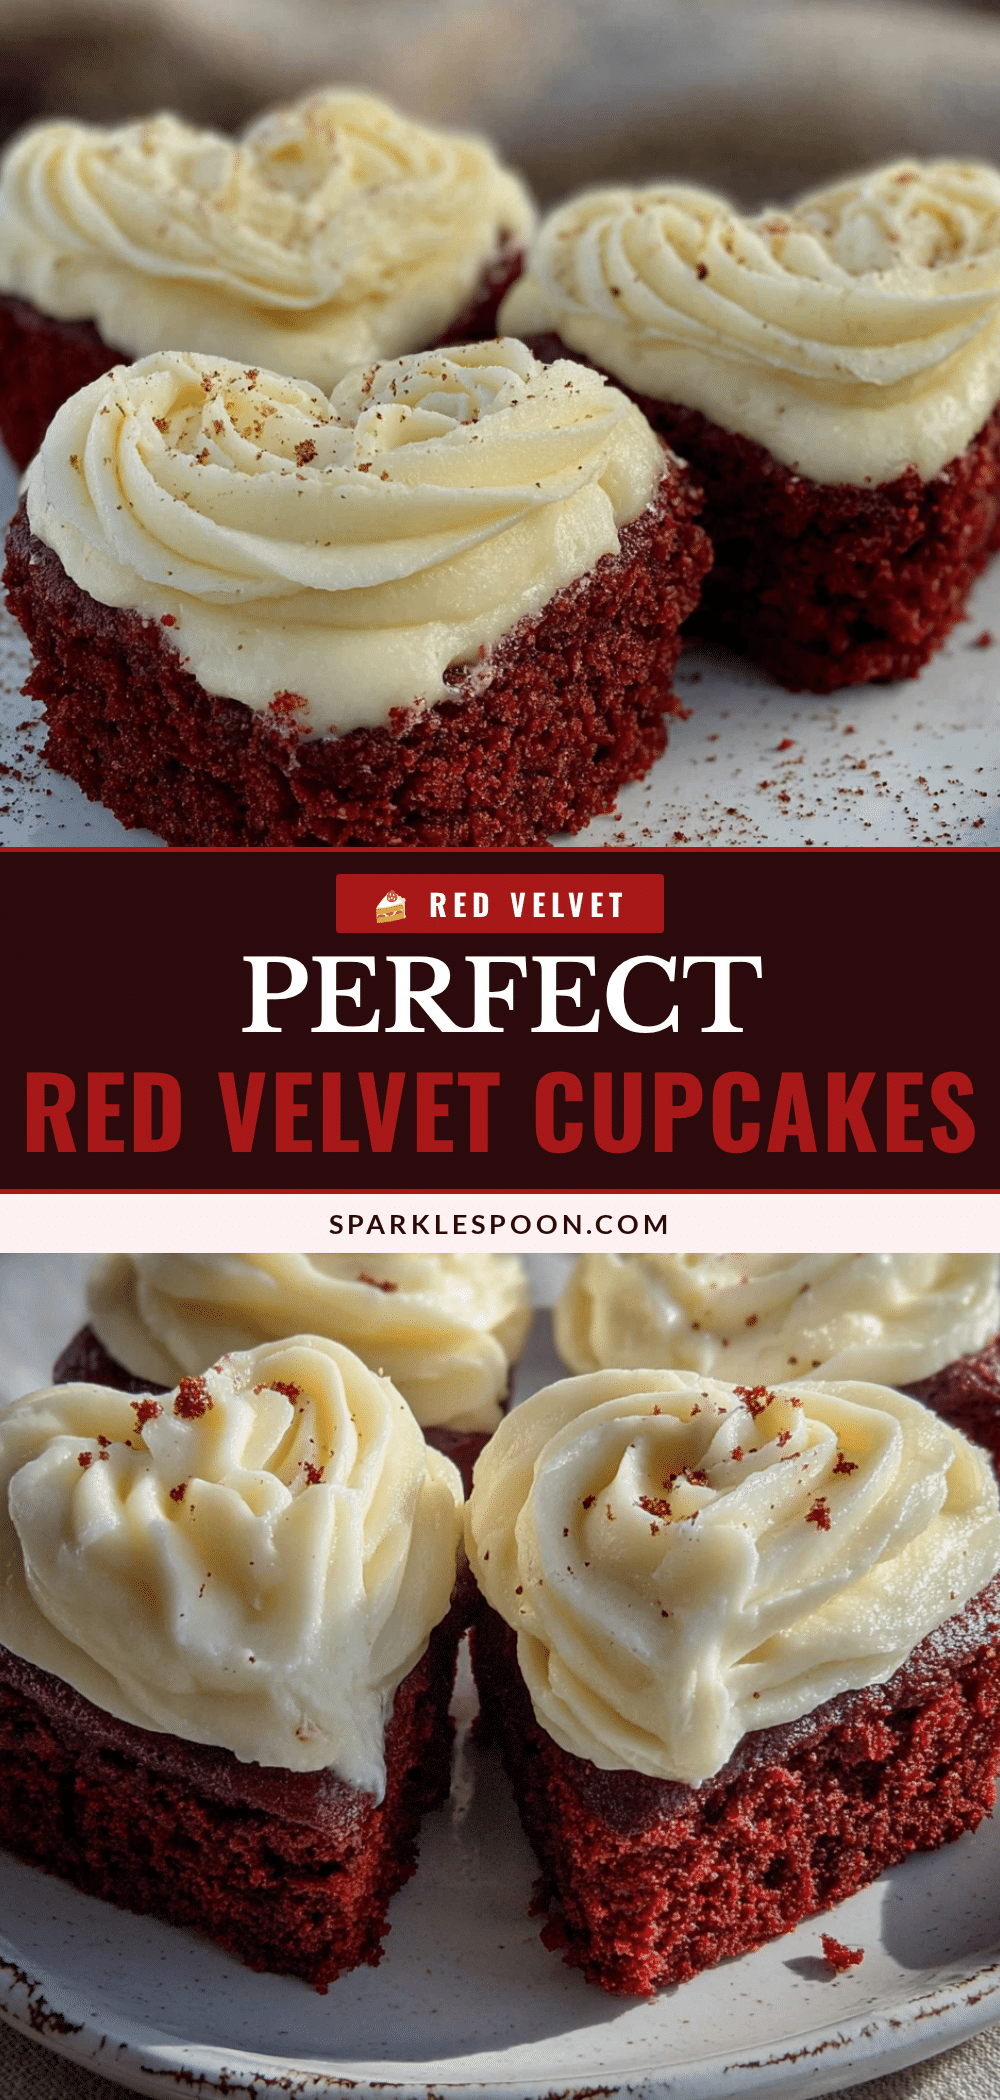
Perfect Heart-Shaped Red Velvet Cupcakes: Easy Valentine Treats
These moist, vibrant red velvet cupcakes feature a tender crumb and tangy cream cheese frosting. Perfect for Valentine’s Day or any special occasion, this easy recipe delivers professional results with simple ingredients.
- Prep Time: 15 minutes
- Cook Time: 22 minutes
- Total Time: 45 minutes
- Yield: 12 servings 1x
- Category: Dessert
- Cuisine: American
Ingredients
- 1 ½ cups (190g) all-purpose flour
- 1 tablespoon (5g) unsweetened cocoa powder
- ½ teaspoon baking soda
- ½ teaspoon salt
- ½ cup (115g) unsalted butter, softened
- 1 ½ cups (300g) granulated sugar
- 2 large eggs, room temperature
- 1 teaspoon vanilla extract
- 1 cup (240ml) buttermilk
- 1–2 tablespoons red food coloring (gel recommended)
- 1 teaspoon white vinegar
- 8 oz (225g) block cream cheese, softened
- ½ cup (115g) unsalted butter, softened
- 3–4 cups (360-480g) powdered sugar, sifted
- 1 teaspoon vanilla extract
- A pinch of salt
Instructions
- Preheat oven to 350°F (175°C). Grease heart-shaped cupcake pans or line with heart-shaped liners.
- In a medium bowl, whisk together flour, cocoa powder, baking soda, and salt. Set aside.
- In a large bowl, beat softened butter and granulated sugar on medium-high speed for 3-4 minutes until pale and fluffy.
- Add eggs one at a time, beating well after each addition. Mix in vanilla extract. Scrape down bowl sides.
- Add half of the dry ingredients to the butter mixture and mix on low. Add buttermilk and mix until combined. Add remaining dry ingredients and mix just until no streaks remain.
- Stir in red food coloring until desired shade is reached. Mix in vinegar.
- Divide batter evenly among liners, filling them about 2/3 full.
- Bake for 18-22 minutes or until a toothpick inserted into the center comes out clean. Cool in pan for 5 minutes, then transfer to a wire rack to cool completely.
- While cupcakes cool, beat cream cheese and butter until smooth. Gradually add powdered sugar, vanilla, and salt. Beat on high until fluffy.
- Once cupcakes are completely cool, pipe or spread frosting on top.
Notes
Ensure all ingredients (butter, eggs, buttermilk) are at room temperature for best emulsion. Do not overmix the batter to avoid dense cupcakes. Use gel food coloring for vibrant color without thinning the batter. Store leftovers in the refrigerator for up to 3 days due to the cream cheese frosting.
Nutrition
- Serving Size: 1 cupcake
- Calories: 350
- Sugar: 38
- Sodium: 250
- Fat: 18
- Saturated Fat: 11
- Carbohydrates: 45
- Fiber: 1
- Protein: 4
Keywords: red velvet cupcakes, heart shaped cupcakes, valentine day treats, cream cheese frosting, easy baking, homemade cupcakes



