Love this? Save it for later!
Share the inspiration with your friends
I was standing in the checkout line at the hardware store—of all places—when the woman behind me started talking about peanut butter protein balls. She was holding a bag of birdseed and a new garden trowel, and she just looked at my cart full of energy drinks and granola bars and said, “You know you can make those yourself in five minutes, right?” Her name was Margie, and she was at least seventy, with dirt under her fingernails and the kind of no-nonsense energy that makes you put down the processed food immediately. She told me her granddaughter was a nutritionist and had shown her this recipe for no-bake peanut butter protein balls that she now makes every single week. I mean, honestly, I wasn’t expecting cooking advice from someone buying birdseed on a Tuesday afternoon, but there I was, listening to her describe exactly how to make these little bites of energy. I scribbled the recipe on the back of my receipt while she talked, and let me tell you—I almost dropped my keys trying to write fast enough. That was three years ago, and I haven’t bought a single store-bought protein bar since. Maybe you’ve been there, staring at the endless options in the snack aisle, trying to find something that actually tastes good and doesn’t have a dozen ingredients you can’t pronounce. These easy no-bake peanut butter protein balls changed my whole approach to snacking. They are simple, they are fast, and they honestly taste better than anything you can buy.
Why You’ll Love This Recipe
After making these peanut butter protein balls at least fifty times—I have lost count, honestly—I can tell you with full confidence why this recipe is a game-changer. I have tested every ratio, every substitute, and every possible add-in, and this version is the one that works every single time.
- Quick & Easy: These come together in under five minutes. No baking, no waiting, no complicated steps. You just mix, roll, and eat. Perfect for those days when you need a snack right now.
- Simple Ingredients: You probably already have everything in your pantry. Peanut butter, oats, honey, and a few extras. No fancy grocery trips required—I mean it.
- Perfect for Meal Prep: Make a batch on Sunday and grab them all week. They are great for lunchboxes, post-workout fuel, or that 3 PM slump when you need something to keep you going.
- Crowd-Pleaser: I have brought these to potlucks, road trips, and family gatherings, and they disappear every time. Kids love them, adults love them, even my picky uncle asked for the recipe.
- Unbelievably Delicious: The texture is soft and chewy, the peanut butter flavor is rich, and the little bit of chocolate or coconut takes them over the top. They taste like dessert but fuel you like a proper snack.
What makes this recipe different from the rest? It is the perfect ratio of wet to dry ingredients. I have tried versions that were too dry and crumbly, and versions that were so sticky they were impossible to roll. This one hits that sweet spot where the dough holds together beautifully without being a mess. Plus, you can customize it a hundred ways without breaking the recipe—I will show you how.
This is the kind of snack that makes you feel good about eating it. It is comfort food that actually works for you—healthier, faster, and with the same satisfying, soul-soothing quality that peanut butter always brings.
What Ingredients You Will Need
This recipe uses simple, wholesome ingredients that come together to create a snack that is both satisfying and nourishing. Most of these are pantry staples, so you likely have them on hand already.
- 1 cup creamy peanut butter (use natural peanut butter with no added sugar for best results; I prefer the kind that separates and you stir it—less processed and better texture)
- 1 cup rolled oats (old-fashioned oats work best; quick oats can get mushy, and steel-cut oats are too hard. I have tried all three, trust me on this one)
- 1/3 cup honey or maple syrup (honey gives a classic flavor, but maple syrup works great for a vegan option. Both add natural sweetness and help bind the mixture)
- 1/2 cup ground flaxseed or chia seeds (these add fiber and omega-3s while helping the balls hold their shape. I use ground flaxseed most often because it blends in seamlessly)
- 1/3 cup mini chocolate chips (optional but highly recommended—they add little pockets of sweetness that make these feel like a treat. Use dark chocolate chips for less sugar)
- 1/4 cup shredded coconut (unsweetened is best; it adds texture and a subtle tropical note. You can skip this if you are not a coconut fan)
- 1 teaspoon vanilla extract (pure vanilla extract makes a difference—the artificial stuff can taste a bit harsh)
- Pinch of sea salt (just a tiny bit to balance the sweetness and enhance the peanut butter flavor)
If you want to get a little more creative, you can add a scoop of your favorite protein powder (vanilla or chocolate works best) or a tablespoon of cocoa powder for a chocolate version. Just note that adding protein powder may require an extra tablespoon of honey or a splash of milk to keep the right consistency.
For the best texture, make sure your peanut butter is at room temperature. Cold peanut butter straight from the fridge is harder to mix and can make the dough crumbly. If your peanut butter is too stiff, microwave it for about 10 seconds to soften it up.
Equipment Needed
You do not need much for this recipe, which is part of the beauty of it. Here is what you will need:
- Large mixing bowl (any size works, but a medium-to-large bowl gives you room to mix without spilling)
- Measuring cups and spoons (standard set is fine; I like having a 1/3 cup measure handy for the honey)
- Rubber spatula or wooden spoon (a sturdy spoon works, but a rubber spatula makes scraping the bowl much easier)
- Baking sheet or plate (to hold the rolled balls while you finish shaping them; line it with parchment paper if you want easy cleanup)
- Parchment paper or wax paper (optional but helpful for storage and preventing sticking)
- Airtight container (for storing the finished protein balls in the fridge or freezer)
That is it. No food processor, no mixer, no special gadgets. Just your hands and a few basic kitchen tools. I have made these in a tiny dorm room kitchen and in a fully stocked home kitchen, and they come out the same every time.
Preparation Method
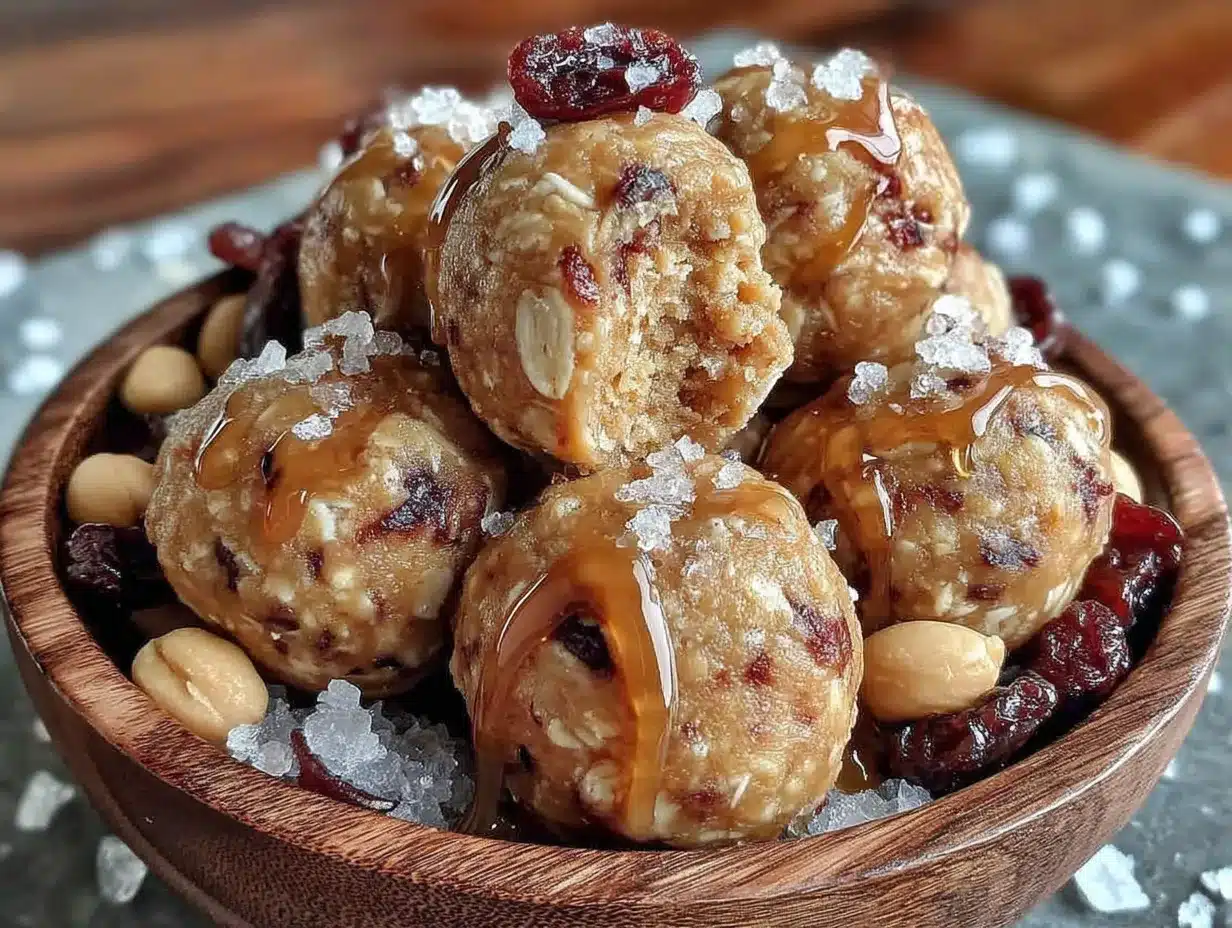
- Combine the wet ingredients first. In your large mixing bowl, add 1 cup of creamy peanut butter, 1/3 cup of honey (or maple syrup), and 1 teaspoon of vanilla extract. Stir them together until they are fully combined and smooth. This should take about 30 seconds. The mixture will look glossy and smell amazing already.
- Add the dry ingredients. Pour in 1 cup of rolled oats, 1/2 cup of ground flaxseed, and a pinch of sea salt. Stir everything together with your spatula or spoon. At first, it will look like the dry ingredients are not going to mix in, but keep going. The peanut butter and honey will slowly pull everything together. This takes about a minute of steady stirring.
- Fold in the extras. Add 1/3 cup of mini chocolate chips and 1/4 cup of shredded coconut. Gently fold them into the mixture until they are evenly distributed. Do not overmix at this point—you want the chocolate chips to stay intact, not get crushed into the dough.
- Check the consistency. The mixture should hold together when you pinch it between your fingers. If it feels too dry and crumbly, add a tablespoon more honey or a splash of milk. If it feels too sticky and wet, add a tablespoon more oats or flaxseed. The perfect texture is like a soft cookie dough—it should hold its shape without being greasy.
- Roll into balls. Using your hands, scoop out about one tablespoon of the mixture and roll it between your palms to form a smooth ball. Place each ball onto your baking sheet or plate as you go. You should get about 18 to 20 balls from this batch, depending on how big you make them. I like them bite-sized, about one inch in diameter.
- Chill before serving. Place the baking sheet in the refrigerator for at least 30 minutes. This helps the balls firm up and makes them easier to handle. If you are in a hurry, you can eat them right away, but they will be softer and a bit messier.
- Transfer to storage. Once the balls are firm, move them to an airtight container. Layer them between sheets of parchment paper if you are stacking them, to prevent sticking.
A quick note from personal experience: wet your hands slightly before rolling if the mixture is sticking to your palms. A little bit of water on your hands makes the rolling process much smoother. Also, do not skip the chilling step if you are making these for a gathering—they hold their shape much better when cold.
Cooking Tips & Techniques
After making these peanut butter protein balls more times than I can count, I have picked up a few tricks that make a real difference. Here is what I have learned:
The peanut butter matters more than you think. Natural peanut butter that separates (the kind you have to stir) gives the best texture. The processed stuff with added oils and sugar can make the balls greasy and too sweet. I once used a cheap brand because it was on sale, and the balls never firmed up properly—they stayed sticky and soft no matter how long I chilled them. Stick with natural peanut butter, and you will get consistent results every time.
Do not overmix the oats. When you stir the oats in, you want them to stay intact, not break down into oat flour. Overmixing can make the texture pasty and dense. Stir just until everything is combined, then stop. You want to see little oat flakes in the finished balls—that is what gives them that nice chewy texture.
Chill the dough before rolling if it is too sticky. Sometimes, especially on a warm day or if your peanut butter was very runny, the mixture can be too sticky to roll easily. Pop the whole bowl in the fridge for 15 to 20 minutes before rolling. The cold will firm up the peanut butter and make the dough much easier to handle. I learned this the hard way after a particularly frustrating session where the dough stuck to everything including my countertop.
Use a cookie scoop for uniform balls. If you want all your protein balls to be the same size—which helps with consistent portioning and makes them look prettier on a plate—use a small cookie scoop or a measuring spoon. I use a one-tablespoon scoop, and it makes the process much faster. No more guessing if you are making them too big or too small.
Toast the oats for extra flavor. This is optional, but if you have an extra five minutes, spread the oats on a baking sheet and toast them in a 350°F oven for about 5 minutes until they are lightly golden. Let them cool completely before using. Toasted oats add a nutty, warm flavor that takes these balls to another level. I do this when I am making a batch for guests or for a special treat.
Variations & Adaptations
One of the best things about this recipe is how easy it is to change up. Here are some variations I have tried and loved:
Chocolate Peanut Butter Protein Balls: Add 2 tablespoons of unsweetened cocoa powder to the dry ingredients. You may need an extra tablespoon of honey to balance the bitterness of the cocoa. The result tastes like a no-bake brownie—my personal favorite variation.
Vegan and Gluten-Free Version: Use maple syrup instead of honey, and make sure your oats are certified gluten-free (oats are naturally gluten-free, but they can be cross-contaminated during processing). This version works perfectly and tastes just as good as the original.
Nut-Free Option: Substitute the peanut butter with sunflower seed butter or tahini. Sunflower seed butter works especially well, though the color will turn a bit greenish due to a natural reaction with the baking soda (if you add any). The taste is still great, and it is safe for school lunchboxes.
Protein Powder Addition: Add one scoop of vanilla or chocolate protein powder. You will need to increase the liquid slightly—add an extra tablespoon of honey or a splash of milk—to keep the dough from getting too dry. I have done this with both whey and plant-based protein powders, and both work fine.
Spiced Chai Version: Add 1 teaspoon of cinnamon, 1/2 teaspoon of ginger, and 1/4 teaspoon of cardamom to the dry ingredients. This gives the balls a warm, chai-like flavor that pairs beautifully with the peanut butter. I made this version during the holidays and it was a huge hit.
Feel free to experiment with different add-ins like dried cranberries, chopped nuts, or even a drizzle of melted dark chocolate on top. The base recipe is forgiving, so you can really make it your own.
Serving & Storage Suggestions
These peanut butter protein balls are best served chilled, straight from the fridge. They have a firm, chewy texture that is satisfying without being hard. If you let them sit at room temperature for too long, they will soften up, especially on a warm day. I usually take them out of the fridge about five minutes before eating, just to take the chill off.
They pair wonderfully with a glass of cold milk, a cup of coffee, or a smoothie. For a quick breakfast on the go, grab two or three balls and a piece of fruit. They also work great as a post-workout snack—the combination of protein from the peanut butter and carbs from the oats helps with recovery.
Storage: Keep the balls in an airtight container in the refrigerator. They will stay fresh for up to two weeks. I have never had a batch last that long because we eat them too quickly, but they do hold up well. If you want to keep them longer, freeze them. Place the balls in a single layer on a baking sheet and freeze for an hour, then transfer them to a freezer-safe bag or container. They will keep in the freezer for up to three months. To thaw, just move them to the fridge overnight, or let them sit at room temperature for about 15 minutes.
One thing I have noticed: the flavors actually develop and meld together after a day or two in the fridge. The first day, they taste good. The second day, they taste amazing. So if you can wait, make them a day ahead of when you need them.
Nutritional Information & Benefits
Here is the approximate nutritional breakdown for one protein ball (based on a batch of 20 balls):
| Nutrient | Amount per ball |
|---|---|
| Calories | 120 |
| Protein | 5g |
| Carbohydrates | 12g |
| Fiber | 3g |
| Sugar | 6g |
| Fat | 7g |
| Saturated Fat | 1.5g |
| Sodium | 60mg |
These numbers will vary depending on the exact ingredients you use, but overall, these are a balanced snack with a good mix of protein, healthy fats, and fiber. The oats provide slow-release energy, the flaxseed adds omega-3 fatty acids, and the peanut butter gives you protein to keep you full. Plus, the honey or maple syrup offers natural sweetness without refined sugar.
If you are watching your sugar intake, you can reduce the honey to 1/4 cup and add an extra tablespoon of peanut butter to compensate. The balls will be less sweet but still delicious.
These are naturally gluten-free if you use certified gluten-free oats, and they can easily be made vegan with maple syrup. They are also dairy-free as written. The only common allergen is peanuts, so be mindful if you are serving them to someone with a peanut allergy.
Conclusion
These easy no-bake peanut butter protein balls are proof that the best snacks do not have to be complicated. They take five minutes to make, use ingredients you probably already have, and taste so much better than anything you can buy at the store. I have been making them for years now, and they have never let me down—whether I needed a quick breakfast, a post-workout pick-me-up, or a healthy treat to satisfy my sweet tooth.
What I love most about this recipe is how forgiving it is. You can swap ingredients, add your favorite mix-ins, and adjust the sweetness to your liking, and it still works. It is the kind of recipe that becomes a habit, the one you make without even thinking because it is just that easy and that good.
I would love to hear how yours turn out. Did you add something unexpected? Did you make a variation that became your new favorite? Drop a comment below and let me know—I am always looking for new ideas to try. And if you share a photo on Pinterest, tag me so I can see your creations. Happy snacking, friends!
Frequently Asked Questions
Can I use crunchy peanut butter instead of creamy?
Absolutely. Crunchy peanut butter adds a nice texture with little bits of peanuts throughout. Just be aware that the balls may be slightly less cohesive since the peanut pieces create small gaps in the dough. If you find the mixture too crumbly, add an extra tablespoon of honey or a splash of milk.
How long do these protein balls last at room temperature?
They are best kept in the refrigerator, but they can sit at room temperature for up to 4 to 6 hours without any issues. If you are taking them to a picnic or on a road trip, pack them in a cooler or insulated bag. On a hot day, they can get soft and sticky, so refrigeration is ideal.
Can I make these without oats for a low-carb option?
Yes. Substitute the oats with finely shredded unsweetened coconut or almond flour. You will need about the same amount—1 cup. The texture will be different, more dense and less chewy, but they will still taste great. You may need to adjust the liquid slightly since coconut and almond flour absorb moisture differently.
My mixture is too dry and won’t stick together. What did I do wrong?
This usually happens if your peanut butter is too thick or if you added too many dry ingredients. Try adding a tablespoon of honey or a splash of milk (dairy or plant-based) and mixing again. You can also microwave the mixture for 10 to 15 seconds to soften the peanut butter, which helps everything bind together.
Can I freeze these protein balls?
Yes, they freeze beautifully. Place them in a single layer on a baking sheet and freeze for about an hour, then transfer them to a freezer-safe bag or container. They will keep for up to three months. To thaw, move them to the refrigerator overnight or let them sit at room temperature for 15 to 20 minutes. They are actually quite good eaten frozen, like little protein ice cream bites.
Pin This Recipe!
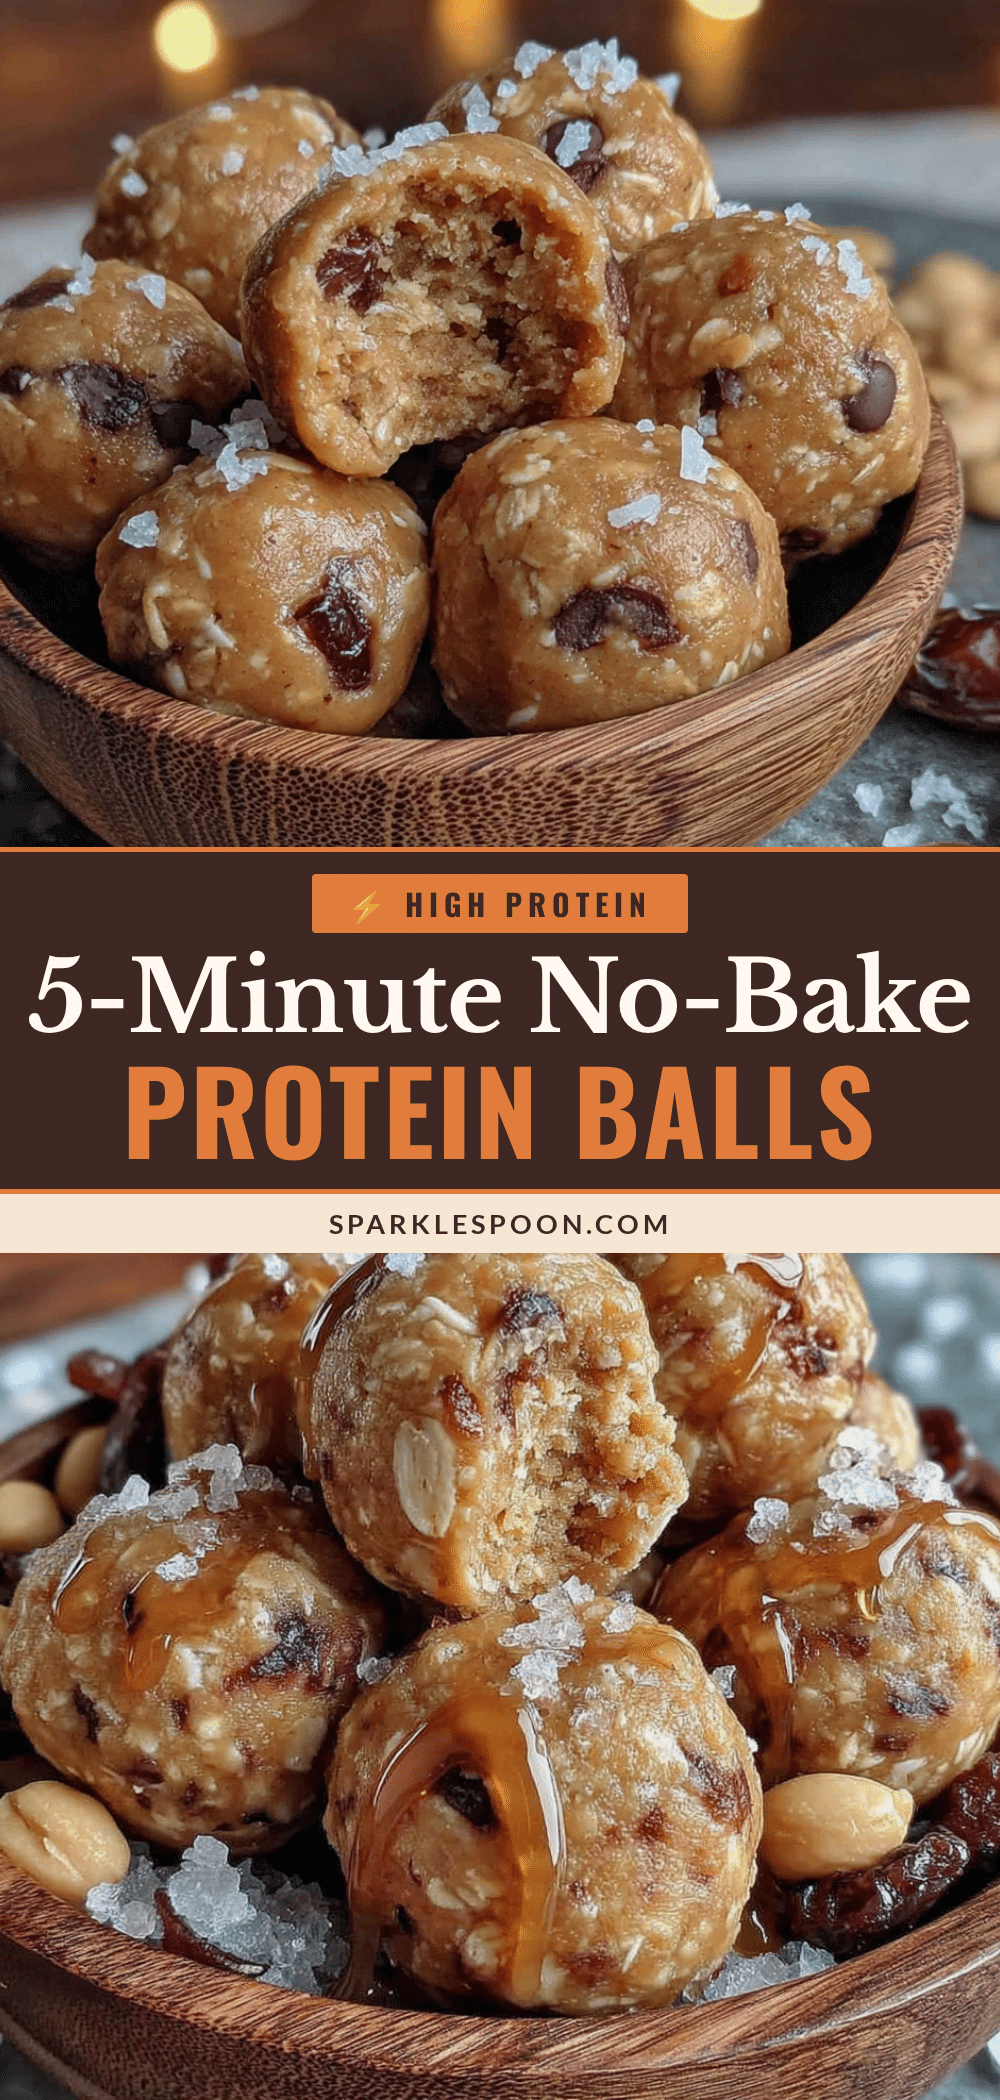
Easy No-Bake Peanut Butter Protein Balls: Best 5-Minute Snack

These easy no-bake peanut butter protein balls come together in under five minutes with simple pantry ingredients. They are perfect for meal prep, post-workout fuel, or a healthy treat that tastes like dessert.
- Prep Time: 5 minutes
- Cook Time: 0 minutes
- Total Time: 35 minutes (includes 30 minutes chilling)
- Yield: 18-20 balls 1x
- Category: Snack
- Cuisine: American
Ingredients
- 1 cup creamy peanut butter (natural, no added sugar preferred)
- 1 cup rolled oats (old-fashioned oats)
- 1/3 cup honey or maple syrup
- 1/2 cup ground flaxseed or chia seeds
- 1/3 cup mini chocolate chips (optional)
- 1/4 cup shredded coconut (unsweetened)
- 1 teaspoon vanilla extract
- Pinch of sea salt
Instructions
- Combine the wet ingredients first. In a large mixing bowl, add 1 cup creamy peanut butter, 1/3 cup honey (or maple syrup), and 1 teaspoon vanilla extract. Stir until fully combined and smooth, about 30 seconds.
- Add the dry ingredients. Pour in 1 cup rolled oats, 1/2 cup ground flaxseed, and a pinch of sea salt. Stir together with a spatula or spoon until everything is combined, about 1 minute.
- Fold in the extras. Add 1/3 cup mini chocolate chips and 1/4 cup shredded coconut. Gently fold until evenly distributed. Do not overmix.
- Check the consistency. The mixture should hold together when pinched. If too dry, add 1 tablespoon more honey or a splash of milk. If too sticky, add 1 tablespoon more oats or flaxseed.
- Roll into balls. Scoop about 1 tablespoon of mixture and roll between palms to form smooth balls. Place on a baking sheet or plate. You should get 18 to 20 balls.
- Chill before serving. Refrigerate for at least 30 minutes to firm up.
- Transfer to storage. Once firm, move to an airtight container. Layer with parchment paper if stacking.
Notes
Wet your hands slightly before rolling if the mixture is sticky. Chill the dough for 15-20 minutes if too sticky to handle. For extra flavor, toast the oats in a 350°F oven for 5 minutes before using. The flavors develop and meld together after a day or two in the fridge.
Nutrition
- Serving Size: 1 ball
- Calories: 120
- Sugar: 6
- Sodium: 60
- Fat: 7
- Saturated Fat: 1.5
- Carbohydrates: 12
- Fiber: 3
- Protein: 5
Keywords: no-bake peanut butter protein balls, easy protein balls, 5-minute snack, healthy snack, meal prep snack, peanut butter oats balls



