Love this? Save it for later!
Share the inspiration with your friends
You know that feeling when you walk into someone’s house and something smells so good it practically stops you in your tracks? That’s exactly how this recipe came into my life. My neighbor, a quiet woman named Clara who keeps to herself mostly, wasn’t trying to impress anyone. I’d stopped by to borrow a cup of sugar—a cliché, I know, but our pantry was bare—and this buttery, savory, garlicky smell hit me before I even knocked on the door. It was a Tuesday evening, not a holiday or a special occasion. She just shrugged when I asked what was cooking, like it was nothing. “Oh, just chicken and rice,” she said, waving her hand. But it wasn’t just chicken and rice. It was a cozy one-pan garlic butter chicken and rice that smelled like a hug after a long day. I stood there in her tiny kitchen, watching her stir a pan with this effortless confidence, and I knew I had to figure out how she did it. Honestly, I’ve been obsessed ever since. Let me tell you, this recipe is the kind of meal that makes you close your eyes on the first bite. It’s comfort food at its finest—simple, warm, and deeply satisfying. Maybe you’ve been there, standing in a friend’s kitchen, watching someone make magic with a few basic ingredients. That’s the energy we’re going for here. So, let’s get cooking.
Why You’ll Love This Recipe
This isn’t just another chicken and rice dinner. After testing this recipe a dozen times in my own kitchen—burning a batch or two, I’ll admit—I can confidently say this version is the one. It’s family-approved, chef-tested (well, by me, a home cook who’s made every mistake in the book), and designed to be foolproof. Here’s why it works:
- Quick & Easy: From start to finish, this one-pan wonder comes together in about 40 minutes. Perfect for those busy weeknights when you need dinner on the table fast.
- Simple Ingredients: You probably have most of these in your pantry right now. No fancy grocery trips required.
- Perfect for Cozy Nights: Whether it’s a rainy evening, a cold winter night, or just a rough day that needs fixing, this dish is pure comfort.
- Crowd-Pleaser: I’ve served this to picky kids, hungry teenagers, and adults who love bold flavors. It gets rave reviews every single time.
- Unbelievably Delicious: The garlic butter sauce seeps into every grain of rice, and the chicken stays juicy and tender. It’s the kind of meal that feels like a warm blanket for your soul.
What makes this recipe different from all the others? It’s the technique. Instead of just dumping everything in a pan, we sear the chicken first to lock in flavor, then cook the rice in that same garlic butter goodness. The result is a dish that tastes like you spent hours in the kitchen, but really, it’s just one pan and a little patience. This isn’t just good—it’s the kind of meal that makes you look forward to leftovers.
What Ingredients You Will Need
This recipe uses simple, wholesome ingredients to deliver bold flavor and satisfying texture without the fuss. Most of these are pantry staples, so you can whip this up any night of the week. Here’s what you’ll need:
- Chicken Thighs (1.5 lbs or 680g, boneless, skinless): I prefer thighs for this recipe because they stay juicy and don’t dry out. You can use chicken breasts, but keep an eye on the cooking time. (Pro tip: pat them dry with paper towels for a better sear.)
- Butter (3 tbsp, unsalted): This is the star of the show. Use a good quality butter—I like Kerrygold for its rich flavor. If you only have salted butter, just reduce the added salt later.
- Garlic (6 cloves, minced): Fresh garlic is non-negotiable here. The pre-minced stuff in a jar just won’t give you that punchy, aromatic flavor. (Trust me on this one.)
- Onion (1 medium, diced): Yellow or white onion works great. It adds a sweet, savory base to the dish.
- Long-Grain White Rice (1 cup, uncooked): Basmati or jasmine rice are my go-to choices. They cook up fluffy and separate, not sticky. Avoid short-grain rice here—it can get mushy.
- Chicken Broth (2 cups, low-sodium): Homemade is always best, but a good store-bought brand like Swanson works fine. Low-sodium lets you control the salt level.
- Dried Thyme (1 tsp): This herb adds a subtle earthiness that pairs beautifully with garlic and butter. You can use fresh thyme if you have it—just double the amount.
- Paprika (1 tsp): Smoked paprika adds a lovely depth, but sweet paprika works too. It gives the chicken a nice color.
- Salt and Black Pepper (to taste): Don’t be shy with the seasoning. I usually add about 1 tsp of salt and 1/2 tsp of pepper.
- Fresh Parsley (for garnish, optional): A sprinkle of fresh parsley adds a pop of color and a fresh finish. It’s not essential, but it makes the dish look pretty.
Ingredient Selection Tips: When buying chicken, look for thighs that are uniform in size so they cook evenly. For the rice, I recommend rinsing it under cold water until the water runs clear—this removes excess starch and prevents clumping. If you’re in a pinch, you can swap the chicken broth for vegetable broth, but the flavor will be a bit milder.
Substitution Guidance: Need a dairy-free option? Use olive oil or vegan butter instead of regular butter. For a gluten-free version, this recipe is naturally gluten-free as long as your broth is certified gluten-free. If you want to add veggies, throw in a cup of frozen peas or diced carrots during the last 10 minutes of cooking.
Equipment Needed
You don’t need a lot of fancy tools for this recipe, which is part of its charm. Here’s what you’ll need:
- Large Skillet or Dutch Oven (12-inch, with a lid): A heavy-bottomed pan is key for even heat distribution. I use my trusty cast-iron skillet, but a non-stick pan works too. If you don’t have a lid, use a sheet of aluminum foil tightly sealed.
- Wooden Spoon or Spatula: For stirring and scraping up those delicious browned bits from the bottom of the pan. A silicone spatula works too.
- Sharp Knife and Cutting Board: For dicing the onion and mincing the garlic. A dull knife is a recipe for frustration (and maybe a cut finger).
- Measuring Cups and Spoons: Accuracy matters, especially for the rice-to-liquid ratio. I’ve eyeballed it before and ended up with mushy rice—learn from my mistakes!
- Tongs: Perfect for flipping the chicken without piercing it and losing those precious juices.
Budget-Friendly Options: If you don’t have a Dutch oven, any deep skillet with a lid will do. Thrift stores often have great cast-iron pans for cheap—just season them well. And if you’re short on measuring cups, a standard coffee mug holds about 8 ounces, which is close to 1 cup.
Preparation Method
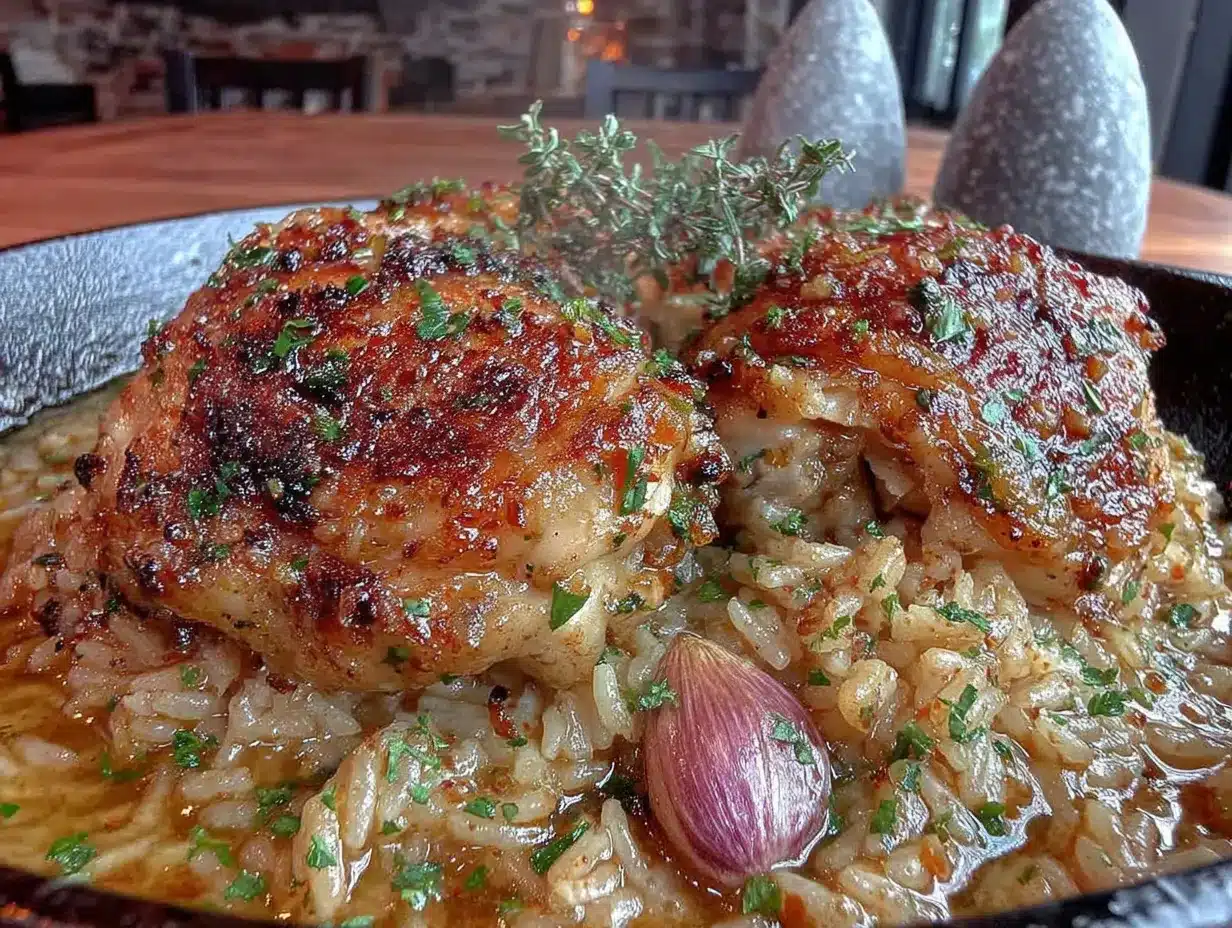
Let’s get cooking! Follow these steps, and you’ll have a cozy dinner ready in no time. I’ve included some personal tips and sensory cues so you know exactly what to look for.
- Prep the Chicken (5 minutes): Pat the chicken thighs dry with paper towels. This is crucial for a good sear—wet chicken steams instead of browning. Season both sides generously with salt, pepper, and paprika. Don’t be shy; you want that flavor to penetrate.
- Sear the Chicken (8-10 minutes): Heat 1 tbsp of butter in your skillet over medium-high heat. Once it’s sizzling (you’ll hear that satisfying hiss), add the chicken thighs skin-side down. Cook for 4-5 minutes per side, until golden brown and crispy. Don’t crowd the pan—work in batches if needed. The chicken won’t be fully cooked yet, and that’s okay. Transfer to a plate and set aside.
- Sauté the Aromatics (3-4 minutes): Reduce the heat to medium. Add the remaining 2 tbsp of butter to the same pan. Once melted, toss in the diced onion and cook for 2-3 minutes, until soft and translucent. Your kitchen should smell amazing right now. Add the minced garlic and cook for 30 seconds more, just until fragrant. Be careful not to burn the garlic—it turns bitter fast.
- Toast the Rice (2 minutes): Pour in the uncooked rice and stir it around with the onion and garlic. Let it toast for about 2 minutes, until it starts to smell nutty. This step adds so much depth to the final dish. You’ll see the rice turn slightly opaque.
- Add the Liquid and Seasonings (1 minute): Pour in the chicken broth and sprinkle in the dried thyme. Stir everything together, scraping up any browned bits from the bottom of the pan—that’s pure flavor right there. Bring the mixture to a gentle boil.
- Return the Chicken (1 minute): Nestle the seared chicken thighs back into the pan, pushing them down into the rice a bit. Any juices from the plate should go in too—don’t waste that goodness!
- Simmer and Cook (20-25 minutes): Cover the pan with a tight-fitting lid and reduce the heat to low. Let it simmer gently for 20-25 minutes. Don’t peek! Lifting the lid lets out steam and messes with the cooking time. The rice should be tender and have absorbed all the liquid. If it’s still a bit wet, cook for another 5 minutes with the lid on.
- Rest and Fluff (5 minutes): Turn off the heat and let the pan sit, covered, for 5 minutes. This allows the rice to finish steaming and the flavors to meld. Remove the lid, fluff the rice with a fork, and garnish with fresh parsley if you like. Serve hot and enjoy!
Troubleshooting Tip: If your rice is still crunchy after 25 minutes, add a splash more broth (about 1/4 cup), cover, and cook for another 5 minutes. This happens sometimes with older rice or if the heat was too low.
Cooking Tips & Techniques
I’ve made this recipe more times than I can count, and I’ve definitely learned a few things the hard way. Here are my best tips for success:
- Don’t Skip the Sear: I know it’s tempting to just throw everything in the pan and save time, but searing the chicken first builds a flavor foundation that you just can’t get otherwise. Those browned bits? That’s where the magic lives.
- Use Low Heat for Simmering: High heat will burn the rice before it’s cooked through. Keep it on low and let it do its thing. Patience is key here.
- Rinse Your Rice: This is a step I used to skip, and my rice always turned out gummy. Rinsing removes excess starch, giving you fluffy, separate grains. Run it under cold water in a fine-mesh strainer until the water runs clear.
- Check Your Lid Seal: If your lid doesn’t fit tightly, steam will escape and your rice might not cook properly. Use a piece of foil under the lid to create a better seal if needed.
- Multitasking Tip: While the chicken is searing, chop your onion and mince your garlic. It saves time and keeps the workflow smooth. I learned this after burning my garlic once—talk about a kitchen fail!
Common Mistakes to Avoid: Don’t stir the rice after you add the broth—it can make it sticky. Also, resist the urge to lift the lid during cooking. I know it’s hard, but trust the process. And finally, don’t overcrowd the pan when searing the chicken. Work in batches if you have to; it’s worth it for that golden crust.
Variations & Adaptations
One of the best things about this recipe is how easy it is to customize. Here are a few variations I’ve tried and loved:
- Veggie-Packed Version: Add a cup of frozen peas and diced carrots along with the broth. They cook right in the rice and add a pop of color and nutrients. I do this when I’m trying to sneak more veggies into my diet.
- Spicy Twist: Stir in 1/2 tsp of red pepper flakes or a diced jalapeño with the garlic. It adds a gentle heat that pairs beautifully with the garlic butter. My husband loves this version.
- Herb Lover’s Edition: Swap the dried thyme for a mix of rosemary and oregano. Fresh herbs work too—just double the amount and add them in the last 5 minutes of cooking.
- Dairy-Free Option: Use olive oil or a high-quality vegan butter instead of regular butter. The flavor will be slightly different, but still delicious. I’ve used this version for friends with dairy sensitivities, and it was a hit.
- One-Pan Lemon Herb Version: Add the zest of one lemon and a tablespoon of lemon juice along with the broth. It brightens up the dish and makes it feel lighter. Perfect for spring evenings.
Dietary Adaptations: For a gluten-free meal, just ensure your broth is certified gluten-free. This recipe is naturally low-carb if you swap the rice for cauliflower rice, but you’ll need to adjust the cooking time to about 10-15 minutes. And if you’re watching your sodium, use low-sodium broth and go easy on the added salt.
Serving & Storage Suggestions
This dish is best served warm, straight from the pan. Here’s how to make the most of it:
- Serving Temperature: Serve it hot, with a sprinkle of fresh parsley on top for a fresh finish. I like to add a wedge of lemon on the side for squeezing—it cuts through the richness beautifully.
- Complementary Sides: A simple green salad with a vinaigrette is a great contrast to the buttery rice. Steamed green beans or roasted asparagus also work well. For a heartier meal, serve with crusty bread to soak up any extra sauce.
- Beverage Pairing: A crisp white wine like Sauvignon Blanc or a light beer pairs nicely. For non-alcoholic options, try sparkling water with a slice of lemon or a warm cup of herbal tea.
- Storage Instructions: Store leftovers in an airtight container in the refrigerator for up to 4 days. The flavors actually deepen overnight, making it even better the next day. To reheat, add a splash of broth or water to restore moisture and warm it in a skillet over medium heat or in the microwave.
- Freezing Tips: This dish freezes well for up to 3 months. Let it cool completely, then transfer to a freezer-safe container. Thaw overnight in the fridge and reheat as above. The rice might be slightly softer after freezing, but the flavor is still spot on.
Flavor Development Note: I’ve found that this dish tastes even better the next day. The garlic and herbs meld together, and the rice absorbs all the buttery goodness. It’s the perfect make-ahead meal for busy weeks.
Nutritional Information & Benefits
Here’s a rough estimate of the nutritional content per serving (based on 4 servings):
- Calories: ~450-500
- Protein: 30g
- Fat: 20g
- Carbohydrates: 40g
- Fiber: 1g
- Sugar: 2g
- Sodium: 600mg (varies based on broth and added salt)
Health Benefits: Chicken thighs are a great source of protein and B vitamins, which support energy metabolism. Garlic is known for its immune-boosting properties, and onions provide antioxidants. While this dish is indulgent, it’s balanced with lean protein and whole grains (if you use brown rice). For a lighter version, swap chicken thighs for breasts and use brown rice—just increase the cooking time by 10-15 minutes.
Dietary Considerations: This recipe is naturally gluten-free and can be made dairy-free with a simple swap. It’s not low-carb, but you can adapt it with cauliflower rice. As always, check your ingredients for potential allergens if cooking for others.
From a wellness perspective, I love that this meal feels like a treat but is made with real, whole foods. It’s comfort food you can feel good about eating.
Conclusion
This cozy one-pan garlic butter chicken and rice is more than just a recipe—it’s a reminder that the best meals often come from the simplest moments. Whether you’re making it for a quiet dinner at home or to share with loved ones, it’s guaranteed to bring warmth and comfort to your table. I love how forgiving this dish is; even when I’ve messed up the timing or added too much garlic (is that even possible?), it still turns out delicious. So go ahead, make it your own. Add extra veggies, spice it up, or keep it classic—whatever feels right. And when you do, I’d love to hear about it. Leave a comment below, share your twists, or tag me in your photos. Happy cooking, friend!
Frequently Asked Questions
Can I use chicken breasts instead of thighs?
Yes, you can! Chicken breasts work, but they can dry out more easily. Reduce the cooking time by about 5-7 minutes and check for doneness with a meat thermometer (165°F internal temperature). I recommend pounding them to an even thickness for consistent cooking.
Why is my rice mushy?
Mushy rice usually happens from too much liquid or stirring after adding the broth. Make sure you’re using the right ratio (1 cup rice to 2 cups broth) and resist the urge to stir once it’s simmering. Also, rinse your rice thoroughly to remove excess starch.
Can I make this in a slow cooker or Instant Pot?
Absolutely! For the Instant Pot, use the sauté function to sear the chicken and cook the aromatics, then add the rice and broth. Pressure cook on high for 6 minutes, then natural release for 10 minutes. For a slow cooker, sear the chicken first, then add everything and cook on low for 4-5 hours. The rice might be softer, but it’s still delicious.
How do I prevent the rice from burning on the bottom?
Burning happens when the heat is too high or the pan isn’t heavy-bottomed. Keep the heat on low during simmering, and make sure your pan distributes heat evenly. If you’re using a thin pan, try a heat diffuser underneath.
Can I add vegetables to this dish?
Definitely! Frozen peas, diced carrots, or bell peppers work great. Add them along with the broth so they cook with the rice. For heartier veggies like broccoli, add them in the last 10 minutes to avoid overcooking.
Pin This Recipe!
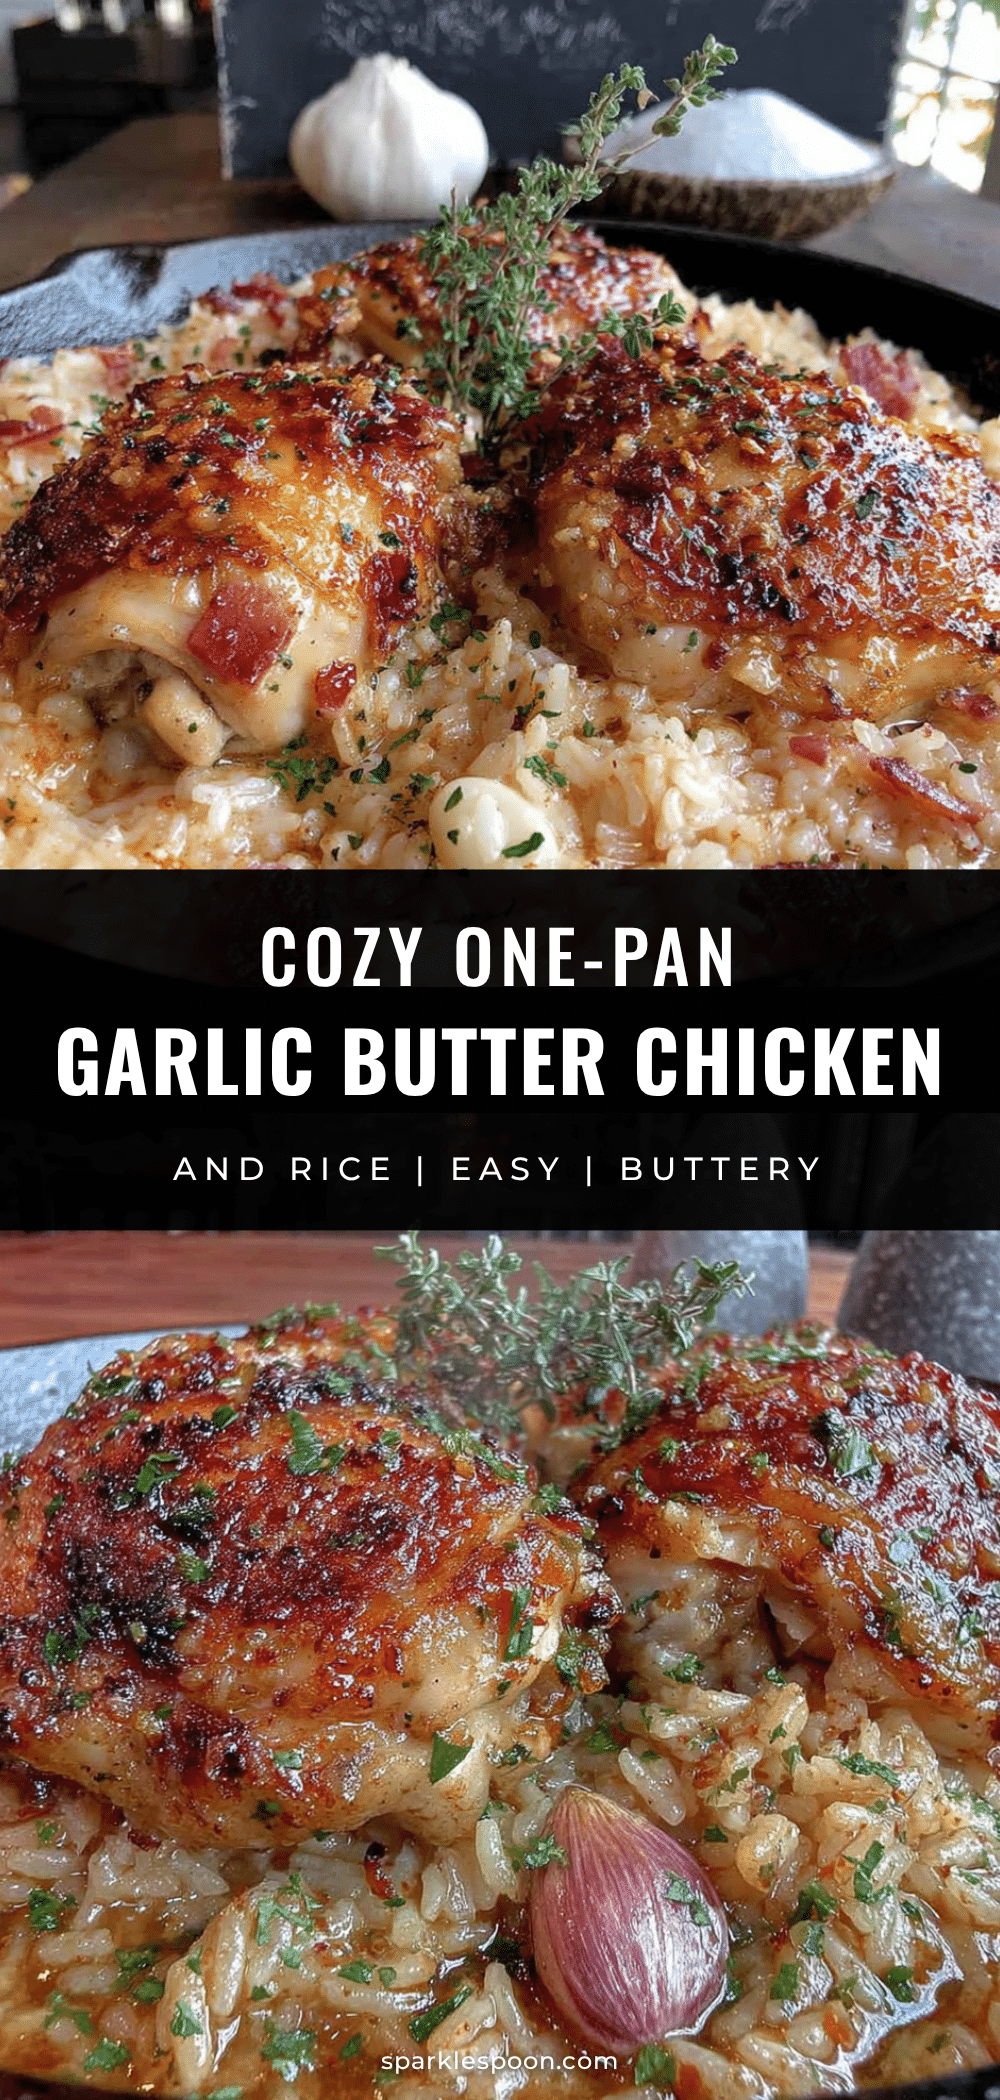
Cozy One-Pan Garlic Butter Chicken and Rice – Easy Weeknight Dinner

A comforting one-pan meal featuring juicy chicken thighs and fluffy rice cooked in a rich garlic butter sauce. Perfect for busy weeknights, this easy recipe delivers big flavor with minimal cleanup.
- Prep Time: 10 minutes
- Cook Time: 30 minutes
- Total Time: 40 minutes
- Yield: 4 servings 1x
- Category: Main Course
- Cuisine: American
Ingredients
- 1.5 lbs (680g) boneless, skinless chicken thighs
- 3 tbsp unsalted butter
- 6 cloves garlic, minced
- 1 medium onion, diced
- 1 cup long-grain white rice (basmati or jasmine), rinsed
- 2 cups low-sodium chicken broth
- 1 tsp dried thyme
- 1 tsp paprika
- Salt and black pepper to taste
- Fresh parsley for garnish (optional)
Instructions
- Pat the chicken thighs dry with paper towels. Season both sides generously with salt, pepper, and paprika.
- Heat 1 tbsp butter in a large skillet or Dutch oven over medium-high heat. Sear the chicken for 4-5 minutes per side until golden brown. Transfer to a plate and set aside.
- Reduce heat to medium. Add remaining 2 tbsp butter. Sauté diced onion for 2-3 minutes until soft. Add minced garlic and cook for 30 seconds until fragrant.
- Add the rinsed rice and stir for about 2 minutes until it smells nutty and turns slightly opaque.
- Pour in chicken broth and sprinkle dried thyme. Stir, scraping up any browned bits from the bottom. Bring to a gentle boil.
- Nestle the seared chicken thighs back into the pan, pushing them into the rice. Pour in any juices from the plate.
- Cover with a tight-fitting lid, reduce heat to low, and simmer for 20-25 minutes. Do not lift the lid.
- Turn off heat and let rest, covered, for 5 minutes. Fluff rice with a fork, garnish with parsley, and serve hot.
Notes
For best results, rinse rice until water runs clear to prevent gumminess. Do not lift the lid during simmering. If rice is still crunchy after 25 minutes, add 1/4 cup more broth and cook covered for 5 more minutes. Leftovers keep in the fridge for up to 4 days and freeze for up to 3 months.
Nutrition
- Serving Size: 1 serving (about 1.5
- Calories: 475
- Sugar: 2
- Sodium: 600
- Fat: 20
- Saturated Fat: 8
- Carbohydrates: 40
- Fiber: 1
- Protein: 30
Keywords: one-pan chicken and rice, garlic butter chicken, easy weeknight dinner, comfort food, chicken thighs, one-pot meal



