Love this? Save it for later!
Share the inspiration with your friends
My neighbor asked me last Tuesday why I couldn’t just use regular milk and lemon juice instead of buttermilk for pancakes. I laughed—politely, I thought—and launched into a whole explanation about cultured buttermilk’s thickness, its tang, the way it activates baking soda differently. She nodded along, then shrugged and said, “But wouldn’t the acid in the lemon juice do the same thing?” I opened my mouth to explain why that wouldn’t work. Then I stopped. Honestly, I had no idea if she was right. I’d just always done it the “proper” way, you know? So I did what any self-respecting food blogger would do: I went inside, grabbed two bowls, and tested it right there on her counter. Turns out, she was completely right. The pancakes made with milk and lemon juice were just as fluffy—maybe even more tender. I stood there holding a spatula, feeling humbled and delighted at the same time. That’s the moment I realized I’d been overcomplicating things for years. These light and fluffy buttermilk pancakes from scratch don’t need fancy tricks or hard-to-find ingredients. They just need a little faith in simple chemistry and the willingness to be wrong once in a while. And honestly? They’ve become my go-to recipe ever since. Maybe you’ve been there too—clinging to a method just because that’s how you learned it, only to discover a simpler path tastes even better.
Why You’ll Love This Recipe
I’ve tested this recipe at least a dozen times, tweaking ratios and techniques until I got it exactly right. Here’s what makes these pancakes stand out from every other version you’ve tried:
- Quick & Easy: From bowl to plate in under 20 minutes. Perfect for sleepy weekday mornings or lazy Sunday brunches when you just can’t wait.
- Simple Ingredients: You probably have everything in your pantry right now. No special trips to the store for obscure flours or imported extracts.
- Perfect for Weekend Mornings: These pancakes turn an ordinary Saturday into something special without demanding hours of your time.
- Crowd-Pleaser: Kids devour them. Adults ask for seconds. Even my picky neighbor who started this whole thing requests them now.
- Unbelievably Delicious: The texture is impossibly light—almost cloud-like—with just enough tang to keep every bite interesting.
What really sets this recipe apart is the technique I stumbled into during my neighbor’s impromptu pancake test. Instead of over-mixing the batter (which I used to do, thinking I needed everything smooth), I now leave it slightly lumpy. That single change transformed the texture from dense and rubbery to pillowy and tender. It’s comfort food reimagined—simpler, faster, but with the same soul-soothing satisfaction that makes pancakes feel like a hug on a plate.
What Ingredients You Will Need
This recipe relies on humble, everyday ingredients to create something genuinely special. Each component plays a specific role in building that light, fluffy texture and balanced flavor.
- All-Purpose Flour – 2 cups (250g). Provides structure without making the pancakes heavy. I recommend King Arthur Flour for consistent results, but any brand works fine.
- Granulated Sugar – 2 tablespoons (25g). Just enough sweetness to balance the tangy buttermilk without making the pancakes dessert-like.
- Baking Powder – 2 teaspoons. The primary leavening agent that creates those beautiful air pockets.
- Baking Soda – 1/2 teaspoon. Works with the acidic buttermilk to boost lift and browning.
- Salt – 1/2 teaspoon. Don’t skip this—it enhances every other flavor and prevents the pancakes from tasting flat.
- Buttermilk – 1 1/2 cups (355ml). The star ingredient. Its acidity tenderizes the gluten and reacts with the baking soda for maximum fluffiness. If you don’t have buttermilk, add 1 1/2 tablespoons of lemon juice or white vinegar to regular milk and let it sit for 5 minutes. It works perfectly—I learned that the hard way.
- Large Egg – 1, room temperature. Adds richness and helps bind the batter. A room-temperature egg incorporates more easily and creates a smoother batter.
- Unsalted Butter – 3 tablespoons (42g), melted and slightly cooled. Use good quality butter here—it makes a noticeable difference in flavor. I prefer Kerrygold for its creaminess.
- Vanilla Extract – 1 teaspoon. Pure vanilla adds warmth and depth. Avoid imitation vanilla if you can; the flavor is noticeably sharper.
For serving, you’ll want butter and maple syrup—real maple syrup, not the artificially flavored stuff. The difference is night and day. Fresh berries, sliced bananas, or a dusting of powdered sugar are lovely additions too.
Equipment Needed
You don’t need fancy equipment to make great pancakes. Here’s what I use:
- Large Mixing Bowl – For combining dry ingredients. Any medium-to-large bowl works.
- Medium Mixing Bowl or Liquid Measuring Cup – For whisking wet ingredients together.
- Whisk – Essential for combining ingredients without over-mixing. A fork works in a pinch, but a whisk gives you more control.
- Non-Stick Skillet or Griddle – A 10-inch skillet works great for small batches. For larger batches, an electric griddle set to 350°F (175°C) is a game-changer. I bought mine for $25 at a discount store years ago, and it’s still going strong.
- Spatula – A thin, flexible metal spatula makes flipping easier than a thick silicone one. Trust me on this—I’ve flipped pancakes onto the floor more times than I’d like to admit.
- Measuring Cups and Spoons – For accuracy. Eyeballing ingredients leads to inconsistent results.
- Ladle or 1/4-Cup Measuring Cup – For portioning batter evenly onto the cooking surface.
If you don’t have a griddle, a cast-iron skillet works beautifully. It holds heat evenly and gives pancakes a gorgeous golden-brown exterior. Just make sure to season it well beforehand.
Preparation Method
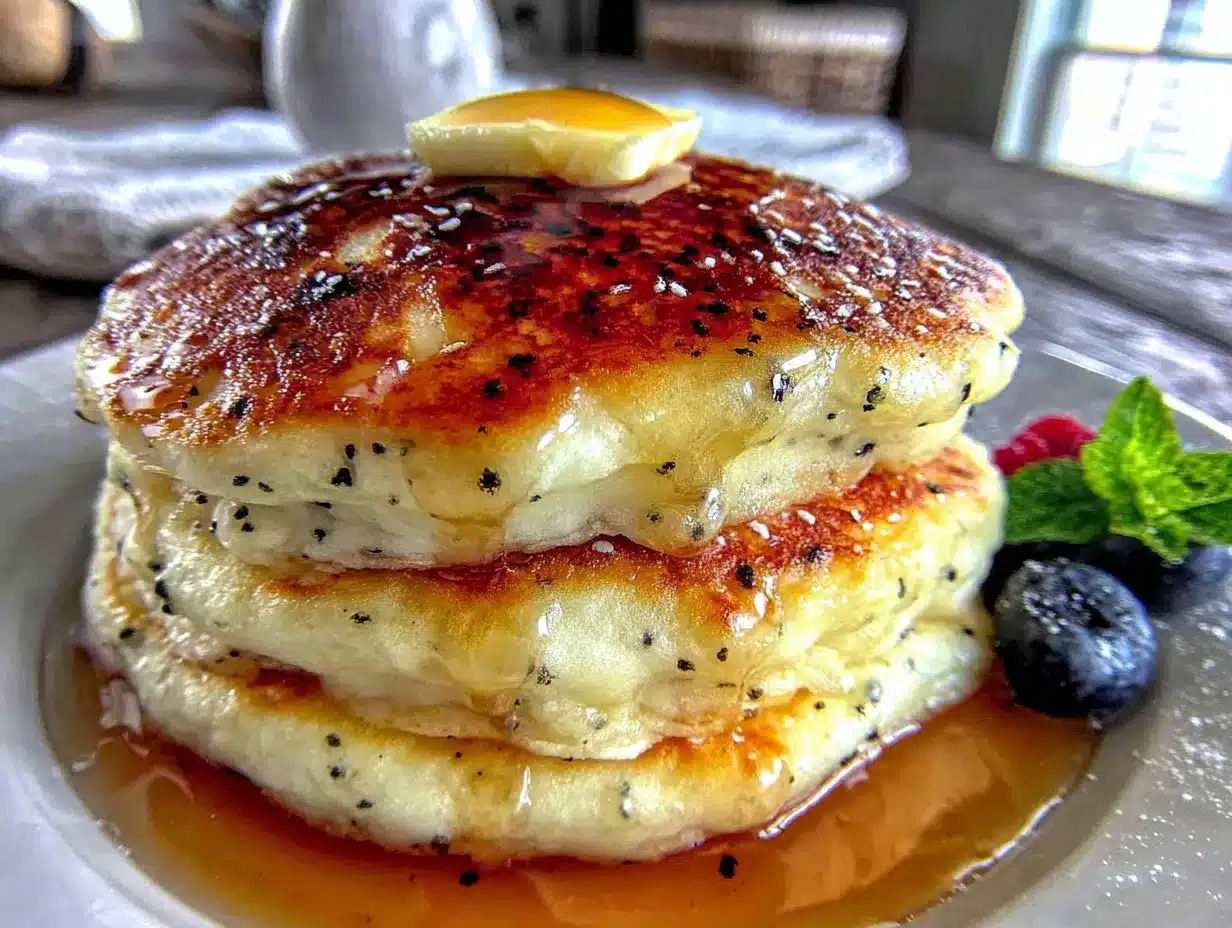
Follow these steps carefully, and you’ll have the fluffiest pancakes of your life. I mean that sincerely—this method has never failed me.
- Combine Dry Ingredients: In a large mixing bowl, whisk together 2 cups (250g) all-purpose flour, 2 tablespoons (25g) sugar, 2 teaspoons baking powder, 1/2 teaspoon baking soda, and 1/2 teaspoon salt. Whisk thoroughly to distribute the leavening agents evenly. This takes about 30 seconds.
- Mix Wet Ingredients: In a separate medium bowl or large liquid measuring cup, whisk together 1 1/2 cups (355ml) buttermilk, 1 large egg, 3 tablespoons (42g) melted butter, and 1 teaspoon vanilla extract. Whisk until the egg is fully incorporated and the mixture looks smooth. The butter might separate slightly—that’s okay.
- Combine Wet and Dry: Pour the wet ingredients into the dry ingredients. Stir gently with a whisk or spatula until just combined. Here’s the crucial part: stop mixing when you still see small lumps. The batter should look shaggy and uneven. Over-mixing develops gluten, which makes pancakes tough and rubbery. I learned this lesson after making a batch that could’ve doubled as hockey pucks.
- Rest the Batter: Let the batter sit for 5 minutes at room temperature. This allows the flour to hydrate fully and the gluten to relax, resulting in more tender pancakes. You’ll notice small bubbles forming on the surface—that’s the baking powder and baking soda doing their job.
- Preheat Your Pan: While the batter rests, place your skillet or griddle over medium heat. Add a small pat of butter or drizzle of oil. Wait until the butter foams but doesn’t brown—about 2 minutes. If you’re using an electric griddle, set it to 350°F (175°C).
- Cook the Pancakes: Pour about 1/4 cup (60ml) of batter onto the hot surface for each pancake. Leave space between them—they’ll spread slightly. Cook until bubbles form on the surface and the edges look set, about 2-3 minutes. The bubbles should pop and leave small holes behind. That’s your cue to flip.
- Flip and Finish: Slide your spatula under the pancake and flip it quickly but gently. Cook for another 1-2 minutes, until the second side is golden brown and the pancake feels springy when you press the center. Transfer to a plate and repeat with remaining batter.
- Keep Warm: If you’re making a large batch, keep cooked pancakes on a baking sheet in a 200°F (95°C) oven while you finish cooking. Don’t stack them directly on a plate—they’ll steam and lose their crisp edges.
A quick note: the first pancake is almost always a test pancake. Don’t stress if it’s not perfect. Use it to gauge your heat and timing, then adjust accordingly. I usually eat that one standing at the stove—it’s my reward for cooking.
Cooking Tips & Techniques
Over the years, I’ve made every pancake mistake imaginable. Here’s what I’ve learned so you don’t have to repeat my errors:
Don’t over-mix the batter. I cannot emphasize this enough. Lumps are your friends. They mean you stopped mixing at exactly the right moment. If your batter is perfectly smooth, you’ve already gone too far. The result will be dense, chewy pancakes instead of light, fluffy ones.
Get your pan temperature right. Too hot, and the outside burns before the inside cooks through. Too cool, and the pancakes spread thin and turn pale and greasy. The perfect temperature is medium heat—the butter should sizzle gently when it hits the pan, not smoke. If your first pancake browns too quickly, lower the heat. If it takes more than 4 minutes to bubble, turn it up.
Use a light hand when flipping. I used to slam the spatula down and flip aggressively, which deflated all those precious air bubbles. Now I slide the spatula under gently, lift slightly, and turn the pancake over in one smooth motion. It takes practice, but the results are worth it.
Let the batter rest. That 5-minute rest isn’t optional—it’s essential. The flour absorbs the liquid, the gluten relaxes, and the leavening agents start working. Skip this step, and your pancakes won’t reach their full fluffy potential.
Don’t press down on the pancakes. I see people doing this all the time, thinking it helps them cook faster. It doesn’t. It squeezes out the air and makes them flat. Leave them alone while they cook.
Wipe the pan between batches. After 2-3 batches, the pan develops residue that can burn and stick. Quickly wipe it clean with a paper towel, add fresh butter, and continue. This keeps every batch as good as the first.
Variations & Adaptations
Once you’ve mastered the basic recipe, feel free to experiment. Here are some variations I’ve tried and loved:
Blueberry Buttermilk Pancakes: Fold 1 cup (150g) fresh or frozen blueberries into the batter just before cooking. If using frozen blueberries, don’t thaw them first—they’ll bleed into the batter and turn it gray. Toss them in a tablespoon of flour first to prevent sinking.
Whole Wheat Version: Substitute 1 cup (125g) of the all-purpose flour with whole wheat flour. The pancakes will be slightly denser but still fluffy, with a nutty flavor that pairs beautifully with honey or sliced bananas. Add an extra tablespoon of buttermilk to compensate for the whole wheat flour’s absorbency.
Gluten-Free Option: Use a 1:1 gluten-free flour blend that contains xanthan gum. I’ve had good results with Bob’s Red Mill Gluten-Free 1-to-1 Baking Flour. The texture won’t be exactly the same, but it’s surprisingly close. Let the batter rest for 10 minutes instead of 5 to allow the gluten-free flour to hydrate fully.
Vegan Adaptation: Replace the egg with a flax egg (1 tablespoon ground flaxseed mixed with 3 tablespoons water, let sit for 5 minutes). Use plant-based milk mixed with 1 tablespoon lemon juice instead of buttermilk, and substitute melted coconut oil for the butter. The pancakes will be slightly less fluffy but still delicious.
Lemon Ricotta Pancakes: For a fancy weekend twist, reduce buttermilk to 1 cup (240ml) and add 1/2 cup (125g) ricotta cheese and the zest of one lemon. These are incredibly tender and almost soufflé-like. Serve with a drizzle of honey and fresh raspberries.
Serving & Storage Suggestions
These pancakes are best served immediately, while they’re still warm and the butter is melting into all those nooks and crannies. Stack them on a plate, add a pat of butter on top, and pour warm maple syrup over the entire stack. Let it pool at the edges—that’s the best part.
For a complete breakfast, serve alongside crispy bacon or breakfast sausage, fresh fruit, and a side of scrambled eggs. The salty-sweet combination is unbeatable. A dollop of whipped cream and a sprinkle of cinnamon takes them from everyday to special-occasion in seconds.
Storage: Leftover pancakes keep well in the refrigerator for up to 3 days. Let them cool completely, then stack them with a piece of parchment paper between each pancake to prevent sticking. Place the stack in an airtight container or zip-top bag.
Freezing: These pancakes freeze beautifully. Arrange cooled pancakes in a single layer on a baking sheet and freeze until solid, about 1 hour. Transfer to a freezer-safe bag or container, separating layers with parchment paper. They’ll keep for up to 2 months. To reheat, pop them straight from the freezer into a toaster or toaster oven—no thawing needed. Or microwave for 30-45 seconds for softer pancakes.
Reheating: For best results, reheat pancakes in a 350°F (175°C) oven for 5-7 minutes, or in a dry skillet over medium heat for about 1 minute per side. The microwave works in a pinch but makes them slightly chewy. The flavors actually develop a bit overnight, so day-old pancakes can taste even better than fresh ones—not that they usually last that long in my house.
Nutritional Information & Benefits
Per pancake (based on 8 pancakes per batch):
| Nutrient | Amount |
|---|---|
| Calories | 195 |
| Total Fat | 7g |
| Saturated Fat | 4g |
| Cholesterol | 40mg |
| Sodium | 310mg |
| Total Carbohydrates | 28g |
| Dietary Fiber | 1g |
| Sugars | 6g |
| Protein | 5g |
These pancakes provide a good source of calcium from the buttermilk and butter, along with protein from the egg and flour. Buttermilk is also rich in probiotics, which support gut health. For a healthier twist, you can reduce the sugar to 1 tablespoon or substitute half the all-purpose flour with whole wheat pastry flour for added fiber. The pancakes are also lower in sugar than many bakery versions, making them a more balanced choice for a weekend treat. If you’re watching your sodium, use unsalted butter and reduce the added salt to 1/4 teaspoon.
Conclusion
These light and fluffy buttermilk pancakes from scratch have become my absolute favorite breakfast staple. They’re proof that simple ingredients, treated with a little care and patience, can produce something genuinely extraordinary. The texture is impossibly airy, the flavor is perfectly balanced between tangy and sweet, and they come together in less time than it takes to decide what to order from a diner menu.
I hope you’ll try this recipe and make it your own. Maybe you’ll add chocolate chips for the kids, or blueberries for a pop of freshness, or maybe you’ll keep them plain and simple—just the way they are. That’s the beauty of a good pancake recipe: it welcomes creativity while standing perfectly well on its own.
If you make these, I’d love to hear how they turned out. Drop a comment below and let me know your favorite topping combination, or tag me in your photos—I genuinely get excited seeing pancakes in the wild. And if you’re looking for another breakfast favorite, don’t miss our fluffy banana pancakes recipe for a naturally sweetened twist. Happy flipping, friends—you’ve got this.
Frequently Asked Questions
Can I make the batter the night before?
I don’t recommend it. The leavening agents start reacting as soon as they hit the liquid, so overnight batter will lose its lift. If you need to prep ahead, mix the dry and wet ingredients separately and combine them just before cooking.
Why are my pancakes flat and dense?
This usually happens for one of three reasons: over-mixing the batter (which develops too much gluten), expired baking powder or baking soda (check the dates!), or cooking at too low a temperature. Make sure your leavening agents are fresh and your pan is hot enough.
Can I use buttermilk powder instead of liquid buttermilk?
Yes! Follow the package instructions to reconstitute the powder with water. I’ve done this many times when I didn’t have fresh buttermilk on hand. It works perfectly and has a longer shelf life.
How do I know when to flip the pancakes?
Look for bubbles forming on the surface, especially around the edges. When the bubbles pop and leave small holes, and the edges look set and slightly dry, it’s time to flip. This usually takes about 2-3 minutes on the first side.
Can I double this recipe?
Absolutely. This recipe doubles beautifully. Just make sure you have a large enough bowl and a griddle or two skillets to cook the pancakes efficiently. You might need to adjust the cooking time slightly for larger batches.
Pin This Recipe!
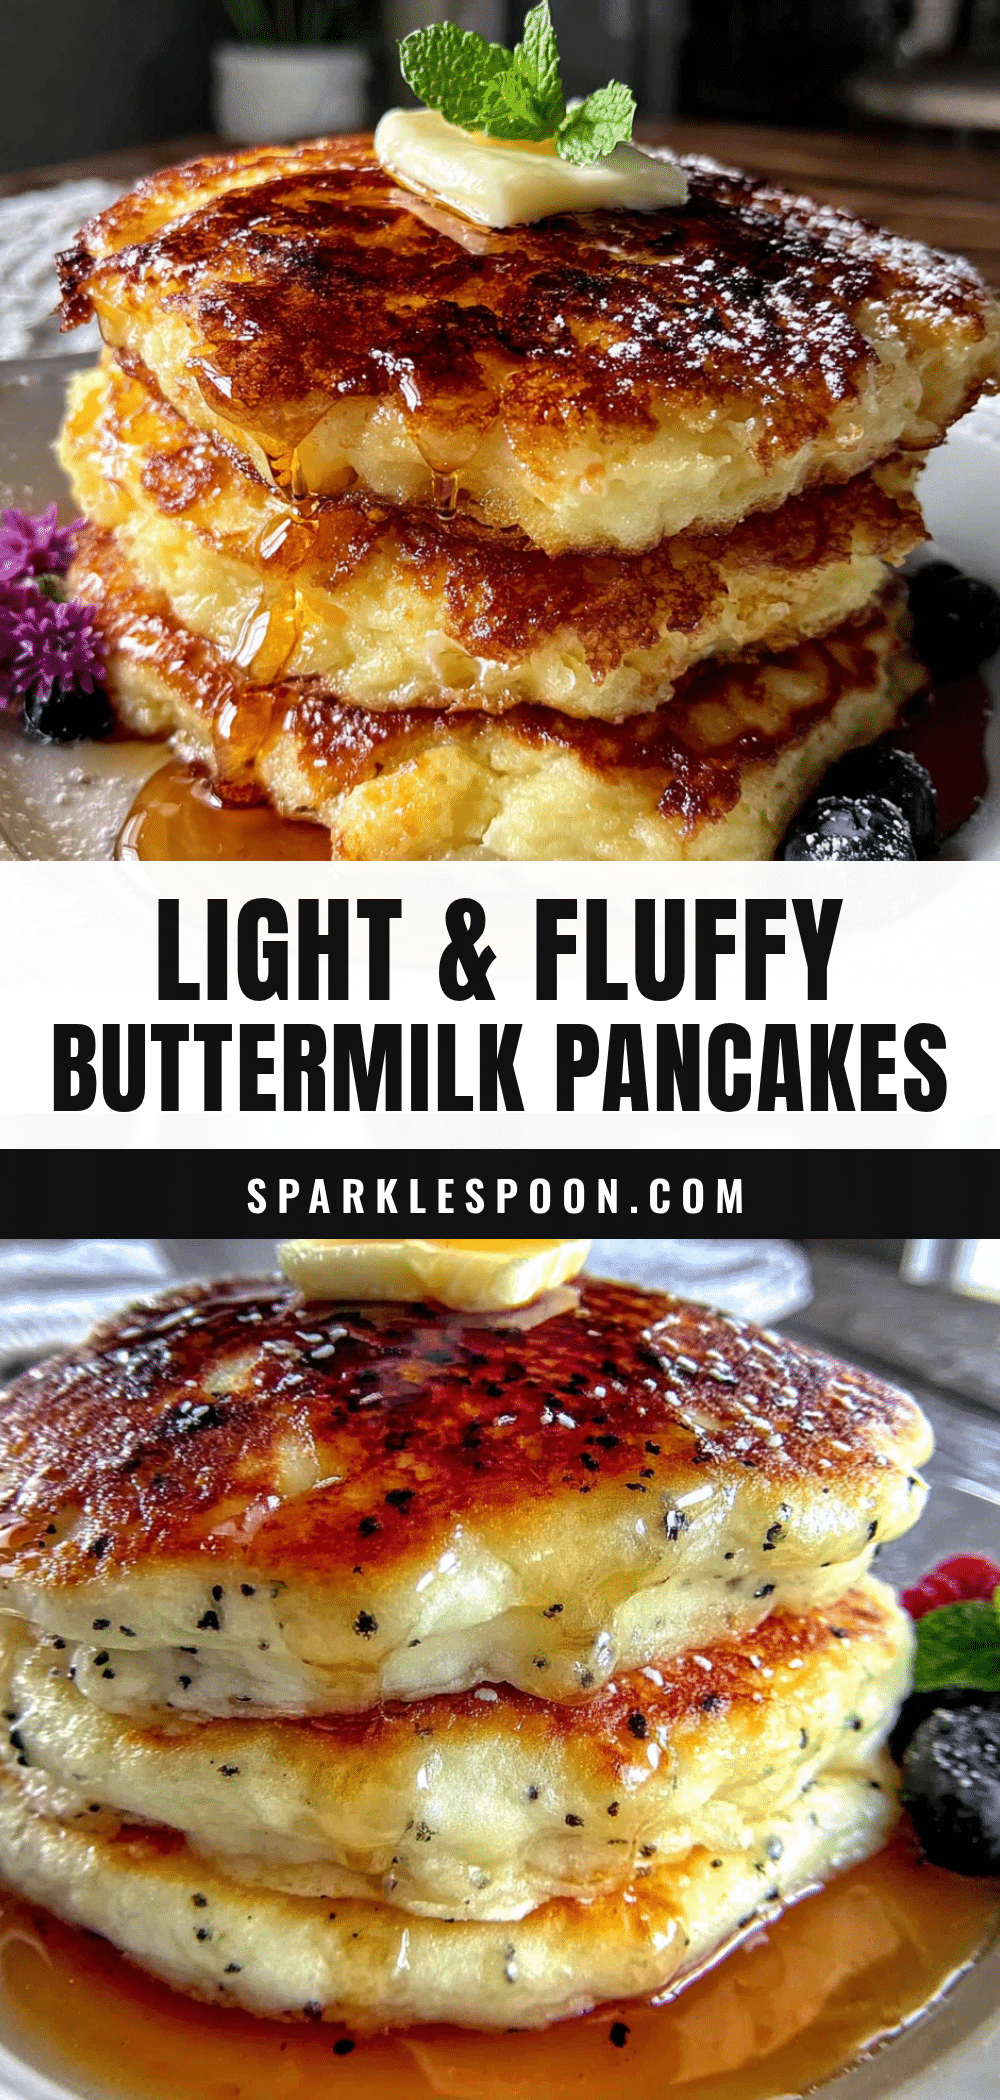
Light & Fluffy Buttermilk Pancakes Recipe – Best Ever
These light and fluffy buttermilk pancakes from scratch don’t need fancy tricks or hard-to-find ingredients. They just need a little faith in simple chemistry and the willingness to be wrong once in a while.
- Prep Time: 10 minutes
- Cook Time: 10 minutes
- Total Time: 20 minutes
- Yield: 8 servings 1x
- Category: Breakfast
- Cuisine: American
Ingredients
- 2 cups (250g) all-purpose flour
- 2 tablespoons (25g) granulated sugar
- 2 teaspoons baking powder
- 1/2 teaspoon baking soda
- 1/2 teaspoon salt
- 1 1/2 cups (355ml) buttermilk
- 1 large egg, room temperature
- 3 tablespoons (42g) unsalted butter, melted and slightly cooled
- 1 teaspoon vanilla extract
Instructions
- In a large mixing bowl, whisk together 2 cups (250g) all-purpose flour, 2 tablespoons (25g) sugar, 2 teaspoons baking powder, 1/2 teaspoon baking soda, and 1/2 teaspoon salt. Whisk thoroughly to distribute the leavening agents evenly.
- In a separate medium bowl or large liquid measuring cup, whisk together 1 1/2 cups (355ml) buttermilk, 1 large egg, 3 tablespoons (42g) melted butter, and 1 teaspoon vanilla extract until the egg is fully incorporated and the mixture looks smooth.
- Pour the wet ingredients into the dry ingredients. Stir gently with a whisk or spatula until just combined. Stop mixing when you still see small lumps. The batter should look shaggy and uneven.
- Let the batter rest for 5 minutes at room temperature. This allows the flour to hydrate fully and the gluten to relax.
- While the batter rests, place your skillet or griddle over medium heat. Add a small pat of butter or drizzle of oil. Wait until the butter foams but doesn’t brown—about 2 minutes. If using an electric griddle, set it to 350°F (175°C).
- Pour about 1/4 cup (60ml) of batter onto the hot surface for each pancake. Leave space between them. Cook until bubbles form on the surface and the edges look set, about 2-3 minutes.
- Slide your spatula under the pancake and flip it quickly but gently. Cook for another 1-2 minutes, until the second side is golden brown and the pancake feels springy when you press the center. Transfer to a plate and repeat with remaining batter.
- If making a large batch, keep cooked pancakes on a baking sheet in a 200°F (95°C) oven while you finish cooking. Don’t stack them directly on a plate.
Notes
Don’t over-mix the batter; lumps are your friends. Let the batter rest for 5 minutes. The first pancake is a test pancake. Wipe the pan between batches. For buttermilk substitute, add 1 1/2 tablespoons lemon juice or white vinegar to regular milk and let sit for 5 minutes.
Nutrition
- Serving Size: 1 pancake
- Calories: 195
- Sugar: 6
- Sodium: 310
- Fat: 7
- Saturated Fat: 4
- Carbohydrates: 28
- Fiber: 1
- Protein: 5
Keywords: buttermilk pancakes, fluffy pancakes, easy pancake recipe, homemade pancakes, breakfast recipe



