Love this? Save it for later!
Share the inspiration with your friends
It was 10:47 PM on a rainy Tuesday in October, and I had a ridiculous, almost embarrassing craving for something pumpkin-spiced and warm. You know that feeling when a specific dessert just takes over your brain? I was determined to make something, but I had zero energy for a layered cake with multiple bowls and a mixer that would wake up the whole house. I didn’t have the patience for a traditional pumpkin roll or the eggs for a from-scratch pumpkin layer cake. But I had a can of pumpkin puree, a box of yellow cake mix that was probably a few months past its prime, and a half-empty bag of pecans from a forgotten baking project.
The idea arrived in a flash, honestly. I remembered a dump cake my aunt used to make with cherry pie filling, and I thought, why not pumpkin? I grabbed my trusty 9×13 pan, didn’t even bother to grease it perfectly (a minor oversight I’d later regret, but we’ll get to that), and started layering. I poured the pumpkin mixture in, sprinkled the dry cake mix on top like I was seasoning a steak, and then went to town with a ridiculous amount of melted butter. I didn’t measure the butter—I just poured until it looked right, which is a dangerous game I play sometimes. The whole thing felt a little chaotic, a little reckless, and very much like a midnight kitchen experiment.
Thirty minutes later, the kitchen smelled like a pumpkin spice candle had exploded. The top was this incredible, craggy, golden-brown crust, and underneath was this silky, almost pudding-like pumpkin layer. I ate a piece straight from the pan, standing at the counter, and let me tell you, it was one of the best decisions I’ve ever made. Maybe you’ve been there—standing in your kitchen, spoon in hand, realizing you’ve accidentally created something magical when you were just trying to satisfy a late-night whim. That’s this cake. It’s the recipe that stuck because it proved you don’t need fancy techniques or a perfect pantry to make something truly, deeply satisfying.
Why You’ll Love This Recipe
This Easy Pumpkin Dump Cake with Crunchy Topping isn’t just another pumpkin dessert. It’s the one I’ve made for three different Thanksgivings, two office potlucks, and a random Tuesday when I needed a pick-me-up. I’ve tested it with different cake mixes, different nuts, and even a rogue batch where I accidentally used salted butter (which, honestly, was a happy accident).
- Quick & Easy: You’re looking at about 10 minutes of active prep time. No creaming butter and sugar. No sifting dry ingredients. Just dump, layer, and bake. It’s perfect for those moments when you need a dessert fast but don’t want to sacrifice flavor.
- Simple Ingredients: This recipe uses the most basic pantry staples. Canned pumpkin, a box of cake mix, butter, eggs, and some nuts. You probably have most of these on hand right now. No fancy grocery store trips required.
- Perfect for Fall Gatherings: Whether it’s a Thanksgiving dinner, a Halloween party, or just a cozy Sunday afternoon, this cake fits right in. It’s impressive enough for company but easy enough for a weeknight.
- Crowd-Pleaser: I’ve served this to kids who claim they don’t like pumpkin and adults who are self-proclaimed dessert snobs. It disappears every single time. The crunchy topping is the star—it’s what gets people coming back for seconds.
- Unbelievably Delicious: The contrast between the crunchy, buttery, nutty topping and the soft, spiced pumpkin layer underneath is pure magic. It’s like a pumpkin pie and a crisp had a beautiful, delicious baby.
What makes this recipe different from the rest? It’s the ratio. I’ve perfected the amount of butter so the topping gets perfectly crunchy without being greasy. I’ve also learned that letting the cake sit for at least 15 minutes after baking is non-negotiable—it allows the pumpkin layer to set up properly so you get clean, beautiful slices. This isn’t just another dump cake recipe. It’s the one that will become your go-to for every fall occasion.
What Ingredients You Will Need
This recipe uses simple, wholesome ingredients to deliver bold flavor and satisfying texture without the fuss. Most of these are pantry staples, especially if you do any fall baking. Let’s break down each one and why it matters.
- Pumpkin Puree (1 can, 15 oz): Not pumpkin pie filling! Make sure you grab 100% pure pumpkin puree. I prefer Libby’s for its consistent texture and flavor. It’s not too watery and has a nice, rich pumpkin taste.
- Evaporated Milk (1 can, 12 oz): This adds richness and creaminess to the pumpkin layer without making it too thin. Don’t substitute with regular milk or heavy cream—evaporated milk has a concentrated, slightly caramelized flavor that’s perfect here.
- Granulated Sugar (1 cup): Just regular white sugar. It sweetens the pumpkin base and helps it set up properly. You could reduce this to 3/4 cup if you prefer a less sweet dessert, but I wouldn’t go lower than that.
- Large Eggs (3): These help bind the pumpkin layer and give it structure. Make sure they’re at room temperature for the best incorporation. If you forgot to take them out of the fridge, place them in a bowl of warm water for 5 minutes.
- Pumpkin Pie Spice (2 teaspoons): You can use store-bought or make your own with a mix of cinnamon, nutmeg, ginger, and cloves. I actually prefer making my own—it’s fresher and I can adjust the ratios. For this recipe, I use a heavy hand on the cinnamon and a light touch on the cloves.
- Vanilla Extract (1 teaspoon): Pure vanilla extract adds depth and rounds out the spices. Avoid imitation vanilla if you can—the flavor difference is noticeable in a simple recipe like this.
- Yellow Cake Mix (1 box, 15.25 oz): This is the magic ingredient. Use a standard-sized box of yellow cake mix. Do not prepare it—just use the dry mix straight from the box. I’ve used Duncan Hines and Betty Crocker, and both work great. Avoid using a “butter recipe” or “extra moist” variety as they can change the texture of the topping.
- Chopped Pecans (1 cup): These are what make the topping truly crunchy. I prefer pecans over walnuts because they’re sweeter and have a better texture when baked. Toast them lightly before adding for extra flavor, though it’s not strictly necessary.
- Salted Butter (1 cup, or 2 sticks): Melted and drizzled over the top. The salt in the butter balances the sweetness of the cake mix and the pumpkin layer. If you only have unsalted butter, add a 1/4 teaspoon of salt to the melted butter.
Substitution Guidance: For a gluten-free option, use a gluten-free yellow cake mix. For a nut-free version, simply omit the pecans or substitute with sunflower seeds or pumpkin seeds. You can also use a spice cake mix instead of yellow for an even more intense pumpkin spice flavor.
Equipment Needed
You don’t need a fancy kitchen to make this cake. Here’s what you’ll need:
- 9×13-inch Baking Dish: A glass or ceramic dish works best. I prefer glass because you can see the bottom to check if the pumpkin layer is set. Avoid using a metal pan if you can—it can sometimes react with the pumpkin and give a slight metallic taste.
- Large Mixing Bowl: For whisking together the pumpkin layer ingredients. Any large bowl will do.
- Whisk or Electric Mixer: A whisk works fine, but an electric mixer makes the pumpkin layer smoother and quicker to prepare. I’ve used both and honestly, a whisk is just as good for this recipe.
- Small Bowl: For melting the butter. You can also melt it in a microwave-safe measuring cup.
- Measuring Cups and Spoons: Standard set for measuring the sugar, spice, and vanilla.
- Spatula: For spreading the pumpkin mixture evenly in the pan.
- Cooling Rack: Optional but helpful for cooling the cake evenly after baking.
Budget-Friendly Tip: If you don’t have a 9×13-inch dish, you can use two 8×8-inch square pans or even a large cast-iron skillet. Just adjust the baking time slightly, as smaller pans will bake faster.
Preparation Method
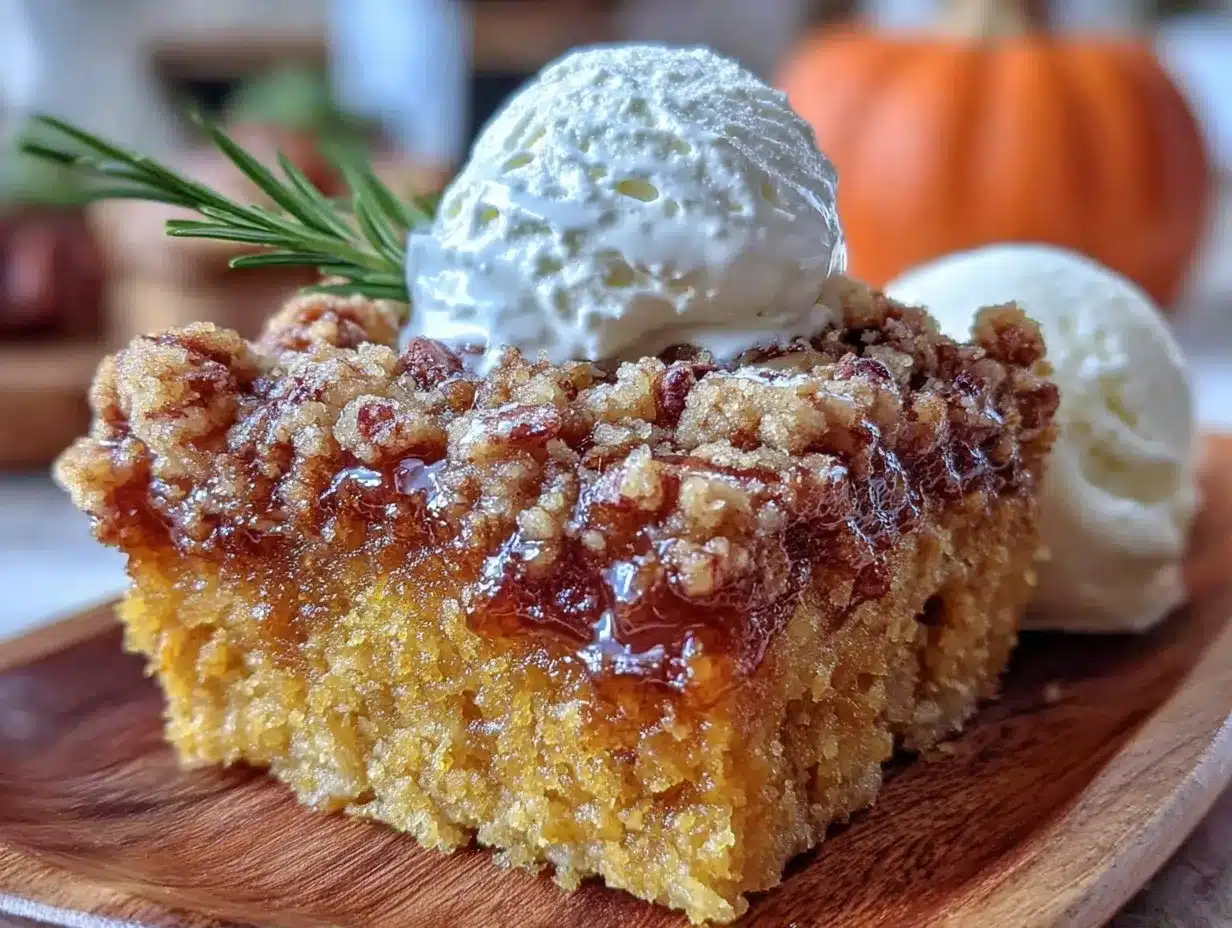
Let’s get to the fun part. Follow these steps, and you’ll have a gorgeous pumpkin dump cake with a perfectly crunchy topping.
- Preheat and Prep: Preheat your oven to 350°F (175°C). Lightly grease your 9×13-inch baking dish with butter or non-stick cooking spray. I learned the hard way that skipping this step leads to a sticky mess when serving. A light coating is all you need.
- Make the Pumpkin Layer: In your large mixing bowl, combine the pumpkin puree, evaporated milk, granulated sugar, eggs, pumpkin pie spice, and vanilla extract. Whisk or beat on medium speed until everything is smooth and well combined. The mixture should be a beautiful, uniform orange color. It will be fairly thin—don’t worry, that’s normal. This takes about 2 minutes with an electric mixer or 3-4 minutes by hand.
- Pour into the Dish: Pour the pumpkin mixture into your prepared baking dish. Use a spatula to spread it evenly to the edges. Make sure the layer is level—this ensures even baking. The mixture should come about halfway up the sides of the dish.
- Add the Dry Cake Mix: Open the box of yellow cake mix and sprinkle the dry powder evenly over the pumpkin layer. Don’t stir it in! Just let it sit on top in an even layer. This is what creates that magical, crunchy topping. Make sure you cover the entire surface, including the corners.
- Add the Pecans: Sprinkle the chopped pecans evenly over the dry cake mix. Again, don’t stir. Just let them rest on top. They’ll sink slightly into the cake mix as it bakes, creating pockets of crunch.
- Drizzle with Butter: Melt the salted butter in your small bowl or microwave-safe cup. Drizzle it as evenly as possible over the entire surface of the cake mix and pecans. Don’t pour it all in one spot—move your hand around to cover the whole pan. Some spots will be more saturated than others, and that’s okay. The butter will help the cake mix form that signature crunchy crust.
- Bake: Place the dish in the preheated oven and bake for 45-55 minutes. The top should be deep golden brown and the edges should be bubbly. You’ll know it’s done when the center is set and no longer jiggles when you gently shake the pan. If the top is browning too quickly but the center isn’t set, tent the dish loosely with aluminum foil for the last 10-15 minutes of baking.
- Cool and Serve: This is the hardest part—let the cake cool for at least 15-20 minutes before serving. I know it’s tempting to dig in right away, but the pumpkin layer needs time to set up. If you cut it too soon, it will be soupy. After cooling, the texture will be perfect—firm enough to hold its shape but still soft and creamy. Serve warm or at room temperature.
Sensory Cue: When it’s done, the kitchen will smell like a pumpkin spice dream. The top should be crisp and crackly when you touch it, and the pumpkin layer underneath should be just slightly firm to the touch but still give a little when pressed.
Cooking Tips & Techniques
After making this cake more times than I can count, I’ve picked up a few tricks that make a big difference.
Don’t Overmix the Pumpkin Layer: Overmixing can incorporate too much air, which can cause the pumpkin layer to puff up and then collapse as it cools. Just mix until everything is combined and smooth. A few small lumps are totally fine.
The Butter Distribution is Key: The most common mistake with dump cakes is not using enough butter or pouring it all in one spot. You want the entire surface of the cake mix to be moistened by the butter. If you see dry spots of cake mix after baking, you didn’t use enough butter or didn’t distribute it well. I like to drizzle in a zigzag pattern, then gently tilt the pan to help the butter spread.
Let It Rest: I cannot stress this enough. Let the cake rest after baking. The first time I made this, I was impatient and cut into it after just 5 minutes. It was a delicious but soupy mess. The resting time allows the pumpkin layer to thicken and the topping to set. Trust the process.
Check for Doneness: Ovens vary, so start checking at the 40-minute mark. The top should be a deep golden brown and the edges should be bubbling. Insert a toothpick into the center of the pumpkin layer (not the top crust). It should come out clean or with just a few moist crumbs. If it’s wet, give it another 5-10 minutes.
My Biggest Failure: I once tried to make this recipe with a sugar-free cake mix and fat-free evaporated milk. Don’t do it. The topping didn’t crisp up, and the pumpkin layer was watery and bland. Some shortcuts just don’t work with this recipe. Stick with the full-fat, real-sugar ingredients for the best results.
Variations & Adaptations
This recipe is incredibly versatile. Here are a few ways to make it your own.
Spice Cake Version: Swap the yellow cake mix for a box of spice cake mix. This adds even more warm, fall flavors and pairs beautifully with the pumpkin. It’s my personal favorite variation for Thanksgiving.
Gluten-Free Option: Use a gluten-free yellow cake mix. I’ve tested this with King Arthur’s gluten-free yellow cake mix, and it works perfectly. The topping might be slightly less crunchy, but it’s still delicious.
Add Chocolate Chips: Sprinkle 1/2 cup of semi-sweet or white chocolate chips over the cake mix before adding the pecans. The chocolate melts into the pumpkin layer and creates little pockets of gooey goodness. It’s a fun twist for when you want something a little extra.
Nut-Free Version: If you’re serving someone with a nut allergy, simply omit the pecans. The topping will still be crunchy from the cake mix and butter. You can also substitute with pumpkin seeds or sunflower seeds for a similar texture.
Make It a Cobbler: Add a can of drained, diced pears or apples to the pumpkin layer before baking. It turns into a pumpkin-fruit cobbler that’s perfect for brunch or a lighter dessert.
My Personal Variation: I once added a tablespoon of bourbon to the pumpkin layer and a generous sprinkle of flaky sea salt on top before baking. The bourbon added a warm, smoky depth, and the salt balanced the sweetness perfectly. It was a hit at a Friendsgiving gathering.
Serving & Storage Suggestions
Serving Temperature: This cake is best served warm, about 20 minutes after it comes out of the oven. The topping is at its crunchiest, and the pumpkin layer is soft and spoonable. It’s also delicious at room temperature, especially the next day when the flavors have melded together.
Presentation: Serve it straight from the baking dish for a rustic, homey look. Spoon it into bowls or onto plates, making sure to get some of the crunchy topping in each serving. A dollop of lightly sweetened whipped cream or a scoop of vanilla ice cream is the perfect finishing touch. The cold creaminess against the warm, crunchy cake is pure heaven.
Complementary Dishes: This cake is rich enough to stand on its own, but it pairs beautifully with a cup of hot coffee, a spiced chai latte, or a glass of cold milk. If you’re serving it as part of a fall spread, it goes wonderfully with roasted turkey, mashed potatoes, and green bean casserole.
Storage Instructions: Cover the baking dish tightly with plastic wrap or aluminum foil and store in the refrigerator for up to 5 days. The topping will lose some of its crunch over time, but the flavor will only get better. To reheat, place individual servings in the microwave for 20-30 seconds or warm the entire dish in a 300°F oven for 10-15 minutes.
Freezing Instructions: This cake freezes beautifully. Let it cool completely, then wrap the entire dish (or individual portions) tightly in plastic wrap, followed by a layer of aluminum foil. Freeze for up to 3 months. Thaw overnight in the refrigerator and reheat as directed above. The topping won’t be as crunchy after freezing, but it’s still incredibly delicious.
Flavor Development: Honestly, this cake tastes even better the next day. The spices have time to meld, and the pumpkin layer becomes even more creamy and flavorful. If you can resist eating it all on day one, you’re in for a treat on day two.
Nutritional Information & Benefits
While this is definitely a treat, it does have some redeeming qualities. Here’s a rough estimate for one serving (based on 12 servings):
- Calories: Approximately 380-420
- Fat: 22g
- Carbohydrates: 48g
- Protein: 5g
- Fiber: 3g
- Sugar: 32g
Health Benefits: Pumpkin is packed with vitamin A (in the form of beta-carotene), which is great for eye health and immune function. It’s also a good source of fiber, which helps with digestion and keeps you feeling full. The pecans add healthy fats, protein, and antioxidants. So while this isn’t a health food, it’s not entirely without nutritional value.
Dietary Considerations: This recipe contains gluten, dairy, eggs, and nuts (pecans). For a gluten-free version, use a gluten-free cake mix. For a dairy-free version, use a plant-based butter substitute (though the topping may not be as crunchy). For a nut-free version, simply omit the pecans.
Personal Wellness Perspective: I believe in balance. This cake is a celebration of fall flavors and simple pleasures. It’s meant to be enjoyed with the people you love, without guilt. One slice of this cake is not going to derail your health goals. It’s going to make your day a little brighter, and that’s a beautiful thing.
Conclusion
This Easy Pumpkin Dump Cake with Crunchy Topping is the kind of recipe that becomes a tradition. It’s the one you’ll make for every fall gathering, the one your friends will start asking for, the one that feels like a warm hug on a cool autumn day. It’s proof that you don’t need complicated techniques or a long list of ingredients to create something truly special. Sometimes the best things in life are the simplest.
I love this recipe because it reminds me of that rainy Tuesday night when I was just trying to satisfy a craving and ended up with something I’ll make for years to come. It’s forgiving, it’s flexible, and it’s absolutely delicious. I encourage you to make it your own—add your favorite nuts, experiment with different cake mix flavors, or serve it with a giant scoop of ice cream. Whatever you do, don’t skip the crunchy topping. That’s where the magic lives.
Now I want to hear from you! Have you tried this recipe? Did you make any fun variations? Drop a comment below and let me know how it turned out. And if you loved it, please share this recipe with a friend who needs a little pumpkin in their life. Happy baking!
Frequently Asked Questions
Can I use pumpkin pie filling instead of pumpkin puree?
No, I wouldn’t recommend it. Pumpkin pie filling is already sweetened and spiced, so it will throw off the balance of the recipe. Stick with 100% pure pumpkin puree for the best results.
Do I need to use a specific brand of cake mix?
Not at all! Any standard 15.25-ounce box of yellow cake mix will work. I’ve used both Duncan Hines and Betty Crocker with great results. Just avoid using a “butter recipe” or “extra moist” variety, as they can alter the texture of the topping.
Can I make this recipe ahead of time?
Absolutely. You can assemble the entire dish (without baking) up to 24 hours in advance. Cover it tightly and store it in the refrigerator. When you’re ready to bake, add about 10-15 minutes to the baking time since you’re starting from a cold dish.
Why is my topping not crunchy?
This usually happens for one of two reasons: not enough butter, or the butter wasn’t distributed evenly. Make sure you’re using a full cup of melted butter and drizzling it evenly over the entire surface. Also, make sure your oven is fully preheated before baking.
Can I freeze this pumpkin dump cake?
Yes! Let the cake cool completely, then wrap it tightly in plastic wrap and aluminum foil. It will keep in the freezer for up to 3 months. Thaw it overnight in the refrigerator and reheat in a 300°F oven for 10-15 minutes. The topping won’t be as crunchy after freezing, but it’s still delicious.
Pin This Recipe!
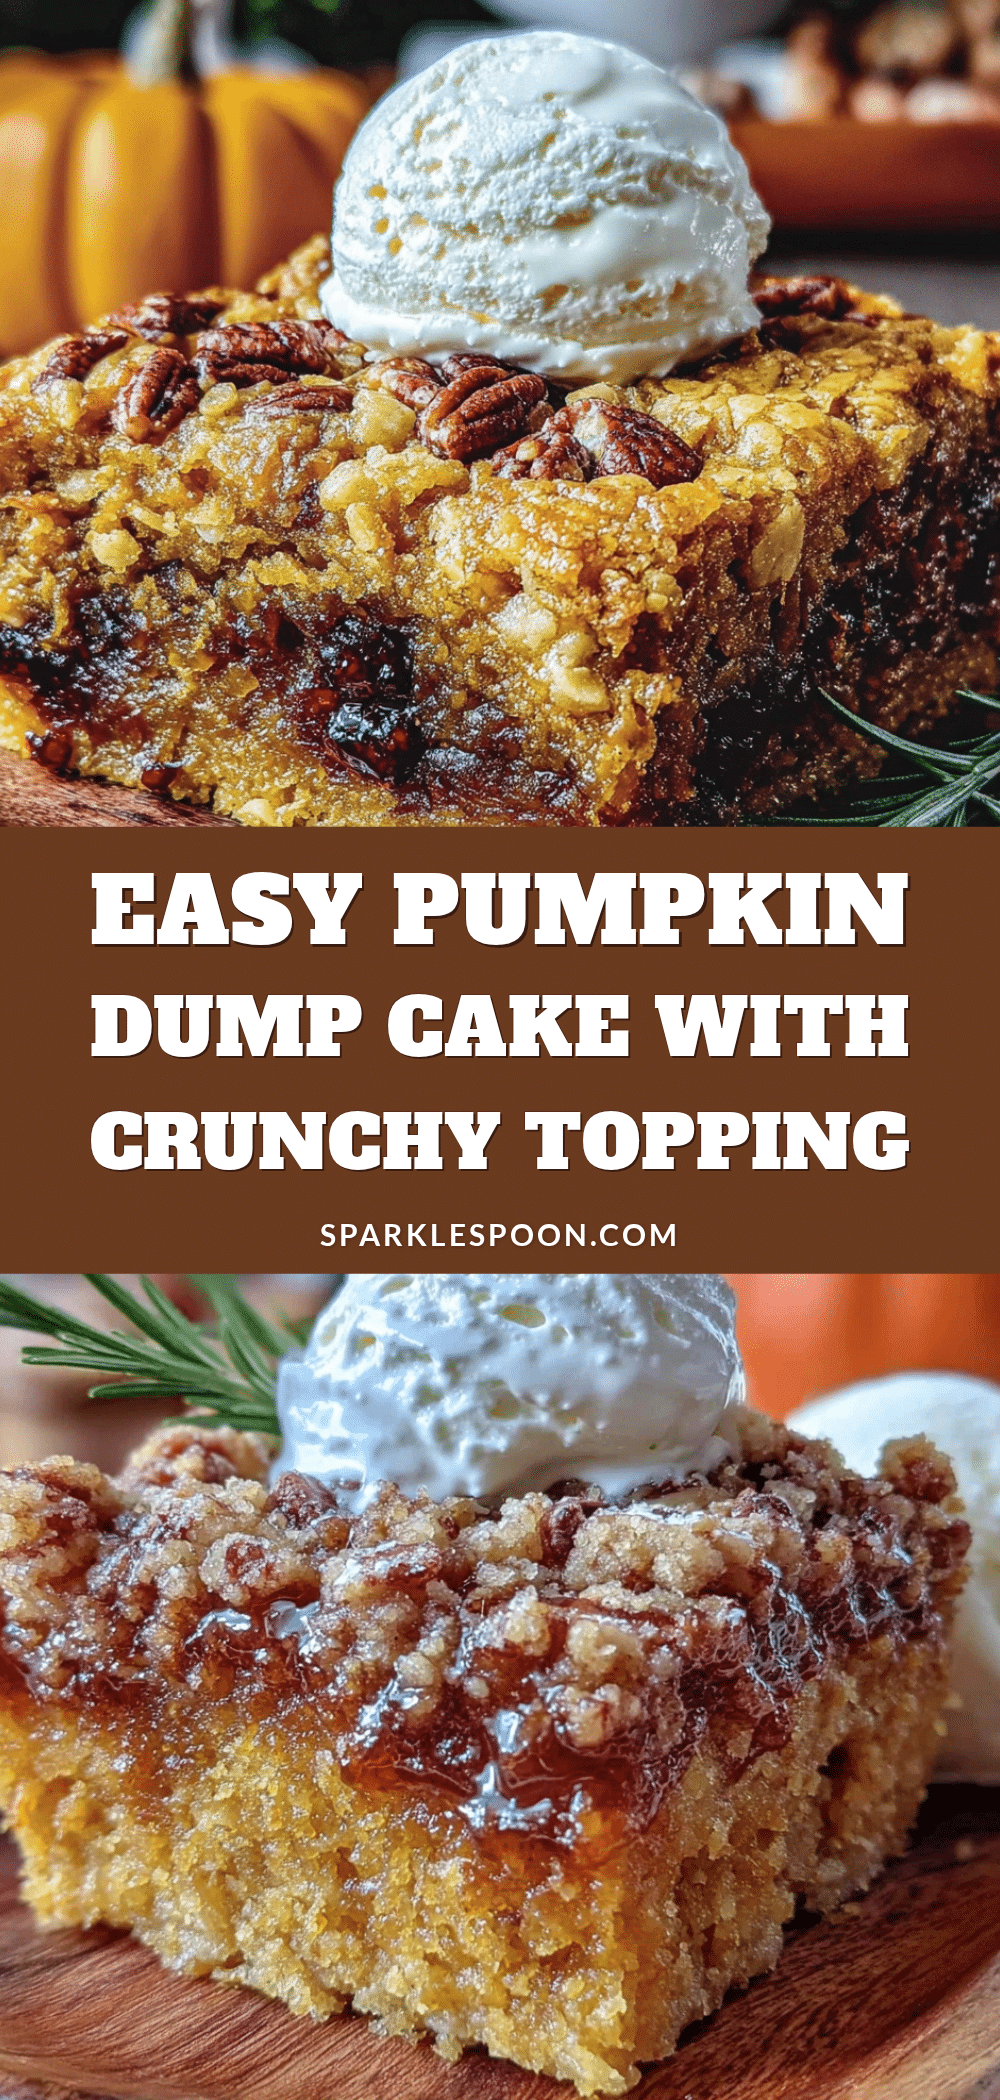
Easy Pumpkin Dump Cake with Crunchy Topping
This Easy Pumpkin Dump Cake with Crunchy Topping is a simple, no-fuss dessert that delivers a silky pumpkin layer beneath a buttery, nutty, golden-brown crust. Perfect for fall gatherings, it requires just 10 minutes of active prep and uses basic pantry staples.
- Prep Time: 10 minutes
- Cook Time: 50 minutes
- Total Time: 1 hour 10 minutes
- Yield: 12 servings 1x
- Category: Dessert
- Cuisine: American
Ingredients
- 1 can (15 oz) pumpkin puree (not pumpkin pie filling)
- 1 can (12 oz) evaporated milk
- 1 cup granulated sugar
- 3 large eggs, at room temperature
- 2 teaspoons pumpkin pie spice
- 1 teaspoon vanilla extract
- 1 box (15.25 oz) yellow cake mix (do not prepare)
- 1 cup chopped pecans
- 1 cup (2 sticks) salted butter, melted
Instructions
- Preheat your oven to 350°F (175°C). Lightly grease a 9×13-inch baking dish with butter or non-stick cooking spray.
- In a large mixing bowl, combine the pumpkin puree, evaporated milk, granulated sugar, eggs, pumpkin pie spice, and vanilla extract. Whisk or beat on medium speed until smooth and well combined (about 2 minutes with an electric mixer or 3-4 minutes by hand).
- Pour the pumpkin mixture into the prepared baking dish and spread it evenly to the edges with a spatula.
- Open the box of yellow cake mix and sprinkle the dry powder evenly over the pumpkin layer. Do not stir.
- Sprinkle the chopped pecans evenly over the dry cake mix. Do not stir.
- Melt the salted butter and drizzle it as evenly as possible over the entire surface of the cake mix and pecans.
- Bake for 45-55 minutes, until the top is deep golden brown and the edges are bubbly. The center should be set and no longer jiggles when gently shaken. If the top browns too quickly, tent loosely with aluminum foil for the last 10-15 minutes.
- Let the cake cool for at least 15-20 minutes before serving. Serve warm or at room temperature.
Notes
Let the cake rest for at least 15-20 minutes after baking to allow the pumpkin layer to set. For a gluten-free version, use a gluten-free yellow cake mix. For a nut-free version, omit pecans or substitute with pumpkin seeds. The cake tastes even better the next day as flavors meld.
Nutrition
- Serving Size: 1 slice (1/12 of cak
- Calories: 400
- Sugar: 32
- Sodium: 380
- Fat: 22
- Saturated Fat: 10
- Carbohydrates: 48
- Fiber: 3
- Protein: 5
Keywords: pumpkin dump cake, easy pumpkin dessert, fall dessert, pumpkin cake with crunchy topping, dump cake recipe



