Love this? Save it for later!
Share the inspiration with your friends
My neighbor, Mrs. Gable, watched me struggle with a spilled cup of flour on my kitchen counter and didn’t say anything at first. She just leaned against her fence, holding a small ceramic bowl that looked like it had seen better decades, and waited for the dust to settle. Then she walked over, brushed the mess aside with a gentle hand, and handed me the bowl. Inside was a thick, dark batter that smelled like cinnamon, roasted squash, and ripe fruit. “You’re trying to make it harder than it is,” she said, her voice rough but kind. “Just mix it once. Don’t overthink the fold.”
I was attempting to bake a loaf that felt too complicated for a Tuesday afternoon, juggling multiple bowls and worrying about the texture of the pumpkin puree. But Mrs. Gable’s version was different. She didn’t use canned pumpkin; she used roasted winter squash that she’d kept from the garden. And she didn’t separate eggs or whip butter. She just threw everything into one bowl and stirred until it looked smooth. I was skeptical. One bowl? For bread that needed to be tender and moist? It sounded like a recipe for disaster.
But I tasted the batter. It was sweet, spiced, and promising. I baked it, and the result was a loaf that stayed moist for days, with a crumb that fell apart in the most comforting way. Mrs. Gable didn’t give me a formal lesson. She just shared her shortcut, the kind that comes from years of feeding a family on a budget and with limited time. It wasn’t about perfection; it was about connection.
I adapted her recipe slightly, swapping the squash for pumpkin puree for consistency, and adding bananas for extra sweetness and moisture. The result is this Easy One-Bowl Banana Pumpkin Bread. It’s not just a recipe; it’s a reminder that the best cooking often happens when you stop stressing and start mixing. Maybe you’ve been there, staring at a pile of dirty dishes and wondering if you have the energy to bake. This is the recipe for that moment. It stayed with me because it turned a chaotic afternoon into a quiet, fragrant success. Honestly, it’s the kind of bread that makes your whole house smell like a hug.
Why You’ll Love This Recipe
This isn’t just another pumpkin bread recipe that sits in your Pinterest queue for three years. This is the one you’ll make every October. Here’s why it has earned a permanent spot in my kitchen rotation:
- Zero Cleanup Stress: The “one-bowl” claim is real. No washing six different bowls, no whisking eggs separately, no creaming butter until your arm hurts. You dump, you stir, you bake. It’s perfect for those weeknights when you’re tired but crave something homemade.
- Flavor Depth Without Effort: By combining banana and pumpkin, you get a dual-layer of sweetness and earthiness. The banana adds natural sugars and moisture, while the pumpkin provides a rich, velvety texture. It’s a flavor profile that feels gourmet but tastes like comfort.
- Texture Perfection: Many one-bowl recipes turn out dense or gummy. This one strikes a balance. The crumb is tender but holds together well. It’s not cakey, but it’s not heavy either. It’s that sweet spot that makes you take a second slice before the coffee is even done.
- Seasonal Versatility: While pumpkin screams fall, the banana keeps it grounded year-round. You can make this in spring with overripe bananas or in winter when pumpkins are at their peak. It’s a bridge between seasons.
- Family Approved: My kids, who usually pick out the raisins or complain about “healthy” bread, devour this. It’s sweet enough to be a treat but substantial enough to be a snack. It’s the perfect lunchbox addition or afternoon pick-me-up.
What makes this different from other versions? It’s the ratio. I’ve tested dozens of recipes, and most are too dry. This one uses the natural water content of the bananas and pumpkin to keep it moist for up to five days. It’s not just good; it’s the kind of bread that makes you close your eyes after the first bite. It’s comfort food reimagined—simpler, faster, but with the same soul-soothing satisfaction.
What Ingredients You Will Need
This recipe relies on simple, wholesome ingredients to deliver bold flavor and satisfying texture without the fuss. Most of these items are likely already in your pantry or fridge. The magic happens in how they interact, not in how exotic they are. Here is what you need to get started:
For the Wet Ingredients
- Ripe Bananas (3 medium): Look for bananas with lots of brown spots. The riper, the sweeter. You’ll need about 1.5 cups of mashed banana. If they aren’t ripe enough, microwave them for 30 seconds to soften.
- Pumpkin Puree (1 cup): Use 100% pure pumpkin puree, not pumpkin pie filling. The filling has added sugar and spices, which will throw off the balance. I prefer Libby’s or a local brand if available, as they have a consistent texture.
- Vegetable Oil (1/2 cup): Oil keeps the bread moister than butter. Melted butter works too, but the texture will be slightly denser. Neutral oils like canola or avocado work best.
- Eggs (2 large): Room temperature eggs blend more easily into the batter. If you’re short on time, just drop them in warm water for five minutes.
- Vanilla Extract (1 tsp): Use real vanilla, not imitation. It adds a depth of flavor that complements the spices beautifully.
For the Dry Ingredients
- All-Purpose Flour (2 cups): Standard flour works perfectly. If you need gluten-free, use a 1:1 gluten-free flour blend, but note the texture may be slightly crumblier.
- Baking Soda (1 tsp): This is the leavening agent. Make sure it’s fresh; old baking soda won’t make the bread rise properly.
- Baking Powder (1/2 tsp): Provides a little extra lift. Again, check the expiration date.
- Cinnamon (1.5 tsp): The star spice. Use ground cinnamon, not sticks. It infuses the batter evenly.
- Ginger (1/2 tsp): Ground ginger adds a warm, spicy kick that balances the sweetness. Don’t skip it; it adds complexity.
- Nutmeg (1/4 tsp): Just a pinch. It’s subtle but essential for that classic pumpkin pie vibe.
- Salt (1/2 tsp): Salt enhances flavor. It might seem counterintuitive in a sweet bread, but it makes the spices pop.
Optional Add-Ins
- Walnuts or Pecans (1/2 cup): For crunch. Toast them lightly in a dry pan for 2 minutes before adding for extra flavor.
- Chocolate Chips (1/2 cup): Dark or semi-sweet chips add a nice contrast to the earthy spices.
Equipment Needed
You don’t need a fancy kitchen to make this bread. Here is what you’ll need:
- One Large Mixing Bowl: A bowl with a wide mouth makes stirring easier. Glass or ceramic works well, but plastic is fine too. Make sure it’s big enough to hold all ingredients without spilling.
- Whisk or Large Spoon: A whisk helps incorporate air, but a sturdy spoon works for a hand-mixed approach. I use a silicone spatula to scrape the sides and ensure everything is mixed.
- Loaf Pan (9×5 inches): Standard size. Dark metal pans bake faster, so you might need to lower the oven temperature by 25°F. Glass pans take longer but bake more evenly.
- Parchment Paper: Line the pan with parchment for easy removal. This is a lifesaver if you’re worried about sticking.
- Measuring Cups and Spoons: For dry ingredients, use the dip-and-level method. For wet ingredients, use liquid measuring cups.
If you don’t have a loaf pan, you can use a muffin tin. Reduce the baking time to 20-25 minutes. Check for doneness with a toothpick.
Preparation Method
Making this bread is straightforward. Follow these steps for best results:
- Prep the Oven and Pan: Preheat your oven to 350°F (175°C). Grease your 9×5 loaf pan with cooking spray or butter. Line it with parchment paper, leaving an overhang on the sides for easy removal. This step takes about 5 minutes.
- Mash the Bananas: In your large mixing bowl, add the ripe bananas. Use a fork or potato masher to mash them until smooth. There should be no large chunks. This takes about 2 minutes.
- Add Wet Ingredients: To the mashed bananas, add the pumpkin puree, vegetable oil, eggs, and vanilla extract. Whisk everything together until the mixture is smooth and uniform. Scrape the sides of the bowl to ensure no banana is left unmixed. This takes about 3 minutes.
- Mix Dry Ingredients: In a separate small bowl, whisk together the flour, baking soda, baking powder, cinnamon, ginger, nutmeg, and salt. This ensures the leavening agents are evenly distributed. It takes about 1 minute.
- Combine Wet and Dry: Pour the dry ingredients into the wet mixture. Gently stir with a spoon or spatula until just combined. Do not overmix! Overmixing develops gluten, which leads to a tough bread. The batter should be thick and slightly lumpy. This takes about 2 minutes.
- Add Mix-Ins (Optional): If using nuts or chocolate chips, fold them in gently now. Be careful not to break the nuts.
- Pour into Pan: Pour the batter into the prepared loaf pan. Smooth the top with a spatula. It should be level. This takes about 1 minute.
- Bake: Place the loaf in the center of the oven. Bake for 55-65 minutes. Halfway through (around 30 minutes), rotate the pan for even baking. Check for doneness by inserting a toothpick into the center. It should come out clean or with a few moist crumbs, but no wet batter.
- Cool: Let the bread cool in the pan for 10 minutes. Then, lift it out using the parchment overhang and transfer it to a wire rack to cool completely. This takes about 30-40 minutes. Cutting into warm bread can make it gummy, so be patient.
Cooking Tips & Techniques
Here are some pro tips to ensure your bread turns out perfectly every time:
- Ripe Bananas are Key: The riper the banana, the sweeter the bread. If your bananas are green, they won’t add enough sweetness or moisture. Buy bananas a few days before you plan to bake.
- Don’t Overmix: This is the most common mistake. Once you add the flour, mix until you no longer see dry streaks. A few lumps are okay. Overmixing makes the bread dense.
- Check Your Oven: Ovens vary. If your bread is browning too fast on top, cover it loosely with aluminum foil after 30 minutes. If the center is not cooking, extend the baking time by 5-minute increments.
- Room Temperature Ingredients: While not critical for this recipe, room temperature eggs and oil blend more easily. If you’re in a rush, it’s okay, but the batter might take a bit longer to mix.
- Test for Doneness: The toothpick test is reliable, but also check the internal temperature. It should read around 200°F (93°C) if you have a thermometer. This ensures the center is fully cooked.
I once overmixed a batch and ended up with a brick. Lesson learned. Trust the process, and don’t be afraid to stop mixing early.
Variations & Adaptations
This recipe is versatile. Here are some ways to customize it:
- Gluten-Free: Use a 1:1 gluten-free flour blend. Add a teaspoon of xanthan gum if your blend doesn’t include it. The texture may be slightly crumblier.
- Vegan: Substitute eggs with flax eggs (2 tbsp ground flaxseed + 6 tbsp water). Use maple syrup instead of any added sugar if needed, though this recipe doesn’t have added sugar.
- Low-Sugar:
- Spiced Up: Add 1/2 tsp of cardamom or allspice for a different flavor profile. Or add a pinch of cayenne for a spicy kick.
- Breakfast Muffins: Divide the batter into a muffin tin. Bake for 20-25 minutes. These are perfect for meal prepping.
I’ve tried adding oat bran to the dry ingredients for extra fiber, and it works well. It adds a nutty flavor and a denser texture.
Serving & Storage Suggestions
Serve this bread warm with a pat of butter or cream cheese. It pairs beautifully with a cup of coffee or tea. For a dessert twist, serve it with a dollop of whipped cream or a scoop of vanilla ice cream.
Storage
- Room Temperature: Store in an airtight container for up to 3 days.
- Refrigerator: Store in an airtight container for up to 5 days. Let it come to room temperature before eating for best texture.
- Freezer: Wrap the loaf tightly in plastic wrap and then in aluminum foil. Freeze for up to 3 months. Thaw overnight in the refrigerator.
The flavors develop over time. The bread tastes even better on the second or third day as the spices meld together.
Nutritional Information & Benefits
This bread is a moderate treat. Here are the estimated nutritional values per slice (1/10 of loaf):
- Calories: 180
- Carbs: 28g
- Fat: 7g
- Protein: 3g
- Fiber: 2g
Bananas provide potassium and vitamin B6. Pumpkin is rich in vitamin A and fiber. This bread is a good source of energy and nutrients. It’s not a health food, but it’s a better option than many store-bought breads.
Conclusion
This Easy One-Bowl Banana Pumpkin Bread is a testament to the beauty of simplicity. It’s moist, flavorful, and incredibly easy to make. I love it because it brings people together, just like Mrs. Gable’s recipe did for me. It’s a reminder that you don’t need to be a professional baker to make something wonderful.
I encourage you to try this recipe and make it your own. Add your favorite nuts, swap the spices, or serve it with your favorite spread. It’s a canvas for your creativity.
Please share your results in the comments below. I’d love to hear how it turned out for you. Did you add chocolate chips? Did you use gluten-free flour? Let’s keep the conversation going.
And if you make this, don’t forget to tag me on social media. I love seeing your creations. Happy baking!
FAQs
Can I use canned pumpkin pie filling?
No. Pumpkin pie filling has added sugar and spices, which will make the bread too sweet and alter the texture. Use 100% pure pumpkin puree.
Can I freeze the batter?
It’s best to bake the bread fresh. However, you can freeze the baked loaf. Thaw it before serving.
Why is my bread dense?
You may have overmixed the batter. Mix until just combined. Also, check your baking soda and powder for freshness.
Can I use butter instead of oil?
Yes, but the texture will be slightly denser. Oil keeps the bread moister for longer.
How do I know when the bread is done?
Insert a toothpick into the center. If it comes out clean or with a few moist crumbs, it’s done. The internal temperature should be around 200°F.
Pin This Recipe!
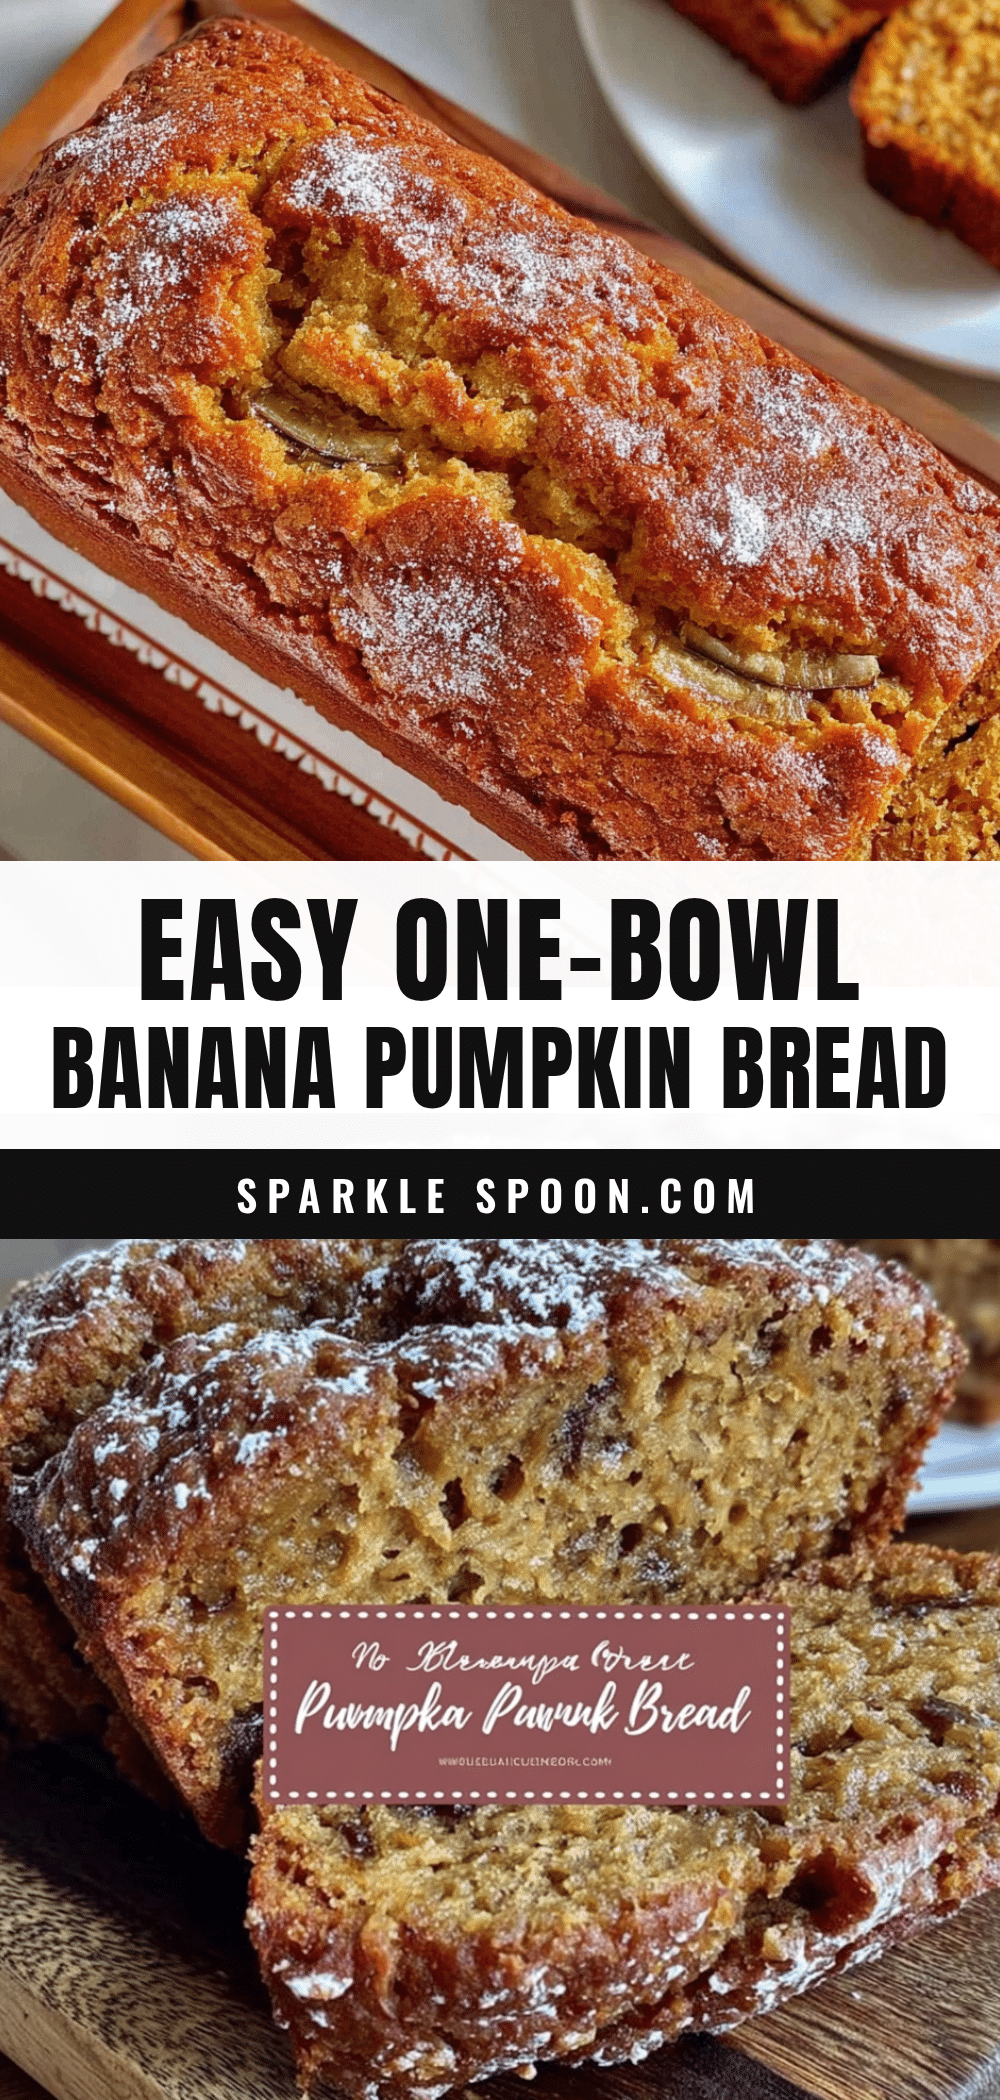
Easy One-Bowl Banana Pumpkin Bread

A moist, flavorful fall bread made with ripe bananas and pumpkin puree. This simple one-bowl recipe requires minimal cleanup and delivers a tender, comforting loaf perfect for any time of year.
- Prep Time: 15 minutes
- Cook Time: 60 minutes
- Total Time: 75 minutes
- Yield: 10 servings 1x
- Category: Dessert
- Cuisine: American
Ingredients
- 3 medium ripe bananas (about 1.5 cups mashed)
- 1 cup 100% pure pumpkin puree
- 1/2 cup vegetable oil (or melted butter)
- 2 large eggs (room temperature)
- 1 tsp vanilla extract
- 2 cups all-purpose flour
- 1 tsp baking soda
- 1/2 tsp baking powder
- 1.5 tsp ground cinnamon
- 1/2 tsp ground ginger
- 1/4 tsp ground nutmeg
- 1/2 tsp salt
- Optional: 1/2 cup walnuts or pecans
- Optional: 1/2 cup chocolate chips
Instructions
- Preheat oven to 350°F (175°C). Grease a 9×5 loaf pan and line with parchment paper.
- In a large mixing bowl, mash the ripe bananas until smooth.
- Add pumpkin puree, vegetable oil, eggs, and vanilla extract to the bananas. Whisk until the mixture is smooth and uniform.
- In a separate small bowl, whisk together the flour, baking soda, baking powder, cinnamon, ginger, nutmeg, and salt.
- Pour the dry ingredients into the wet mixture. Gently stir with a spoon or spatula until just combined. Do not overmix.
- If using, gently fold in nuts or chocolate chips.
- Pour the batter into the prepared loaf pan and smooth the top.
- Bake for 55-65 minutes, rotating the pan halfway through. Check for doneness with a toothpick inserted into the center; it should come out clean or with moist crumbs.
- Let the bread cool in the pan for 10 minutes, then transfer to a wire rack to cool completely.
Notes
Ensure bananas are very ripe for maximum sweetness and moisture. Do not overmix the batter to avoid a dense texture. Pumpkin puree should be 100% pure, not pie filling. For gluten-free, use a 1:1 gluten-free flour blend. For vegan, substitute eggs with flax eggs.
Nutrition
- Serving Size: 1 slice (1/10 of loa
- Calories: 180
- Sugar: 14
- Sodium: 250
- Fat: 7
- Saturated Fat: 1
- Carbohydrates: 28
- Fiber: 2
- Protein: 3
Keywords: banana bread, pumpkin bread, fall recipe, one bowl recipe, easy baking, gluten-free option, vegan option



