Love this? Save it for later!
Share the inspiration with your friends
I wasn’t expecting pumpkin-carving advice from a guy named Marco who fixes my ancient washing machine, but there I was, standing in my utility room, a puddle of soapy water on the floor, as he explained exactly how to make these Quick No-Bake Jack-O-Lantern Rice Krispie Treats. He was on his hands and knees, pointing at a hose with a wrench, when he just started talking about his grandmother’s recipe for Halloween. “She never baked,” he said, looking up at me, “but she made the best treats. Just press ‘em into a pumpkin shape.” I mean, honestly, you get recipe inspiration from the strangest places. I scribbled his directions on the back of a receipt while he tightened a bolt. That was three Halloweens ago, and I haven’t made a different treat for my kids’ classroom party since. There’s something about the way the marshmallow and butter mixture smells—it instantly makes you feel like a kid again, even if you’re just trying to get dinner on the table before soccer practice.
Maybe you’ve been there, staring at a Pinterest board full of elaborate Halloween desserts that require three hours and a pastry bag. These No-Bake Jack-O-Lantern Rice Krispie Treats are the exact opposite of that. They are forgiving, fast, and honestly, they look way more impressive than the effort you put in. Marco’s grandmother was onto something—no oven required, just a microwave and a little bit of patience for the decorating part. I remember my first batch was a sticky mess; I forgot to grease my hands and ended up with more marshmallow on my fingers than in the bowl. But that’s the beauty of this recipe. It’s foolproof once you know the trick. And the best part? You can make the whole thing in under 20 minutes, which, let’s face it, is about the amount of time you have before the kids start asking for dinner. This recipe stayed with me because it solved a problem I didn’t know I had: how to be a fun Halloween parent without losing my mind on a Tuesday night.
Why You’ll Love This Recipe
Let’s be real—most Halloween treats look cute but taste like cardboard or involve a complicated baking process that leaves your kitchen looking like a disaster zone. These No-Bake Jack-O-Lantern Rice Krispie Treats are different. They are the perfect combination of fun and function, especially for a busy weeknight. I’ve tested this version about a dozen times (much to my neighbors’ delight) to make sure the pumpkin shape holds and the orange color pops without using artificial dyes that stain everything.
- Quick & Easy: From start to finish, you are looking at about 15 minutes of active work. The hardest part is waiting for them to set, which is only about 30 minutes in the fridge. Perfect for those after-school Halloween parties.
- Simple Ingredients: You probably have most of this stuff in your pantry right now. Rice Krispies, marshmallows, butter, and a little food coloring. No fancy baking equipment needed.
- Perfect for Halloween: Whether it’s a classroom party, a spooky movie night, or just a fun after-dinner treat, these little pumpkins are a guaranteed hit. They travel well, too.
- Crowd-Pleaser: I’ve seen kids and adults alike grab two of these. They have that classic, nostalgic Rice Krispie Treat texture that everyone loves, just dressed up for the holiday.
- Unbelievably Delicious: The secret is adding a tiny splash of vanilla extract to the marshmallow mixture. It cuts the sweetness just enough and makes the flavor taste more “homemade.” It’s a small touch that makes a big difference.
What makes this recipe different from the other hundreds of Halloween treat recipes out there? It’s the method. Instead of trying to mold a giant, fragile pumpkin that falls apart, we are making individual round treats and then carving them into jack-o-lantern faces using a simple cookie cutter or a knife. It’s a game-changer. You get a clean, sharp design every time without the stress. Plus, using orange candy melts for the coating adds a professional-looking finish that feels fancy but is actually super simple. This isn’t just another version of a Rice Krispie treat—it’s the best version for a busy parent who still wants to impress.
What Ingredients You Will Need
This recipe uses simple, everyday ingredients to create something that looks like it came from a bakery. The key is using fresh marshmallows and good-quality butter for the best flavor and texture. You don’t need anything fancy, just a few pantry staples and some Halloween-themed candy melts.
- 6 cups Rice Krispies cereal (or any crispy rice cereal. I prefer the name brand for the best crunch, but generic works fine too.)
- 4 tablespoons unsalted butter (adds richness and helps the marshmallows melt smoothly. I use salted butter in a pinch, just skip the extra salt.)
- 1 package (10 oz) regular marshmallows (about 40 large marshmallows or 4 cups of mini marshmallows. Fresh marshmallows are crucial—stale ones won’t melt properly and will make the treats hard.)
- 1/2 teaspoon vanilla extract (this is my secret ingredient. It rounds out the sweetness and makes them taste more like a bakery treat.)
- Orange candy melts (about 1 cup. I recommend the Wilton brand or Mercken’s for the best smooth consistency. You can also use orange melting wafers.)
- Green candy melts or green frosting (for the stems. A little goes a long way.)
- Black decorating gel or melted dark chocolate (for the jack-o-lantern faces. The gel is easier for piping, but melted chocolate tastes better.)
- Orange food coloring gel (optional, but recommended if you want a brighter orange color. Liquid food coloring can make the mixture too wet, so stick with gel.)
- Non-stick cooking spray (for greasing your hands and the spatula. This is non-negotiable unless you want a sticky disaster.)
Ingredient Selection Tips: When buying candy melts, look for ones that say “no tempering required” for the easiest melting process. If you can’t find orange candy melts, you can use white chocolate chips and mix in orange food coloring, but it’s a bit more finicky. For the black decorating gel, the squeeze tubes from the baking aisle are super easy for kids to use.
Equipment Needed
You don’t need a lot of fancy tools for this recipe, which is part of its charm. Here’s what you’ll need to have on hand to make the process smooth and easy.
- Large microwave-safe bowl (for melting the butter and marshmallows. A glass bowl works best.)
- Large mixing bowl (for combining the cereal with the marshmallow mixture. You need room to stir.)
- Rubber spatula (a sturdy one for folding the cereal. Grease it with cooking spray to prevent sticking.)
- 9×13-inch baking pan (for pressing the treats into an even layer. Line it with parchment paper for easy removal.)
- Round cookie cutter (2.5 to 3 inches in diameter. A biscuit cutter or even a clean, empty tin can works in a pinch.)
- Small paring knife (for carving the jack-o-lantern faces if you don’t have a small pumpkin-shaped cutter.)
- Piping bags or small zip-top bags (for decorating with the candy melts and black gel. Snip a tiny corner off the bag.)
- Microwave-safe bowl (for melting the candy melts. A small, shallow bowl works best for dipping.)
- Wax paper or parchment paper (for the treats to set on after decorating.)
Budget-Friendly Tip: If you don’t have a round cookie cutter, use the rim of a drinking glass. Just make sure it’s clean and dry. For piping the faces, a toothpick dipped in melted chocolate works surprisingly well for fine details.
Preparation Method
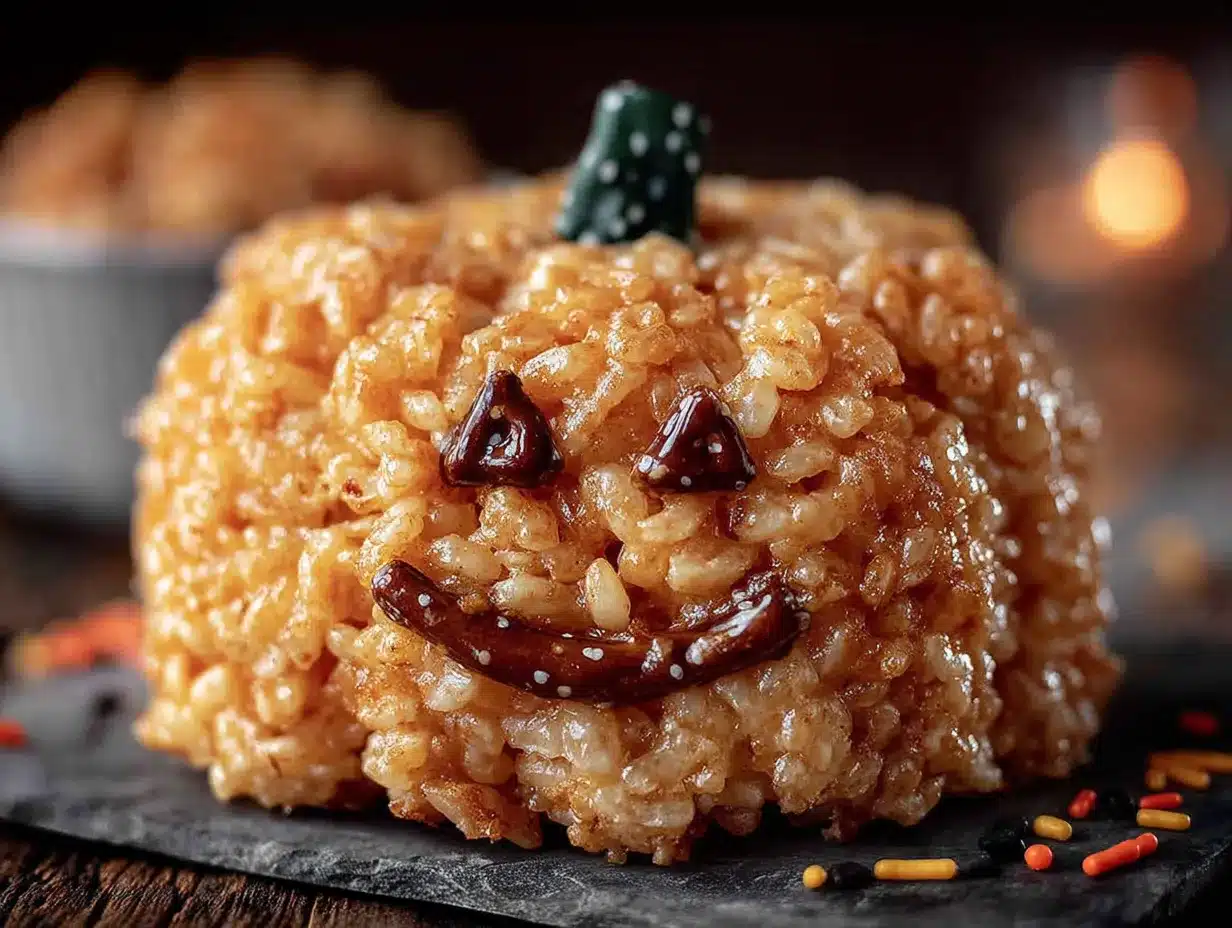
Making these No-Bake Jack-O-Lantern Rice Krispie Treats is a straightforward process, but following the steps in order is key to avoiding a sticky mess. Take your time with the decorating—it’s the most fun part!
- Prep Your Pan and Tools: Line your 9×13-inch baking pan with parchment paper, leaving some overhang on the sides. This will be your best friend later when lifting out the treats. Spray the parchment paper lightly with non-stick cooking spray. Also, spray your rubber spatula and your hands. Trust me on this.
- Melt the Butter and Marshmallows: In a large microwave-safe bowl, combine the 4 tablespoons of unsalted butter and the entire 10-ounce bag of marshmallows. Microwave on high for 1 minute. Stir the mixture. If the marshmallows aren’t fully melted, microwave in 30-second intervals, stirring in between, until the mixture is smooth and completely melted. Be careful not to overheat it—burnt marshmallow smells terrible and ruins the batch.
- Add Vanilla and Color: Immediately stir in the 1/2 teaspoon of vanilla extract. If you are using orange food coloring gel, add a few drops now. Stir vigorously until the color is evenly distributed. The mixture should be a uniform pale orange. Remember, the color will lighten slightly when you add the cereal.
- Combine with Cereal: Pour the 6 cups of Rice Krispies cereal into the large mixing bowl. Pour the hot marshmallow mixture over the cereal. Using your greased rubber spatula, gently fold the cereal into the marshmallow mixture. Work quickly but gently to coat every piece of cereal without crushing them. You want to see some whole puffs still.
- Press into the Pan: Transfer the mixture to your prepared 9×13-inch pan. Using your greased hands (or a piece of wax paper), press the mixture into an even, flat layer. Be firm but don’t smash it into a brick. An even thickness is important so your round cutouts are uniform.
- Let Them Set: Allow the treats to cool at room temperature for about 15 minutes, or pop them in the refrigerator for 10 minutes. They should be firm to the touch but not rock hard. If they get too cold, they will be hard to cut.
- Cut Out the Pumpkins: Lift the entire block of treats out of the pan using the parchment paper overhang. Place it on a cutting board. Using your round cookie cutter, press straight down firmly to cut out circles. You should be able to get about 12 to 15 circles, depending on the size of your cutter. If the cutter sticks, spray it with a little cooking spray. Save the scraps for snacking!
- Melt the Orange Candy Melts: Place the orange candy melts in a small microwave-safe bowl. Microwave on high for 30 seconds, then stir. Continue microwaving in 20-second intervals, stirring well each time, until the candy is completely smooth and runny. Do not overheat, or the candy will seize up.
- Dip the Treats: One at a time, dip the top of each Rice Krispie circle into the melted orange candy. You want a thin, even layer. You can use a spoon to help coat the sides if you want a fully covered pumpkin. Let the excess drip off back into the bowl.
- Add the Stem: Place the dipped treats onto a sheet of wax paper. While the orange coating is still wet, add a small dab of green candy melt or green frosting to the top for the stem. You can also use a small piece of green candy.
- Decorate the Faces: Allow the orange coating to set completely (about 10 minutes at room temperature). Once set, use your black decorating gel or melted dark chocolate to pipe on jack-o-lantern faces. You can do classic triangles for eyes, a jagged smile, and maybe a little nose. Get creative!
- Final Set: Let the decorated treats sit for another 15 minutes so the black gel or chocolate hardens. Then they are ready to serve!
Troubleshooting Tip: If your marshmallow mixture starts to harden before you’ve pressed it into the pan, pop the bowl back in the microwave for 10 seconds to soften it again. Work quickly once the cereal is added, as the mixture sets fast.
Cooking Tips & Techniques
I’ve made my fair share of mistakes with these treats, so let me save you some trouble. The first time I tried this, I used stale marshmallows, and the treats were hard as rocks the next day. Fresh ingredients really matter here. Also, don’t skip greasing your hands. I know it seems like a pain, but it is the only way to press the mixture into the pan without losing half of it to your fingers.
Another common mistake is over-melting the candy melts. They can go from smooth to a grainy, clumpy mess in seconds. Always melt them in short bursts and stir often. If they do seize up, add a teaspoon of coconut oil or vegetable shortening and stir—it can sometimes save the batch. For a smoother coating, let the candy melts cool for a minute or two after melting. A cooler coating will give you a thicker, more even layer.
Timing is everything. I like to make the Rice Krispie base the night before and keep it in the fridge. Then, the next day, I cut out the circles and do the decorating. This breaks the process into two manageable chunks, which is perfect for a busy weeknight. When cutting the circles, use a sawing motion if the treats are too firm. A sharp cutter makes a huge difference.
Variations & Adaptations
This recipe is super flexible, so feel free to make it your own. Here are a few ways I’ve adapted it over the years.
- Spider Treats: Instead of pumpkins, cut the treats into circles and dip them in black candy melts. Use black licorice strings for legs and add candy eyes. These are a huge hit for a more creepy vibe.
- Ghost Treats: Skip the orange coating and dip the circles in white candy melts. Use the black gel to pipe on two eyes and a little “boo” mouth. Super simple and cute.
- Gluten-Free Version: Rice Krispies are naturally gluten-free, but always check the label to make sure. You can also use a generic crispy rice cereal that is certified gluten-free. The rest of the ingredients are naturally gluten-free.
- Chocolate Lovers: Add 1/2 cup of mini chocolate chips to the cereal mixture before pressing it into the pan. The little pockets of melted chocolate are amazing with the marshmallow flavor.
- Peanut Butter Twist: Stir in 1/4 cup of creamy peanut butter with the butter and marshmallows. It adds a salty, nutty flavor that pairs perfectly with the sweet coating.
Serving & Storage Suggestions
These No-Bake Jack-O-Lantern Rice Krispie Treats are best served at room temperature. The coating is firm but gives way to a soft, chewy center. They look amazing arranged on a platter with some fake spider webs and plastic spiders scattered around for a spooky effect.
For storage, place the treats in an airtight container, layering them between sheets of wax paper. They will stay fresh for up to 3 days at room temperature. Do not refrigerate them, as the cold can make the Rice Krispies lose their crunch and become chewy. If you need to make them ahead of time, you can freeze the undecorated, uncoated Rice Krispie circles for up to a month. Just thaw them at room temperature before dipping and decorating.
The flavors actually get better after a day. The marshmallow flavor mellows out, and the candy coating sets perfectly. I actually prefer them on day two!
Nutritional Information & Benefits
Let’s be honest—these are a treat, not a health food. But knowing what’s in them helps you enjoy them mindfully. Each treat (based on a batch of 12) contains roughly 220 calories, 8 grams of fat, 35 grams of carbohydrates, and 2 grams of protein. The main ingredients are simple: cereal, marshmallows, and butter.
On the plus side, Rice Krispies are fortified with iron and B vitamins, so there’s a tiny nutritional silver lining. The butter provides a small amount of vitamin A. For a Halloween dessert, these are actually lighter than a slice of pumpkin pie or a frosted cupcake. If you want to make them a bit lighter, you can use a butter substitute like vegan butter, but the texture will be slightly different.
Allergen Note: These treats contain dairy (butter and candy melts). They are nut-free if you use standard ingredients, but always check labels on candy melts for cross-contamination warnings. They are also egg-free.
Conclusion
Honestly, these No-Bake Jack-O-Lantern Rice Krispie Treats are the kind of recipe that makes you look like a Halloween hero without any of the stress. They are quick, they are fun, and they taste like pure childhood nostalgia. Whether you’re making them for a classroom party, a spooky movie night, or just because you want a fun project with the kids, this recipe delivers every single time. I love how forgiving they are—you can mess up a face, and it just looks more “character.”
I hope you give these a try and make them your own. Swap the faces, change the colors, or add your favorite mix-ins. The base recipe is solid, so feel free to get creative. If you make a batch, I’d love to hear how they turned out! Drop a comment below and tell me what kind of faces you carved. Happy Halloween, and happy snacking!
Frequently Asked Questions
Can I use mini marshmallows instead of large ones?
Absolutely. Mini marshmallows melt faster and more evenly, which is actually a plus. Just use 4 cups of mini marshmallows instead of the 10-ounce bag of large ones. No other adjustments needed.
My candy melts are clumpy. How do I fix them?
This usually happens if they get overheated or if moisture gets into the bowl. Try adding 1 teaspoon of coconut oil or vegetable shortening and stirring vigorously. Microwave for 5 seconds and stir again. If they are still clumpy, you may need to start over with fresh melts.
Can I make these without the orange candy coating?
Yes! You can skip the coating entirely and just decorate the plain Rice Krispie circles with the black gel. They won’t look as glossy, but they will still taste great. You can also dust them with orange-colored powdered sugar for a lighter option.
How do I get the mixture to stick together better?
If your treats are falling apart, it’s usually because the marshmallow mixture wasn’t hot enough when you added the cereal. Make sure the marshmallows are fully melted and smooth before adding the cereal. You can also add an extra tablespoon of butter to make them more moist.
Can I freeze the decorated treats?
I don’t recommend freezing the decorated treats because the candy coating can develop condensation and get sticky when thawed. However, you can freeze the plain, undecorated Rice Krispie circles for up to a month. Just wrap them tightly in plastic wrap and then foil. Thaw at room temperature before dipping and decorating.
Pin This Recipe!
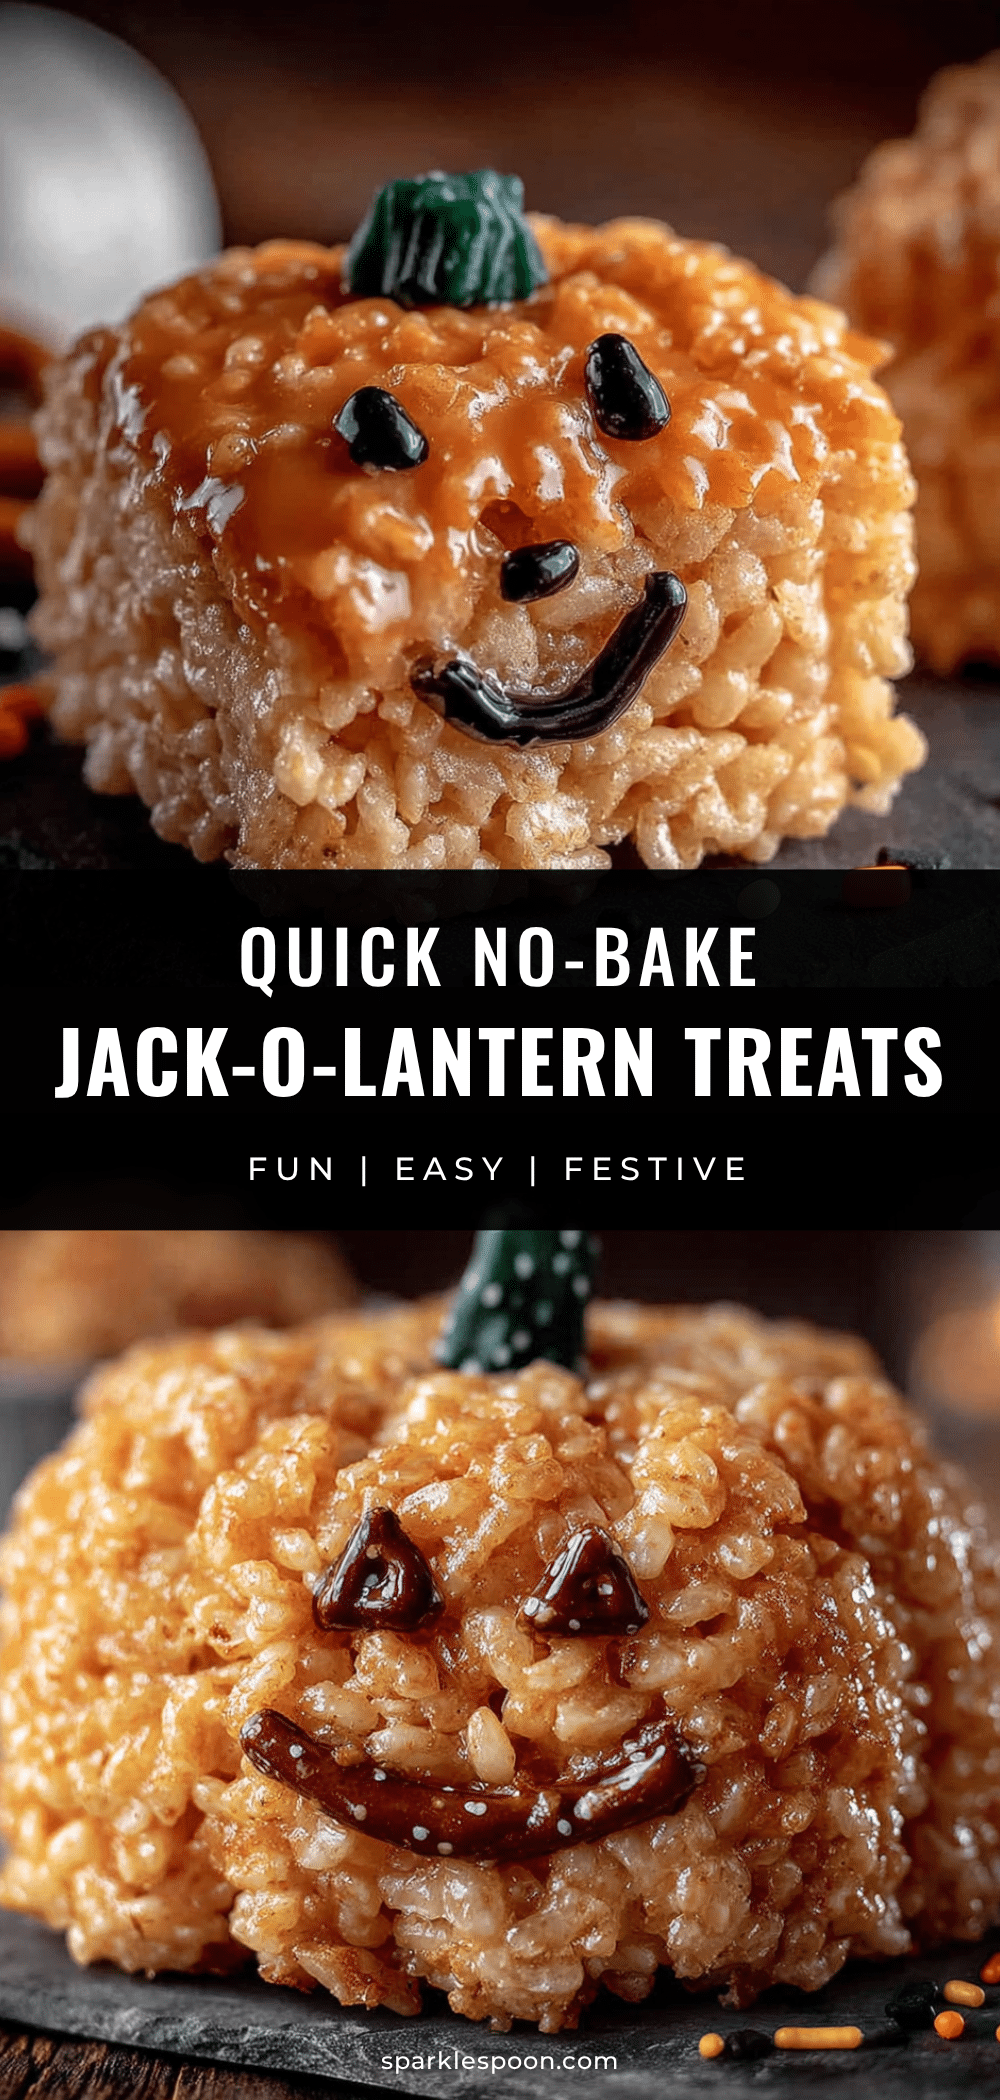
Easy No-Bake Jack-O-Lantern Rice Krispie Treats Recipe

These quick and easy no-bake Jack-O-Lantern Rice Krispie Treats are perfect for Halloween. Made with simple ingredients and ready in under 20 minutes, they are a fun and delicious treat for kids and adults alike.
- Prep Time: 15 minutes
- Cook Time: 5 minutes
- Total Time: 20 minutes
- Yield: 12-15 servings 1x
- Category: Dessert
- Cuisine: American
Ingredients
- 6 cups Rice Krispies cereal
- 4 tablespoons unsalted butter
- 1 package (10 oz) regular marshmallows (about 40 large or 4 cups mini)
- 1/2 teaspoon vanilla extract
- Orange candy melts (about 1 cup)
- Green candy melts or green frosting (for stems)
- Black decorating gel or melted dark chocolate (for faces)
- Orange food coloring gel (optional)
- Non-stick cooking spray
Instructions
- Line a 9×13-inch baking pan with parchment paper, leaving overhang. Spray parchment and a rubber spatula with non-stick cooking spray.
- In a large microwave-safe bowl, combine butter and marshmallows. Microwave on high for 1 minute, then stir. Continue microwaving in 30-second intervals, stirring between, until smooth and fully melted.
- Stir in vanilla extract and orange food coloring gel (if using) until evenly distributed.
- Pour the hot marshmallow mixture over the Rice Krispies cereal in a large mixing bowl. Gently fold with the greased spatula until all cereal is coated.
- Transfer mixture to the prepared pan. Using greased hands, press into an even, flat layer.
- Let cool at room temperature for 15 minutes, or refrigerate for 10 minutes, until firm but not hard.
- Lift the block of treats out of the pan using the parchment. Use a round cookie cutter (2.5-3 inches) to cut out circles. Spray cutter with cooking spray if it sticks.
- Melt orange candy melts in a small microwave-safe bowl in 30-second intervals, stirring until smooth.
- Dip the top of each Rice Krispie circle into the melted orange candy, coating evenly. Let excess drip off.
- Place dipped treats on wax paper. While coating is wet, add a small dab of green candy melt or frosting for the stem.
- Let orange coating set completely (about 10 minutes). Use black decorating gel or melted dark chocolate to pipe jack-o-lantern faces onto each treat.
- Let decorated treats sit for 15 minutes to harden. Serve at room temperature.
Notes
Use fresh marshmallows for best results. Grease hands and spatula with cooking spray to prevent sticking. If candy melts seize, add 1 teaspoon coconut oil or vegetable shortening and stir. For a smoother coating, let melted candy cool slightly before dipping. Treats can be stored in an airtight container at room temperature for up to 3 days. Undecorated circles can be frozen for up to a month.
Nutrition
- Serving Size: 1 treat
- Calories: 220
- Sugar: 20
- Sodium: 180
- Fat: 8
- Saturated Fat: 4
- Carbohydrates: 35
- Protein: 2
Keywords: Halloween treats, no-bake, Rice Krispie treats, jack-o-lantern, easy dessert, kid-friendly



