Love this? Save it for later!
Share the inspiration with your friends
I used to think hot cocoa bombs were a little bit extra. Like, why go through all that trouble when a regular mug of hot chocolate works just fine? For years, I rolled my eyes at them on social media, convinced they were more about the show than the substance. Then my sister showed up at my door on a freezing December evening, holding a tray of these peppermint-studded spheres wrapped in cellophane, and said, “Just try one.” I mean, what was I supposed to do? Say no to my sister’s face?
So I heated up some milk, dropped one of those glossy chocolate balls into the mug, and watched it crack open like a tiny, edible gift. The steam carried this incredible peppermint scent, and when I took that first sip—honestly, I had to sit down. It was rich, creamy, and perfectly minty without tasting like toothpaste. Let me tell you, I ate my words right along with that cocoa bomb.
Now I make them every year, and I’ve gotten pretty good at it. Maybe you’ve been there—skeptical of a food trend until someone hands you the real deal. That first batch I made on my own? Total mess. I had chocolate dripping everywhere and crushed half the spheres trying to seal them. But the ones that survived were so good, I knew I was onto something. This recipe is the result of all that trial and error, and I think you’re going to love how doable it actually is.
Why You’ll Love This Recipe
Let me tell you why these peppermint hot cocoa bombs have become my go-to winter treat. They’re not just pretty—they actually deliver on flavor, and they’re way easier to make than you’d think.
- Quick & Easy: Once you get the hang of melting and molding chocolate, these come together in about 30 minutes of active time. Perfect for a weekend baking project or last-minute holiday gifts.
- Simple Ingredients: You only need five or six ingredients, and you probably already have most of them in your kitchen. No fancy extracts or hard-to-find items.
- Perfect for Cozy Nights: There’s something magical about dropping one of these into a mug of warm milk on a cold evening. It turns an ordinary night into a special occasion.
- Crowd-Pleaser: Kids love watching them melt, and adults appreciate the sophisticated peppermint-chocolate combo. I’ve never seen one last more than five minutes at a party.
- Unbelievably Delicious: The combination of creamy milk chocolate, rich cocoa mix, and cool peppermint is pure comfort. It’s the kind of drink that makes you close your eyes after the first sip.
What makes these different from other recipes is the technique I’ve nailed down for getting perfectly smooth, crack-free chocolate spheres. I use a specific method for tempering the chocolate that gives them that satisfying snap when they hit the hot milk. Plus, I’ve found the perfect ratio of hot cocoa mix to peppermint pieces so neither flavor overpowers the other.
This isn’t just another version of hot cocoa bombs—it’s the one that actually works. The one that doesn’t leave you with a pile of broken chocolate shells and a headache. And honestly, it’s the kind of recipe that makes you feel like a kitchen wizard without all the stress.
What Ingredients You Will Need
This recipe uses simple, wholesome ingredients to create something that feels genuinely special. Most of these are pantry staples, especially if you keep a well-stocked baking cabinet during the winter months.
- Milk chocolate melting wafers: 12 ounces (340 grams) — I prefer Ghirardelli or Guittard for the smoothest melt and best flavor. Look for wafers specifically labeled for melting, not chocolate chips, which contain stabilizers that make them harder to work with.
- Hot cocoa mix: 1/2 cup (60 grams) — Use your favorite brand, but I recommend a rich, dark chocolate variety to balance the sweetness of the peppermint. Swiss Miss Dark Chocolate is my go-to, but any good-quality mix works.
- Mini marshmallows: 1/2 cup (about 25 grams) — The tiny ones work best for fitting inside the bombs. If you only have regular-sized marshmallows, cut them into quarters with kitchen scissors.
- Crushed peppermint candies: 1/4 cup (about 30 grams) — You can buy pre-crushed peppermint or crush your own by putting candy canes in a zip-top bag and whacking them with a rolling pin. (This is oddly satisfying, by the way.)
- White chocolate melting wafers: 2 ounces (55 grams) — For drizzling over the top. Optional but highly recommended for that finished look.
- Optional: Peppermint extract: 1/4 teaspoon — Add this to your hot milk for an extra minty kick. Not necessary if you’re using crushed peppermint inside the bombs.
For the peppermint candies, I’ve learned to crush them fairly fine—not quite powder, but small enough that they dissolve easily in the hot milk. Big chunks can be a choking hazard and don’t distribute evenly. If you’re using candy canes, the red-and-white striped ones look prettiest, but any peppermint candy works.
One thing I want to mention about the chocolate: don’t skimp here. Cheap chocolate wafers often have a waxy texture and don’t melt as smoothly. I learned this the hard way when my first batch came out looking streaky and weird. Spend the extra dollar or two for good quality wafers—it makes a real difference in both taste and appearance.
If you’re dairy-free, look for dairy-free chocolate wafers and a dairy-free hot cocoa mix. The rest of the ingredients are naturally dairy-free, so it’s an easy swap. Just make sure your marshmallows are also vegan if that matters to you—some brands use gelatin.
Equipment Needed
You don’t need a ton of fancy equipment for these, but a few specific tools will make your life much easier.
- Silicone half-sphere mold: 2-inch diameter cavities work best. I got mine on Amazon for about eight dollars, and they’ve lasted through dozens of batches. Look for food-grade silicone that’s flexible enough to pop the chocolate out easily.
- Microwave-safe bowl: For melting the chocolate. Glass or ceramic works best—plastic can hold onto odors and affect the chocolate’s flavor.
- Small offset spatula: For spreading the chocolate evenly inside the molds. A butter knife works in a pinch, but the offset spatula gives you better control.
- Baking sheet: To hold the mold flat while the chocolate sets. Any rimmed baking sheet will do.
- Piping bag or small zip-top bag: For drizzling the white chocolate. A zip-top bag with a tiny corner snipped off works perfectly and saves you from buying piping bags.
- Parchment paper: For setting the finished bombs on while the drizzle hardens.
If you don’t have a silicone mold, you can use a metal muffin tin, but you’ll need to line each cup with parchment paper first. It’s more work and the results aren’t as uniform, but it’ll get the job done. I’ve also seen people use plastic Easter egg molds in a pinch, though the shape is more oval than round.
Preparation Method
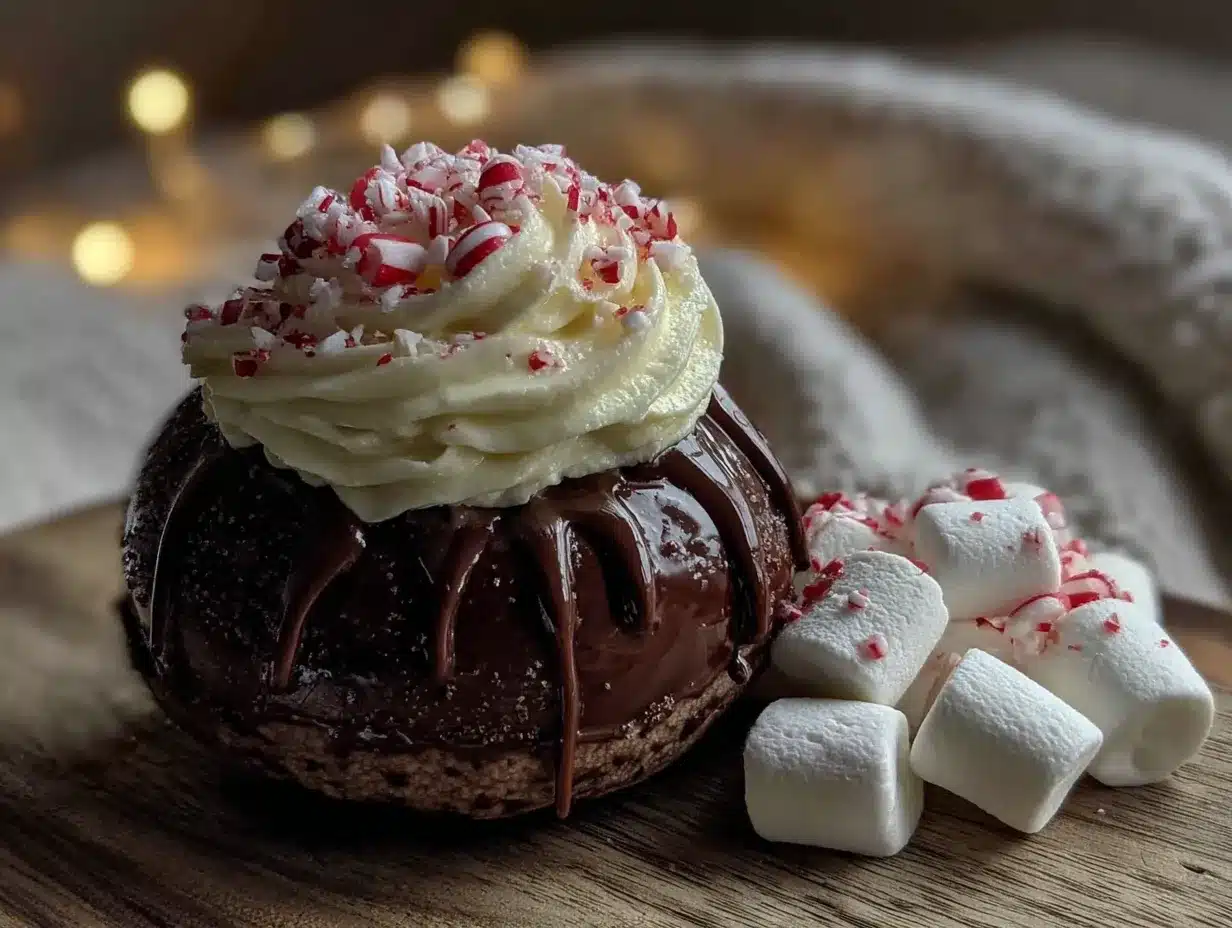
Alright, let’s get to the fun part. I’ll walk you through every step so you don’t end up with a chocolate disaster like my first batch.
- Melt the milk chocolate: Place your milk chocolate wafers in a microwave-safe bowl. Microwave in 30-second intervals, stirring thoroughly after each interval, until the chocolate is completely smooth and glossy. This usually takes about 2 minutes total. Be careful not to overheat—burnt chocolate is a tragedy you don’t want to experience.
- Fill the molds: Spoon about 1 tablespoon of melted chocolate into each cavity of your silicone mold. Use the back of a small spoon or your offset spatula to spread the chocolate up the sides, making sure you cover every surface evenly. You want a thick enough layer that the bombs won’t crack easily—about 1/8 inch thick is perfect.
- Let the chocolate set: Place the mold on your baking sheet and pop it in the refrigerator for about 10 minutes, or until the chocolate is firm to the touch. Don’t leave it in longer than 15 minutes, or the chocolate can become too brittle and crack when you try to remove it.
- Remove the chocolate hemispheres: Gently flex the silicone mold to release the chocolate half-spheres. If any edges are ragged or uneven, you can smooth them by briefly pressing the edge against a warm plate. Work quickly here—the chocolate warms up fast.
- Prepare the filling: In a small bowl, mix together your hot cocoa mix, mini marshmallows, and crushed peppermint candies. This is your filling mixture. Give it a quick stir to make sure everything is evenly distributed.
- Fill the chocolate spheres: Place one chocolate hemisphere in your palm, curved side down. Spoon about 1 tablespoon of the filling mixture into the center. Don’t overfill—you need room to seal the bomb closed. Leave about 1/4 inch of space at the top.
- Seal the bombs: Warm a small plate in the microwave for about 20 seconds. Take a second chocolate hemisphere and gently press its rim against the warm plate for about 5 seconds to melt the edge slightly. Immediately press it onto the filled hemisphere, creating a complete sphere. Hold it gently for about 10 seconds to let the seal set. Repeat with all remaining hemispheres.
- Set the sealed bombs: Place your finished bombs on a parchment-lined baking sheet and refrigerate for another 10 minutes to fully set the seals.
- Decorate with white chocolate: Melt your white chocolate wafers using the same microwave method. Transfer the melted white chocolate to a small piping bag or zip-top bag with a tiny corner snipped off. Drizzle the white chocolate over each bomb in a zigzag pattern. While the white chocolate is still wet, sprinkle a few extra crushed peppermint pieces on top for decoration.
- Final set: Refrigerate the decorated bombs for about 15 minutes, or until the white chocolate drizzle is completely firm. Store in an airtight container in the refrigerator until you’re ready to use or gift them.
A note on timing: The total active time is about 30 minutes, but you’ll need about 45 minutes total when you factor in the chilling time. I like to make these in the evening and let them set overnight—they’re always perfect in the morning.
One thing I learned the hard way: if your kitchen is warm, the chocolate will take longer to set and might get greasy. If that happens, just pop everything in the fridge for a few extra minutes. And if your seals aren’t perfect, don’t stress—the white chocolate drizzle covers a multitude of sins.
Cooking Tips & Techniques
After making these about twenty times, I’ve picked up a few tricks that make the process smoother and the results more consistent.
Temperature is everything: Chocolate is finicky about temperature. If your kitchen is above 75°F, your chocolate might not set properly. I’ve had batches that just wouldn’t harden because I was making them on an unseasonably warm winter day. If this happens, work in smaller batches and keep your molds in the fridge between steps.
Don’t skip the tempering: I know it’s tempting to just melt the chocolate and go, but taking the extra minute to stir it properly makes a huge difference. Properly tempered chocolate has that satisfying snap when you bite into it, and it won’t bloom (develop those white streaks) over time. If you’re feeling ambitious, you can use a double boiler instead of the microwave for even better results.
The warm plate trick is a game-changer: My first few batches had terrible seals that cracked open the second I touched them. Then I saw a baker on YouTube use a warm plate to melt the edges, and it changed everything. Just make sure the plate isn’t too hot—you want to melt the chocolate, not cook it.
Work quickly when filling: Once you start filling and sealing, the chocolate hemispheres start warming up from your hands. If they get too soft, they’ll lose their shape. I keep a small bowl of ice water nearby to cool my hands down if needed. Sounds weird, but it works.
Storage matters: These bombs are best within a week of making them. After that, the peppermint can start to soften the marshmallows, and the chocolate might lose its snap. Store them in an airtight container in a cool, dark place—not the fridge if you can help it, because condensation can mess up the decoration.
Variations & Adaptations
Once you’ve mastered the basic version, there are so many ways to switch things up. Here are a few of my favorites.
Dark chocolate version: Swap the milk chocolate wafers for dark chocolate (60-70% cacao works best). The bitterness of dark chocolate pairs beautifully with the sweet peppermint, and it looks stunning with a white chocolate drizzle. My husband actually prefers this version—he says it tastes more sophisticated.
White chocolate peppermint: Use white chocolate wafers for the shells instead of milk chocolate, and fill with a white hot cocoa mix. Add crushed peppermint and mini marshmallows as usual. These look like little snowballs and taste incredibly creamy. Just be careful with white chocolate—it burns more easily than milk chocolate.
Spiked hot cocoa bombs: For adult gatherings, add a teaspoon of peppermint schnapps or Irish cream liqueur to the hot milk before dropping in the bomb. You can also add a bit of instant espresso powder to the cocoa mix for a mocha-peppermint twist. I made these for a holiday party last year and they disappeared in minutes.
Vegan version: Use dairy-free dark chocolate wafers, a vegan hot cocoa mix, and vegan mini marshmallows (Dandies brand works great). The crushed peppermint is naturally vegan, so you’re good there. The process is exactly the same—just swap the ingredients.
Flavor variations: Skip the peppermint altogether and try crushed toffee bits, caramel pieces, or freeze-dried raspberries instead. You can also add a pinch of cinnamon or cayenne pepper to the cocoa mix for a Mexican hot chocolate vibe. The possibilities are honestly endless.
Serving & Storage Suggestions
These hot cocoa bombs are as much about the experience as they are about the taste. Here’s how to serve them for maximum wow factor.
Serving instructions: Heat 8 ounces of milk (dairy or non-dairy) until it’s steaming hot but not boiling. Pour the hot milk into a clear mug, then gently place one cocoa bomb on top. Watch as the chocolate shell melts and the filling spills out—it’s genuinely mesmerizing. Stir until everything is combined, then enjoy immediately. For an extra special touch, top with whipped cream and a mini candy cane.
Perfect pairings: These pair beautifully with a plate of gingerbread cookies or a slice of peppermint bark for a full holiday dessert spread. I also love serving them alongside a cheese board for a sweet-savory contrast. For a cozy night in, they’re perfect with a good movie and a fuzzy blanket.
Storage instructions: Store your finished cocoa bombs in an airtight container at room temperature for up to one week. If your kitchen is warm, you can store them in the refrigerator, but let them come to room temperature for about 10 minutes before serving to prevent condensation from making the chocolate sticky. Do not freeze them—the moisture will ruin the texture.
Gifting ideas: These make incredible homemade gifts. Place each bomb in a clear cellophane bag, tie with a festive ribbon, and attach a tag with serving instructions. I like to package them in sets of four in a small gift box lined with tissue paper. They’re always a hit at cookie exchanges and holiday parties.
Flavor development: These bombs actually taste best within the first three days, while the peppermint is still bright and the marshmallows are soft. After about a week, the peppermint flavor starts to mellow out, and the marshmallows can get a bit chewy. They’re still good—just not quite as magical.
Nutritional Information & Benefits
Let’s be honest—these are a treat, not a health food. But here’s what you should know if you’re keeping an eye on your intake.
- Calories: Approximately 220-250 calories per bomb (before milk), depending on the type of chocolate and cocoa mix you use.
- Fat: About 12-15 grams, mostly from the chocolate. Using dark chocolate can reduce the sugar content and add antioxidants.
- Carbohydrates: Around 28-32 grams, with about 22 grams of sugar. You can reduce this by using a sugar-free cocoa mix.
- Protein: 3-5 grams, depending on the milk you use. Using whole milk adds more protein and creaminess.
- Calcium: A decent amount from the milk, especially if you use dairy milk.
The peppermint in these bombs actually has some digestive benefits—it can help soothe an upset stomach and freshen breath. Plus, there’s something to be said for the mood-boosting effect of a warm, comforting drink on a cold day. I think we all need a little of that sometimes.
If you’re watching your sugar intake, you can use dark chocolate (which has less sugar than milk chocolate) and a sugar-free hot cocoa mix. The crushed peppermint adds some natural sweetness, so you won’t miss the extra sugar as much as you’d think.
Conclusion
These peppermint hot cocoa bombs are more than just a pretty drink—they’re a little moment of magic in a mug. I love how they turn an ordinary evening into something special, how they make people smile when they see that chocolate shell crack open and release all that goodness inside. It’s the kind of recipe that feels impressive but is actually totally doable, even for beginners.
I hope you’ll give them a try, and I hope you’ll make them your own. Add extra peppermint, swap in different chocolates, or fill them with your favorite hot cocoa mix. The beauty of this recipe is how adaptable it is. And if your first batch isn’t perfect? Don’t worry—mine wasn’t either. The second batch will be better, and by the third, you’ll be a pro.
I’d love to hear how yours turn out. Drop a comment below and let me know what variations you tried, or tag me in your photos if you share them online. Happy cozy season, friends—go make some magic.
Frequently Asked Questions
Can I use chocolate chips instead of melting wafers?
You can, but I don’t recommend it. Chocolate chips contain stabilizers that prevent them from melting smoothly, which makes them harder to work with in molds. Your bombs might come out streaky or lumpy. Stick with melting wafers for the best results.
How do I keep the bombs from cracking when I seal them?
The warm plate trick is your best friend here. Make sure the plate is just warm enough to melt the edge slightly—not hot enough to melt the whole hemisphere. Also, handle the bombs gently and work quickly so they don’t warm up too much from your hands.
Can I make these ahead of time for a party?
Absolutely. These are perfect make-ahead treats. You can make them up to a week in advance and store them in an airtight container at room temperature. Just wait to decorate them until a day or two before you serve them so the white chocolate drizzle stays fresh and pretty.
What kind of milk works best for serving?
Whole milk gives the creamiest, richest hot cocoa, but any milk works. Oat milk is my favorite non-dairy option because it’s naturally creamy and doesn’t curdle. Almond milk works too, but the result will be thinner. Just avoid skim milk—it makes the cocoa taste watery.
My chocolate seized up while melting. What happened?
This usually happens when a tiny bit of water gets into the chocolate. Make sure your bowl is completely dry before you start melting, and don’t cover the bowl while microwaving (condensation can drip in). If your chocolate does seize, you can sometimes save it by stirring in a teaspoon of coconut oil or vegetable shortening.
Pin This Recipe!
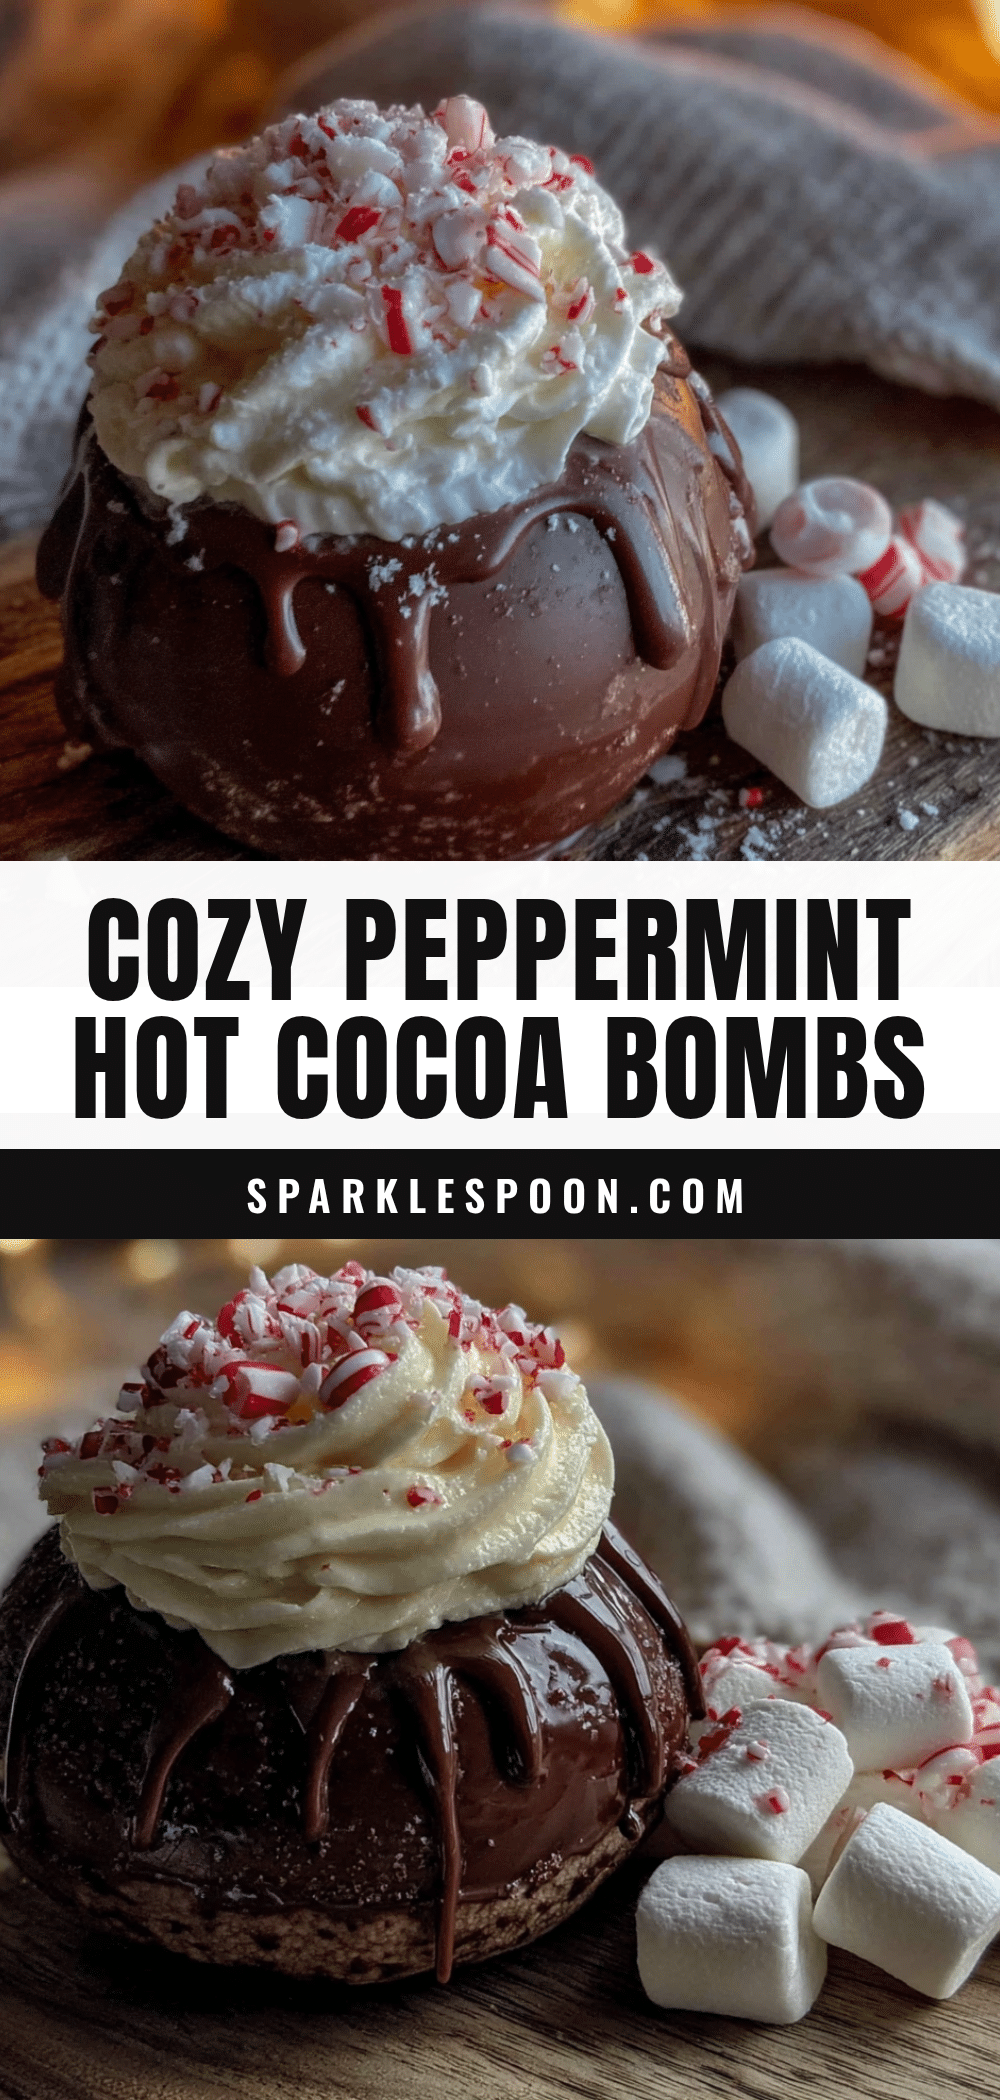
Easy Homemade Peppermint Hot Cocoa Bombs

These peppermint hot cocoa bombs are rich, creamy, and perfectly minty. They’re easier to make than you’d think and turn an ordinary mug of hot chocolate into a magical experience.
- Prep Time: 30 minutes
- Cook Time: 0 minutes
- Total Time: 45 minutes
- Yield: 6 servings 1x
- Category: Dessert
- Cuisine: American
Ingredients
- 12 ounces (340 grams) milk chocolate melting wafers
- 1/2 cup (60 grams) hot cocoa mix
- 1/2 cup (about 25 grams) mini marshmallows
- 1/4 cup (about 30 grams) crushed peppermint candies
- 2 ounces (55 grams) white chocolate melting wafers
- 1/4 teaspoon peppermint extract (optional)
Instructions
- Melt the milk chocolate: Place milk chocolate wafers in a microwave-safe bowl. Microwave in 30-second intervals, stirring thoroughly after each, until completely smooth and glossy (about 2 minutes total).
- Fill the molds: Spoon about 1 tablespoon of melted chocolate into each cavity of a silicone half-sphere mold. Use a small spoon or offset spatula to spread the chocolate up the sides, covering every surface evenly to about 1/8 inch thick.
- Let the chocolate set: Place the mold on a baking sheet and refrigerate for about 10 minutes, or until firm to the touch. Do not exceed 15 minutes.
- Remove the chocolate hemispheres: Gently flex the silicone mold to release the chocolate half-spheres. Smooth any ragged edges by briefly pressing against a warm plate.
- Prepare the filling: In a small bowl, mix together hot cocoa mix, mini marshmallows, and crushed peppermint candies until evenly distributed.
- Fill the chocolate spheres: Place one chocolate hemisphere in your palm, curved side down. Spoon about 1 tablespoon of filling into the center, leaving about 1/4 inch of space at the top.
- Seal the bombs: Warm a small plate in the microwave for about 20 seconds. Press the rim of a second chocolate hemisphere against the warm plate for about 5 seconds to melt the edge slightly. Immediately press it onto the filled hemisphere, creating a complete sphere. Hold gently for about 10 seconds to let the seal set. Repeat with all remaining hemispheres.
- Set the sealed bombs: Place finished bombs on a parchment-lined baking sheet and refrigerate for another 10 minutes to fully set the seals.
- Decorate with white chocolate: Melt white chocolate wafers using the same microwave method. Transfer to a small piping bag or zip-top bag with a tiny corner snipped off. Drizzle white chocolate over each bomb in a zigzag pattern. While still wet, sprinkle extra crushed peppermint on top.
- Final set: Refrigerate decorated bombs for about 15 minutes, or until white chocolate drizzle is completely firm. Store in an airtight container in the refrigerator until ready to use or gift.
Notes
Temperature is key: if your kitchen is above 75°F, chocolate may not set properly. Work in smaller batches and keep molds in the fridge between steps. The warm plate trick is essential for perfect seals. These bombs are best within a week of making; after that, peppermint can soften marshmallows. For dairy-free, use dairy-free chocolate wafers and hot cocoa mix, plus vegan marshmallows if needed.
Nutrition
- Serving Size: 1 bomb (plus 8 ounce
- Calories: 220250
- Sugar: 22
- Sodium: 150200
- Fat: 1215
- Saturated Fat: 79
- Carbohydrates: 2832
- Fiber: 12
- Protein: 35
Keywords: hot cocoa bombs, peppermint hot cocoa, homemade hot chocolate, holiday treats, chocolate spheres, easy dessert, Christmas recipe



