Love this? Save it for later!
Share the inspiration with your friends
This was supposed to be a simple vanilla cupcake. I had the butter softening on the counter, the vanilla bean scraped into a tiny bowl, and a very specific vision of a perfectly plain, elegant little cake. But somewhere between answering the phone and trying to find my good piping tip, I grabbed the wrong bottle. Instead of clear vanilla extract, my hand closed around a bottle of red food coloring I’d bought for a project I never got around to. I didn’t even realize it until I’d poured a generous glug into the mixing bowl. The batter turned a shocking, almost alarming shade of pink. I was already running late for a friend’s Valentine’s Day dinner, the mixer was covered in batter splatters, and I had exactly zero time to start over. I just kept mixing, muttered a few choice words, and poured the strangely colored batter into the pans. What came out of the oven was nothing like the plan — and better. The color deepened into this gorgeous, velvety red, and the cake itself? It was the moistest, most tender crumb I’d ever accidentally created. Honestly, it felt like the universe had decided I needed a red velvet moment. Maybe you’ve been there, staring down a kitchen mistake and wondering if you should just order pizza. Trust me, I get it. But this happy little accident turned into the recipe I now pull out every single Valentine’s Day. It’s the one everyone asks for, and the one I actually look forward to making.
Why You’ll Love These Heart-Shaped Red Velvet Cupcakes
Let’s be real for a second. Valentine’s Day baking can feel like a lot of pressure. You want something that looks impressive, tastes incredible, and actually shows you care. These cupcakes check every single box without making you want to throw a whisk across the kitchen. I’ve tested this recipe more times than I can count, tweaking the ratios until the crumb was just right and the color was that perfect, deep crimson. It’s been approved by my picky neighbor, my chocolate-loving cousin, and a group of toddlers who usually just eat the frosting and leave the cake. So, here’s why you’re going to love them:
- Quick & Easy: From start to finish, you’re looking at about 45 minutes. That’s totally doable on a busy weeknight or a lazy Saturday morning.
- Simple Ingredients: No weird, hard-to-find stuff. You probably have almost everything in your pantry right now. Cocoa powder, flour, sugar, eggs — the usual suspects.
- Perfect for Valentine’s Day: I mean, the heart shape and the red color kind of scream “romance,” right? They’re perfect for a date night dessert, a Galentine’s party, or just treating yourself.
- Unbelievably Delicious: This isn’t a dry, crumbly red velvet. This is the soft, moist, slightly tangy kind that makes you close your eyes after the first bite. The cream cheese frosting is the perfect partner.
- Crowd-Pleaser: I’ve never met anyone who didn’t love these. Kids go wild for the color, and adults appreciate the classic, comforting flavor.
What makes this recipe different from all the other red velvet recipes out there? It’s the little bit of vinegar and buttermilk. That combo is the secret to the tender crumb and that signature subtle tang. It’s not just another red velvet — it’s the one that tastes like it came from a fancy bakery, but you made it in your own kitchen. It’s the kind of dessert that makes a simple meal feel like a celebration.
What Ingredients You Will Need
This recipe uses simple, wholesome ingredients to deliver that classic red velvet flavor and a perfectly soft texture. Most of these are pantry staples, which makes this an easy last-minute bake.
For the Cupcakes
- All-purpose flour, 1 ½ cups (180g) — The base of our cake. Spoon and level it for the best results.
- Unsweetened cocoa powder, 1 tablespoon (5g) — Just a touch for that subtle chocolate flavor. Don’t overdo it, or the color will get too dark.
- Baking soda, 1 teaspoon — This helps the cupcakes rise and get that nice dome.
- Salt, ½ teaspoon — Balances the sweetness.
- Unsalted butter, ½ cup (1 stick, 113g), softened — I always use unsalted so I can control the salt level. Let it sit out for about 30 minutes.
- Granulated sugar, 1 cup (200g) — For sweetness and structure.
- Large eggs, 2, room temperature — Room temperature eggs mix in more evenly, creating a smoother batter.
- Vegetable oil, ½ cup (120ml) — This is the secret to an incredibly moist cupcake. It keeps the crumb tender for days.
- Buttermilk, 1 cup (240ml), room temperature — The acid in the buttermilk is crucial. It reacts with the baking soda and gives red velvet its signature tangy flavor. If you don’t have buttermilk, you can make a quick substitute: add 1 tablespoon of lemon juice or white vinegar to a measuring cup, then fill with regular milk to the 1-cup line. Let it sit for 5 minutes.
- White vinegar, 1 teaspoon — This sounds weird, I know, but it boosts the reaction with the baking soda and helps the color stay vibrant.
- Red gel food coloring, 2 tablespoons (or about 1 ounce) — I really recommend using a gel or paste food coloring instead of the liquid drops. The gel gives you that deep, rich red without thinning out the batter. My favorite brand is Wilton.
- Vanilla extract, 1 teaspoon — For that warm, sweet aroma.
For the Cream Cheese Frosting
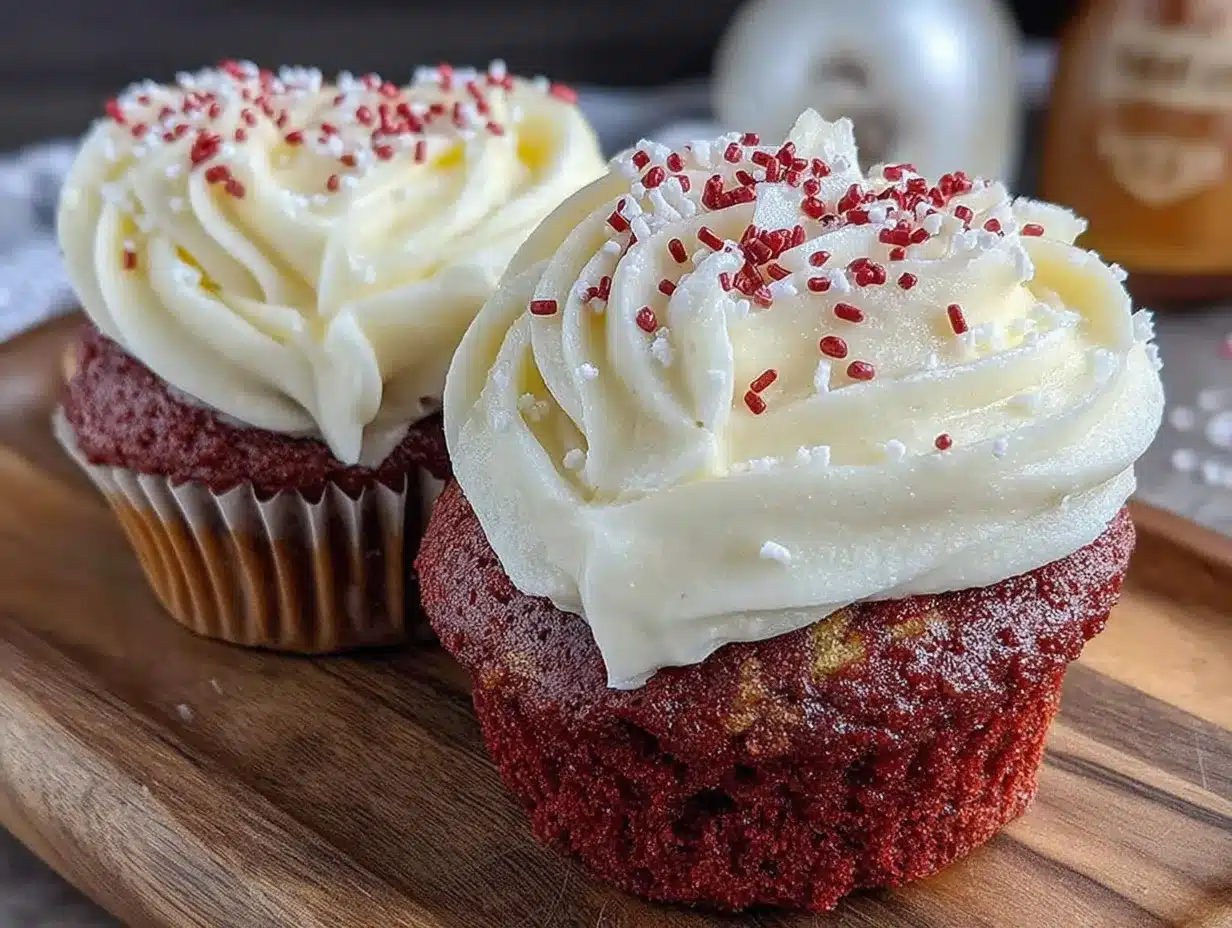
- Cream cheese, 8 ounces (226g), softened — Use the block style, not the spreadable kind in a tub. It needs to be really soft for a smooth frosting.
- Unsalted butter, ½ cup (1 stick, 113g), softened
- Powdered sugar, 3-4 cups (360-480g), sifted — Sifting is key to avoiding lumpy frosting. I know it’s a pain, but it makes a difference.
- Vanilla extract, 1 teaspoon
- Pinch of salt — To cut the sweetness.
Equipment Needed
You don’t need a ton of fancy equipment for these, which is one of the reasons I love this recipe. Here’s what you’ll want to have on hand:
- Heart-shaped cupcake pan — This is the star of the show. You can find these at most kitchen supply stores or online. I got mine at a local baking shop, and it was totally worth the $12.
- Heart-shaped cupcake liners — These make the hearts pop even more. I like the foil ones because they hold their shape nicely.
- Mixing bowls — A couple of medium to large bowls.
- Electric hand mixer or stand mixer — You can do this by hand, but a mixer makes the creaming process so much faster and easier.
- Whisk — For combining dry ingredients.
- Rubber spatula — For scraping down the bowl and folding in ingredients.
- Measuring cups and spoons — For accuracy.
- Piping bag and star tip — For a pretty frosting swirl. If you don’t have a piping bag, a zip-top bag with the corner snipped off works in a pinch.
- Cooling rack — Essential for letting the cupcakes cool completely before frosting.
Preparation Method
Alright, let’s get to the fun part. Here’s how to make these little hearts of joy. I’ve broken it down into simple, numbered steps so you can follow along easily.
- Preheat and Prep: First things first, preheat your oven to 350°F (175°C). Place the heart-shaped liners into your heart-shaped cupcake pan. This makes cleanup a breeze and gives the cupcakes a beautiful finish.
- Mix the Dry Ingredients: In a medium bowl, whisk together the 1 ½ cups of flour, 1 tablespoon of cocoa powder, 1 teaspoon of baking soda, and ½ teaspoon of salt. Whisking not only combines them but also aerates the flour, which makes for a lighter cupcake. Set this bowl aside.
- Cream the Butter and Sugar: In a large mixing bowl (or the bowl of your stand mixer), beat the ½ cup of softened butter and 1 cup of granulated sugar together until it’s light, fluffy, and pale in color. This should take about 3-4 minutes. Scrape down the sides of the bowl with your spatula once or twice.
- Add the Wet Ingredients: Beat in the 2 room-temperature eggs, one at a time, making sure each is fully incorporated before adding the next. Then, mix in the ½ cup of vegetable oil and 1 teaspoon of vanilla extract. The batter might look a little separated at this point — don’t worry, that’s totally normal.
- The Color Magic: Now for the star ingredient! Add the 2 tablespoons of red gel food coloring and mix until the batter is a uniform, vibrant red. It will look a bit shocking, but trust the process.
- Alternate the Dry and Wet: With the mixer on low speed, add about one-third of the dry ingredients to the butter mixture, mixing until just combined. Then, pour in half of the buttermilk and mix. Repeat with another third of the dry ingredients, the rest of the buttermilk, and finally the last of the dry ingredients. Mix until just combined — overmixing at this stage will make the cupcakes tough.
- The Secret Ingredient: Finally, mix in the 1 teaspoon of white vinegar. Give the batter one last stir with your spatula to make sure everything is incorporated from the bottom. The batter will be thick and luscious.
- Fill the Pans: Divide the batter evenly among the heart-shaped liners. I like to use a cookie scoop or a measuring cup with a spout. Fill each liner about two-thirds full. This gives them room to rise without overflowing.
- Bake to Perfection: Bake for 18-22 minutes, or until a toothpick inserted into the center of a cupcake comes out clean or with just a few moist crumbs. The tops should spring back when you gently touch them. My oven runs a little hot, so I always check at the 18-minute mark.
- Cool Completely: Let the cupcakes cool in the pan for about 5 minutes, then carefully transfer them to a wire rack to cool completely. This is super important — if you try to frost them while they’re even a little warm, the frosting will turn into a melty mess.
- Make the Frosting: While the cupcakes are cooling, make the cream cheese frosting. In a large bowl, beat the 8 ounces of softened cream cheese and ½ cup of softened butter together until smooth and creamy. Gradually add the sifted powdered sugar, one cup at a time, beating on low speed. Add the vanilla and a pinch of salt, then beat on medium-high until the frosting is light and fluffy.
- Frost and Decorate: Once the cupcakes are completely cool, load the frosting into your piping bag fitted with a star tip. Pipe a generous swirl onto each cupcake. Add some festive sprinkles, a few red sanding sugar crystals, or even a tiny heart-shaped candy on top.
Cooking Tips & Techniques
I’ve made a lot of mistakes in the kitchen, and I’m happy to share them so you don’t have to. Here are my best tips for nailing these cupcakes every single time.
Don’t Overmix the Batter. This is probably the most common mistake. Once you add the flour, mix just until you don’t see any more white streaks. Overmixing develops the gluten, and that leads to dense, rubbery cupcakes instead of soft, tender ones. I learned this the hard way when I made a batch that could have doubled as hockey pucks.
Room Temperature Ingredients are Non-Negotiable. I know it’s tempting to use cold eggs or cold buttermilk straight from the fridge, but trust me on this. Room temperature ingredients emulsify much better, creating a smoother batter and a more even crumb. Just take them out of the fridge about 30 minutes before you start baking.
Use Gel Food Coloring. Liquid food coloring will work in a pinch, but you’ll need a ton of it to get a true red, and that can mess with the liquid balance of the recipe. Gel coloring is much more concentrated, so you get a beautiful, deep red without thinning out the batter. Plus, it doesn’t have that weird aftertaste that some liquid colors do.
The Vinegar is Your Friend. I know a teaspoon of vinegar sounds like a mistake, but it’s not. It reacts with the baking soda and the buttermilk to create carbon dioxide bubbles, which help the cupcakes rise and stay tender. It also helps set the red color, making it more vibrant. Don’t skip it.
Check for Doneness Early. Ovens are liars. They all run a little differently. Start checking your cupcakes at the 18-minute mark. A toothpick inserted in the center should come out clean. If the tops are browning too quickly but the centers are still raw, you can tent the pan loosely with aluminum foil for the last few minutes.
Variations & Adaptations
One of the best things about this recipe is how easy it is to change up. Here are a few of my favorite variations.
Chocolate Red Velvet Cupcakes: If you’re a serious chocolate lover, you can bump up the cocoa powder to 2 tablespoons. It will deepen the chocolate flavor and make the red a little darker, but it’s still delicious. Just be careful not to add too much, or it can dry out the cake.
Gluten-Free Version: I’ve made these with a good quality 1:1 gluten-free flour blend (the kind with xanthan gum already in it), and they turned out fantastic. The texture was a tiny bit more delicate, but the flavor was spot on. Just measure carefully and don’t overmix.
Dairy-Free Adaptation: You can swap the butter for a plant-based butter (like Miyoko’s or Country Crock Plant Butter) and use a dairy-free cream cheese for the frosting. For the buttermilk, add 1 tablespoon of lemon juice to a cup of unsweetened almond or oat milk and let it sit for 5 minutes. The flavor will be slightly different, but still really good.
Mini Heart Bites: For a party or a gift, you can bake these in a mini heart-shaped pan. Just reduce the baking time to about 10-12 minutes. They’re the perfect two-bite treat.
Different Frosting Flavors: While cream cheese is the classic choice, you could also top these with a simple vanilla buttercream, a chocolate ganache, or even a strawberry frosting for an extra pop of Valentine’s flavor.
Serving & Storage Suggestions
These cupcakes are best served at room temperature. The cream cheese frosting softens up perfectly, and the cake is at its most tender. If you’ve refrigerated them, let them sit on the counter for about 20-30 minutes before serving.
Presentation Ideas: For a Valentine’s Day party, arrange the cupcakes on a beautiful cake stand. A simple white stand makes the red color pop. You could also place them on a wooden board with some fresh berries and a few sprigs of mint for a rustic look. A dusting of powdered sugar over the top (before frosting) adds a pretty snowy effect.
Storage: Store any leftover cupcakes in an airtight container in the refrigerator for up to 4 days. Because of the cream cheese frosting, they do need to be kept chilled. Let them come to room temperature before eating for the best texture.
Freezing: You can freeze the unfrosted cupcakes for up to 3 months. Just wrap them individually in plastic wrap, then place them in a freezer-safe bag. When you’re ready to use them, thaw them in the refrigerator overnight, then bring to room temperature before frosting. The frosting itself can also be frozen in an airtight container for up to a month. Just thaw it in the fridge and re-whip it before using.
Nutritional Information & Benefits
Let’s be honest, these are a treat, not a health food. But that doesn’t mean we can’t talk about what’s in them. Here’s a rough estimate per cupcake (with frosting):
- Calories: ~380-420
- Fat: 22g
- Carbohydrates: 45g
- Protein: 5g
- Sugar: 32g
Health Highlights: The cocoa powder is a source of antioxidants called flavonoids, which are good for heart health. The cream cheese provides some calcium and protein. And honestly? Sometimes the best thing for your mental health is a beautiful, delicious cupcake that you made yourself. Baking can be a wonderful form of stress relief and a way to show love to the people around you. So, enjoy every single bite without guilt.
Dietary Considerations: This recipe contains gluten, dairy, and eggs. For gluten-free and dairy-free options, please see the variations section above.
Conclusion
These heart-shaped red velvet cupcakes are more than just a dessert. They’re a little bit of kitchen magic that turned a mistake into a tradition. They’re the perfect way to say “I love you” on Valentine’s Day, whether that’s to a partner, a friend, a family member, or just to yourself. The deep red color, the tender crumb, the tangy cream cheese frosting — it’s a combination that never gets old. I love that I can whip them up in under an hour and they always, always get a smile. I’d love to see your creations! Tag me in your photos and let me know how they turned out. Did you add any fun sprinkles? Did you try a different frosting? Share your stories in the comments below. Happy baking, friends!
Frequently Asked Questions
Can I use a regular round cupcake pan instead of a heart-shaped one?
Absolutely! You can use a standard 12-cup muffin pan. The recipe will work exactly the same way. They just won’t be heart-shaped, of course. You can still decorate them with red and pink sprinkles to keep the Valentine’s Day theme going.
Why did my red velvet cupcakes turn out brown?
This usually happens for one of two reasons. First, you might have used too much cocoa powder. Stick to the 1 tablespoon measurement. Second, you might have used liquid food coloring instead of gel. Liquid coloring is less potent, so the red isn’t as strong, and the cocoa color takes over. A good gel food coloring is the best way to get that vibrant red.
My cream cheese frosting is too runny. What did I do wrong?
There are a couple of culprits here. The most common one is that your cream cheese or butter was too soft, almost melted. They should be softened, not greasy. Another reason could be that you didn’t sift your powdered sugar. Lumps can break down the structure of the frosting. Finally, make sure you didn’t overbeat it. Once it’s fluffy, stop mixing.
Can I make the batter ahead of time?
I don’t recommend it. The chemical reaction between the buttermilk, vinegar, and baking soda starts as soon as you mix them. If you let the batter sit, it will lose its leavening power, and your cupcakes won’t rise as well. It’s best to bake them right away.
How do I get that perfect dome on top of my cupcakes?
For a nice dome, make sure your oven is fully preheated to 350°F. The initial blast of heat helps the batter rise quickly. Also, don’t overfill the liners — two-thirds full is the sweet spot. Finally, make sure your baking soda is fresh! Expired baking soda won’t give you the rise you need.
Pin This Recipe!
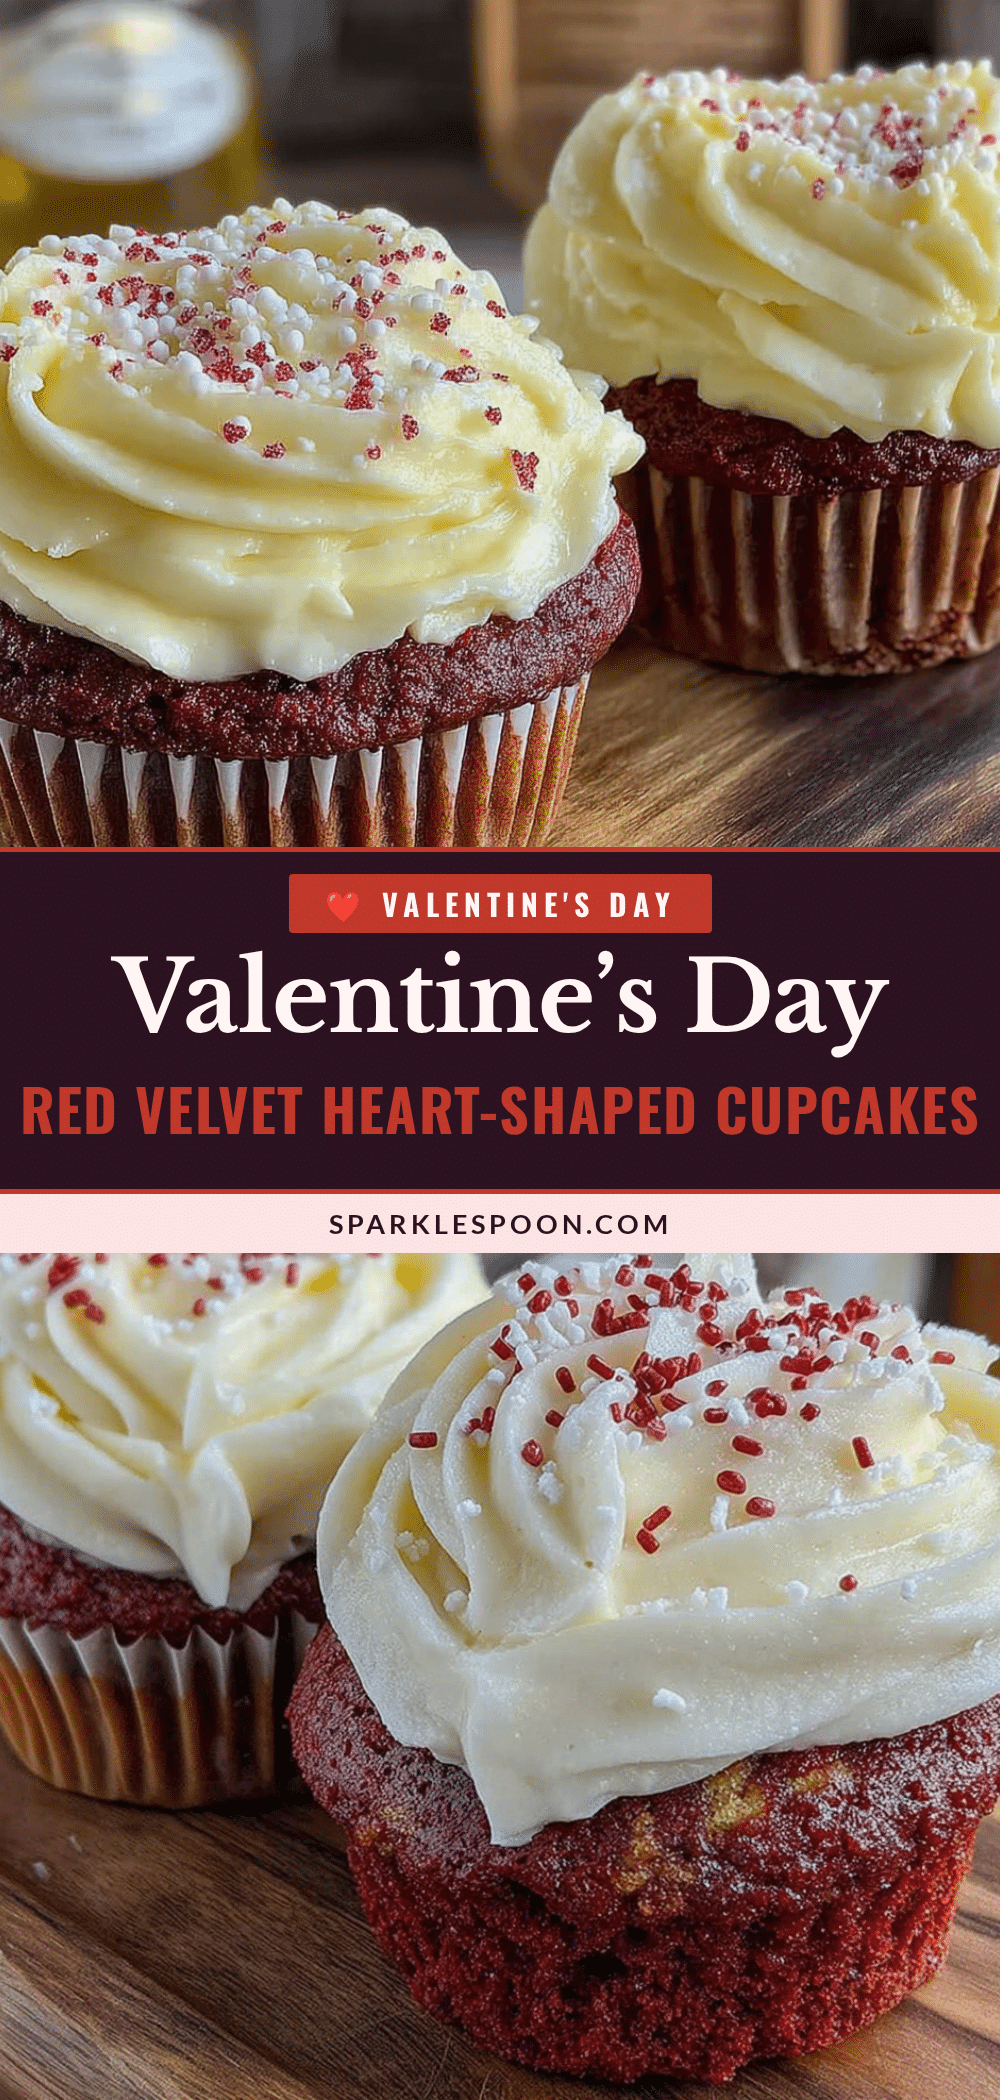
Easy Heart-Shaped Red Velvet Cupcakes for Valentine’s Day
These heart-shaped red velvet cupcakes are moist, tender, and topped with a tangy cream cheese frosting. They’re the perfect Valentine’s Day dessert that looks impressive but is surprisingly easy to make.
- Prep Time: 15 minutes
- Cook Time: 20 minutes
- Total Time: 45 minutes
- Yield: 12 servings 1x
- Category: Dessert
- Cuisine: American
Ingredients
- 1 ½ cups (180g) all-purpose flour
- 1 tablespoon (5g) unsweetened cocoa powder
- 1 teaspoon baking soda
- ½ teaspoon salt
- ½ cup (1 stick, 113g) unsalted butter, softened
- 1 cup (200g) granulated sugar
- 2 large eggs, room temperature
- ½ cup (120ml) vegetable oil
- 1 teaspoon vanilla extract
- 2 tablespoons red gel food coloring
- 1 cup (240ml) buttermilk, room temperature
- 1 teaspoon white vinegar
- 8 ounces (226g) cream cheese, softened
- ½ cup (1 stick, 113g) unsalted butter, softened (for frosting)
- 3–4 cups (360-480g) powdered sugar, sifted
- 1 teaspoon vanilla extract (for frosting)
- Pinch of salt (for frosting)
Instructions
- Preheat oven to 350°F (175°C). Place heart-shaped liners in a heart-shaped cupcake pan.
- In a medium bowl, whisk together flour, cocoa powder, baking soda, and salt. Set aside.
- In a large bowl, beat softened butter and granulated sugar until light and fluffy, about 3-4 minutes.
- Beat in eggs one at a time, then mix in vegetable oil and vanilla extract.
- Add red gel food coloring and mix until batter is uniformly red.
- With mixer on low, add dry ingredients in three additions, alternating with buttermilk, beginning and ending with dry ingredients. Mix until just combined.
- Mix in white vinegar. Stir batter with a spatula to ensure everything is incorporated.
- Divide batter evenly among heart-shaped liners, filling each about two-thirds full.
- Bake for 18-22 minutes, or until a toothpick inserted in the center comes out clean. Cool in pan for 5 minutes, then transfer to a wire rack to cool completely.
- For frosting: Beat softened cream cheese and butter until smooth. Gradually add sifted powdered sugar, then vanilla and salt. Beat until light and fluffy.
- Once cupcakes are completely cool, pipe frosting onto each cupcake using a piping bag fitted with a star tip. Decorate as desired.
Notes
Use gel food coloring for the best red color. Room temperature ingredients are crucial for a smooth batter. Do not overmix the batter to avoid dense cupcakes. The vinegar helps the cupcakes rise and keeps the color vibrant.
Nutrition
- Serving Size: 1 cupcake
- Calories: 400
- Sugar: 32
- Sodium: 250
- Fat: 22
- Saturated Fat: 10
- Carbohydrates: 45
- Fiber: 1
- Protein: 5
Keywords: red velvet cupcakes, heart-shaped cupcakes, Valentine's Day dessert, cream cheese frosting, easy cupcakes



