Love this? Save it for later!
Share the inspiration with your friends
The first time I made these, I was testing them for a Halloween party and accidentally used a piping tip that was way too small. Instead of cute little ghosts, I ended up with a baking sheet full of what looked like tiny, angry clouds. My friend Maria, who was over helping me set up, just laughed and said, “They look like they’re having a bad day.” We ate those misshapen little guys right off the pan, and honestly? They were still delicious. That’s the thing about this recipe—it’s forgiving, it’s fun, and it’s the kind of treat that makes people stop and smile before they even take a bite.
I first learned the basics of meringue from an older neighbor, Mrs. Gable, who used to make them for her church bake sales. She’d sit on her porch and tell me that the secret wasn’t in the sugar or the eggs, but in the patience. “You can’t rush a meringue,” she’d say, wiping her hands on her apron. “It knows when you’re in a hurry.” She was right. But what she didn’t tell me was how easy it is to turn those simple, airy cookies into something that steals the show at a gathering. When I added a bit of cocoa powder and shaped them into little ghosts for a Halloween party a few years back, I knew I had stumbled onto something special. They were gone before the punch bowl was even empty.
These ghost meringue cookies aren’t just a dessert; they’re a conversation starter. They’re light, they’re crunchy, and they have that perfect melt-in-your-mouth texture that makes you reach for another one before you’ve even finished the first. And the best part? They are dead simple to make. Honestly, you don’t need to be a pastry chef to pull these off. You just need a little time, a steady hand, and a willingness to have fun with your food. So if you’re looking for a Halloween treat that’s more charming than scary, and that you can actually make ahead of time without losing your mind, you’ve come to the right place. Let’s get started.
Why You’ll Love This Recipe
I’ve tested this recipe more times than I care to count, and I can tell you with confidence—it works. Every. Single. Time. These cookies are the kind of thing that makes you look like a kitchen wizard, but they’re secretly one of the easiest things you can bake. Here’s why they’ve become my go-to for every Halloween gathering.
- Quick & Easy: The active prep time is only about 15 minutes. The oven does the rest of the work, slowly drying them out to perfection.
- Simple Ingredients: You only need four basic ingredients: egg whites, sugar, cream of tartar, and a little vanilla. That’s it. No fancy extracts or hard-to-find items.
- Perfect for a Party: These are a showstopper on any dessert table. They’re light after a heavy meal, and they’re naturally gluten-free, so almost everyone can enjoy them.
- Crowd-Pleaser: I’ve yet to meet a person who doesn’t love a good meringue cookie. The ghost shape just makes them even more fun to eat.
- Unbelievably Delicious: The outside is crisp and shatteringly light, while the inside is soft and chewy. It’s a texture combination that’s pure magic.
What makes this recipe different from all the other meringue recipes out there? It’s the technique. I’ve perfected the method for getting that glossy, stiff peak meringue every time, without any weeping or cracking. Plus, the ghost shape is just plain fun. It’s not just a cookie; it’s an experience. You’ll feel a little burst of pride every time you pull a tray of these little guys out of the oven. They’re the kind of treat that makes you close your eyes after the first bite—light, sweet, and perfectly spooky.
Ingredients Needed
This recipe uses simple, pantry-friendly ingredients to create something truly special. Each one plays a crucial role in building that perfect meringue texture and flavor. Don’t be tempted to skip or substitute the cream of tartar—it’s the secret to a stable meringue that doesn’t deflate.
- 4 large egg whites, at room temperature (this is crucial for maximum volume)
- 1 cup (200g) granulated sugar (I prefer Domino for its fine, consistent texture)
- 1/2 teaspoon cream of tartar (stabilizes the egg whites and helps them hold their shape)
- 1 teaspoon vanilla extract (pure, not imitation, for the best flavor)
- 1/4 cup (30g) powdered sugar, sifted (for dusting, optional but gives a snowy look)
- Mini chocolate chips, for eyes (about 1/4 cup, or as many as you need)
Ingredient Tips & Substitutions:
- Egg Whites: For the best volume, make sure your eggs are at room temperature. Separate them while they’re cold, then let the whites sit out for about 30 minutes. If you’re in a hurry, you can place the bowl of egg whites in a warm water bath for a few minutes.
- Sugar: Granulated sugar is the standard, but you can use superfine sugar (also called caster sugar) for an even smoother meringue. It dissolves faster.
- Cream of Tartar: If you don’t have it, you can substitute with 1 teaspoon of lemon juice or white vinegar. It serves the same purpose of stabilizing the egg whites.
- Vanilla: Feel free to experiment! Peppermint extract would make these taste like a thin mint, or almond extract for a different twist.
- Chocolate Chips: Use mini chips so they don’t sink or overwhelm the cookie. You can also use black sanding sugar for the eyes for a different look.
Equipment Needed
You don’t need a ton of fancy equipment to make these ghost cookies, but a few key tools will make your life a lot easier. Here’s what you’ll need:
- Electric mixer (stand mixer or hand mixer—I’ve used both, and a stand mixer is definitely easier for the long whipping time)
- Large mixing bowl (make sure it’s completely clean and grease-free; any fat will ruin your meringue)
- Piping bag with a large round tip (like a Wilton 1A or 2A) or a sturdy zip-top bag with the corner snipped off
- Baking sheets (lined with parchment paper or a silicone baking mat)
- Spatula (for scraping down the bowl)
- Cooling rack (for letting the cookies cool completely)
Budget-Friendly Tip: If you don’t have a piping bag, a heavy-duty zip-top bag works perfectly. Just snip off about 1/2 inch from one corner. No need to buy a special tip—you can just cut a small hole. I’ve been doing this for years, and it works like a charm.
Preparation Method
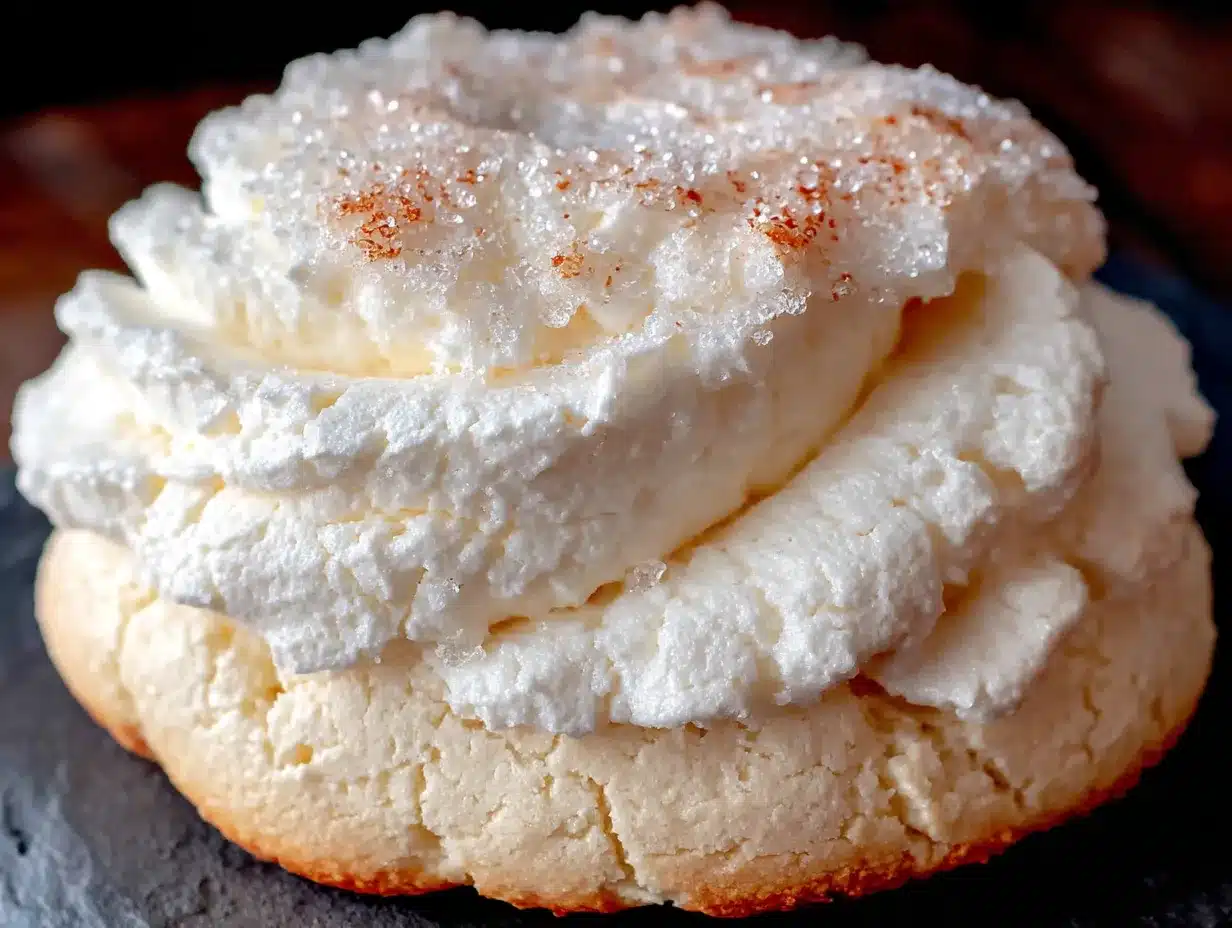
This is where the magic happens. Follow these steps carefully, and you’ll have a batch of perfect ghost cookies that will be the talk of your party.
- Preheat and Prep: Preheat your oven to 200°F (95°C). Line two baking sheets with parchment paper or silicone mats. This low temperature is key—we’re drying the meringues, not baking them.
- Whip the Egg Whites: In your clean, dry mixing bowl, combine the room-temperature egg whites and cream of tartar. Beat on medium speed until they become frothy and start to form soft peaks. This takes about 2-3 minutes. You’ll see the bubbles get smaller and the mixture turn white.
- Add the Sugar Slowly: With the mixer running on medium-high, start adding the granulated sugar, one tablespoon at a time. This is the most important step! Adding the sugar gradually ensures it dissolves completely, which gives you a smooth, glossy meringue. Keep beating until the mixture is thick, glossy, and holds stiff peaks. When you lift the beater, the meringue should stand up straight without flopping over. This can take 5-7 minutes total.
- Add Vanilla: Beat in the vanilla extract until just combined. Don’t overmix at this point, or you risk deflating the meringue.
- Prepare to Pipe: Transfer the meringue to your piping bag fitted with a large round tip. If you’re using a zip-top bag, fill it halfway, seal the top, and snip off a corner.
- Pipe the Ghosts: Hold the piping bag perpendicular to the baking sheet, about 1/2 inch above the surface. Pipe a small mound of meringue, about 1.5 inches wide at the base. As you finish piping, lift the bag straight up to create a little peak on top—this will be the ghost’s head. Leave about 1 inch of space between each ghost. Don’t worry if they’re not perfect; a little wobbliness adds character!
- Add the Eyes: Gently press two mini chocolate chips into each ghost for eyes. Do this immediately after piping, before the meringue starts to form a skin. If you wait too long, the chips won’t stick.
- Bake Low and Slow: Place the baking sheets in the preheated oven and bake for 1 hour and 15 minutes to 1 hour and 30 minutes. The cookies are done when they are dry to the touch and can be easily lifted from the parchment paper. They should be firm on the outside but still slightly soft on the inside.
- Cool Completely: Turn off the oven and leave the cookies inside with the door slightly ajar (prop it open with a wooden spoon) for at least 1 hour. This allows them to dry out completely and prevents cracking. After that, transfer them to a wire rack to cool completely.
Sensory Cue: When you pipe the meringue, it should feel smooth and silky, not grainy. If you rub a little between your fingers, you shouldn’t feel any sugar crystals. That’s how you know it’s been whipped enough.
Cooking Tips & Techniques
Over the years, I’ve learned a few things the hard way so you don’t have to. Here are my best tips for perfect ghost meringue cookies every single time.
- The Bowl Must Be Spotless: Any trace of grease or yolk will prevent your egg whites from whipping up. Wash your bowl and beaters with hot, soapy water, and dry them thoroughly. I even wipe mine down with a little lemon juice or vinegar to be safe.
- Don’t Overwhip: It’s possible to overwhip meringue! If it starts to look grainy or separated, you’ve gone too far. Stop as soon as you have stiff, glossy peaks. Overwhipped meringue will weep and collapse in the oven.
- Humidity is the Enemy: Meringues are hygroscopic, meaning they absorb moisture from the air. Don’t make these on a rainy or humid day. They’ll turn sticky and soft instead of crisp. Wait for a dry day for the best results.
- Low and Slow is Non-Negotiable: I know it’s tempting to crank up the heat to speed things up, but don’t. High heat will cause the meringues to brown and crack. The low temperature is what gives them that perfect, snowy white color and crisp texture.
- Let Them Rest in the Oven: This is the step most people skip, but it’s the secret to perfectly dry meringues. Leaving them in the turned-off oven with the door open allows them to finish drying out without any risk of over-baking.
Personal Failure: The first time I made these, I was in a hurry and used cold eggs straight from the fridge. The meringue never got fluffy, and my ghosts ended up looking like flat, sad pancakes. Lesson learned! Room temperature eggs are non-negotiable for volume.
Variations & Adaptations
Once you’ve mastered the basic ghost, the possibilities are endless. Here are a few of my favorite ways to mix things up.
- Chocolate Ghosts: Replace 2 tablespoons of the granulated sugar with 2 tablespoons of unsweetened cocoa powder. Sift it together with the sugar before adding it to the egg whites. You’ll get a beautiful chocolate ghost with a deep, rich flavor.
- Peppermint Ghosts: Substitute the vanilla extract with 1/2 teaspoon of peppermint extract. These are perfect for a winter holiday party! You can even crush up a candy cane and sprinkle it on top before baking.
- Lemon or Lime Ghosts: Add 1 teaspoon of lemon or lime zest along with the vanilla. The citrus cuts through the sweetness beautifully and adds a bright, fresh flavor.
- Spooky Swirl Ghosts: Before piping, swirl in a little bit of black or orange food coloring gel. Don’t mix it in completely—just a few swirls. When you pipe, you’ll get a marbled effect that’s really cool.
- Vegan Option: You can use aquafaba (the liquid from a can of chickpeas) instead of egg whites. Use 3 tablespoons of aquafaba per egg white. The rest of the recipe remains the same, though the baking time might be slightly shorter.
Serving & Storage Suggestions
These ghost cookies are best when they’re fresh, but they store surprisingly well if you know how to handle them. Here’s everything you need to know.
Serving: Serve these at room temperature. They’re perfect on a Halloween dessert table, arranged on a platter with some fake spiderwebs or orange sprinkles. I like to set them out right before guests arrive so they stay perfectly crisp. They pair wonderfully with a cup of hot apple cider or a glass of cold milk.
Storage: Store the cooled cookies in an airtight container at room temperature. Do not refrigerate them—the moisture in the fridge will make them sticky. They will keep for up to 2 weeks if stored properly. I like to layer them between sheets of parchment paper to prevent them from breaking.
Freezing: You can freeze these for up to 3 months. Place them in a single layer in a freezer-safe container, with parchment paper between each layer. To thaw, let them sit at room temperature for about 30 minutes. They won’t be quite as crisp as fresh, but they’ll still be delicious.
Flavor Development: Interestingly, the vanilla flavor actually mellows and becomes more subtle after a day or two. If you want a stronger vanilla punch, add an extra 1/2 teaspoon to the recipe.
Nutritional Information & Benefits
While these are definitely a treat, they’re a lighter option compared to many other cookies. Here’s a quick look at the nutritional profile per ghost (based on making about 24 cookies).
| Nutrient | Amount per Cookie |
|---|---|
| Calories | 35 |
| Total Fat | 0g |
| Saturated Fat | 0g |
| Cholesterol | 0mg |
| Sodium | 15mg |
| Total Carbohydrates | 8g |
| Sugars | 8g |
| Protein | 1g |
Health Benefits: These cookies are naturally fat-free and cholesterol-free, making them a lighter option for a Halloween treat. They’re also gluten-free, so they’re safe for guests with celiac disease or gluten sensitivities. The protein from the egg whites provides a small energy boost, and the sugar gives you a quick burst of energy—perfect for keeping the party going!
Dietary Considerations: As written, this recipe is gluten-free and nut-free. For a vegan version, use aquafaba as mentioned in the variations section.
Conclusion
These spooky ghost meringue cookies are more than just a Halloween treat—they’re a little piece of edible art that brings joy to any gathering. They’re light, they’re fun, and they’re surprisingly easy to make. I’ve made them for Halloween parties, spooky movie nights, and even just for a quiet afternoon when I wanted to feel a little bit of magic in my kitchen. Every time, they remind me of that first batch with Maria, laughing at our ugly little ghosts and eating them anyway.
I encourage you to make these your own. Play with the flavors, try different eye shapes, or add a little sprinkle of edible glitter for extra sparkle. The best recipes are the ones that get passed around and adapted by the people who love them. So go ahead—preheat that oven, whip up some egg whites, and create a little bit of Halloween magic. And when you do, I’d love to hear about it! Drop a comment below and tell me how your ghosts turned out, or share a photo on social media and tag me. Happy haunting!
Frequently Asked Questions
Can I make these ghost cookies without a piping bag?
Absolutely! A sturdy zip-top bag works just as well. Fill it with the meringue, seal it, and snip off about 1/2 inch from one corner. You can also use a small spoon to drop dollops of meringue onto the baking sheet and shape them into ghost-like forms with the back of the spoon.
Why did my meringue turn out flat and not fluffy?
This usually happens for one of three reasons: your bowl or beaters had a trace of grease, your egg whites were too cold, or you didn’t whip them long enough. Make sure everything is spotless, use room-temperature eggs, and whip until you have stiff, glossy peaks that hold their shape.
How do I know when the meringues are fully baked?
The meringues are done when they are dry to the touch and can be easily lifted off the parchment paper. They should feel firm and crisp on the outside. If they stick to the paper, they need more time. Remember, the low oven temperature is for drying, not browning, so they should remain white.
Can I add food coloring to make them different colors?
Yes! Gel food coloring is best because it won’t add extra liquid to the meringue. Add it when you add the vanilla, and gently fold it in until you reach your desired color. For Halloween, try orange, green, or purple ghosts. Just be careful not to overmix, or you’ll deflate the meringue.
My cookies cracked in the oven. What went wrong?
Cracking is usually caused by sudden temperature changes. This can happen if you open the oven door too often during baking, or if you take them out of the oven too quickly. Always let them cool in the turned-off oven with the door slightly ajar for at least an hour. Also, make sure your meringue isn’t overwhipped, as that can also cause cracking.
Pin This Recipe!
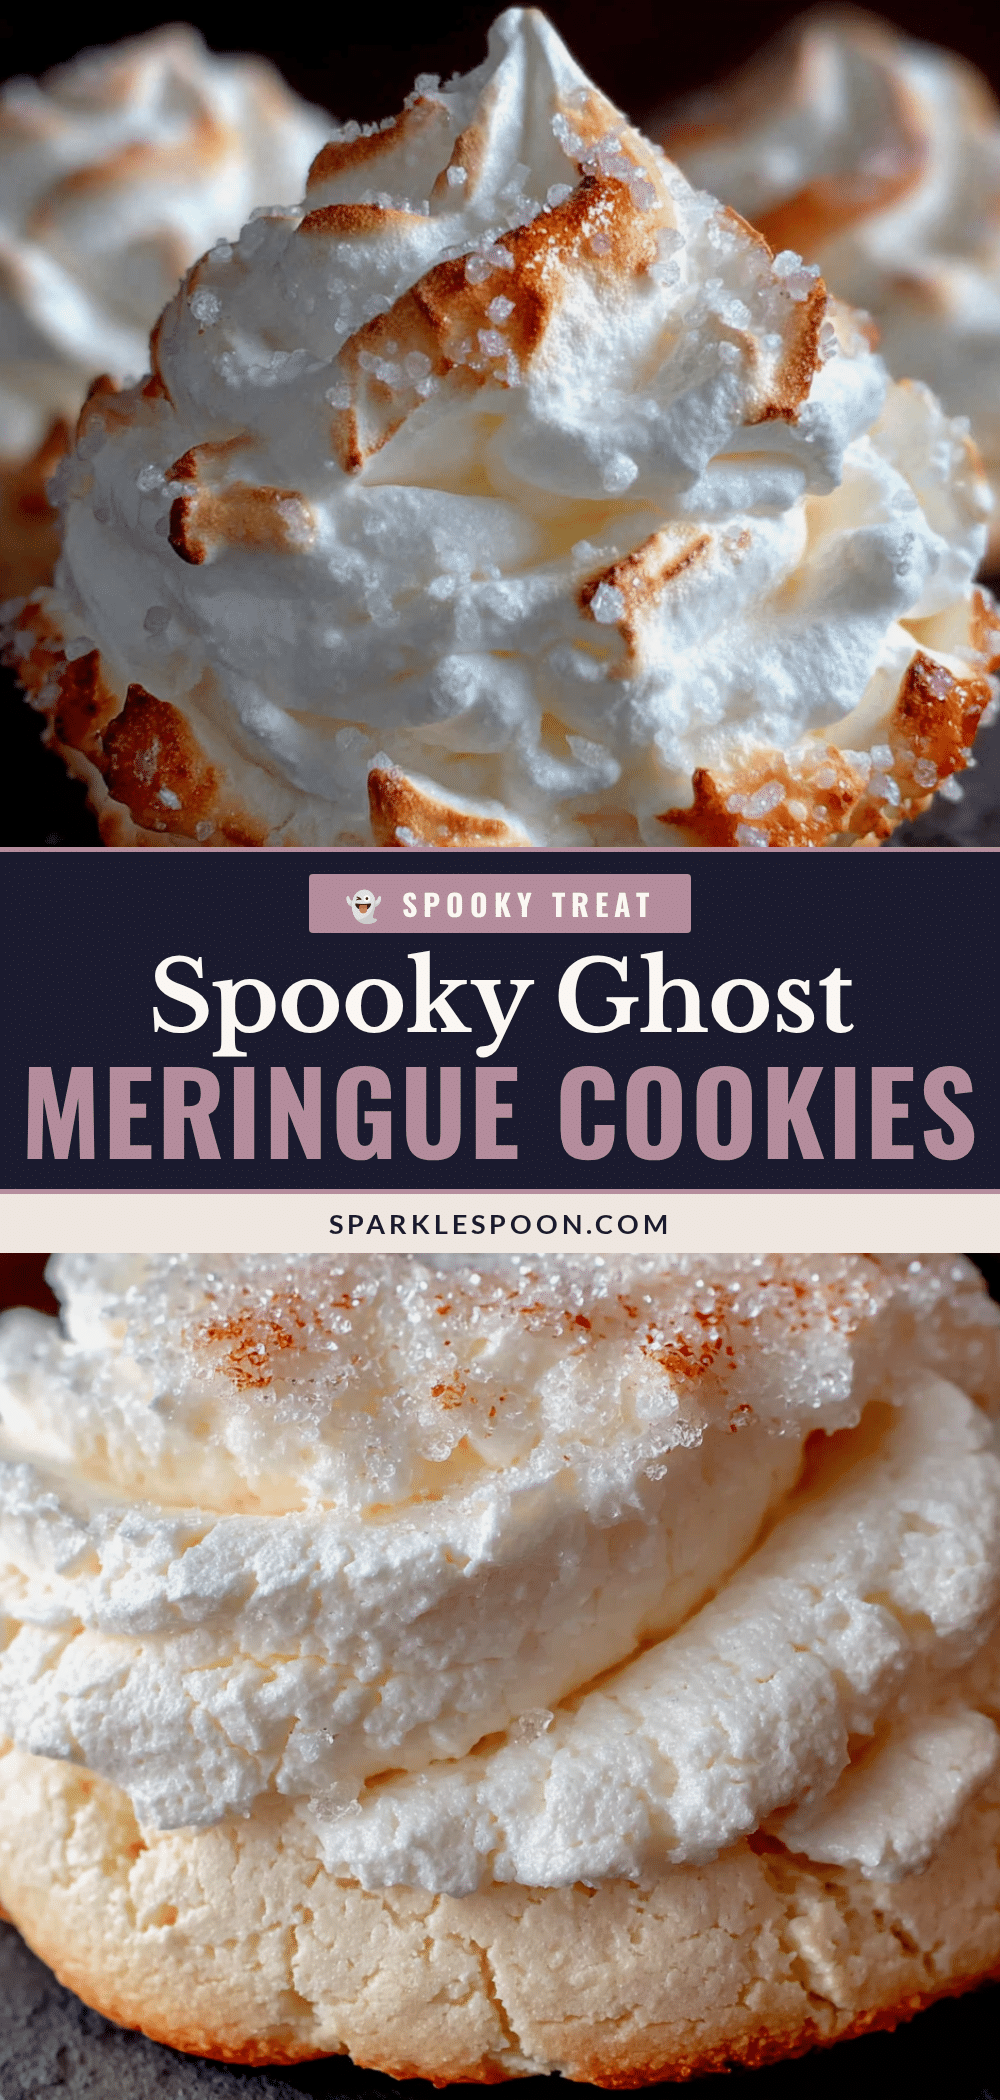
Easy Ghost Meringue Cookies: Best Spooky Halloween Treat
These light, crunchy ghost meringue cookies are a fun and easy Halloween treat. Made with just four simple ingredients, they are naturally gluten-free and perfect for parties.
- Prep Time: 15 minutes
- Cook Time: 1 hour 15 minutes
- Total Time: 2 hours 30 minutes
- Yield: 24 cookies 1x
- Category: Dessert
- Cuisine: American
Ingredients
- 4 large egg whites, at room temperature
- 1 cup (200g) granulated sugar
- 1/2 teaspoon cream of tartar
- 1 teaspoon vanilla extract
- 1/4 cup (30g) powdered sugar, sifted (optional, for dusting)
- 1/4 cup mini chocolate chips (for eyes)
Instructions
- Preheat your oven to 200°F (95°C). Line two baking sheets with parchment paper or silicone mats.
- In a clean, dry mixing bowl, combine the room-temperature egg whites and cream of tartar. Beat on medium speed until frothy and soft peaks form, about 2-3 minutes.
- With the mixer running on medium-high, add the granulated sugar one tablespoon at a time. Continue beating until the mixture is thick, glossy, and holds stiff peaks, about 5-7 minutes total.
- Beat in the vanilla extract until just combined.
- Transfer the meringue to a piping bag fitted with a large round tip (or a sturdy zip-top bag with the corner snipped off).
- Pipe small mounds of meringue (about 1.5 inches wide) onto the prepared baking sheets, lifting the bag straight up to create a peak on top. Leave about 1 inch of space between each ghost.
- Gently press two mini chocolate chips into each ghost for eyes immediately after piping.
- Bake for 1 hour 15 minutes to 1 hour 30 minutes, until the cookies are dry to the touch and can be easily lifted from the parchment paper.
- Turn off the oven and leave the cookies inside with the door slightly ajar for at least 1 hour to dry completely. Then transfer to a wire rack to cool completely.
Notes
Ensure the bowl and beaters are completely clean and grease-free. Use room temperature eggs for maximum volume. Do not make on a humid day. Let cookies cool in the turned-off oven with the door ajar to prevent cracking.
Nutrition
- Serving Size: 1 cookie
- Calories: 35
- Sugar: 8
- Sodium: 15
- Carbohydrates: 8
- Protein: 1
Keywords: ghost cookies, meringue cookies, Halloween treats, gluten-free cookies, easy Halloween dessert



