Love this? Save it for later!
Share the inspiration with your friends
My sister asked why I couldn’t just wrap everything in a tortilla and freeze it. I started to explain why that wouldn’t work — then stopped. Honestly, I had no good reason. I’d been spending every Sunday afternoon for months cooking elaborate breakfasts, portioning them into containers, and reheating them like some kind of breakfast lunatic. It never occurred to me that the solution was sitting right there in my pantry, flat and floury and waiting. She was holding a package of tortillas like it was the most obvious thing in the world. And you know what? It was.
That conversation happened on a rainy Tuesday last October. I’d just spent two hours making a breakfast casserole that my kids barely touched before they ran off to catch the bus. My sister, who shows up at my house unannounced at least once a week, watched me scrape leftover eggs into the trash with this look on her face — half pity, half disbelief. She’s not a cook, not really. She eats protein bars for breakfast and calls it fine. But she had a point that morning, and I was too tired to argue.
So I tried it. I made a batch of breakfast burritos, wrapped them tight in foil, and tossed them in the freezer. The next morning, I grabbed one, unwrapped it, microwaved it for about two minutes, and took a bite. The tortilla was soft. The eggs were fluffy. The cheese was melted. I stood there in my kitchen, alone, and I actually said out loud, “Oh.” That was the moment everything changed. These easy freezer-friendly breakfast burritos became my Sunday reset ritual, my weeknight savior, and honestly, the reason I stopped eating cold cereal for breakfast five days a week.
Maybe you’ve been there — standing in front of your open fridge at 7 AM, wondering how you’re going to feed everyone and get out the door without losing your mind. These burritos are the answer. They’re forgiving, they’re flexible, and they taste like you actually tried. I’ve made them for my own family, for my sister’s household, and for a neighbor recovering from surgery. Every single time, someone asks for the recipe. So here it is — the breakfast burrito that made me admit I was wrong. And I’m honestly glad I was.
Why You’ll Love This Recipe
Let me tell you why these freezer-friendly breakfast burritos have completely changed my mornings. I’ve tested this recipe about a dozen times — tweaking the egg-to-filling ratio, experimenting with different cheeses, and figuring out the best way to reheat without turning the tortilla into a soggy mess. What I landed on is a burrito that tastes fresh even after a month in the freezer. That’s not an exaggeration.
- Quick & Easy: These come together in about 30 minutes of active prep time. Make a batch on Sunday, and you’ve got breakfast sorted for two weeks. No morning assembly required.
- Simple Ingredients: Everything you need is probably already in your kitchen. Eggs, cheese, tortillas, and whatever fillings you have on hand. No fancy grocery runs necessary.
- Perfect for Busy Mornings: Whether you’re rushing to work, getting kids ready for school, or just want to sit with your coffee for five extra minutes, these burritos make it possible.
- Crowd-Pleaser: I’ve served these to picky toddlers, hungry teenagers, and adults who claim they don’t like breakfast. Every single person has asked for seconds.
- Unbelievably Delicious: The texture is what gets me every time — soft scrambled eggs, melty cheese, and just the right amount of crunch from the filling. It’s comfort food you can eat with one hand.
What makes this recipe different from the dozens of other breakfast burrito recipes out there? It’s the technique. I figured out that undercooking the eggs just slightly before assembling makes all the difference. When you reheat the burrito, those eggs finish cooking in the microwave, so they stay fluffy instead of turning rubbery. It’s a small thing, but it’s the kind of detail that separates a good burrito from a great one.
This recipe isn’t just good — it’s the kind that makes you close your eyes after the first bite. It’s convenience without compromise. It’s the breakfast you deserve on a Tuesday morning when you haven’t even had your coffee yet. And honestly, it might just save your sanity.
What Ingredients You Will Need
This recipe uses simple, wholesome ingredients to deliver bold flavor and satisfying texture without the fuss. Most of these are pantry staples, and the ones that aren’t are easy to find at any grocery store.
For the Egg Filling
- 12 large eggs — room temperature if you remember, but cold works fine too
- 1/4 cup milk (whole milk adds richness, but any kind works)
- 1/2 teaspoon salt
- 1/4 teaspoon black pepper
- 2 tablespoons butter — I prefer salted butter for flavor
For the Burrito Fillings
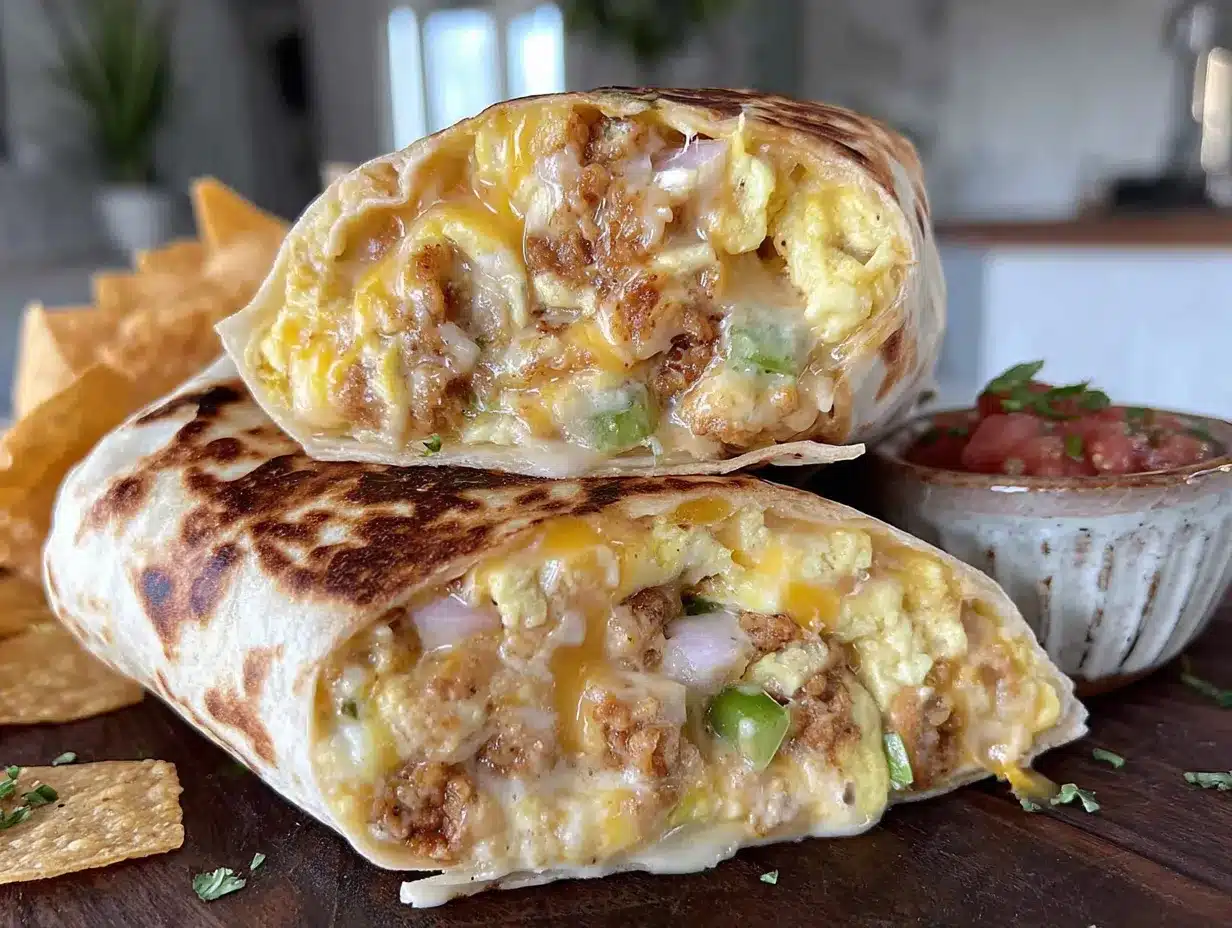
- 1 pound breakfast sausage — I recommend Jimmy Dean or a local butcher’s bulk sausage for best flavor
- 1 cup shredded cheddar cheese — sharp cheddar gives the most flavor
- 1 cup shredded Monterey Jack cheese — for that melty, gooey texture
- 1/2 cup diced bell peppers (any color works, but red adds sweetness)
- 1/2 cup diced onion — yellow or white onion is fine
- 1 can (4 oz) diced green chiles — adds a mild kick without being spicy
- 8 large flour tortillas (10-inch size) — look for ones labeled “burrito size” for easy wrapping
Optional Add-Ins
- 1 cup frozen hash browns — thawed and crispy-cooked for extra texture
- 1/2 cup cooked black beans — drained and rinsed, for fiber and heartiness
- 1/4 cup chopped fresh cilantro — stirred in just before assembling
- Hot sauce to taste — I like Cholula or Valentina for flavor without too much heat
When choosing tortillas, look for ones that are pliable and not too thin. The cheap store-brand ones tend to crack when you fold them. I’ve had the best luck with Mission or Guerrero brand burrito-size tortillas. They hold up well to freezing and reheating without getting soggy or tearing.
For the cheese, I highly recommend shredding it yourself from a block. Pre-shredded cheese has anti-caking agents that prevent it from melting smoothly. It’s a small extra step, but it makes a noticeable difference in the final texture of your burrito.
If you want to make these vegetarian, just skip the sausage and add an extra cup of black beans and a cup of sautéed mushrooms. The flavor profile changes slightly, but the satisfaction level stays the same.
Equipment Needed
You don’t need anything fancy to make these burritos, but having the right tools makes the process smoother. Here’s what I use:
- Large non-stick skillet (12-inch) — for cooking the eggs and sausage. Non-stick is key for easy cleanup.
- Medium mixing bowl — for whisking the eggs
- Whisk — gets the eggs fluffy and well-combined
- Spatula — a rubber or silicone one works best for scrambling eggs gently
- Cutting board and knife — for dicing peppers and onions
- Large baking sheet — lined with parchment paper, for freezing the assembled burritos before wrapping
- Aluminum foil — heavy-duty works best for wrapping and freezing
- Plastic wrap or freezer bags — for extra protection against freezer burn
- Paper towels — for reheating (trust me on this one)
If you don’t have a large non-stick skillet, you can use a cast iron pan, just make sure to add a little extra butter to prevent sticking. And if you don’t have a baking sheet large enough to hold eight burritos, you can freeze them in batches on a plate or cutting board. The key is getting them solid before wrapping so they hold their shape.
I’ve made these burritos in a tiny apartment kitchen with minimal equipment, and they turned out just as good as the ones I make now with all the fancy tools. Don’t let equipment hold you back.
Preparation Method
- Cook the sausage (8-10 minutes): Heat your large skillet over medium-high heat. Add the breakfast sausage and break it apart with your spatula. Cook until browned and fully cooked through, about 8-10 minutes. Use a slotted spoon to transfer the sausage to a paper towel-lined plate to drain. Leave about 1 tablespoon of rendered fat in the pan for extra flavor.
- Sauté the vegetables (3-4 minutes): In the same skillet over medium heat, add the diced bell peppers and onions. Cook until softened and just starting to brown, about 3-4 minutes. Stir in the diced green chiles and cook for another 30 seconds. Transfer to a bowl and set aside. Wipe the skillet clean with a paper towel.
- Scramble the eggs (4-5 minutes): In your medium mixing bowl, whisk together the 12 eggs, milk, salt, and pepper until well combined and slightly frothy. Melt the butter in the same skillet over medium-low heat. Pour in the egg mixture and let it sit for about 30 seconds without stirring. Then gently push the eggs with your spatula, folding them over themselves. Continue cooking, folding occasionally, until the eggs are just set but still look slightly wet and shiny — this is important. They should look undercooked compared to how you normally eat scrambled eggs. Remove from heat immediately. The residual heat will finish cooking them.
- Combine the fillings: In a large bowl, gently mix the cooked eggs, sausage, sautéed vegetables, and both shredded cheeses. Stir until everything is evenly distributed. The warmth from the eggs will start melting the cheese, which is exactly what you want. Let the mixture cool for about 5 minutes — this prevents the tortillas from getting soggy during assembly.
- Assemble the burritos (2-3 minutes each): Lay a tortilla flat on your work surface. Spoon about 3/4 cup of the filling mixture into the center, spreading it in a rectangular shape. Fold the sides of the tortilla inward over the filling. Then fold the bottom edge up and over the filling, tucking it tightly. Roll the burrito away from you, keeping it snug but not too tight — you don’t want the tortilla to tear. Repeat with remaining tortillas and filling.
- Flash freeze (1-2 hours): Place the assembled burritos on your parchment-lined baking sheet, seam-side down, making sure they’re not touching each other. Pop the baking sheet into the freezer uncovered for 1-2 hours, or until the burritos are completely frozen solid. This step prevents them from sticking together and helps them hold their shape.
- Wrap for long-term storage (5 minutes): Once frozen solid, wrap each burrito tightly in a sheet of aluminum foil. For extra protection against freezer burn, wrap each foil-wrapped burrito in a layer of plastic wrap, or place all the foil-wrapped burritos in a large freezer bag. Label the bag with the date and contents. These burritos will stay fresh for up to 3 months.
A few things I’ve learned the hard way: Don’t overfill the tortillas. It’s tempting to pack in as much as possible, but overstuffed burritos are impossible to roll properly and tend to burst during reheating. Also, let the filling cool slightly before assembling. Hot filling creates steam inside the wrapped burrito, which leads to ice crystals and a soggy tortilla after freezing.
You’ll know you’ve rolled the burrito correctly when it looks plump and uniform, with no gaps or thin spots in the tortilla. If you see any tears, just wrap that burrito in an extra layer of foil to catch any leaks during reheating.
Cooking Tips & Techniques
After making these burritos more times than I can count, I’ve picked up a few tricks that make a real difference. Let me share what I’ve learned — including the mistakes that taught me the most.
The undercooked egg trick: This is the single most important technique in this recipe. Eggs continue cooking after you remove them from heat, and they cook even more during reheating. If you cook the eggs until they’re perfectly done on the stove, they’ll be rubbery and dry after a trip through the microwave. Pull them off the heat when they still look a little wet and shiny. Trust the process. The first time I tried this, I was sure I was serving raw eggs to my family. I wasn’t. They were perfect.
Don’t skip the flash freeze: I know it’s tempting to wrap the burritos and throw them straight into a freezer bag. But if you do that, the burritos will freeze together in one giant block, and you’ll have to fight to separate them. The flash freeze step takes almost no active time and saves you so much frustration later. I learned this lesson when I had to chisel a burrito free with a butter knife. Not my finest moment.
Paper towel is your friend: When reheating a frozen burrito, wrap it in a slightly damp paper towel before microwaving. The moisture from the paper towel creates steam, which keeps the tortilla soft and prevents it from drying out. Without the paper towel, the tortilla gets tough and chewy. With it, it tastes almost fresh-made.
Batch cooking strategy: I like to make a double batch of these burritos while I’m already in the kitchen. The active time is the same — you’re already cooking eggs and sausage, so doubling the ingredients barely adds any extra work. I usually make 16 burritos at a time, which lasts my family of four for two weeks. It’s the same principle as meal prep Sunday, but for breakfast.
Temperature matters: When reheating, start with the burrito straight from the freezer — no thawing required. Microwave on high for 1 minute, then flip the burrito over and microwave for another 30-45 seconds. Let it rest for 1 minute before eating. The resting time allows the heat to distribute evenly throughout the burrito, so you don’t end up with a frozen center and molten edges. I’ve burned my mouth more times than I’d like to admit by skipping this step.
Variations & Adaptations
One of the best things about these breakfast burritos is how adaptable they are. I’ve experimented with all sorts of variations, and here are my favorites:
Southwest Style: Add 1/2 cup of black beans, 1/2 cup of corn (fresh or frozen), and a tablespoon of taco seasoning to the egg mixture. Top with a drizzle of salsa verde before serving. This version is my personal favorite — it’s got more texture and a little more heat.
Veggie-Packed: Skip the sausage and double up on the vegetables. Add 1 cup of chopped mushrooms, 1 cup of fresh spinach (it wilts down to almost nothing), and 1/2 cup of diced zucchini. Sauté the mushrooms and zucchini first to remove excess moisture, then add the spinach at the end. This version freezes beautifully and tastes incredibly fresh.
Bacon and Potato: Cook 8 strips of bacon until crispy, then crumble them. Add 1 cup of frozen hash browns that you’ve cooked until golden and crispy. The bacon adds smoky flavor, and the hash browns give the burrito a satisfying crunch. This is the version my husband requests every single time.
Healthier Option: Use turkey sausage instead of pork, low-fat cheese, and whole wheat tortillas. Add extra vegetables to bulk up the filling without adding many calories. You can also use egg whites instead of whole eggs — use about 1 1/2 cups of liquid egg whites to replace the 12 whole eggs. The texture will be slightly different, but it’s still delicious.
Spicy Chorizo Version: Replace the breakfast sausage with Mexican chorizo (remove the casing first). Cook it until crispy, then mix with the eggs. Add a handful of pickled jalapeños and use pepper jack cheese instead of cheddar. This version has serious heat and is perfect for spice lovers.
I once made a batch of these burritos with leftover Thanksgiving turkey, stuffing, and cranberry sauce. It was weird and wonderful and I’ve never been able to recreate it exactly. That’s the beauty of this recipe — it’s a template, not a rulebook. Use what you have, and it’ll probably turn out great.
Serving & Storage Suggestions
These burritos are designed to be eaten straight from the freezer, but there are a few ways to serve them that make the experience even better.
Serving temperature: I prefer these burritos hot, straight from the microwave. But if you have a few extra minutes, you can reheat them in a skillet for a crispier tortilla. Just unwrap the frozen burrito, place it in a dry skillet over medium heat, and cook for 2-3 minutes per side until golden and heated through. The outside gets beautifully crispy while the inside stays soft and melty.
What to serve with them: A dollop of sour cream, a spoonful of salsa, or a drizzle of hot sauce are my go-to accompaniments. If I’m feeling fancy, I’ll slice an avocado on the side or serve with a handful of fresh fruit. These burritos are substantial enough to be a meal on their own, but they pair beautifully with a simple side salad or a cup of fresh orange juice.
Storage instructions: Properly wrapped and stored, these burritos will stay fresh in the freezer for up to 3 months. The key is preventing freezer burn. I use a double-layer method: first aluminum foil, then a layer of plastic wrap. If you’re using freezer bags, squeeze out as much air as possible before sealing. Label each bag with the date and number of burritos inside.
Reheating methods: Microwave is the fastest and most reliable method. Unwrap the burrito from the foil and plastic wrap, wrap it in a slightly damp paper towel, and microwave on high for 1 minute 30 seconds to 2 minutes, flipping halfway through. Let it rest for 1 minute before eating. If you’re reheating multiple burritos, add about 30 seconds to the total time for each additional burrito.
Flavor development: Here’s something I discovered by accident — these burritos actually taste better after they’ve been frozen for a few days. The flavors meld together as they sit, and the texture improves somehow. I’m not sure of the science behind it, but I’ve noticed that burritos I eat on day 3 of freezing taste noticeably better than the ones I ate fresh. So don’t be tempted to eat them all right away. Let a few of them rest in the freezer for a while.
Nutritional Information & Benefits
These breakfast burritos are a balanced meal that will keep you full and satisfied for hours. Here’s the approximate nutritional breakdown for one burrito made with the standard recipe:
Estimated per burrito: 420 calories, 24g protein, 28g carbohydrates, 24g fat, 380mg sodium, 2g fiber. These numbers will vary based on the specific ingredients you use and any substitutions you make.
Health benefits: Eggs are a fantastic source of high-quality protein and contain important nutrients like choline, which supports brain health. The bell peppers and onions add vitamin C and antioxidants. If you add black beans, you’ll get a good dose of fiber and plant-based protein. The cheese provides calcium for bone health. This is a breakfast that actually nourishes you, not just fills you up.
Dietary considerations: This recipe can be made gluten-free by using corn tortillas or gluten-free flour tortillas. For a lower-carb option, use low-carb tortillas and reduce the amount of vegetables. For a dairy-free version, use dairy-free cheese and skip the butter — cook the eggs in olive oil instead. The recipe is naturally nut-free and can be made vegetarian by omitting the sausage.
Potential allergens: This recipe contains eggs, dairy (cheese and butter), and gluten (tortillas). If you’re cooking for someone with allergies, make sure to check all ingredient labels carefully. I’ve made dairy-free and gluten-free versions of these burritos, and while the texture is slightly different, they’re still delicious and satisfying.
I’m not a nutritionist, but I’ve learned that the best breakfast is one that keeps you full until lunch without making you feel sluggish. These burritos do exactly that. They’re not a health food, but they’re a balanced meal that you can feel good about eating — especially when you know exactly what went into them.
Conclusion
These easy freezer-friendly breakfast burritos have genuinely changed the way I think about breakfast. They’re the recipe I turn to when I want to feel organized, when I need a win, or when I just don’t want to think about what to eat at 7 AM. They’re forgiving enough for beginners and satisfying enough for experienced cooks.
I love that this recipe started with my sister asking a simple question. She didn’t know anything about cooking techniques or food science — she just saw a problem and suggested a solution. And it worked. That’s the kind of cooking I believe in: practical, flexible, and rooted in real life. These burritos are exactly that.
I’d love to hear how yours turn out. Did you add something unexpected? Did you find a new favorite variation? Leave a comment below and let me know — I read every single one, and your ideas often inspire my next batch. And if you loved this recipe, share it with a friend who needs an easier morning. Trust me, they’ll thank you.
Now go make some burritos. Your future self — the one rushing out the door at 7:15 AM — will be so glad you did.
Frequently Asked Questions
Can I use flour tortillas instead of corn tortillas?
Yes, flour tortillas are actually preferred for this recipe because they’re more pliable and freeze better. Corn tortillas tend to crack and break when folded, especially after freezing and reheating. Stick with flour tortillas for the best results.
How long do these burritos last in the freezer?
Properly wrapped and stored, these burritos will stay fresh for up to 3 months. After that, they’re still safe to eat, but the quality starts to decline. The tortilla may become dry, and the filling can develop freezer burn. I recommend labeling your burritos with the date so you know which ones to eat first.
Can I reheat these burritos in the oven instead of the microwave?
Absolutely. Preheat your oven to 350°F (175°C). Unwrap the frozen burrito and place it on a baking sheet. Bake for 15-20 minutes, flipping halfway through, until heated through and the tortilla is slightly crispy. This method takes longer but gives you a crispier exterior. For a faster oven method, use a toaster oven at the same temperature for about 12-15 minutes.
Can I make these burritos without meat?
Yes, this recipe is very easy to make vegetarian. Simply omit the breakfast sausage and add extra vegetables like mushrooms, zucchini, or bell peppers. You can also add black beans or refried beans for extra protein and heartiness. The rest of the recipe stays the same.
Why are my burritos soggy after reheating?
Soggy burritos are usually caused by too much moisture in the filling or not enough draining of cooked ingredients. Make sure to drain the cooked sausage on paper towels, and let the vegetable mixture cool slightly before assembling. Also, don’t overfill the burritos, and make sure they’re completely frozen before wrapping. Using a slightly damp paper towel during reheating (not a soaking wet one) also helps prevent sogginess.
Pin This Recipe!
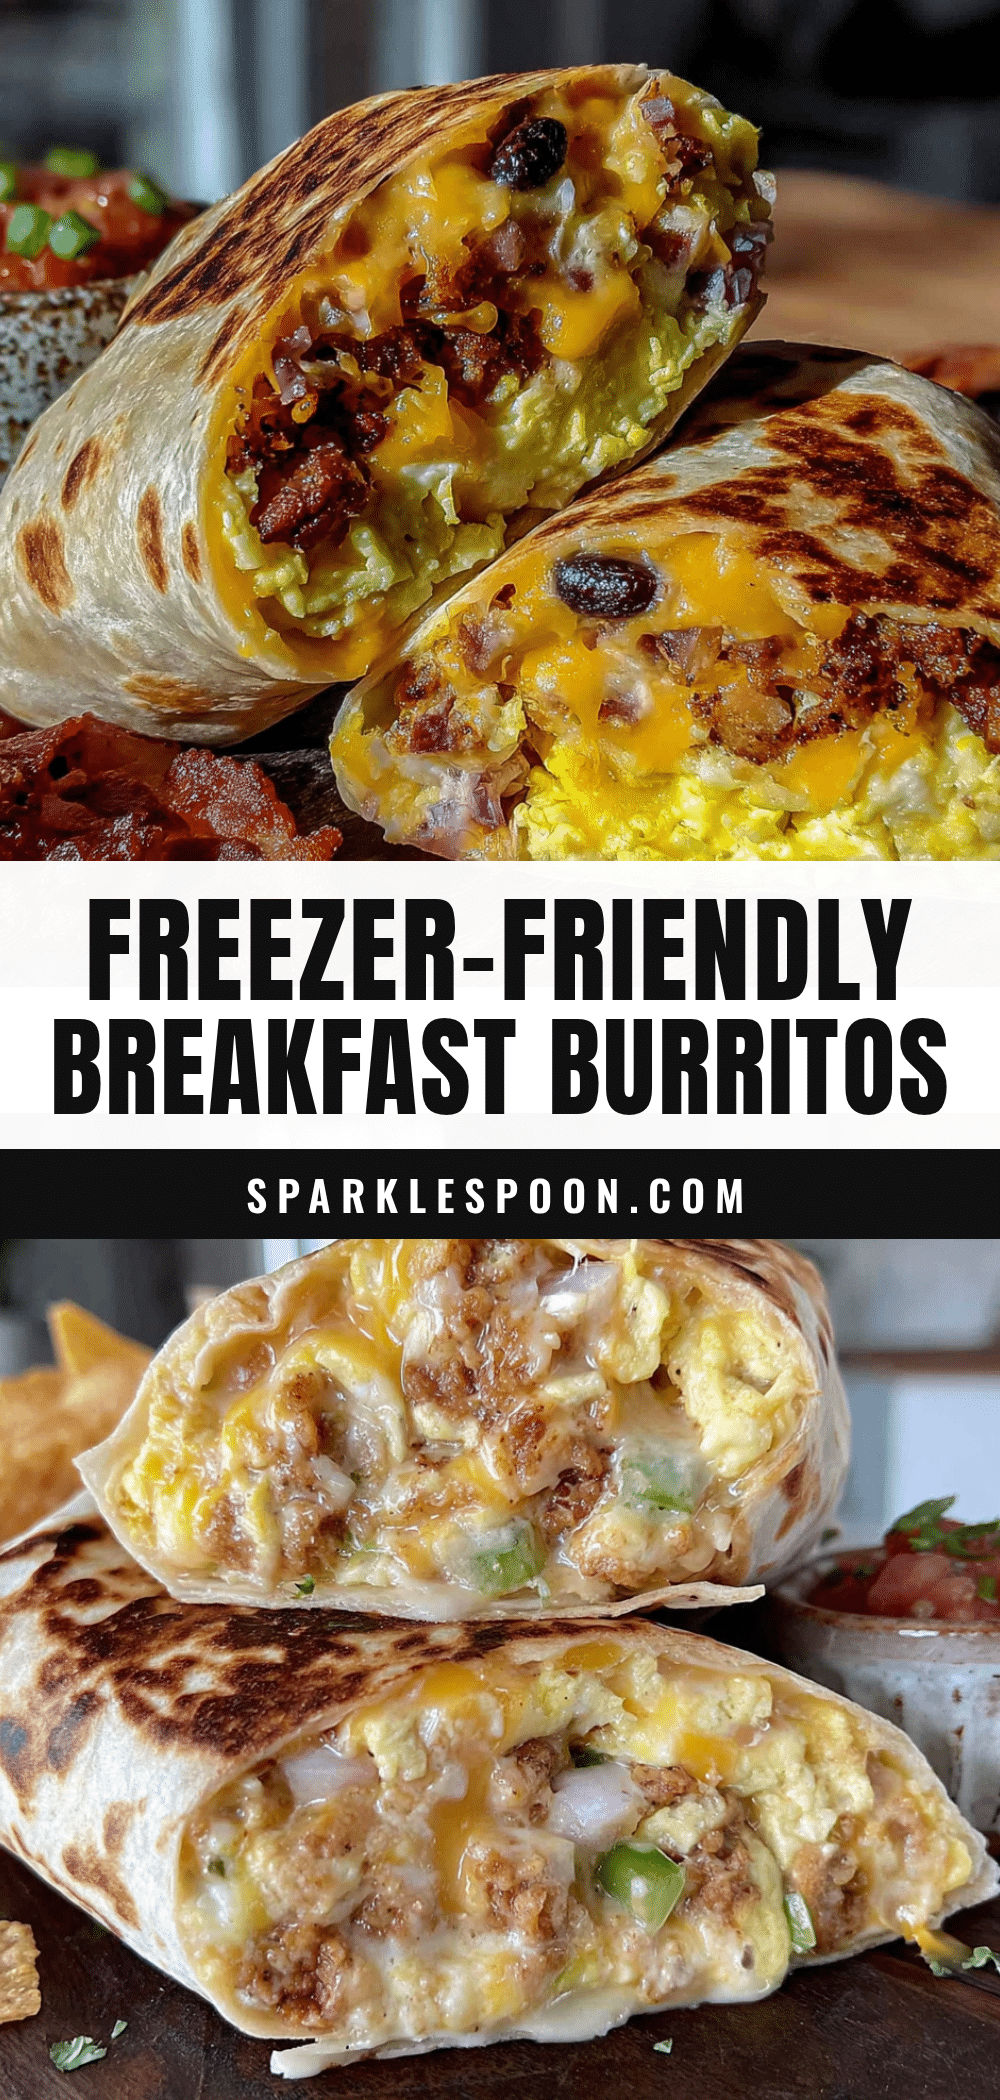
Easy Freezer-Friendly Breakfast Burritos: Best Make-Ahead Meal

These easy freezer-friendly breakfast burritos are the ultimate make-ahead meal for busy mornings. With fluffy scrambled eggs, savory sausage, melted cheese, and a simple technique that keeps them tasting fresh even after a month in the freezer, they’re a game-changer for breakfast routines.
- Prep Time: 30 minutes
- Cook Time: 20 minutes
- Total Time: 50 minutes (plus 1-2 hours freezing time)
- Yield: 8 servings 1x
- Category: Breakfast
- Cuisine: American
Ingredients
- 12 large eggs
- 1/4 cup milk
- 1/2 teaspoon salt
- 1/4 teaspoon black pepper
- 2 tablespoons butter
- 1 pound breakfast sausage
- 1 cup shredded cheddar cheese
- 1 cup shredded Monterey Jack cheese
- 1/2 cup diced bell peppers
- 1/2 cup diced onion
- 1 can (4 oz) diced green chiles
- 8 large flour tortillas (10-inch size)
- 1 cup frozen hash browns (optional, thawed and crispy-cooked)
- 1/2 cup cooked black beans (optional, drained and rinsed)
- 1/4 cup chopped fresh cilantro (optional)
- Hot sauce to taste (optional)
Instructions
- Cook the sausage (8-10 minutes): Heat a large skillet over medium-high heat. Add the breakfast sausage and break it apart with a spatula. Cook until browned and fully cooked through, about 8-10 minutes. Use a slotted spoon to transfer the sausage to a paper towel-lined plate to drain. Leave about 1 tablespoon of rendered fat in the pan.
- Sauté the vegetables (3-4 minutes): In the same skillet over medium heat, add the diced bell peppers and onions. Cook until softened and just starting to brown, about 3-4 minutes. Stir in the diced green chiles and cook for another 30 seconds. Transfer to a bowl and set aside. Wipe the skillet clean with a paper towel.
- Scramble the eggs (4-5 minutes): In a medium mixing bowl, whisk together the 12 eggs, milk, salt, and pepper until well combined and slightly frothy. Melt the butter in the same skillet over medium-low heat. Pour in the egg mixture and let it sit for about 30 seconds without stirring. Then gently push the eggs with a spatula, folding them over themselves. Continue cooking, folding occasionally, until the eggs are just set but still look slightly wet and shiny. Remove from heat immediately.
- Combine the fillings: In a large bowl, gently mix the cooked eggs, sausage, sautéed vegetables, and both shredded cheeses. Stir until everything is evenly distributed. Let the mixture cool for about 5 minutes.
- Assemble the burritos (2-3 minutes each): Lay a tortilla flat on your work surface. Spoon about 3/4 cup of the filling mixture into the center, spreading it in a rectangular shape. Fold the sides of the tortilla inward over the filling. Then fold the bottom edge up and over the filling, tucking it tightly. Roll the burrito away from you, keeping it snug but not too tight. Repeat with remaining tortillas and filling.
- Flash freeze (1-2 hours): Place the assembled burritos on a parchment-lined baking sheet, seam-side down, making sure they’re not touching each other. Freeze uncovered for 1-2 hours, or until completely frozen solid.
- Wrap for long-term storage (5 minutes): Once frozen solid, wrap each burrito tightly in aluminum foil. For extra protection, wrap each foil-wrapped burrito in plastic wrap, or place all foil-wrapped burritos in a large freezer bag. Label with the date and contents. Store for up to 3 months.
Notes
Undercook the eggs slightly before assembling; they will finish cooking during reheating. Flash freeze burritos before wrapping to prevent sticking. When reheating, wrap in a slightly damp paper towel and microwave for 1 minute 30 seconds to 2 minutes, flipping halfway. Let rest for 1 minute before eating. Burritos taste even better after a few days in the freezer.
Nutrition
- Serving Size: 1 burrito
- Calories: 420
- Sugar: 3
- Sodium: 380
- Fat: 24
- Saturated Fat: 10
- Carbohydrates: 28
- Fiber: 2
- Protein: 24
Keywords: breakfast burritos, freezer-friendly, make-ahead, meal prep, breakfast, eggs, sausage, cheese, tortillas



