Love this? Save it for later!
Share the inspiration with your friends
My neighbor Sarah wasn’t trying to impress me. I’d stopped by to borrow a drill on a random Tuesday evening, and the smell hit me before I even knocked on her screen door. Something sweet, something smoky, something that made me forget why I’d walked over in the first place. She opened the door with oven mitts on, looking slightly annoyed that her phone was ringing, and there they were—a baking sheet full of the most beautiful bacon-wrapped green beans I’d ever seen, glistening under a caramelized brown sugar glaze.
“Oh, those?” she said when I asked, waving her hand like it was nothing. “Just something I threw together for dinner.” She literally shrugged. I stood there in her doorway, drill forgotten, watching her slide them onto a platter like she hadn’t just created the side dish that would haunt my dreams for the next three weeks. Honestly, that casual indifference was almost offensive. These weren’t “just something”—they were the perfect balance of salty, sweet, and crisp, and she acted like she’d made toast.
I asked for the recipe right there, leaning against her kitchen counter while her kids ran past. She told me the ingredients off the top of her head, no written notes, no measuring spoons—just handfuls and pinches and “you know, until it looks right.” That’s the kind of cooking I respect most, honestly. The kind that comes from muscle memory and confidence, not a perfectly printed card. I went home that night, still without a drill, and made my first batch. And let me tell you—if you’ve been looking for an easy bacon-wrapped green beans recipe that actually delivers on flavor without a million steps, this is it.
Why You’ll Love This Recipe
I’ve tested this recipe more times than I care to admit, tweaking the oven temperature, the thickness of the bacon, the amount of brown sugar. What I landed on is the version I keep coming back to—and I think you will too. Here’s why this one stands out:
- Quick & Easy: From start to finish, this comes together in about 30 minutes. That’s less time than it takes to decide what to order for delivery.
- Simple Ingredients: You need three main ingredients—green beans, bacon, and brown sugar. That’s it. No specialty store trips required.
- Perfect for Busy Weeknights: This side dish cooks alongside almost any main course, so you’re not juggling extra pans or timing.
- Crowd-Pleaser: I’ve served these at potlucks, holiday dinners, and random Tuesday meals, and they disappear every single time.
- Unbelievably Delicious: The combination of crispy bacon, tender green beans, and sticky-sweet glaze is honestly addictive.
What makes this different from every other version out there? It’s the technique. I don’t parboil the green beans, and I don’t use thick-cut bacon that stays flabby. I use thin-cut bacon and a specific oven temperature that lets everything crisp up perfectly without burning the sugar. I’ve tried it every which way, and this method gives you that ideal texture—bacon that shatters when you bite it, green beans that still have a little snap, and a glaze that’s caramelized but not bitter.
This is the kind of recipe that makes you close your eyes after the first bite. It’s comfort food that feels a little fancy but takes almost no effort. And on a weeknight when you’re tired and hungry and just want something good on the table fast? That’s exactly what you need.
What Ingredients You Will Need
This recipe uses simple, everyday ingredients to create something that tastes way more complicated than it is. Most of these are probably in your kitchen right now, which is part of the beauty of it.
- Fresh green beans, 1 pound, trimmed – Look for beans that are bright green and snap when you bend them. I prefer standard green beans, not the skinny French haricots verts, because they hold up better to the bacon wrapping.
- Thin-cut bacon, 12 slices – This is important. Do not use thick-cut bacon here, I’m serious. Thin-cut bacon crisps up perfectly in the time it takes the green beans to cook. Thick-cut stays chewy and the sugar burns before the bacon is done. I use Wright Brand or Oscar Mayer, whatever’s on sale honestly.
- Brown sugar, 1/3 cup, packed – Light or dark both work, but dark brown sugar gives a deeper, almost molasses-like flavor that I personally love. Pack it firmly when measuring.
- Butter, 2 tablespoons, melted – This helps the brown sugar stick and adds richness. Salted or unsalted is fine, just adjust any extra salt you add.
- Garlic powder, 1/2 teaspoon – Optional but recommended. It cuts through the sweetness and adds a savory note that balances everything.
- Black pepper, 1/4 teaspoon, freshly ground – A little bit of heat and bite to round out the flavors.
- Optional: Red pepper flakes, 1/4 teaspoon – If you want a tiny kick of heat, this is a game-changer. I add it about half the time.
A note on the green beans: fresh is non-negotiable here. Frozen green beans release too much water and will make everything soggy. Canned green beans are right out—they’ll turn to mush. I made that mistake once with frozen beans thinking I was being clever and ended up with sad, watery bundles that fell apart. Learn from my failure.
For the bacon, if you’re feeding a crowd or want extra, you can easily double the recipe. Just use two baking sheets and rotate them halfway through cooking. I’ve also used turkey bacon in a pinch, and while it’s not quite as good, it works if you watch it closely—turkey bacon burns faster.
Equipment Needed
You don’t need much for this recipe, which is another reason I make it so often. Here’s what you’ll want to have ready:
- Baking sheet, rimmed – A half-sheet pan works perfectly. The rim is important because the brown sugar glaze can bubble and drip. I learned this the hard way when I used a flat cookie sheet and spent 20 minutes scrubbing caramelized sugar off the bottom of my oven.
- Parchment paper or aluminum foil – Lining the pan makes cleanup almost nonexistent. I prefer parchment because the sugar sticks to foil sometimes, but either works.
- Small bowl – For mixing the brown sugar, melted butter, and seasonings.
- Pastry brush or spoon – To spread the glaze over the wrapped bundles. A brush gives more even coverage, but a spoon works fine too.
- Kitchen shears or a sharp knife – For trimming the green beans and cutting bacon slices in half if needed.
- Tongs – For turning the bundles halfway through cooking. A spatula works too, but tongs give you more control.
That’s honestly it. No special gadgets, no expensive equipment. If you have a baking sheet and an oven, you’re good to go.
Preparation Method
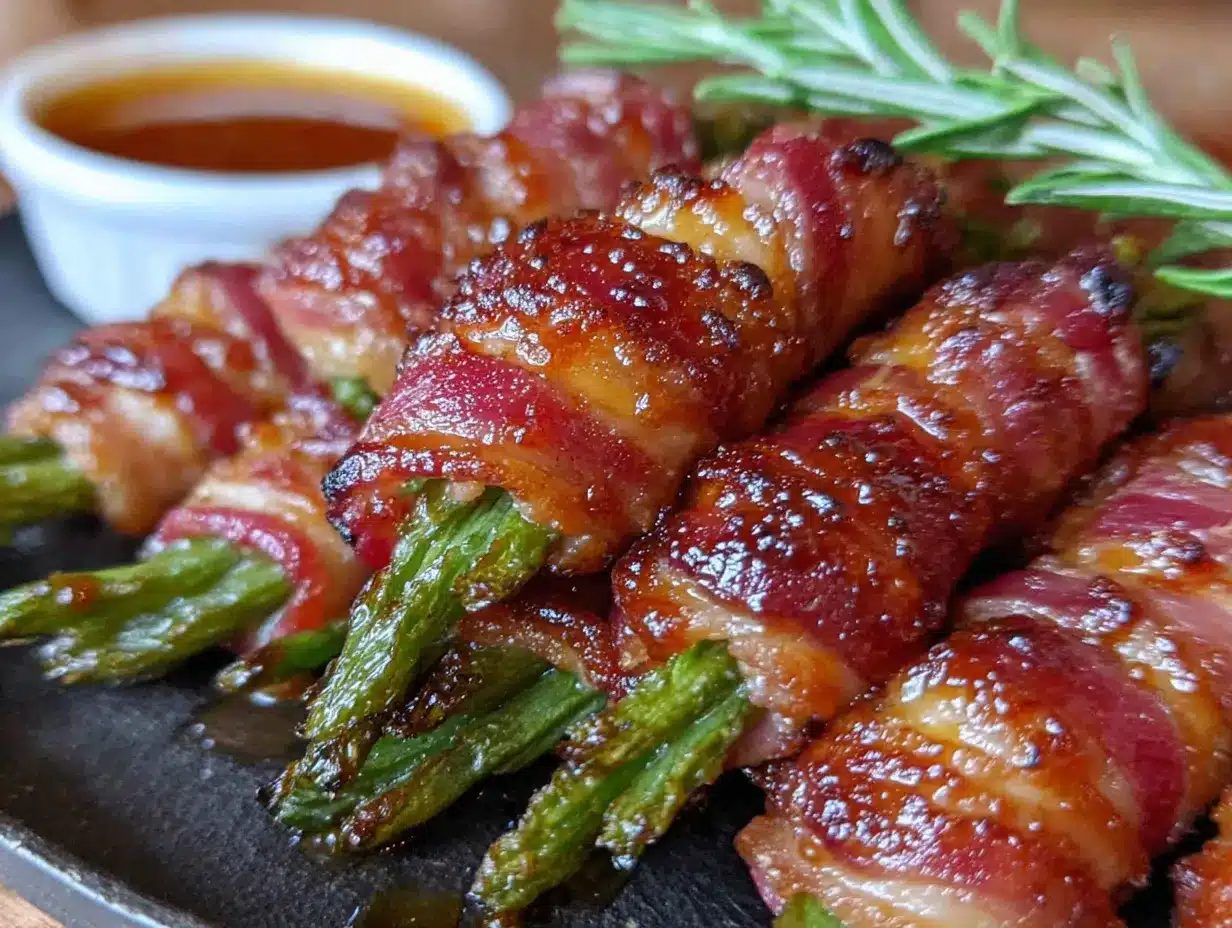
Let me walk you through this step by step. I’ve made this recipe dozens of times, and these are the exact steps that give you the best results every single time.
- Preheat your oven to 400°F (200°C). Line a rimmed baking sheet with parchment paper or foil. Getting the oven fully heated before the bundles go in is crucial—you want that initial blast of heat to start crisping the bacon immediately.
- Prepare the green beans. Rinse your pound of fresh green beans under cold water and pat them dry with a clean kitchen towel or paper towels. Trim off the stem ends—just line them up and cut across in one go. Don’t trim the tail ends, they look nice and it saves time. You want the beans to be completely dry so the bacon crisps instead of steaming.
- Make the glaze mixture. In a small bowl, combine 1/3 cup packed brown sugar, 2 tablespoons melted butter, 1/2 teaspoon garlic powder, and 1/4 teaspoon black pepper. Stir until it forms a thick paste. If you’re adding red pepper flakes, stir those in too. The mixture should be grainy and thick, not runny.
- Bundle the green beans. Gather 6-8 green beans into a small bundle. The exact number depends on the thickness of your beans—you want a bundle about the diameter of your thumb. Wrap one slice of bacon around the middle of the bundle, stretching it slightly as you go so it’s snug but not tight enough to crush the beans. Tuck the end of the bacon underneath the bundle so it stays in place.
- Place bundles on the baking sheet. Arrange them seam-side down on your prepared pan. Leave a little space between each bundle—about an inch—so the air can circulate and the bacon crisps evenly. Don’t crowd the pan, or you’ll end up with steamed bacon instead of crispy bacon.
- Apply the glaze. Using a pastry brush or the back of a spoon, spread about 1/2 teaspoon of the brown sugar mixture over the top of each bacon-wrapped bundle. Don’t drown them—just a thin, even layer. You want the sugar to caramelize, not pool.
- Bake for 15 minutes. Place the baking sheet on the center rack and bake for 15 minutes. At this point, the bacon should be starting to render and the sugar will be bubbling.
- Flip and glaze again. Carefully flip each bundle using tongs. The bacon will be hot and the sugar sticky, so work gently. Brush the other side with the remaining glaze mixture. Return to the oven.
- Bake for another 10-15 minutes. Keep an eye on them after 10 minutes. You’re looking for the bacon to be crispy and dark golden brown, and the sugar to be caramelized but not burnt. Every oven runs a little differently—mine takes exactly 12 minutes on the second side, but yours might be faster or slower.
- Let them rest. Remove from the oven and let the bundles rest on the baking sheet for 3-5 minutes. The sugar will be molten hot right out of the oven, and resting lets it set slightly so it doesn’t slide off. Transfer to a serving platter and serve warm.
A few things I’ve learned along the way: If the sugar starts to smoke in your oven, pull them out immediately—that means it’s burning. Also, the bundles will look darker than you expect when they come out, but that’s the caramelization. As long as it’s not black, you’re in good shape.
Cooking Tips & Techniques
I’ve burned more batches of these than I’d like to admit, so let me save you some trouble. Here are the things I wish someone had told me before my first few attempts:
Don’t skip the drying step. Wet green beans create steam, and steam is the enemy of crispy bacon. Pat those beans dry like your dinner depends on it, because honestly, it does. I once rushed through this step and ended up with bacon that was pale and rubbery after 30 minutes in the oven.
Watch your oven like a hawk for the last 5 minutes. The line between perfectly caramelized and burnt sugar is razor-thin. I set a timer for 2 minutes less than I think I need, then check every 60 seconds after that. Your oven’s hot spots matter here—rotate the pan if you notice one side browning faster.
Use thin bacon. I cannot stress this enough. Thick-cut bacon seems like it would be better, but it doesn’t cook through in time. You end up with chewy, undercooked bacon and burnt sugar. Thin-cut crisps up perfectly in about 25 minutes total. Trust the process.
Let the bundles cool slightly before serving. I know it’s tempting to serve them immediately, but that molten sugar will burn your mouth. I learned this at a dinner party when I took a bite too fast and couldn’t taste anything for the rest of the meal. Give them 3-5 minutes—the texture improves too, as the sugar sets into a light crust.
Line your pan. Seriously. The sugar glaze will bubble and drip, and scrubbing a baking sheet covered in burnt caramel is not how I want to spend my evening. Parchment paper makes cleanup a 10-second job.
If you’re making these for a holiday meal or a dinner party, you can prep the bundles up to 24 hours in advance. Just arrange them on the baking sheet, cover with plastic wrap, and refrigerate. Add the glaze right before baking. This is a lifesaver on Thanksgiving when oven space is prime real estate.
Variations & Adaptations
One of the reasons I love this recipe is how flexible it is. Here are some variations I’ve tried and loved:
Spicy Maple Version: Swap the brown sugar for maple syrup and add 1/4 teaspoon cayenne pepper to the glaze. The maple syrup makes the glaze a little thinner, so brush it on more sparingly. This version is amazing alongside roasted chicken or pork chops.
Balsamic Glaze: Replace the brown sugar with 2 tablespoons balsamic vinegar mixed with 1 tablespoon honey. The tanginess cuts through the bacon fat beautifully. I made this for a dinner party once and got three requests for the recipe before dessert was served.
Garlic Parmesan: Skip the brown sugar glaze entirely. Instead, sprinkle the bacon-wrapped bundles with grated Parmesan cheese and minced garlic before baking. The cheese gets crispy and salty, and it’s a completely different vibe—more savory, less sweet. This is my go-to when I want something that feels more like an appetizer than a side dish.
Air Fryer Method: If you have an air fryer, these cook beautifully in it. Preheat to 375°F (190°C), place the bundles in a single layer in the basket (you may need to work in batches), and cook for 10-12 minutes, flipping halfway through. The air fryer makes the bacon extra crispy, and it’s faster than the oven. Just watch the sugar closely—it burns faster in the concentrated heat.
Keto-Friendly Version: Use sugar-free brown sugar substitute or simply omit the sweetener and add extra black pepper and garlic powder. The bacon and green beans are already delicious together without the sugar, honestly. I’ve made this for low-carb friends and nobody complained.
I’ve also tried adding a sprinkle of sesame seeds before baking for a nutty flavor, and once I wrapped the bundles in prosciutto instead of bacon when I ran out. Prosciutto works but gets very crispy very fast, so watch it like a hawk. That version felt fancier, but I still prefer the regular bacon version for everyday cooking.
Serving & Storage Suggestions
These bacon-wrapped green beans are best served warm, right after they’ve rested for a few minutes. The bacon is at its crispiest, and the sugar glaze has that perfect candied texture. I usually transfer them to a white platter so the colors pop—the deep green beans against the caramelized bacon looks stunning with minimal effort.
They pair beautifully with almost any protein. I serve them alongside roasted chicken, grilled steak, pork chops, or even a simple salmon fillet. For holidays, they’re a fantastic alternative to green bean casserole—less heavy, more impressive, and honestly easier to make. At our last Thanksgiving, I put these out next to the turkey and they were gone before the mashed potatoes.
For a complete weeknight meal, I’ll make these alongside some simple roasted chicken thighs and maybe a quick salad. The whole dinner comes together in about 40 minutes, and most of that is hands-off oven time. You can prep the bundles while the chicken is roasting, then pop them in when the chicken comes out to rest.
Storage: If you have leftovers (unlikely, but possible), store them in an airtight container in the refrigerator for up to 3 days. The bacon will lose its crispness, but they’re still delicious. To reheat, place them on a baking sheet in a 350°F (175°C) oven for 5-7 minutes. The microwave will make the bacon rubbery—avoid it if you can. I speak from sad, chewy experience.
Freezer: You can freeze the uncooked bundles for up to 2 months. Arrange them on a baking sheet and freeze until solid, then transfer to a freezer bag. When you’re ready to cook, add the glaze and bake straight from frozen, adding 5-8 minutes to the cooking time. This is a great make-ahead option for busy weeks.
The flavors actually mellow and meld together overnight, so leftovers the next day are still pretty fantastic. I’ve been known to chop up leftover bundles and toss them into a lunch salad for a quick, satisfying work-from-home meal.
Nutritional Information & Benefits
Here’s the thing about this recipe—it’s indulgent, but it also has some redeeming qualities. The green beans are a good source of fiber, vitamins A, C, and K, and they’re low in calories on their own. The bacon adds protein and fat, which makes this side dish surprisingly satisfying. You’re not going to feel hungry an hour after eating these.
Per serving (about 2 bundles), here’s the approximate nutritional breakdown:
- Calories: 180-220
- Protein: 7-9g
- Fat: 12-15g
- Carbohydrates: 12-15g
- Fiber: 2-3g
- Sugar: 9-11g
These numbers will vary based on the bacon you use and how much glaze you apply. If you’re watching your sodium, look for low-sodium bacon—regular bacon can add a fair amount of salt. The brown sugar content means this isn’t a low-sugar recipe, but for a side dish that’s mostly vegetables, it’s a reasonable trade-off in my book.
For anyone following a gluten-free diet, this recipe is naturally gluten-free as written. Just double-check your bacon brand—most bacon is gluten-free, but some cured varieties can contain additives with gluten. For dairy-free, use a plant-based butter or coconut oil in the glaze instead of regular butter.
I personally love that this recipe lets me get my family to eat green beans without complaint. My kids inhale these, and I feel good knowing they’re getting some vegetables along with their bacon.
Conclusion
If you take nothing else away from this post, let it be this: you don’t need complicated techniques or fancy ingredients to make something that tastes special. These bacon-wrapped green beans with brown sugar glaze are proof that three simple ingredients, treated with a little care, can become the dish everyone remembers.
I still think about that Tuesday evening at Sarah’s house, standing in her doorway while the smell wrapped around me like a hug. She had no idea she was changing how I’d approach side dishes forever. And honestly, that’s the kind of recipe I want to share with you—the kind that comes from real life, from someone who wasn’t trying to impress anyone, who just made something good because that’s what she did on a regular Tuesday.
Try this recipe and make it your own. Add more heat, swap the sweetener, use turkey bacon if that’s your thing. The beauty of a recipe this simple is that it’s a starting point, not a rulebook. I’d love to hear how it goes—drop a comment below and let me know what you changed, what you loved, or what you served it with. And if you make a double batch? Good call. Trust me on that one.
Frequently Asked Questions
Can I make these ahead of time for a party?
Absolutely. You can assemble the bundles up to 24 hours in advance and keep them covered in the refrigerator. Just add the glaze right before baking. I do this all the time for holiday dinners—it saves so much stress on the day of.
Why did my bacon turn out chewy instead of crispy?
Most likely you used thick-cut bacon or your oven wasn’t hot enough. Thin-cut bacon at 400°F is the sweet spot. Also, make sure your green beans are completely dry before wrapping—moisture creates steam that prevents crisping.
Can I use frozen green beans?
I don’t recommend it. Frozen green beans release too much water as they cook, which makes the bacon soggy and prevents the sugar from caramelizing properly. Fresh green beans really do make a difference here.
How do I keep the brown sugar from burning?
Watch the bundles carefully during the last 5 minutes of cooking. Every oven runs differently, and the line between caramelized and burnt is thin. If you notice the sugar smoking, pull them out immediately. Using parchment paper also helps prevent hot spots from direct pan contact.
Can I cook these on the grill instead of the oven?
Yes! Place the bundles on a piece of foil or in a grill basket and cook over medium heat for about 15-20 minutes, turning occasionally. The grill adds a nice smoky flavor. Just watch the sugar closely—it can burn faster over direct heat.
Pin This Recipe!
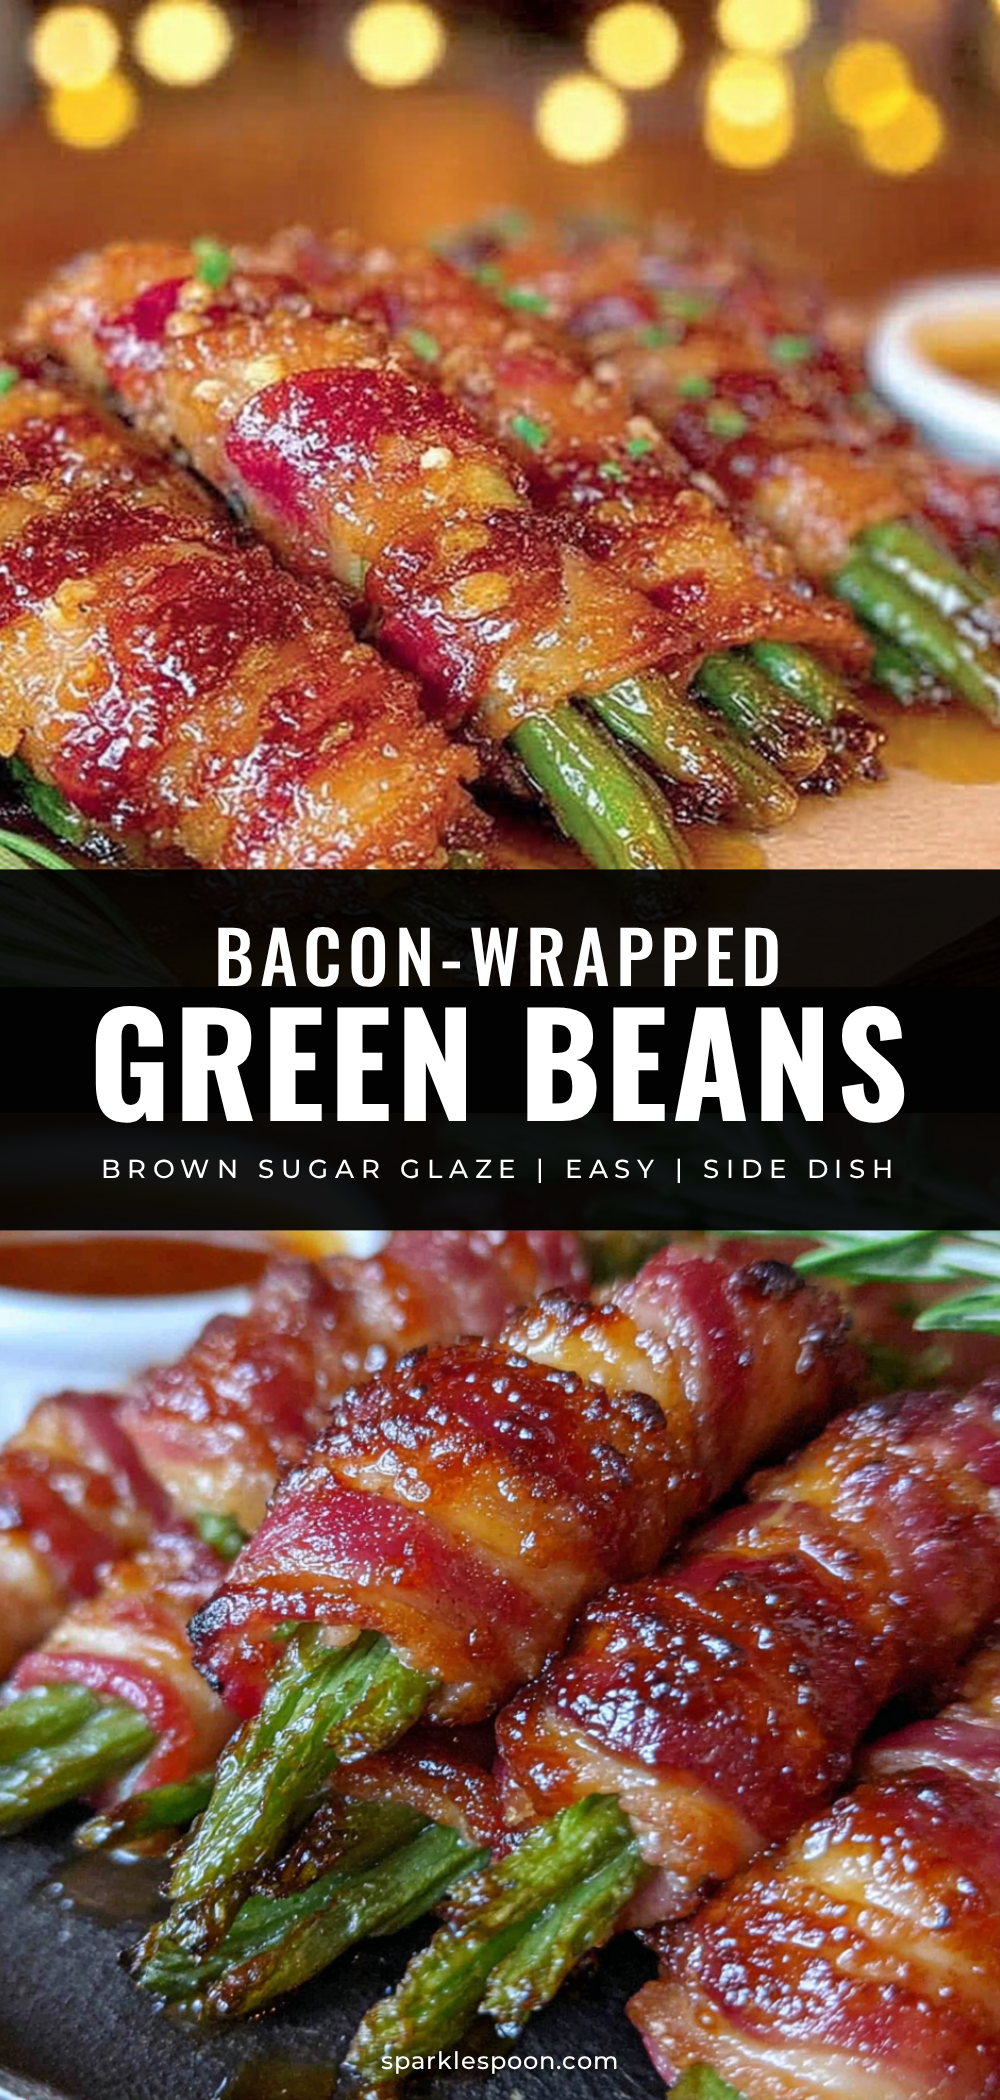
Easy Bacon-Wrapped Green Beans Recipe with Brown Sugar Glaze

Crispy bacon-wrapped green beans with a caramelized brown sugar glaze, ready in about 30 minutes. A simple, crowd-pleasing side dish perfect for weeknights or holidays.
- Prep Time: 10 minutes
- Cook Time: 25 minutes
- Total Time: 35 minutes
- Yield: 4 servings 1x
- Category: Side Dish
- Cuisine: American
Ingredients
- 1 pound fresh green beans, trimmed
- 12 slices thin-cut bacon
- 1/3 cup packed brown sugar (light or dark)
- 2 tablespoons melted butter
- 1/2 teaspoon garlic powder
- 1/4 teaspoon freshly ground black pepper
- 1/4 teaspoon red pepper flakes (optional)
Instructions
- Preheat your oven to 400°F (200°C). Line a rimmed baking sheet with parchment paper or aluminum foil.
- Rinse the green beans under cold water and pat them completely dry. Trim off the stem ends.
- In a small bowl, combine the brown sugar, melted butter, garlic powder, black pepper, and red pepper flakes (if using). Stir until a thick paste forms.
- Gather 6-8 green beans into a small bundle (about the diameter of your thumb). Wrap one slice of bacon around the middle, stretching slightly so it’s snug. Tuck the end of the bacon underneath the bundle.
- Place the bundles seam-side down on the prepared baking sheet, leaving about an inch of space between each.
- Using a pastry brush or the back of a spoon, spread about 1/2 teaspoon of the brown sugar mixture over the top of each bundle.
- Bake for 15 minutes on the center rack.
- Carefully flip each bundle using tongs. Brush the other side with the remaining glaze mixture.
- Bake for another 10-15 minutes, until the bacon is crispy and dark golden brown and the sugar is caramelized. Watch closely to prevent burning.
- Remove from the oven and let the bundles rest on the baking sheet for 3-5 minutes. Transfer to a serving platter and serve warm.
Notes
For best results, use thin-cut bacon and dry the green beans thoroughly. Watch the bundles closely during the last 5 minutes to prevent burning. Bundles can be assembled up to 24 hours in advance and refrigerated; add glaze just before baking. For a spicy maple version, substitute brown sugar with maple syrup and add 1/4 teaspoon cayenne pepper. For a balsamic glaze, replace brown sugar with 2 tablespoons balsamic vinegar mixed with 1 tablespoon honey. For a garlic Parmesan version, skip the brown sugar glaze and sprinkle with grated Parmesan and minced garlic before baking. For an air fryer method, cook at 375°F (190°C) for 10-12 minutes, flipping halfway. For a keto-friendly version, use a sugar-free brown sugar substitute or omit the sweetener and add extra black pepper and garlic powder.
Nutrition
- Serving Size: 2 bundles
- Calories: 200
- Sugar: 10
- Sodium: 450
- Fat: 13.5
- Saturated Fat: 5
- Carbohydrates: 13.5
- Fiber: 2.5
- Protein: 8
Keywords: bacon-wrapped green beans, brown sugar glaze, easy side dish, holiday side dish, green bean recipe



