Love this? Save it for later!
Share the inspiration with your friends
I’m not supposed to have a favorite wing recipe. As a food blogger, you’re expected to love them all equally, like some kind of impartial chicken-wing diplomat. But let’s be real—that’s just not how it works.
This recipe happened by accident, honestly. I was testing a honey garlic glaze for salmon (don’t ask) and had a tray of wings sitting on the counter, defrosted and staring at me. I figured, why not? I tossed them in a mix of baking powder and salt—something I’d read about in a random comment section years ago—and baked them until they looked like they’d been fried. Then I slathered that glaze on, threw them back in the oven, and waited.
The smell that came out of my kitchen that Tuesday evening was ridiculous. Sweet, salty, a little spicy. My neighbor actually texted me asking if I’d ordered takeout. That’s when I knew I had something.
These crispy honey garlic baked chicken wings have since become my go-to for game day, lazy Sundays, and every gathering where I need to show up with something that disappears fast. They’re sticky, crunchy, and honestly better than most restaurant wings I’ve had. Maybe you’ve been there—spending hours on a recipe that ends up just okay? These are not those wings.
What makes them special is the texture. That oven-baked crunch is no joke. And the glaze? It caramelizes into this glossy, finger-licking coating that clings to every ridge and crevice. I’ve made these for three Super Bowls now, and every time, someone asks for the recipe before the halftime show even starts.
So yeah. I’m playing favorites. And this is it.
Why You’ll Love This Recipe
These aren’t just another set of wings you throw in the oven and hope for the best. I’ve tested this method more times than I care to admit—burned batches, soggy batches, batches that looked like they’d been through a war—so you don’t have to. Here’s what makes these wings stand out:
- Oven-Baked, Not Fried: You get that satisfying crunch without the mess, oil splatter, or deep-fryer cleanup. It’s game-day magic without the grease.
- Simple Pantry Ingredients: No weird specialty items. You probably have everything—wings, honey, soy sauce, garlic, baking powder. That’s it.
- Perfect for Game Day: These wings hold up beautifully. They stay crispy even after sitting out for a bit, which is key when you’re watching the clock and the score.
- Crowd-Pleaser: I’ve served these to picky eaters, spice wimps, and wing snobs. Empty tray every single time.
- Unbelievably Delicious: The honey garlic glaze hits that sweet-savory-sour balance that makes you reach for another wing before you’ve finished chewing the first one.
What sets this recipe apart is the technique. Most baked wing recipes skip the crucial step of drying the skin properly, which leads to steamed, rubbery results. Here, we use a baking powder method that creates micro-bubbles on the skin, giving you that fried-like crunch. Plus, the glaze is applied in two stages—half during baking to caramelize, half after to coat—so you get layers of flavor, not just a sticky mess.
This recipe isn’t just good. It’s the kind that makes you close your eyes after the first bite. It’s comfort food reimagined—healthier, faster, but with the same soul-soothing satisfaction. Perfect for impressing guests without stress, or turning a simple game-day snack into something memorable.
What Ingredients You Will Need
This recipe uses simple, honest ingredients to deliver big flavor. No long shopping lists, no obscure condiments. Just the good stuff that works together like a well-oiled team.
For the Wings
- Chicken wings: 2 pounds (about 900g), separated into drumettes and flats. I prefer fresh over frozen for better texture, but thawed frozen works fine if you pat them very dry.
- Baking powder: 1½ teaspoons (NOT baking soda—they’re different). This is the secret to crispy skin. Aluminum-free is best to avoid any metallic aftertaste.
- Salt: 1 teaspoon fine sea salt. Table salt is fine, just reduce to ¾ teaspoon if using.
- Black pepper: ½ teaspoon freshly ground, for a little warmth.
- Garlic powder: ½ teaspoon. Adds depth without burning.
For the Honey Garlic Glaze
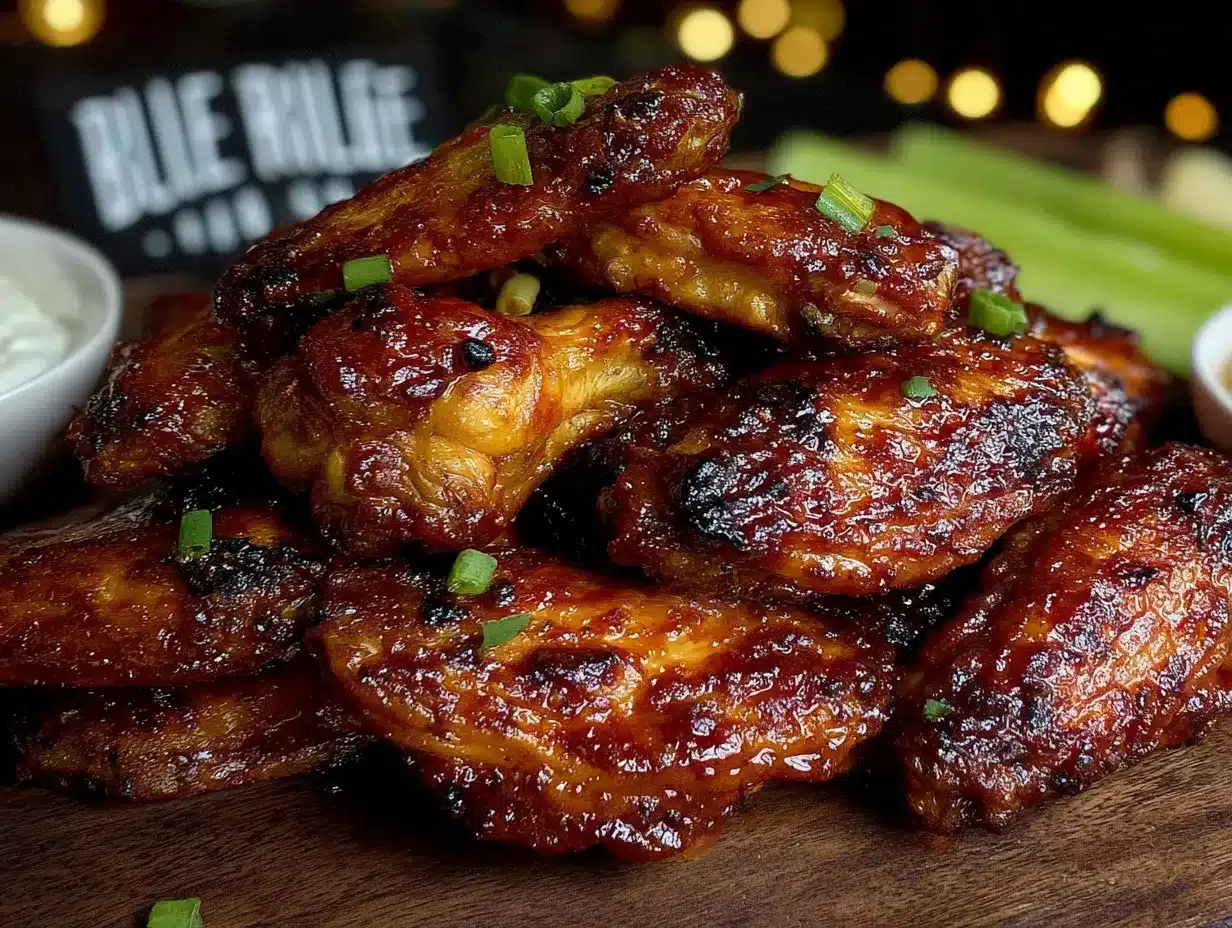
- Honey: ⅓ cup (80ml). Use a runny, mild honey like clover or wildflower. Stronger honey like buckwheat can overpower the garlic.
- Soy sauce: 3 tablespoons low-sodium. Regular works, but the glaze will be saltier—adjust accordingly.
- Rice vinegar: 1 tablespoon. Adds brightness. Apple cider vinegar works in a pinch.
- Garlic: 4 cloves, minced fresh. Please don’t use jarred garlic here—the fresh stuff makes a real difference in the final flavor.
- Ginger: 1 teaspoon grated fresh, or ½ teaspoon ground ginger. Adds warmth and complexity.
- Cornstarch: 1 teaspoon, mixed with 1 tablespoon cold water to make a slurry. This thickens the glaze so it clings beautifully.
- Sesame oil: 1 teaspoon (optional, but recommended). Adds a nutty finish.
- Red pepper flakes: ½ teaspoon (or more, if you like heat). I use Aleppo pepper for a milder warmth.
For Garnish (Optional but Recommended)
- Sesame seeds: 1 tablespoon, toasted.
- Green onions: 2, thinly sliced on the diagonal.
Ingredient Tip: I personally recommend Bell & Evans or Mary’s Free Range chicken wings for the best flavor and texture. They’re a bit pricier, but the meat is plumper and the skin crisps up better. For honey, Nature Nate’s is my go-to—it’s pure, unfiltered, and has a clean sweetness that doesn’t burn easily.
Equipment Needed
You don’t need a professional kitchen for these wings. Just a few basics that you probably already own.
- Baking sheet: A rimmed half-sheet pan (18×13 inches) is ideal. The rim catches any drips and prevents a mess in your oven.
- Wire rack: This is non-negotiable for maximum crispiness. It lifts the wings off the pan so air circulates all around, drying the skin evenly. A cooling rack that fits inside your baking sheet works perfectly.
- Parchment paper or aluminum foil: Line the baking sheet under the rack for easy cleanup. The glaze can get sticky, trust me.
- Mixing bowls: One large bowl for tossing wings with the dry rub, one small bowl for the glaze.
- Whisk: For combining glaze ingredients smoothly.
- Small saucepan: To simmer the glaze and thicken it.
- Tongs: For flipping wings halfway through baking. Silicone-tipped ones won’t scratch your nonstick pans.
- Pastry brush: Optional, but helpful for applying the glaze evenly in the second stage.
Budget Tip: If you don’t have a wire rack, you can flip the wings every 15 minutes during baking. It’s more work, but it still gets you decent crispiness. I’ve done it in a pinch, and honestly, the results are 85% as good.
Preparation Method
This method is broken into clear stages. Follow them in order, and you’ll get wings that are crispy, sticky, and absolutely irresistible.
Step 1: Prep the Wings (10 minutes)
- Rinse the chicken wings under cold water and pat them extremely dry with paper towels. This is the most important step—any moisture left on the skin will steam the wings instead of crisping them. I usually go through 4-5 paper towels.
- If your wings aren’t already separated, cut them at the joint into drumettes and flats. Discard the wing tips (or save them for stock).
- Place the wings in a large bowl. Add the baking powder, salt, black pepper, and garlic powder. Toss well with your hands until every wing is evenly coated. The mixture should look like a light dusting.
- Arrange the wings in a single layer on the wire rack set over your lined baking sheet. Make sure they’re not touching—crowding leads to steaming. Leave a little space between each piece.
Step 2: The Resting Phase (30 minutes to overnight)
- Place the baking sheet with the wings in the refrigerator, uncovered. Let them rest for at least 30 minutes. This allows the baking powder to start drying out the skin, which is key for that crackly texture.
- If you’re planning ahead, you can leave them in the fridge for up to 24 hours. The longer they rest, the crispier they get. I’ve done overnight rests, and the difference is noticeable—the skin gets almost paper-thin and shatters when you bite into it.
Step 3: Bake the Wings (45-50 minutes)
- Preheat your oven to 425°F (220°C). Position the rack in the upper third of the oven for better browning.
- Take the wings out of the fridge and let them sit at room temperature for 10 minutes while the oven heats.
- Bake the wings for 25 minutes. Then, using tongs, flip each wing over. Bake for another 20-25 minutes, until the skin is golden brown and crispy. The internal temperature should reach 165°F (74°C).
- Look for visual cues: The skin should be puffed and bubbly in places, with a deep golden color. If it’s still pale, give it another 5 minutes. Every oven runs a little differently.
Step 4: Make the Glaze (10 minutes, while wings bake)
- In a small saucepan, combine the honey, soy sauce, rice vinegar, minced garlic, grated ginger, and red pepper flakes. Whisk together.
- Bring the mixture to a gentle simmer over medium heat. Cook for 3-4 minutes, stirring occasionally, until the garlic is fragrant and the honey has thinned out.
- Give your cornstarch slurry a quick stir (it settles fast), then pour it into the simmering glaze. Whisk continuously for about 1 minute, until the glaze thickens to a syrupy consistency—it should coat the back of a spoon.
- Remove from heat and stir in the sesame oil, if using. Set aside.
Step 5: Glaze and Finish (5 minutes)
- Once the wings are baked and crispy, remove them from the oven. Using a pastry brush or a spoon, brush about half the glaze over the wings while they’re still hot. Don’t drench them—just a light, even coating.
- Return the wings to the oven for 3-4 minutes. This caramelizes the glaze slightly and sets it onto the skin.
- Remove the wings again. Toss them in a large bowl with the remaining glaze. Use tongs to coat every piece evenly.
- Transfer to a serving platter. Sprinkle with toasted sesame seeds and sliced green onions. Serve immediately.
Pro Tip: If you want extra-sticky wings, reserve a little of the glaze (before adding the cornstarch slurry) and brush it on right before serving. It gives that glossy, almost candied finish that looks incredible on camera.
Cooking Tips & Techniques
I’ve made every mistake in the book with baked wings. Here’s what I learned so you don’t have to.
- Dryness is everything: The number one reason baked wings turn out soggy is moisture. Pat those wings dry like your life depends on it. I’ve even left them uncovered in the fridge for 2 hours on a busy day, and it made a huge difference.
- Don’t skip the baking powder: This isn’t the same as baking soda. Baking powder raises the pH of the skin, which helps it brown faster and become crisp. Without it, you’ll get pale, chewy skin. I once ran out and tried it without—never again.
- Use a wire rack: I know it’s an extra thing to wash, but it’s worth it. The air circulation underneath the wings is what dries the bottom side. If you don’t have one, flip them every 15 minutes, but expect slightly less crunch.
- Watch the glaze: Honey burns easily. That’s why we apply the glaze in two stages—half during baking to caramelize, half after to coat. If you add all the glaze at the beginning, it will burn before the wings are cooked through.
- Temperature matters: 425°F is the sweet spot. Too low, and the wings steam. Too high, and the glaze burns before the meat is cooked. I’ve tried 400°F and 450°F, and 425°F consistently gives the best balance of crispy skin and juicy meat.
Variations & Adaptations
This recipe is flexible. Here are a few ways to change it up based on your mood, diet, or what’s in your fridge.
- Spicy Korean Gochujang Wings: Replace the honey with 3 tablespoons gochujang (Korean chili paste) and add 1 tablespoon brown sugar. Omit the red pepper flakes. The result is deeply savory, slightly sweet, and addictively spicy. I tried this on a whim one night and it’s now my second favorite version.
- Garlic Lovers’ Version: Double the garlic to 8 cloves and add 1 teaspoon garlic powder to the dry rub. Roast an extra head of garlic (cut the top off, drizzle with oil, wrap in foil, bake at 400°F for 40 minutes) and squeeze the soft cloves into the glaze. It’s intense but incredible.
- Low-Carb / Keto Adaptation: Skip the honey glaze entirely. Instead, toss the baked wings in a mixture of 3 tablespoons melted butter, 2 cloves minced garlic, 1 tablespoon soy sauce, and ½ teaspoon smoked paprika. The butter adds richness without the sugar.
- Air Fryer Method: Cook the wings in an air fryer at 380°F (190°C) for 12-15 minutes, shaking the basket halfway through. Then toss with the glaze and air fry for another 2-3 minutes. The texture is even crispier than the oven version, and it’s faster too.
- Milder Version for Kids: Omit the red pepper flakes and reduce the garlic to 2 cloves. Add 1 tablespoon of orange juice to the glaze for a sweeter, fruitier flavor that little ones love.
Serving & Storage Suggestions
These wings are best served fresh, but they’re pretty forgiving. Here’s how to handle them.
- Serving Temperature: Serve hot, straight from the oven. The glaze is at its stickiest and most flavorful when warm. If you’re serving at a party, keep them in a warm oven (200°F) for up to 30 minutes.
- Presentation: Arrange the wings on a large platter in a single layer. Sprinkle with sesame seeds and green onions for color. Add a small bowl of extra glaze on the side for dipping, plus some ranch or blue cheese dressing if you’re feeling classic.
- Complementary Dishes: These wings pair beautifully with celery sticks and blue cheese dip, a simple coleslaw, or crispy oven fries. For drinks, a cold lager or a citrusy IPA cuts through the sweetness perfectly.
- Storage: Leftover wings can be stored in an airtight container in the refrigerator for up to 3 days. The glaze will soften the skin over time, so don’t expect them to stay crispy.
- Reheating: To bring back some crunch, reheat wings in a 375°F (190°C) oven for 5-7 minutes, or in an air fryer at 350°F for 3-4 minutes. Avoid the microwave—it turns them into sad, rubbery things.
- Flavor Development: Honestly, the wings taste even better the next day. The flavors meld together overnight, and while the skin loses some crunch, the glaze penetrates deeper into the meat. I’ve been known to make a double batch just for next-day lunch.
Nutritional Information & Benefits
These wings are a treat, but they’re not as indulgent as you might think. Here’s the breakdown per serving (about 5-6 wings).
- Calories: Approximately 380-420
- Protein: 28g
- Fat: 22g (mostly from skin, not added oil)
- Carbohydrates: 18g (from honey and soy sauce)
- Sugar: 15g (natural honey sugars)
- Sodium: 680mg (can be reduced with low-sodium soy sauce)
Health Benefits: Chicken wings are a good source of protein, selenium, and B vitamins, which support energy metabolism. Garlic and ginger have anti-inflammatory properties, and honey provides quick energy with natural antioxidants. Baking instead of frying significantly reduces the fat content—by about 40% compared to traditional fried wings.
Dietary Considerations: This recipe is naturally gluten-free if you use tamari instead of soy sauce. It’s also dairy-free and nut-free. The main allergens are soy (from the soy sauce) and potential sulfites in some vinegars. For a lower-sodium version, use coconut aminos instead of soy sauce.
I’m not one to call wings “health food,” but I feel better about serving these than the deep-fried versions. They hit the same spot without the heavy, greasy aftermath.
Conclusion
These crispy honey garlic baked chicken wings are proof that you don’t need a deep fryer to get that game-day crunch. The technique is simple—dry the skin, bake it hot, glaze it smart—and the result is something that will have people hovering around your kitchen island, asking for the recipe before the first commercial break.
What I love most about this recipe is how adaptable it is. You can make it spicy, mild, low-carb, or loaded with garlic. You can bake it, air fry it, or even grill it (yes, that works too). It’s the kind of recipe that becomes yours after the first try, because you’ll tweak it to match your taste.
So go ahead. Make these for your next game-day gathering, or just for a Tuesday when you need something delicious in your life. And when someone asks how you got them so crispy, just smile and say, “It’s a secret.”
If you try this recipe, I’d love to hear how it went. Drop a comment below, tag me in your photos, or tell me your favorite variation. Happy cooking, and enjoy every sticky, crunchy bite!
Frequently Asked Questions
Can I use frozen chicken wings for this recipe?
Yes, but you must thaw them completely in the refrigerator first. Then pat them extremely dry with paper towels. Frozen wings release a lot of moisture as they thaw, and any remaining water will ruin the crispiness. I recommend fresh wings for the best results, but thawed frozen works in a pinch.
Why did my wings turn out soggy instead of crispy?
The most common cause is moisture. Either the wings weren’t dried thoroughly before coating, or they were crowded on the baking sheet. Make sure to pat them dry with several paper towels, and leave space between each wing on the wire rack. Also, check that your oven is at a full 425°F—a cooler oven will steam the wings instead of crisping them.
Can I make these wings in advance for a party?
Absolutely. You can prep the wings up to 24 hours in advance by coating them with the dry rub and leaving them uncovered in the fridge on the wire rack. Then bake them fresh on game day. For fully cooked wings, you can reheat them in a 375°F oven for 5-7 minutes to restore some crunch. Just don’t microwave them—it’ll ruin the texture.
Is there a substitute for baking powder?
Baking powder is key for the crispy texture, but if you’re out, you can try using cornstarch instead. Toss the dried wings with 1 tablespoon cornstarch, then season with salt and pepper. The cornstarch creates a thin, crunchy coating, though it won’t be quite as airy as the baking powder method. Avoid using baking soda—it will leave a bitter, metallic taste.
How do I make the glaze less sweet?
Reduce the honey to ¼ cup and add an extra tablespoon of rice vinegar or a squeeze of fresh lemon juice. The acidity will balance the sweetness. You can also add a teaspoon of sriracha or a pinch of cayenne for heat, which cuts through the sugar nicely. For a savory twist, replace half the honey with hoisin sauce or oyster sauce.
Pin This Recipe!
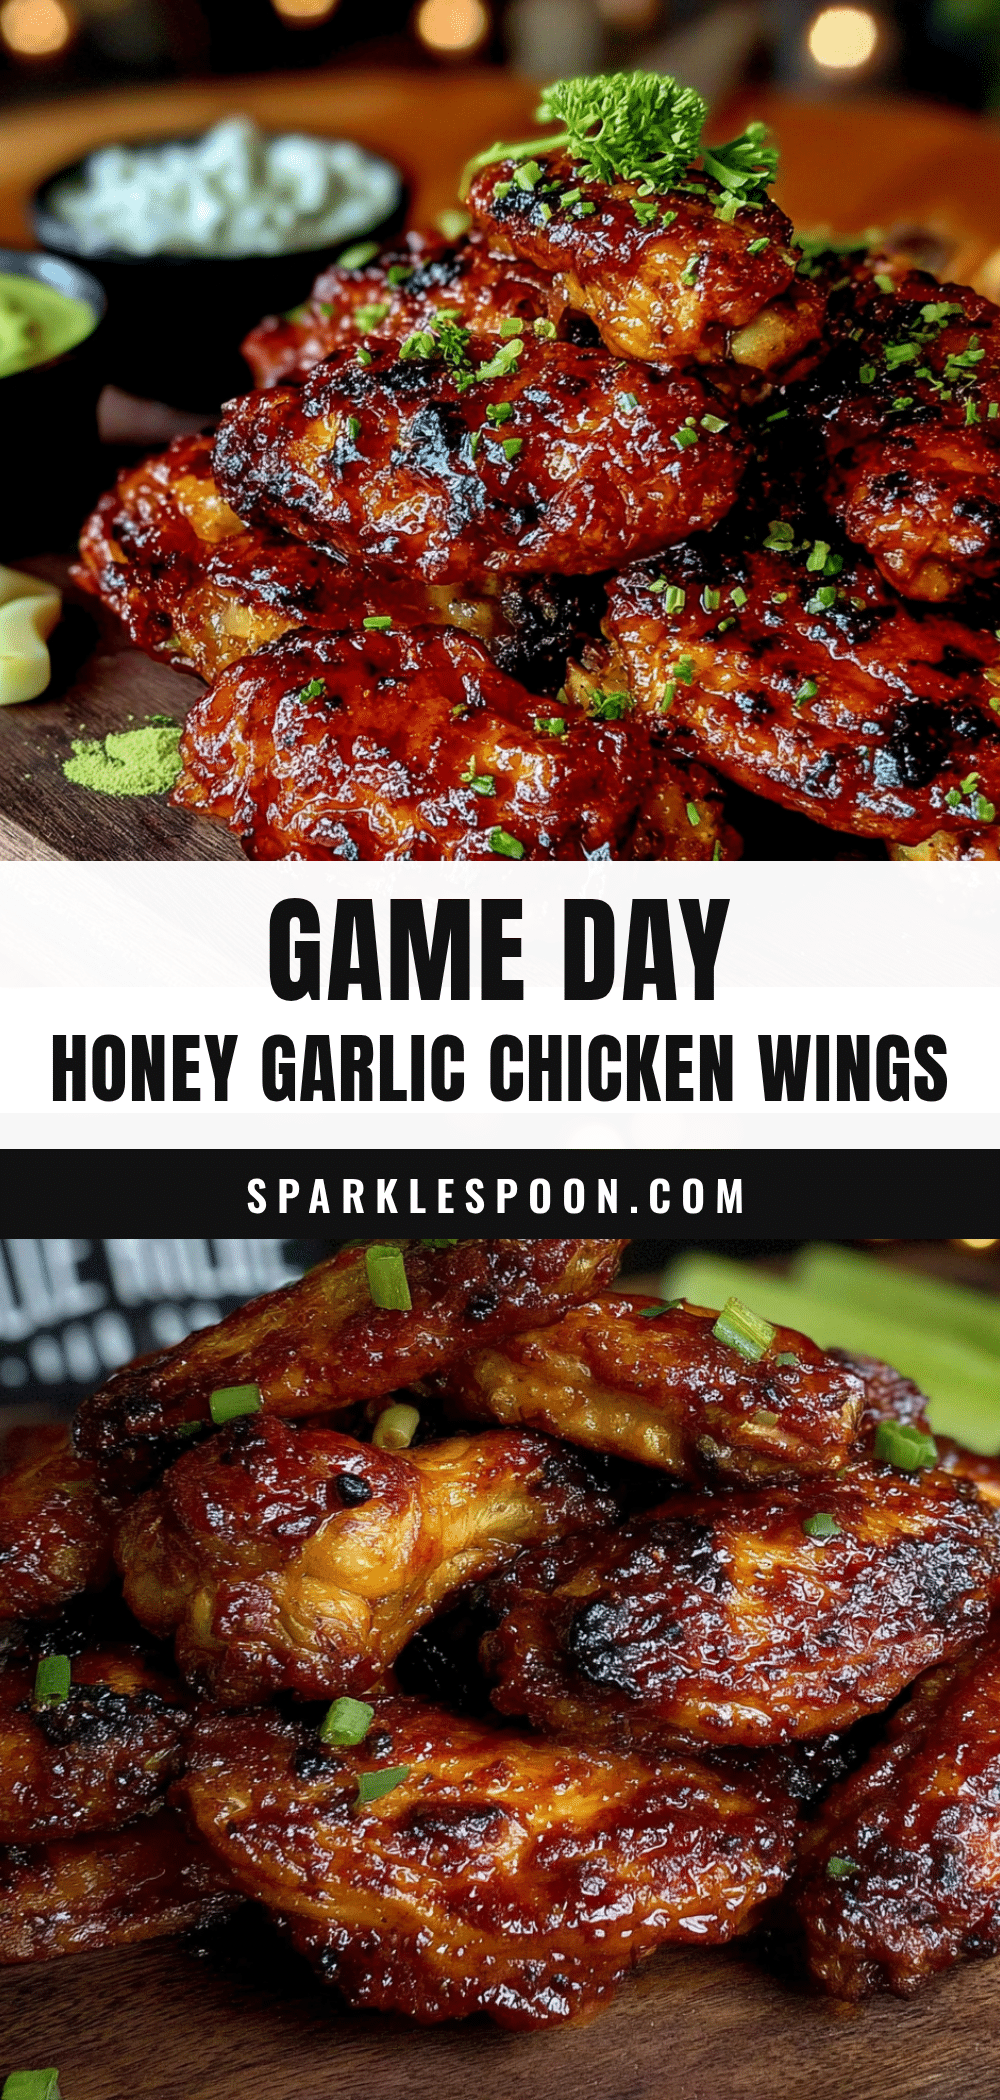
Crispy Honey Garlic Baked Chicken Wings: Best Game Day Recipe

These oven-baked chicken wings are incredibly crispy, sticky, and coated in a sweet-savory honey garlic glaze. Perfect for game day or any gathering, they deliver restaurant-quality crunch without the mess of deep frying.
- Prep Time: 10 minutes
- Cook Time: 50 minutes
- Total Time: 1 hour 30 minutes (including resting time)
- Yield: 4 servings 1x
- Category: Appetizer
- Cuisine: American
Ingredients
- 2 pounds (about 900g) chicken wings, separated into drumettes and flats
- 1½ teaspoons baking powder (aluminum-free preferred)
- 1 teaspoon fine sea salt
- ½ teaspoon freshly ground black pepper
- ½ teaspoon garlic powder
- ⅓ cup (80ml) honey (runny, mild variety like clover or wildflower)
- 3 tablespoons low-sodium soy sauce
- 1 tablespoon rice vinegar
- 4 cloves garlic, minced fresh
- 1 teaspoon grated fresh ginger (or ½ teaspoon ground ginger)
- 1 teaspoon cornstarch mixed with 1 tablespoon cold water (slurry)
- 1 teaspoon sesame oil (optional)
- ½ teaspoon red pepper flakes (or Aleppo pepper for milder heat)
- 1 tablespoon toasted sesame seeds (for garnish)
- 2 green onions, thinly sliced on the diagonal (for garnish)
Instructions
- Prep the Wings: Rinse chicken wings under cold water and pat extremely dry with paper towels. If not already separated, cut at the joint into drumettes and flats. Discard wing tips or save for stock. Place wings in a large bowl and toss with baking powder, salt, black pepper, and garlic powder until evenly coated.
- Rest the Wings: Arrange wings in a single layer on a wire rack set over a lined baking sheet, ensuring they are not touching. Refrigerate uncovered for at least 30 minutes, or up to 24 hours for maximum crispiness.
- Bake the Wings: Preheat oven to 425°F (220°C) with rack in upper third. Let wings sit at room temperature for 10 minutes. Bake for 25 minutes, then flip each wing and bake for another 20-25 minutes until golden brown and crispy (internal temperature reaches 165°F/74°C).
- Make the Glaze: In a small saucepan, combine honey, soy sauce, rice vinegar, minced garlic, grated ginger, and red pepper flakes. Bring to a gentle simmer over medium heat, cooking for 3-4 minutes. Stir cornstarch slurry, then pour into glaze, whisking continuously for about 1 minute until thickened. Remove from heat and stir in sesame oil if using.
- Glaze and Finish: Brush about half the glaze over the hot baked wings. Return to oven for 3-4 minutes to caramelize. Remove and toss wings in a large bowl with remaining glaze until evenly coated. Transfer to a serving platter and garnish with toasted sesame seeds and sliced green onions. Serve immediately.
Notes
Pat wings extremely dry to ensure crispiness. Do not skip the baking powder—it’s essential for texture. Apply glaze in two stages to prevent burning. For extra-sticky wings, reserve a little glaze (before adding cornstarch slurry) and brush on right before serving.
Nutrition
- Serving Size: 5-6 wings
- Calories: 380420
- Sugar: 15
- Sodium: 680
- Fat: 22
- Saturated Fat: 6
- Carbohydrates: 18
- Protein: 28
Keywords: crispy baked chicken wings, honey garlic wings, game day recipe, oven baked wings, sticky wings



