Love this? Save it for later!
Share the inspiration with your friends
Last Tuesday, I was standing in the freezing cold of a rest stop parking lot, waiting for my coffee to brew, when the scent of crushed peppermint hit me. It wasn’t from a candy cane or a holiday display, but from a crumpled wrapper someone had tossed near the trash can. Suddenly, I was seven years old, standing on a sticky kitchen floor while my dad tried to fix a broken batch of fudge. He had no idea what he was doing, but he kept stirring that pot with this intense, quiet focus. That specific smell of mint and chocolate mixed with the anxiety of a failed dessert is something I’ve chased ever since.
Honestly, I thought I’d never recreate that feeling. Most peppermint fudge recipes are too hard, or they split into a grainy mess, or the mint flavor tastes like toothpaste. I mean, let’s face it, nobody wants toothpaste fudge for the holidays. I wanted that creamy, melt-in-your-mouth texture my dad accidentally stumbled toward, even if he never quite got it right. The power went out halfway through my third attempt, which was a whole drama, but it taught me that no-bake is the only way to go when you’re working with delicate chocolate.
Maybe you’ve been there, staring at a pot of seized chocolate wondering if you ruined Christmas dinner. This creamy no-bake peppermint bark fudge is my answer to that panic. It’s simple, it’s forgiving, and it tastes exactly like that memory. I keep making it because it brings back the warmth of that kitchen, even if the fudge is slightly better this time. Plus, it’s ready in minutes, which is a lifesaver when the holiday rush hits.
Why You’ll Love This Recipe
This isn’t just another holiday treat; it’s a tested and true method that saves you from the stress of melting chocolate over a double boiler. I’ve spent years tweaking ratios to get the perfect set, and this version is the winner. It’s designed for real life, where you might not have a candy thermometer or an hour to spare.
- Quick & Easy: You can have this done in under 20 minutes of active time. It’s perfect for those last-minute holiday parties or when you need a sweet fix after a long day of shopping.
- Simple Ingredients: You likely already have everything in your pantry. No fancy grocery trips needed. Just chocolate, condensed milk, peppermint, and white chocolate.
- Perfect for Gifting: Cut it into small squares and wrap it up. It’s a crowd-pleaser that looks professional but is actually very simple to make.
- Unbelievably Delicious: The texture is smooth and rich, with a cool mint finish that cuts through the sweetness. It’s comfort food reimagined for the modern kitchen.
- No-Bake Simplicity: Skip the oven. This recipe relies on the setting power of chilled chocolate, meaning less cleanup and no risk of burning your dessert.
What makes this different is the use of full-fat sweetened condensed milk. It acts as the binder and sweetener, creating a fudge that is dense yet creamy. I’ve tried versions with butter, but they often separate. This method keeps everything emulsified and smooth. It’s the kind of recipe that makes you close your eyes after the first bite, remembering simpler times.
What Ingredients You Will Need
This recipe uses simple, wholesome ingredients to deliver bold flavor and satisfying texture without the fuss. The key is quality. Since there are only five ingredients, each one plays a huge role in the final taste and texture. I recommend using high-quality chocolate chips for the best melt and shine.
- Semi-Sweet Chocolate Chips (12 oz): These form the base. I prefer Ghirardelli or Hershey’s for their consistent melt. Avoid baking bars unless you chop them finely, as chips have stabilizers that help the fudge set properly.
- Sweetened Condensed Milk (14 oz can): This is non-negotiable. Do not use evaporated milk. The sugar and fat content in condensed milk is what gives the fudge its chewy, soft texture. Room temperature works best for mixing.
- Crushed Peppermint Candies (1/2 cup): Use hard peppermint candies. I like to crush them by hand for varied textures, but a food processor works if you want fine dust. Look for brands like Jolly Rancher or traditional red-and-white stripes.
- White Chocolate Chips (12 oz): For the drizzle. Use real white chocolate, not coating melt, for a richer flavor. If you can’t find chips, chop a bar into small pieces.
- Peppermint Extract (1/2 tsp): This intensifies the mint flavor. Use pure extract, not oil, for a smoother integration. A little goes a long way, so start with less and taste.
For substitution, you can use dairy-free condensed milk if needed, though the texture might be slightly softer. In summer, swap in dark chocolate chips if you want less sweetness. The mint candies can be replaced with crushed candy canes, which are often cheaper and just as festive.
Equipment Needed
You don’t need much for this recipe, which is part of the charm. A large microwave-safe bowl is essential. Glass or ceramic works best because they distribute heat evenly. If you’re using a microwave, a 4-quart size is ideal to prevent spills.
A silicone spatula is your best friend here. It scrapes the bowl clean and helps incorporate the ingredients without deflating the mixture. Wooden spoons can leave bits of chocolate stuck in the grain, so silicone is preferred. I’ve ruined a few favorite wooden spoons over the years, so learn from my mistake.
A 9×9 inch baking pan is standard. Line it with parchment paper or foil, leaving an overhang on the sides. This makes lifting the fudge out a breeze, so you don’t have to dig it out with a knife. For the drizzle, a small piping bag or a ziplock bag with the corner cut off works perfectly. No fancy tools required, just the basics you already own.
Preparation Method
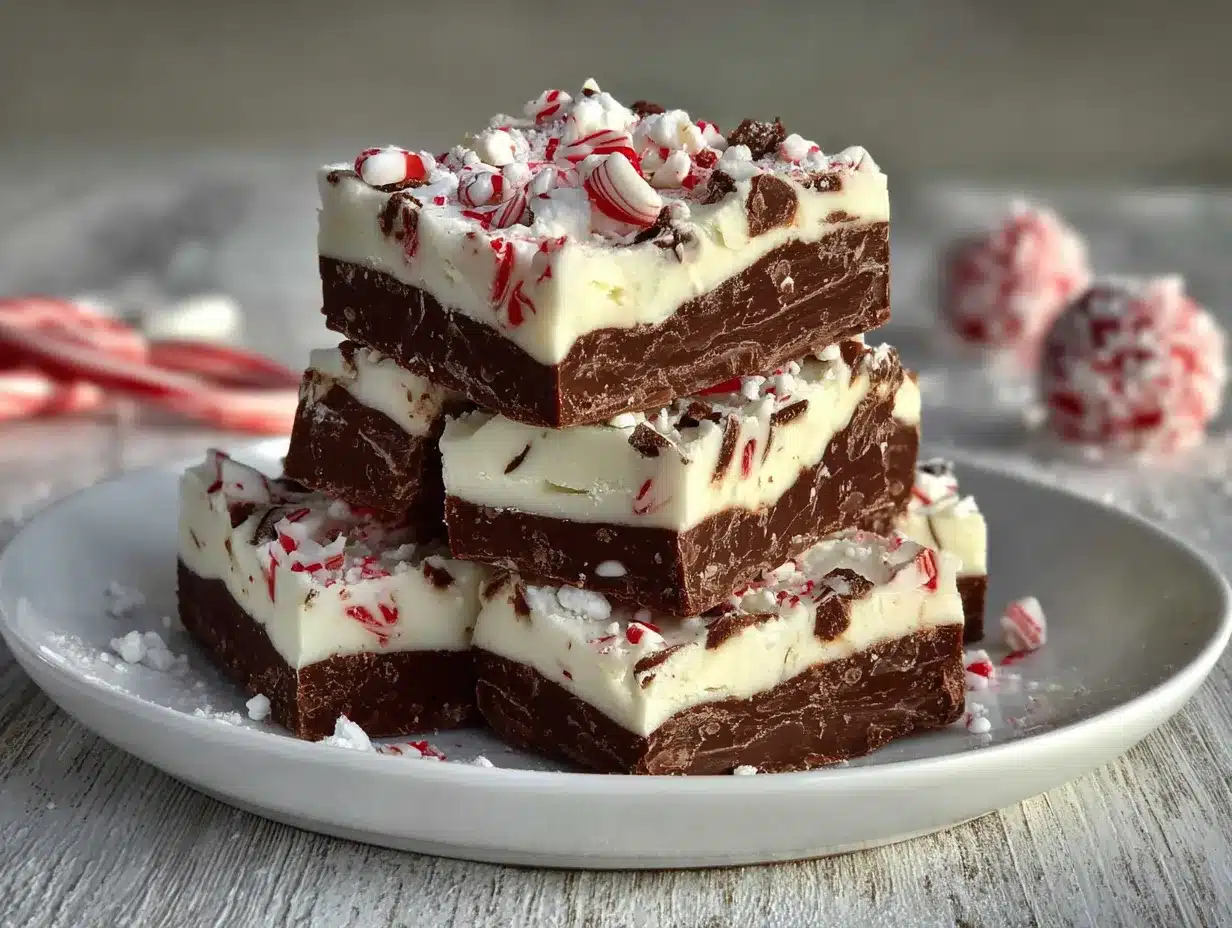
Start by lining your 9×9 inch baking pan with parchment paper. Make sure to leave enough overhang on two opposite sides so you can lift the finished fudge out easily. This step is crucial for clean cuts later.
Step 1: Melt the Chocolate Base (5 minutes)
In your microwave-safe bowl, combine the semi-sweet chocolate chips and the sweetened condensed milk. Microwave on high for 30 seconds. Remove and stir. The mixture might look separated, which is normal. Microwave for another 30 seconds and stir again. Continue in 15-second intervals until the chocolate is mostly melted and the mixture is smooth. Be careful not to overheat, as chocolate can seize if it gets too hot.
Step 2: Add the Mint Flavor (1 minute)
Once the chocolate mixture is smooth, stir in the peppermint extract. Mix until fully incorporated. The smell should be strong and fresh. If you want a stronger mint flavor, you can add a bit more extract, but taste first as it intensifies as it cools.
Step 3: Fold in the Crunch (2 minutes)
Gently fold in half of your crushed peppermint candies. Reserve the other half for the topping. Fold carefully to distribute the pieces evenly without breaking them too much. You want chunks for texture, not dust.
Step 4: Press into the Pan (3 minutes)
Pour the mixture into your prepared pan. Use your spatula to spread it out evenly. Press down firmly to create a flat, compact layer. This helps the fudge set tightly. Sprinkle the remaining crushed peppermint candies over the top, pressing them gently into the surface so they stick.
Step 5: Chill the Base (30 minutes)
Place the pan in the refrigerator for at least 30 minutes, or until the base is completely firm. This is important before adding the white chocolate layer.
Step 6: Melt the White Chocolate (2 minutes)
In a clean bowl, microwave the white chocolate chips in 30-second intervals, stirring between each. Stop when there are still a few small lumps left and stir until smooth. White chocolate burns easily, so be gentle with the heat.
Step 7: Drizzle and Set (1 hour total)
Transfer the white chocolate to a piping bag or ziplock bag. Drizzle it over the set peppermint base in a zigzag pattern. Let the pan sit at room temperature for 30 minutes or return to the fridge for 15 minutes until the white chocolate is hardened. Once set, lift the fudge out using the parchment paper and cut into squares.
Cooking Tips & Techniques
The biggest mistake people make with no-bake fudge is overheating the chocolate. If you microwave it for too long, it becomes grainy and won’t set properly. Always use short bursts of heat and stir in between. If you don’t have a microwave, you can use a double boiler on the stove, but keep the heat very low.
Another tip is to ensure your condensed milk is at room temperature. Cold milk can cause the warm chocolate to seize up, creating lumps that are hard to stir out. If you’re in a rush, just leave the can out for 30 minutes before you start.
When crushing the peppermint candies, don’t overdo it. You want distinct pieces for that satisfying crunch. I usually put them in a ziplock bag and hit them with a rolling pin. It’s therapeutic and gives you control over the size. Also, make sure your pan is lined well. If the fudge sticks, you’ll lose the beautiful top layer when you try to remove it.
Variations & Adaptations
While the classic peppermint and chocolate combo is timeless, there are plenty of ways to tweak this recipe. For a dairy-free version, use dairy-free chocolate chips and coconut-based condensed milk. The texture might be slightly softer, so chill it longer.
If you’re not a fan of white chocolate, try using milk chocolate for the drizzle. It creates a darker, more subtle contrast. You can also add a layer of crushed pretzels between the chocolate layers for a sweet-and-salty twist. I tried this once, and it was a hit at the office party.
For a mint-free option, simply omit the peppermint extract and candies. Add red sprinkles instead for a red velvet vibe. Or, swap the peppermint for orange zest and orange candies for a citrus twist. The base recipe remains the same, making it very adaptable to different tastes.
Serving & Storage Suggestions
Serve this fudge at room temperature for the best texture. Cold fudge can be too hard, while warm fudge might be too soft. Cut it into small squares, about 1×1 inch, as it is quite rich and sweet. It pairs well with hot coffee or tea, which cuts through the sweetness.
Store the fudge in an airtight container in the refrigerator for up to two weeks. You can also freeze it for up to three months. Layer the pieces with parchment paper to prevent sticking. When ready to eat, let it sit on the counter for 10 minutes to soften slightly.
The flavors develop over time, becoming more cohesive after a day in the fridge. The mint flavor mellows out, making it less sharp and more integrated with the chocolate. This makes it perfect for making ahead of time for holiday gatherings.
Nutritional Information & Benefits
This fudge is rich in calories and sugar, so it’s best enjoyed in moderation. Each square provides a quick energy boost, thanks to the simple sugars in the chocolate and condensed milk. The peppermint adds a touch of digestive comfort, which is nice after a heavy meal.
For those watching their sugar intake, this recipe is not suitable, but it can be made with sugar-free chocolate chips and condensed milk. Keep in mind that the texture and sweetness will change. Always check labels for allergens like dairy and nuts, depending on the chocolate brand you choose.
Conclusion
This creamy no-bake peppermint bark fudge is a holiday staple for a reason. It’s easy, delicious, and brings back warm memories. I hope you try it and make it your own. Don’t be afraid to experiment with different candies or chocolates. Share your results in the comments below, and let me know how it turned out. Happy baking!
Frequently Asked Questions
Can I use dark chocolate instead of semi-sweet?
Yes, you can use dark chocolate, but it will result in a less sweet, more intense chocolate flavor. The fudge might also set slightly harder, so chill it a bit longer.
Why is my fudge soft and not setting?
This usually happens if the chocolate was overheated or if the condensed milk was too cold. Make sure to melt the chocolate gently and let the fudge chill for the full 30 minutes before cutting.
Can I make this gluten-free?
Yes, just ensure your chocolate chips and peppermint candies are certified gluten-free. Most plain chocolates and hard candies are naturally gluten-free, but always check the label.
How long does it take to melt the chocolate?
It typically takes 2-3 minutes in the microwave, using 30-second intervals. Stirring between intervals is key to even melting without burning.
Can I drizzle the white chocolate before chilling the base?
No, the white chocolate will melt into the soft base. You must let the peppermint layer set completely in the fridge before adding the white chocolate drizzle.
Pin This Recipe!
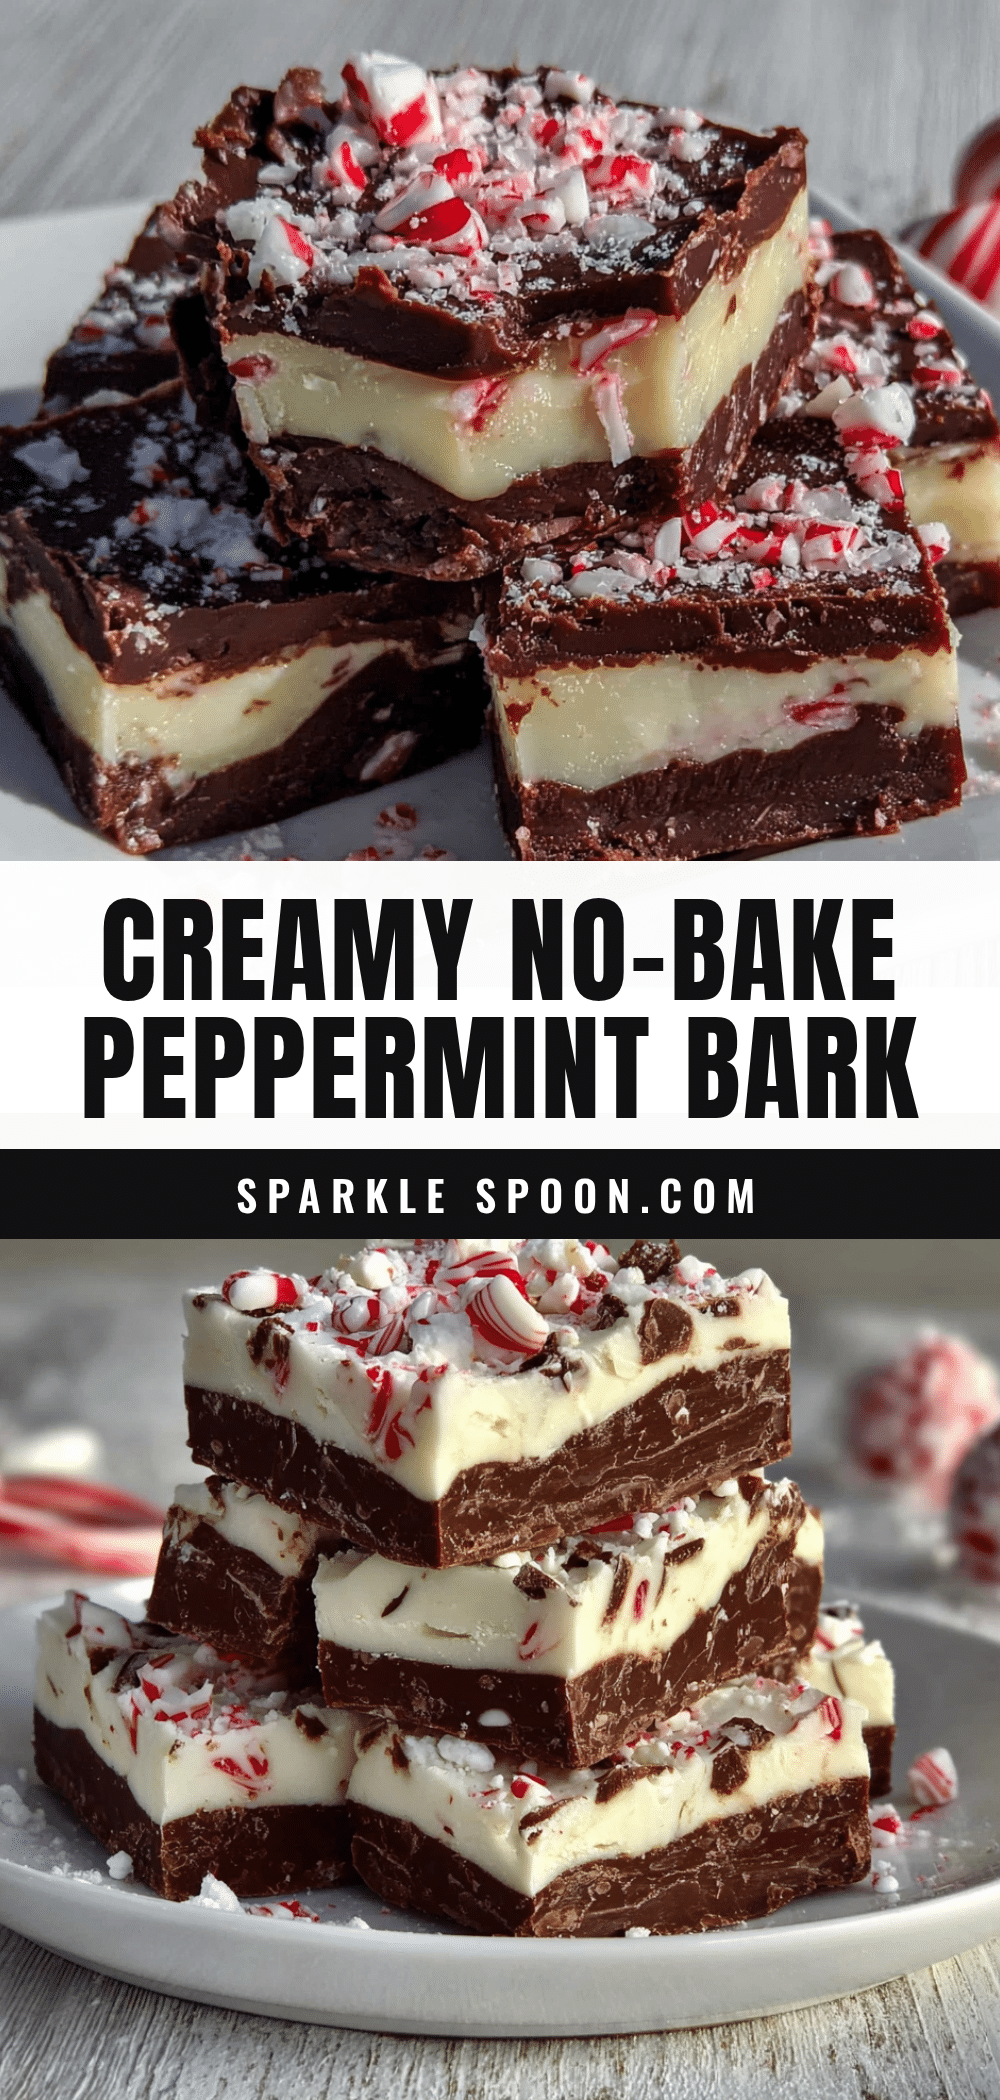
Creamy No-Bake Peppermint Bark Fudge: 5-Ingredient Easy Holiday Treat

A simple, creamy no-bake peppermint bark fudge made with just five ingredients. This easy holiday treat combines semi-sweet chocolate, sweetened condensed milk, and crushed peppermint candies for a rich, melt-in-your-mouth dessert that requires no oven.
- Prep Time: 15 minutes
- Cook Time: 0 minutes
- Total Time: 45 minutes
- Yield: 16 servings 1x
- Category: Dessert
- Cuisine: American
Ingredients
- 12 oz semi-sweet chocolate chips
- 14 oz can sweetened condensed milk
- 1/2 cup crushed peppermint candies
- 12 oz white chocolate chips
- 1/2 tsp peppermint extract
Instructions
- Line a 9×9 inch baking pan with parchment paper, leaving an overhang on two opposite sides for easy removal.
- In a microwave-safe bowl, combine semi-sweet chocolate chips and sweetened condensed milk. Microwave on high for 30 seconds, stir, then continue in 15-second intervals until smooth and mostly melted.
- Stir in peppermint extract until fully incorporated.
- Gently fold in half of the crushed peppermint candies, reserving the other half for the topping.
- Pour the mixture into the prepared pan and spread evenly. Press down firmly to create a compact layer.
- Sprinkle the remaining crushed peppermint candies over the top, pressing them gently into the surface.
- Refrigerate for at least 30 minutes, or until the base is completely firm.
- In a clean bowl, microwave white chocolate chips in 30-second intervals, stirring between each, until smooth with a few small lumps remaining.
- Transfer white chocolate to a piping bag or ziplock bag with the corner cut off.
- Drizzle the white chocolate over the set peppermint base in a zigzag pattern.
- Let the fudge sit at room temperature for 30 minutes or refrigerate for 15 minutes until the white chocolate is hardened.
- Lift the fudge out using the parchment paper and cut into 1×1 inch squares.
Notes
Ensure condensed milk is at room temperature to prevent seizing. Do not overheat chocolate; use short bursts and stir frequently. For a dairy-free version, use dairy-free chocolate chips and coconut-based condensed milk. For a gluten-free version, ensure all ingredients are certified gluten-free.
Nutrition
- Serving Size: 1 square (approx. 1x
- Calories: 280
- Sugar: 24
- Sodium: 45
- Fat: 18
- Saturated Fat: 11
- Carbohydrates: 28
- Fiber: 2
- Protein: 4
Keywords: peppermint fudge, no-bake dessert, holiday treats, peppermint bark, easy fudge recipe, christmas cookies, mint chocolate dessert



