Love this? Save it for later!
Share the inspiration with your friends
It was the middle of October, and I was at my wits’ end trying to find a specific kind of molasses for a different recipe. I had already been to two grocery stores, and the parking lot of the third was a complete zoo. In a fit of frustration, I pulled into the dusty lot of an antique mall I’d passed a thousand times, figuring I’d kill twenty minutes until the traffic died down. Honestly, I was just looking for a quiet place to hide.
I was aimlessly browsing a booth filled with old Pyrex and chipped teacups when I heard a voice from behind a stack of vintage suitcases. “You look like someone who needs a good dessert.” It was an older woman, probably the vendor of that booth, sorting through a box of tarnished silverware. She introduced herself as Margaret, and without missing a beat, she started telling me about these pumpkin cheesecake bars she’d been making for her church bake sales for thirty years. She described the way the gingersnap crust should feel—like damp sand, not wet mud—and the exact moment you know the cheesecake is set, which is when the center still has a tiny jiggle, like a nervous secret. I wasn’t expecting baking advice from an antique dealer, but there I was, standing next to a creepy porcelain doll, listening to her describe the perfect fall dessert.
I mean, who gets a life-changing recipe from an antique mall? Apparently, I do. I scribbled her instructions on the back of a receipt I found in my purse, and I honestly thought I’d lose it. But I didn’t. That scribbled receipt is now tucked into my favorite cookbook, and every time I make these bars, I think of Margaret and her dusty booth full of treasures. These cozy pumpkin cheesecake bars with that perfectly spiced gingersnap crust are the kind of thing that makes you forget about traffic jams and crowded parking lots. Maybe you’ve been there—stressed out and just needing a win. This recipe is that win.
Why You’ll Love This Recipe
Let me tell you, I’ve tested a lot of pumpkin cheesecake recipes over the years. Some are too dense, some are too sweet, and some just don’t have that cozy fall feeling. These bars are different. They hit that perfect sweet spot between a creamy cheesecake and a spiced pumpkin pie, and that gingersnap crust? It’s a game-changer.
- Quick & Easy: This recipe comes together in about 30 minutes of active prep time. No water bath, no complicated techniques. It’s the kind of dessert you can whip up on a Tuesday night.
- Simple Ingredients: You probably have most of these in your pantry already. Canned pumpkin, cream cheese, eggs, and a box of gingersnaps. No fancy grocery store runs required.
- Perfect for Fall Gatherings: Whether it’s Thanksgiving, a Friendsgiving potluck, or just a cozy Sunday at home, these bars are the star of the show. They travel well, too.
- Crowd-Pleaser: I’ve served these to picky kids and serious foodie adults, and they disappear. Every. Single. Time. The combination of tangy cream cheese and warm pumpkin spice is just unbeatable.
- Unbelievably Delicious: The texture is what gets me. The crust is crunchy and buttery, the cheesecake layer is silky smooth, and the pumpkin layer is rich and spiced. It’s next-level comfort food, honestly.
What makes this recipe different from the rest? It’s that crust. Most pumpkin cheesecake bars use a graham cracker crust, which is fine, but the gingersnap crust adds a deep, molasses-y warmth that just sings with the pumpkin. Plus, I’ve figured out the trick to getting that perfect, crack-free top every time. This isn’t just another version of pumpkin cheesecake bars; it’s the best version. The kind that makes you close your eyes after the first bite.
What Ingredients You Will Need
This recipe uses simple, wholesome ingredients to deliver that big, bold fall flavor. Most of these are pantry staples or easy to find at any grocery store during the autumn months. Let’s break down what you’ll need and why each ingredient matters.
For the Gingersnap Crust
- 2 cups (about 240g) gingersnap cookie crumbs (from about 40 cookies) – I prefer Nabisco brand for consistent crunch, but any store brand works fine. The key is to get that deep ginger and molasses flavor.
- 5 tablespoons (70g) unsalted butter, melted – This binds the crumbs together. Use salted butter if that’s all you have, just reduce the added salt in the filling slightly.
- 2 tablespoons (25g) granulated sugar – Just a touch to balance the spice of the gingersnaps.
- ¼ teaspoon salt – Enhances the flavor of the spices.
For the Pumpkin Layer
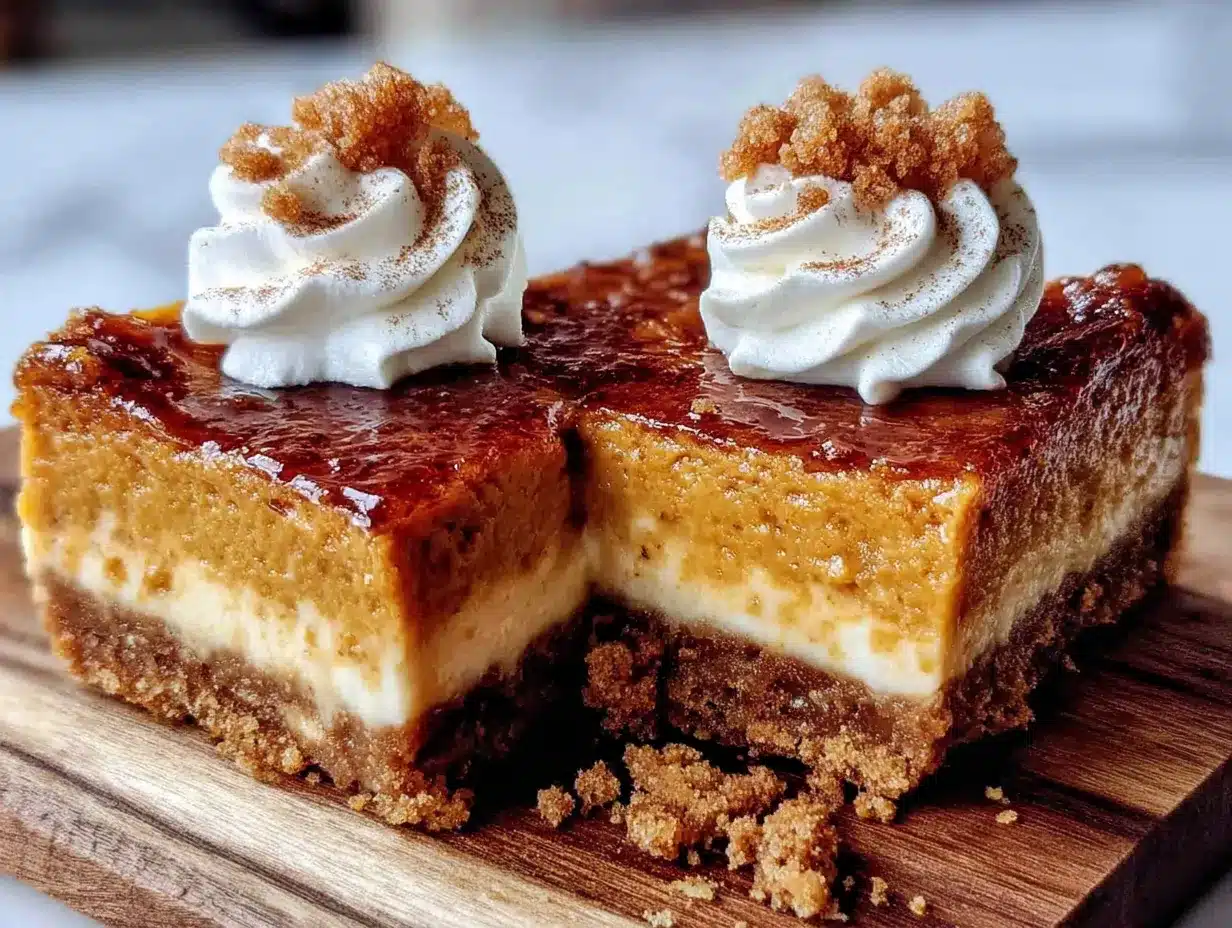
- 1 cup (245g) canned pumpkin puree – Make sure you get pure pumpkin puree, not pumpkin pie filling. Libby’s is my go-to brand for consistent texture and flavor.
- 1 large egg – Room temperature is best for a smooth, even texture.
- ⅓ cup (65g) packed light brown sugar – Adds moisture and a deep, caramel-like sweetness that pairs beautifully with the spices.
- 1 teaspoon pumpkin pie spice – You can use store-bought or make your own with ½ teaspoon cinnamon, ¼ teaspoon ginger, ¼ teaspoon nutmeg, and a pinch of cloves.
- ½ teaspoon vanilla extract – Pure vanilla extract makes a difference here.
For the Cheesecake Layer
- 16 ounces (450g) full-fat cream cheese, softened – This is non-negotiable. Low-fat cream cheese will result in a less creamy, slightly grainy texture. Let it sit on the counter for at least an hour before you start.
- ½ cup (100g) granulated sugar – Just enough to sweeten without overpowering the tang of the cream cheese.
- 2 large eggs – Room temperature, again. Cold eggs can cause the mixture to curdle.
- 1 teaspoon vanilla extract – Adds warmth and depth.
- 1 tablespoon all-purpose flour – This helps stabilize the cheesecake and prevents cracking. You can substitute with cornstarch for a gluten-free option.
Substitution Guidance: For a gluten-free version, use gluten-free gingersnap cookies (they exist! I like the brand Mi-Del) and swap the flour in the cheesecake layer for cornstarch or a gluten-free all-purpose blend. For a dairy-free option, use a high-quality vegan cream cheese (like Kite Hill or Violife) and a plant-based butter in the crust. The texture will be slightly different, but still delicious.
Equipment Needed
You don’t need a fancy kitchen to make these bars. Here’s what you’ll need:
- 9×9-inch square baking pan – This is the perfect size for these bars. If you only have an 8×8-inch pan, the bars will be a little thicker and may need an extra 5-10 minutes of baking time.
- Parchment paper – Lining the pan with parchment paper makes lifting the bars out so much easier. I always leave a 2-inch overhang on two sides to create “handles.”
- Food processor or zip-top bag and rolling pin – For crushing the gingersnaps. A food processor is faster and gives a more even crumb, but a rolling pin and a sturdy bag work great in a pinch. Just make sure no big chunks remain.
- Electric hand mixer or stand mixer – You need this to get the cream cheese smooth and fluffy. A whisk and some serious arm muscle could work, but it’s a lot of effort.
- Mixing bowls – A medium bowl for the crust and a large bowl for the fillings.
- Rubber spatula – For scraping down the sides of the bowl and spreading the layers evenly.
- Measuring cups and spoons – Accurate measurements are key for baking.
Preparation Method
Alright, let’s get baking. Follow these steps, and you’ll have a pan of the most incredible pumpkin cheesecake bars. Take your time, and don’t rush the process. Trust me, it’s worth it.
- Preheat and Prep (5 minutes): Preheat your oven to 350°F (175°C). Line your 9×9-inch baking pan with parchment paper, leaving an overhang on two opposite sides. This will be your lifeline for lifting the bars out later.
- Make the Gingersnap Crust (10 minutes): Place the gingersnap cookies in your food processor and pulse until you have fine, even crumbs. You should have about 2 cups. Pour the crumbs into a medium bowl. Add the melted butter, sugar, and salt. Stir with a fork until the mixture looks like wet sand and holds together when you squeeze it. Press this mixture firmly and evenly into the bottom of your prepared pan. I like to use the bottom of a flat measuring cup to get it really compact. Bake the crust for 10 minutes. It will smell amazing. Remove it from the oven and let it cool slightly while you make the fillings.
- Make the Pumpkin Layer (5 minutes): In a medium bowl, whisk together the pumpkin puree, 1 egg, brown sugar, pumpkin pie spice, and vanilla extract until smooth. Set aside.
- Make the Cheesecake Layer (10 minutes): In a large bowl, beat the softened cream cheese with an electric mixer on medium speed until it’s completely smooth and fluffy—about 2 minutes. Scrape down the sides and the bottom of the bowl with your rubber spatula. Add the ½ cup of granulated sugar and beat for another minute. Add the eggs, one at a time, beating on low speed just until each one is incorporated. Don’t overmix at this stage, or you’ll incorporate too much air, which can cause cracks. Finally, beat in the vanilla extract and the tablespoon of flour until just combined.
- Assemble the Layers (5 minutes): Pour the cheesecake mixture over the pre-baked crust. Use your spatula to spread it into an even layer. Now, carefully drop spoonfuls of the pumpkin mixture over the cheesecake layer. Don’t pour it all in one spot. Use a butter knife or a skewer to gently swirl the two mixtures together. I like to do a figure-eight pattern, but don’t over-swirl. You want distinct ribbons of pumpkin and cheesecake, not a muddy brown mess.
- Bake to Perfection (45-50 minutes): Place the pan in the preheated oven and bake for 45 to 50 minutes. The edges should look set and slightly puffed, but the center should still have a slight jiggle when you gently shake the pan. This is the “nervous secret” Margaret told me about. If the center looks liquid, it needs more time. If the top starts to crack, you’ve baked it a few minutes too long. Every oven is different, so start checking at the 40-minute mark.
- Cool and Chill (4+ hours): This is the hardest part. Let the bars cool completely on a wire rack at room temperature. Once they’re cool, cover the pan with plastic wrap and transfer it to the refrigerator. You need to chill them for at least 4 hours, but overnight is better. This allows the cheesecake to fully set and the flavors to meld together. Trust me, the wait is worth it.
- Slice and Serve (5 minutes): Once fully chilled, use the parchment paper handles to lift the entire block of bars out of the pan. Place it on a cutting board. Use a sharp, clean knife to slice them into 9 or 16 even squares. For the cleanest cuts, wipe the knife clean with a damp paper towel between each slice.
Cooking Tips & Techniques
I’ve made these bars more times than I can count, and I’ve definitely learned a few things along the way. Here are my best tips for success:
The Cream Cheese Must Be Soft. This is the number one rule of cheesecake. If your cream cheese is cold, you’ll end up with a lumpy batter. Leave it on the counter for at least an hour. If you’re in a hurry, you can cut it into cubes and microwave it for 10-second intervals, but be careful not to melt it.
Don’t Overmix the Batter. Once you add the eggs, mix on low speed and only until just combined. Overmixing incorporates too much air, which expands in the oven and then collapses, causing those dreaded cracks on the surface. I learned this the hard way when I made a cheesecake that looked like the surface of the moon.
Use a Water Bath (Optional but Helpful). I don’t use a water bath for these bars because the baking time is short and the bars are thin. However, if you’re worried about cracking, you can place the pan inside a larger baking dish and pour about 1 inch of hot water into the larger dish. Just make sure your pan is tightly wrapped in foil so water doesn’t seep in.
Patience is a Virtue. I know it’s tempting to cut into these bars as soon as they’re cool, but please don’t. Chilling them for at least 4 hours—or overnight—is essential for the perfect texture. The bars will be much creamier and easier to slice cleanly.
Variations & Adaptations
This recipe is a fantastic base for all kinds of fun variations. Here are a few of my favorites that I’ve tried over the years:
- Chocolate Swirl Pumpkin Cheesecake Bars: After you swirl the pumpkin and cheesecake layers, drizzle ¼ cup of melted semi-sweet chocolate chips over the top and give it another gentle swirl. The combination of chocolate, pumpkin, and ginger is unexpectedly amazing.
- Gluten-Free Version: As I mentioned earlier, use gluten-free gingersnap cookies and swap the tablespoon of flour in the cheesecake layer for cornstarch or a gluten-free all-purpose blend. I’ve tested this with the Mi-Del brand, and honestly, no one could tell the difference.
- Maple Pecan Topping: Before serving, drizzle the bars with a simple maple glaze (1 cup powdered sugar + 2 tablespoons maple syrup) and sprinkle with toasted, chopped pecans. It adds a wonderful crunch and a deeper fall flavor.
- Vegan Option: For a dairy-free and egg-free version, use a high-quality vegan cream cheese (like Kite Hill) and a flax egg (1 tablespoon ground flaxseed mixed with 3 tablespoons water, left to sit for 5 minutes). The texture will be a bit more custard-like, but the flavor is still spot on.
Serving & Storage Suggestions
These bars are incredibly versatile when it comes to serving. Here’s how to make the most of them:
Serving: I love serving these bars chilled straight from the fridge. The creamy, cold texture is perfect against the crunchy crust. For a more decadent treat, let them sit at room temperature for 10-15 minutes before serving. A dollop of lightly sweetened whipped cream and a dusting of cinnamon on top is never a bad idea. They pair beautifully with a hot cup of coffee, a spiced chai latte, or even a glass of cold milk.
Storage: Store any leftover bars in an airtight container in the refrigerator. They will stay fresh for up to 5 days. The flavors actually get better after a day or two, as the spices meld together.
Freezing: These bars freeze like a dream. Once they are fully chilled and sliced, place the individual bars on a baking sheet and freeze for 1 hour until solid. Then, transfer them to a freezer-safe container or zip-top bag, separating layers with parchment paper. They will keep for up to 3 months. To thaw, place a bar in the refrigerator overnight or let it sit at room temperature for about 30 minutes. Honestly, I love eating them semi-frozen—it’s like a cheesecake ice cream bar.
Nutritional Information & Benefits
Let’s be real—these are a treat, not a health food. But that doesn’t mean they can’t have some redeeming qualities! Here’s a rough estimate of the nutritional value per bar (based on cutting the pan into 16 squares):
- Calories: Approximately 280-320 calories per bar.
- Fat: Around 18-22g (mostly from the cream cheese and butter).
- Carbohydrates: About 28-32g.
- Protein: Around 5-6g.
- Vitamin A: Pumpkin is packed with Vitamin A, which is great for your eyes and immune system. So, there’s that!
Dietary Considerations: This recipe is naturally vegetarian. As noted, it can be made gluten-free and vegan with simple substitutions. It contains dairy, eggs, and gluten (unless substituted).
My personal perspective? Food is about more than just numbers. These bars are about comfort, joy, and sharing a moment with people you love. A little indulgence now and then is good for the soul. And hey, you’re getting some Vitamin A from that pumpkin, right?
Conclusion
So, there you have it. My unexpected, antique-mall-inspired recipe for the most incredible cozy pumpkin cheesecake bars with a gingersnap crust. They’re everything you want in a fall dessert—creamy, spiced, comforting, and just a little bit special. I honestly can’t recommend them enough.
I really hope you give these a try. Don’t be afraid to make them your own, either. Swap the spices, add a topping, or double the batch because trust me, one pan is never enough. This recipe is now a staple in my home, and I think it will become one in yours, too.
When you make them, I’d love to hear about it! Leave a comment below and let me know how they turned out. Did you add your own twist? Did your family fight over the last piece? Share your stories and tag me in your photos on social media. Happy baking, friends!
Frequently Asked Questions
Can I use fresh pumpkin instead of canned?
Yes, you can! Just make sure to roast and puree your pumpkin until it’s very smooth. You’ll also want to drain any excess liquid from the puree by pressing it through a fine-mesh sieve or wrapping it in a clean kitchen towel and squeezing. Canned pumpkin is more consistent in texture, so fresh may result in a slightly softer filling.
Why did my cheesecake layer crack?
Cracks usually happen for one of three reasons: overmixing the batter (which incorporates too much air), overbaking (the edges pull away from the pan), or a sudden change in temperature (like opening the oven door too often or cooling it too quickly). Next time, try not to overmix, pull the bars out while the center still has a slight jiggle, and let them cool slowly on the counter before refrigerating.
Can I make these bars ahead of time?
Absolutely! In fact, I recommend it. These bars taste even better after a day or two in the fridge because the flavors have time to meld together. You can make them up to 3 days in advance and store them in an airtight container in the refrigerator. They also freeze beautifully for up to 3 months.
Can I use a different cookie for the crust?
Sure thing! If you can’t find gingersnaps, you can use graham crackers, vanilla wafers, or even shortbread cookies. Just keep in mind that the flavor profile will change. Graham crackers will give you a milder, sweeter crust, while shortbread will be buttery and less spiced. If using a less-spiced cookie, you might want to add a teaspoon of ground ginger and a pinch of cinnamon to the crust mixture.
How do I get clean, neat slices?
The key is to make sure the bars are fully chilled—overnight is best. Use a long, sharp knife and wipe it clean with a damp paper towel between each cut. For the absolute cleanest slices, you can even run the knife under hot water and dry it off before cutting. This helps the knife glide through the cheesecake without dragging.
Pin This Recipe!
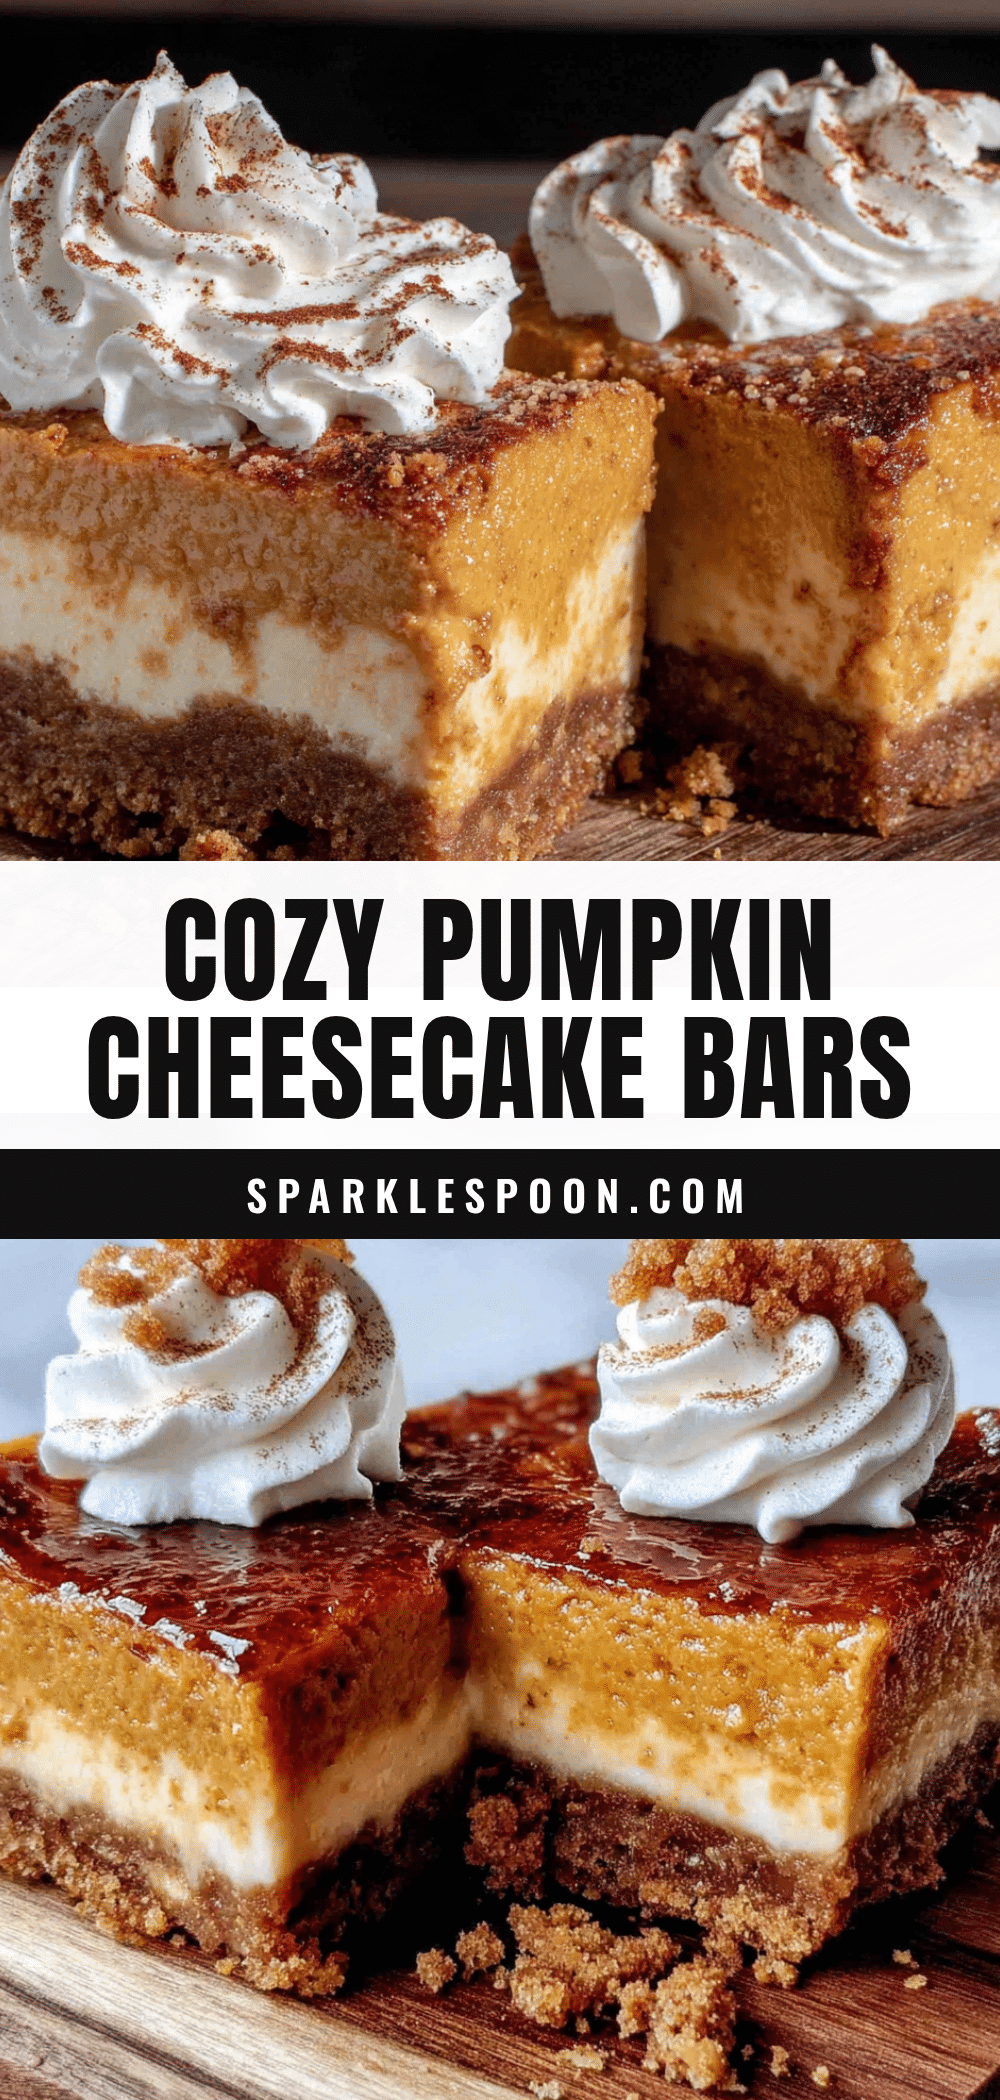
Cozy Pumpkin Cheesecake Bars with Gingersnap Crust
These creamy pumpkin cheesecake bars feature a spiced gingersnap crust and a silky cheesecake layer swirled with pumpkin. They’re the perfect fall dessert, easy to make, and always a crowd-pleaser.
- Prep Time: 30 minutes
- Cook Time: 50 minutes
- Total Time: 5 hours 20 minutes (includes chilling)
- Yield: 16 servings 1x
- Category: Dessert
- Cuisine: American
Ingredients
- 2 cups (about 240g) gingersnap cookie crumbs (from about 40 cookies)
- 5 tablespoons (70g) unsalted butter, melted
- 2 tablespoons (25g) granulated sugar
- ¼ teaspoon salt
- 1 cup (245g) canned pumpkin puree
- 1 large egg, room temperature
- ⅓ cup (65g) packed light brown sugar
- 1 teaspoon pumpkin pie spice
- ½ teaspoon vanilla extract
- 16 ounces (450g) full-fat cream cheese, softened
- ½ cup (100g) granulated sugar
- 2 large eggs, room temperature
- 1 teaspoon vanilla extract
- 1 tablespoon all-purpose flour
Instructions
- Preheat oven to 350°F (175°C). Line a 9×9-inch baking pan with parchment paper, leaving an overhang on two opposite sides.
- Make the crust: Pulse gingersnap cookies in a food processor until fine crumbs form. In a medium bowl, combine crumbs, melted butter, sugar, and salt. Press firmly into the bottom of the prepared pan. Bake for 10 minutes. Let cool slightly.
- Make the pumpkin layer: In a medium bowl, whisk together pumpkin puree, 1 egg, brown sugar, pumpkin pie spice, and vanilla extract until smooth. Set aside.
- Make the cheesecake layer: In a large bowl, beat cream cheese with an electric mixer on medium speed until smooth and fluffy, about 2 minutes. Add ½ cup granulated sugar and beat for 1 minute. Add eggs one at a time, beating on low just until incorporated. Beat in vanilla and flour until just combined.
- Assemble: Pour cheesecake mixture over the pre-baked crust. Drop spoonfuls of pumpkin mixture over the cheesecake. Gently swirl with a knife or skewer in a figure-eight pattern.
- Bake for 45-50 minutes, until edges are set and center has a slight jiggle. Cool completely on a wire rack, then refrigerate for at least 4 hours or overnight.
- Lift bars out using parchment handles. Slice into 9 or 16 squares with a sharp knife, wiping clean between cuts.
Notes
For gluten-free, use gluten-free gingersnaps and substitute flour with cornstarch. For dairy-free, use vegan cream cheese and plant-based butter. Chill overnight for best texture and clean slices.
Nutrition
- Serving Size: 1 bar (1/16 of recip
- Calories: 300
- Sugar: 22
- Sodium: 250
- Fat: 20
- Saturated Fat: 11
- Carbohydrates: 30
- Fiber: 1
- Protein: 5
Keywords: pumpkin cheesecake bars, gingersnap crust, fall dessert, Thanksgiving dessert, easy cheesecake bars



