Love this? Save it for later!
Share the inspiration with your friends
This was supposed to be a proper Halloween party dessert. You know, the kind you see in magazines with perfectly piped frosting and handmade fondant ghosts. I had it all planned out—a spooky trifle with layers of homemade cake, a from-scratch custard, and these little marzipan bats that I was definitely going to master. Then Tuesday happened. The power flickered during a storm, I grabbed the wrong box of pudding mix from the pantry (chocolate instead of vanilla, which was fine but not the plan), and I was already running late to pick up my niece from school. The trifle dish? Cracked. I found a piece of it behind the flour canister, and honestly, I just stood there staring at the sink for a solid minute.
So I did what any reasonable person does when their grand plans fall apart: I grabbed whatever was in the cabinet. Oreos from the Halloween stash (the ones with the orange filling, because of course). A few cups I had leftover from a picnic last summer. That box of instant pudding that was definitely not what I meant to buy. And I just started layering things in a completely panicked, what-do-I-have-to-lose kind of way. My niece walked in while I was crushing cookies with a rolling pin on the counter, crumbs flying everywhere, and she just laughed. “Auntie, are you making mud?” she asked. And I looked at the bowl and thought… yeah, actually, that’s exactly what I’m doing.
What came out of that messy, rushed, slightly desperate afternoon was nothing like the magazine dessert I had planned. It was better. These little cups of chocolate pudding, crushed Oreos, and a few gummy worms poking out the top became the thing my niece now requests every single Halloween. She calls them her “spooky dirt cups,” and I swear, the first time I made them properly (with the right pudding and everything), she said they didn’t taste as good as the ones from the “broken bowl day.” So now I always use the wrong box of pudding on purpose. Maybe you’ve been there—when the kitchen is a disaster, you’re out of time, and you just throw something together that ends up being the thing everyone remembers. That’s this recipe. It’s the happy accident that became a tradition.
Why You’ll Love This Recipe
Let me tell you why these cozy Halloween Oreo dirt cup pudding cups have become my most-requested fall dessert. I mean, I’ve tested this recipe more times than I can count—through different pudding brands, various cookie-to-pudding ratios, and even a disastrous attempt with homemade pudding that curdled because I got distracted by a phone call. These little cups are the real deal.
- Quick & Easy: Comes together in under 20 minutes, no baking required. Perfect for those last-minute Halloween gatherings or when you need a treat that doesn’t heat up the kitchen.
- Simple Ingredients: You likely have everything in your pantry right now. Instant pudding, milk, Oreos, and a few fun Halloween candies. No fancy grocery trips needed.
- Perfect for Halloween: Great for parties, classroom treats, or a cozy night in with a spooky movie. Kids love assembling them, and adults love how nostalgic they taste.
- Crowd-Pleaser: I’ve brought these to three different Halloween potlucks, and they disappear faster than the store-bought cupcakes every single time.
- Unbelievably Delicious: The texture is what gets me—creamy pudding against that crunchy Oreo crumb, with little pockets of cream cheese in the pudding layer. It’s comfort food in a cup.
What makes this recipe different from the rest? It’s the cream cheese in the pudding. I know, it sounds weird, but blending a little softened cream cheese into the pudding mix gives it this richness that regular pudding just doesn’t have. It makes the whole thing taste like a fancy restaurant dessert, not a last-minute pantry raid. Plus, the way the Oreo crumbs get slightly softened by the pudding overnight? Honestly, it’s the best texture. This isn’t just another version of dirt cups—it’s the one that makes you close your eyes after the first bite.
What Ingredients You Will Need
This recipe uses simple, wholesome ingredients to deliver that cozy, nostalgic Halloween flavor without any fuss. Most of these are pantry staples, which makes it perfect for those moments when you need a dessert fast.
- For the Pudding Layer
- 1 box (3.9 oz) instant chocolate pudding mix (I prefer Jell-O brand for consistency, but store brands work fine)
- 2 cups cold whole milk (2% works too, but whole milk gives the creamiest texture)
- 4 oz cream cheese, softened to room temperature (this is my secret ingredient—don’t skip it!)
- 1/4 cup powdered sugar (adds just a touch of sweetness to the cream cheese)
- 1 teaspoon vanilla extract
- For the Dirt Layer
- 1 package (14.3 oz) Halloween Oreos (the ones with orange filling are perfect, but regular Oreos work great too)
- 2 tablespoons melted unsalted butter (helps the crumbs stick together slightly)
- For Decoration
- Gummy worms (about 2-3 per cup)
- Optional: candy pumpkins, candy corn, or Halloween sprinkles
- Optional: fresh mint leaves for a “plant” look (I’ve done this for adult parties and it’s adorable)
Let me talk about the cream cheese for a second. I know it seems like an extra step, but trust me on this. The first time I made these without it, they were fine—good, even. But the second time, when I had that leftover cream cheese from a bagel morning and thought, “why not?”—that was the moment everything changed. The pudding gets this subtle tanginess that balances the sweetness of the Oreos perfectly. Just make sure your cream cheese is really soft. I’ve made the mistake of using cold cream cheese, and you end up with little white lumps in your pudding. Not the end of the world, but not as smooth.
For the Oreos, I really recommend the Halloween edition with the orange filling. They’re just more fun, and the color contrast against the dark pudding is gorgeous. But if you can’t find them, regular Oreos are totally fine. I’ve even used the mint ones by accident (grabbed the wrong package at the store) and they were surprisingly good—like a Thin Mint in pudding form.
One more thing about the milk: don’t use skim. I tried it once because that’s all I had, and the pudding was thinner and didn’t set up as nicely. Whole milk or at least 2% is the way to go for that creamy, decadent texture.
Equipment Needed
You don’t need much for this recipe, which is part of the beauty. Here’s what you’ll need:
- 6-8 small cups or glasses: I use 8-ounce clear plastic cups for Halloween parties, but mason jars or small glass tumblers work beautifully. Clear cups let you see the layers, which is half the fun.
- Mixing bowls: One medium bowl for the pudding and one small bowl for the cream cheese mixture.
- Hand mixer or whisk: A hand mixer makes the cream cheese incorporation much smoother, but a good whisk and some elbow grease works too.
- Rolling pin or food processor: For crushing the Oreos. I actually prefer the rolling pin method—it’s more satisfying and gives you a mix of fine crumbs and small chunks. A food processor works faster but can make the crumbs too uniform.
- Measuring cups and spoons: For accuracy, especially with the milk.
- Spatula: For scraping every last bit of pudding into the cups. Waste not, want not.
- Small spoon or piping bag: For layering. A spoon works fine, but a piping bag makes it neater if you’re feeling fancy.
If you don’t have a hand mixer, you can absolutely whisk everything by hand. It just takes a little longer, and you need to make sure the cream cheese is really well softened. I’ve done it both ways, and honestly, the hand-whisked version feels more therapeutic—like you’re putting love into it.
Preparation Method
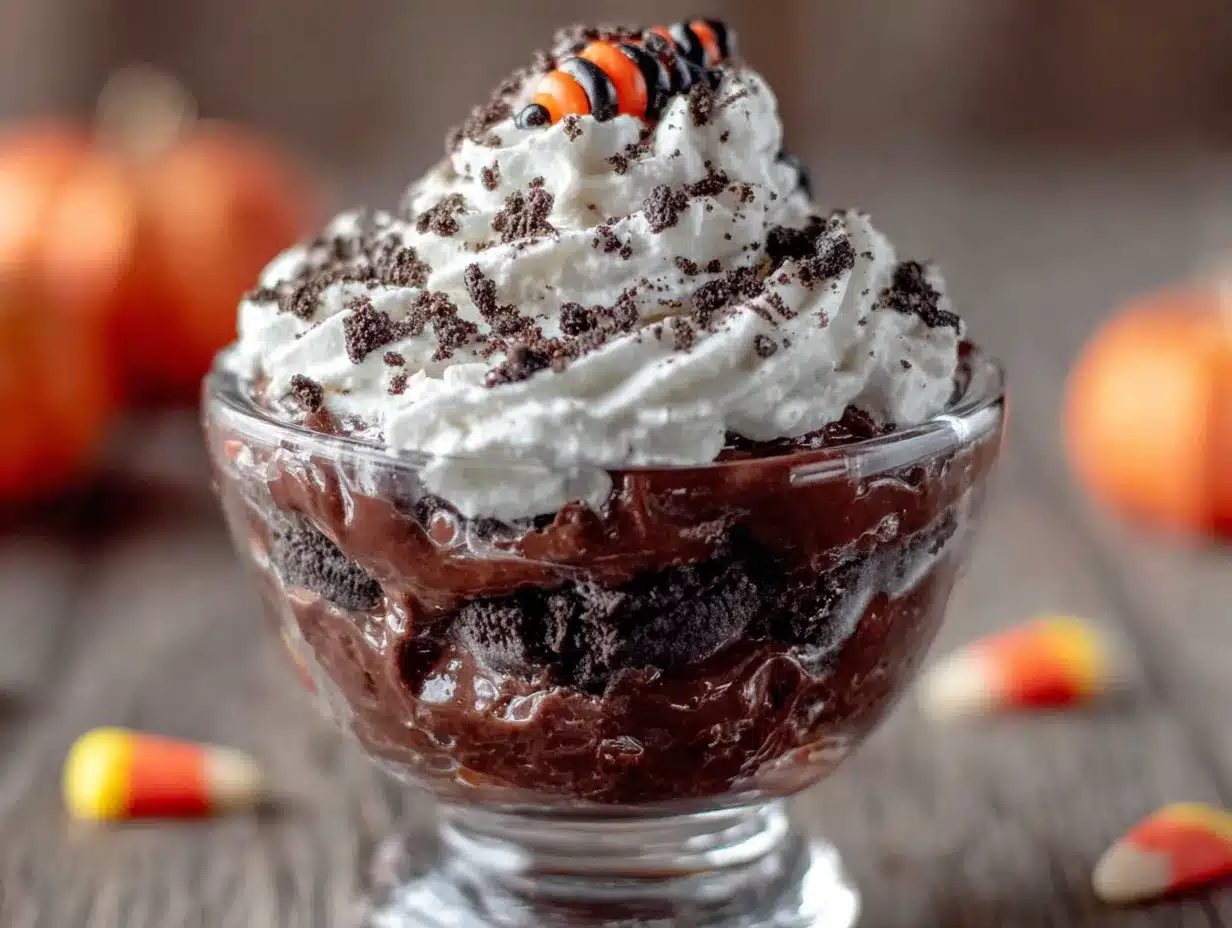
Alright, let’s make these cozy Halloween Oreo dirt cup pudding cups. I’ll walk you through every step, including the little things I’ve learned from making these about fifteen times.
- Crush the Oreos: Place the entire package of Oreos (don’t separate the filling) in a large zip-top bag. Seal it, then use a rolling pin to crush them into a mix of fine crumbs and small pieces. You want mostly crumbs with a few slightly larger bits for texture. This should take about 2-3 minutes. Set aside 1/4 cup of the crumbs for topping.
- Make the cream cheese base: In a medium bowl, beat the softened cream cheese with the powdered sugar and vanilla extract until smooth and fluffy. This takes about 2 minutes with a hand mixer. Scrape the sides of the bowl at least once. The mixture should be completely lump-free. If it’s not, your cream cheese wasn’t soft enough—that’s okay, just keep beating.
- Prepare the pudding: In a separate larger bowl, whisk the instant pudding mix with the 2 cups of cold milk. Whisk for about 2 minutes until it starts to thicken. It will be fairly thin at first, then suddenly it will start to set. You’ll feel it get heavier in the bowl.
- Combine the mixtures: Add the cream cheese mixture to the pudding mixture. Beat with the hand mixer on low speed until fully combined, about 1 minute. Scrape the bowl and beat for another 30 seconds. The final mixture should be thick, creamy, and a uniform chocolate color. Taste it here—I dare you not to eat a spoonful.
- Prepare the cups: Spoon about 2 tablespoons of the crushed Oreos into the bottom of each cup. Press them down gently with the back of a spoon to create an even layer. This is the “mud” at the bottom of your dirt cup.
- Add the pudding layer: Spoon or pipe the pudding mixture over the Oreo layer, filling each cup about halfway. Use the back of a spoon to smooth the top. Tap the cups gently on the counter to release any air bubbles.
- Second Oreo layer: Add another tablespoon of crushed Oreos over the pudding layer. This creates a barrier between the two pudding layers and adds that nice crunch.
- Finish with pudding: Add the remaining pudding mixture, filling each cup to about 1/2 inch from the top. Smooth the tops with the back of a spoon.
- Top with Oreo crumbs: Sprinkle the reserved 1/4 cup of Oreo crumbs over the tops of the cups. This is your “dirt” layer, so make it look like soil—even coverage, no gaps.
- Chill: Place the cups in the refrigerator for at least 2 hours, but overnight is better. The pudding needs time to set fully, and the Oreo crumbs will soften slightly, creating that perfect dirt-like texture.
- Decorate: Just before serving, poke 2-3 gummy worms into each cup, letting them wiggle out of the “dirt.” Add any other Halloween candies you like. Serve cold.
A few things I’ve learned the hard way: Don’t rush the chilling time. I once served these after only an hour, and the pudding was still a bit loose. The layers kind of slid together when people started eating them. Two hours is the minimum, but four hours is where the magic happens. Also, if you’re making these for a party, you can assemble them the night before and just add the gummy worms right before serving. The worms will bleed color into the pudding if they sit too long.
Cooking Tips & Techniques
I’ve made more mistakes with this recipe than I care to admit, so let me save you the trouble. Here are the things I wish someone had told me.
Room temperature cream cheese is non-negotiable. I know, I know, you’re in a hurry and it’s cold from the fridge. But cold cream cheese will give you lumpy pudding, and no amount of beating will fix it completely. Take it out of the fridge 30 minutes before you start. If you forget, cut it into small cubes and microwave it for 10 seconds. Not 20. Ten.
Don’t overmix the pudding. Once you add the milk, whisk just until it starts to thicken. If you keep going, the pudding can become grainy. I learned this when I was multitasking and whisking while on the phone. The texture was off, and I couldn’t figure out why until I looked it up later.
Crush the Oreos in stages. I used to dump the whole package in the bag and go to town, but the crumbs on the bottom would get pulverized while the ones on top stayed in big chunks. Now I crush in batches, or I shake the bag every few whacks of the rolling pin. It makes for a more even crumb.
Multitasking strategy: While the cream cheese is softening, crush the Oreos. While the pudding is setting up, start layering the cups. This recipe moves fast once you start, so having everything prepped and ready makes the assembly much smoother.
The butter in the Oreo crumbs: I started adding melted butter to the Oreo crumbs after a friend mentioned her dirt cups had a “sandy” texture. The butter helps the crumbs hold together slightly, mimicking actual dirt better. Just toss the crumbs with the melted butter before layering. It’s a small step that makes a big difference.
Consistency tip: If your pudding seems too thin after the 2-minute whisk, let it sit for 5 minutes before combining with the cream cheese. It will continue to thicken. If it’s too thick, add a tablespoon of milk and whisk gently.
Variations & Adaptations
One of the best things about this recipe is how flexible it is. Here are some variations I’ve tried and loved.
Peanut Butter Dirt Cups: Add 1/4 cup of creamy peanut butter to the cream cheese mixture before combining with the pudding. It adds a salty-sweet depth that’s incredible. I made these for a Halloween party and they disappeared first. Just be aware that peanut butter can make the pudding slightly thicker, so you might need an extra tablespoon of milk.
Vegan Version: Use a plant-based instant pudding mix (many are accidentally vegan), coconut cream instead of cream cheese, and oat milk instead of dairy milk. The texture is slightly different—a bit lighter—but still delicious. I tested this for a friend with dairy allergies, and she said it was the best dessert she’d had in months.
Pumpkin Spice Dirt Cups: For a fall twist, use vanilla pudding instead of chocolate, and add 1/2 cup of pumpkin puree and 1 teaspoon of pumpkin pie spice to the cream cheese mixture. Top with crushed graham crackers instead of Oreos. It’s like pumpkin pie in a cup, and it’s perfect for Thanksgiving or fall gatherings.
Gluten-Free Option: Use gluten-free chocolate sandwich cookies (like Glutino or Kinnikinnick brand) instead of Oreos. The texture is a bit crunchier, but they work beautifully. Just be sure to check that your pudding mix is also gluten-free—most instant pudding is, but it’s worth verifying.
Mint Chocolate Chip Version: Use mint Oreos (if you can find them) or add 1/2 teaspoon of peppermint extract to the pudding mixture. Top with crushed chocolate mints instead of gummy worms. It’s refreshing and festive for a winter holiday party.
Serving & Storage Suggestions
These cozy Halloween Oreo dirt cup pudding cups are best served cold, straight from the fridge. The contrast between the chilled, creamy pudding and the slightly softened Oreo crumbs is where the magic happens. I like to take them out about 10 minutes before serving—just enough to take the chill off without losing the structure.
For presentation, clear cups really show off the layers. I’ve served these in small mason jars for a rustic look, and in plastic cups with Halloween-themed lids for parties. If you’re feeling fancy, you can add a sprig of fresh mint to each cup to look like a little plant growing out of the dirt. Kids love it, and adults think it’s clever.
These pair wonderfully with a warm drink. A cup of hot apple cider, a pumpkin spice latte, or even just a hot chocolate with marshmallows complements the chocolate pudding perfectly. For an adult version, you could serve them with a glass of cold milk or a bourbon-spiked coffee.
Storage: These keep well in the refrigerator for up to 3 days. Cover each cup with plastic wrap or a lid to prevent the pudding from absorbing fridge odors. The Oreo crumbs will continue to soften over time, which some people prefer. I think day 2 is actually the sweet spot—the flavors have melded, and the texture is perfectly cohesive.
Freezer: I don’t recommend freezing these. The pudding gets icy and the texture becomes grainy when thawed. If you need to make them ahead, assemble them up to 2 days in advance and keep them refrigerated.
Reheating: These are meant to be served cold, so no reheating needed. If you’ve stored them and they seem too firm, let them sit at room temperature for 15 minutes before serving.
Nutritional Information & Benefits
Let’s be real—this is a treat, not a health food. But here’s the approximate nutritional breakdown per serving (based on 8 servings):
- Calories: 380
- Fat: 18g
- Carbohydrates: 48g
- Protein: 6g
- Fiber: 2g
- Sugar: 32g
That said, there are a few redeeming qualities. The cream cheese adds a small amount of protein and calcium, and the milk contributes vitamin D and more calcium. If you use the Halloween Oreos, you’re getting a little bit of iron from the cookies. But honestly, this is a dessert meant for enjoyment, not nutritional optimization.
For dietary considerations: This recipe contains dairy, gluten, and soy (from the Oreos). For a gluten-free version, use gluten-free cookies as mentioned above. For a dairy-free version, use plant-based alternatives. The pudding itself can be made with almond milk, but the texture will be slightly thinner.
From a wellness perspective, I believe in balance. These dirt cups are a once-in-a-while treat that brings joy and nostalgia. They’re the kind of dessert that makes you feel like a kid again, and that has its own kind of nutritional value—for the soul.
FAQs
Can I make these ahead of time?
Yes! These are actually better when made a day ahead. The pudding sets up perfectly, and the Oreo crumbs soften to the ideal texture. Just wait to add the gummy worms until right before serving to prevent color bleeding.
Can I use sugar-free pudding mix?
Absolutely. I’ve tested this with sugar-free chocolate pudding, and it works just fine. The texture is slightly less creamy, but the cream cheese helps compensate. Just be aware that the sweetness level will be different.
How do I get clean layers?
The key is patience. Let the pudding set for at least 2 hours before adding the final Oreo layer. If you add the crumbs too soon, they’ll sink into the pudding. Also, use a spoon to gently sprinkle the crumbs rather than dumping them.
Can I use homemade pudding instead of instant?
You can, but the texture will be different. Homemade pudding is thinner and takes longer to set. If you go this route, add an extra tablespoon of cornstarch to the recipe to help it firm up. I’ve done it once, and it was good, but the instant version is more reliable for this specific recipe.
My pudding didn’t set. What went wrong?
This usually happens if the milk was too warm or if you didn’t whisk long enough. Make sure your milk is cold straight from the fridge. If the pudding still doesn’t set after 2 hours in the fridge, you can add a tablespoon of instant pudding mix dissolved in a little milk and stir it in gently.
Conclusion
These cozy Halloween Oreo dirt cup pudding cups are more than just a dessert—they’re a little piece of my kitchen history. That afternoon when everything went wrong and I ended up with something so right taught me something important: sometimes the best recipes come from letting go of perfection and just making something with what you have. These cups have become a Halloween tradition in my house, and I hope they become one in yours too.
I love how customizable they are—you can make them fancy or keep them simple, add your favorite candies, or switch up the flavors. But the core of this recipe, that creamy pudding with the crunchy Oreo dirt, is something that just works. It’s comfort in a cup, and it never fails to make people smile.
So go ahead, grab some Oreos, and make a mess in your kitchen. Trust me, it’s worth it. And when you make these, I’d love to hear about it. Leave a comment below and tell me how yours turned out—did you add anything fun? Did your kids help crush the cookies? Did you have your own happy accident? Share your stories, because that’s what makes cooking special. Happy Halloween, and happy eating!
Pin This Recipe!
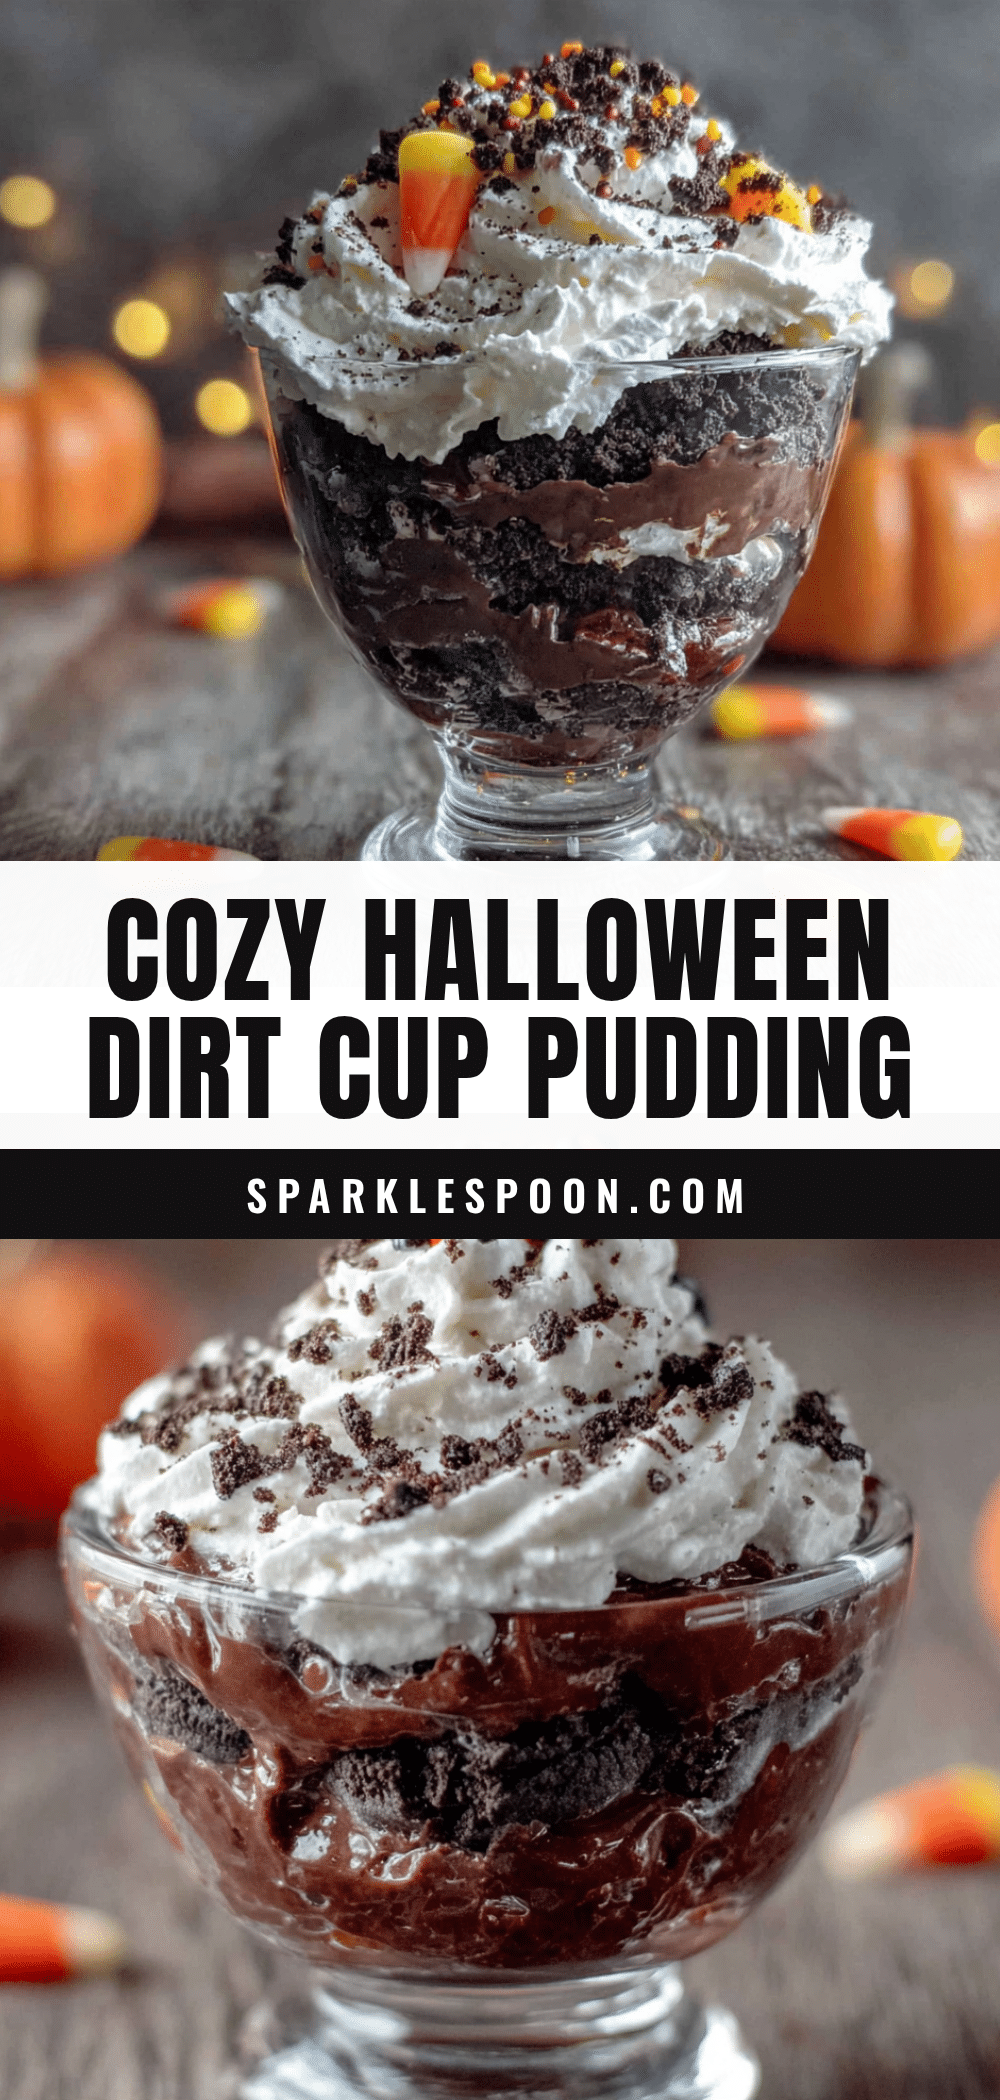
Cozy Halloween Oreo Dirt Cup Pudding Cups

These no-bake Halloween Oreo dirt cup pudding cups are a quick and easy dessert made with creamy chocolate pudding, crushed Oreos, and gummy worms. Perfect for parties or a cozy night in, they come together in under 20 minutes and are a crowd-pleasing treat.
- Prep Time: 20 minutes
- Cook Time: 0 minutes
- Total Time: 2 hours 20 minutes (includes chilling)
- Yield: 8 servings 1x
- Category: Dessert
- Cuisine: American
Ingredients
- 1 box (3.9 oz) instant chocolate pudding mix
- 2 cups cold whole milk
- 4 oz cream cheese, softened
- 1/4 cup powdered sugar
- 1 teaspoon vanilla extract
- 1 package (14.3 oz) Halloween Oreos (or regular Oreos)
- 2 tablespoons unsalted butter, melted
- Gummy worms (2-3 per cup)
- Optional: candy pumpkins, candy corn, or Halloween sprinkles
- Optional: fresh mint leaves
Instructions
- Crush the Oreos: Place the entire package of Oreos in a large zip-top bag. Seal and crush with a rolling pin into a mix of fine crumbs and small pieces. Set aside 1/4 cup of crumbs for topping.
- Make the cream cheese base: In a medium bowl, beat the softened cream cheese with powdered sugar and vanilla extract until smooth and fluffy, about 2 minutes.
- Prepare the pudding: In a separate larger bowl, whisk the instant pudding mix with 2 cups of cold milk for about 2 minutes until it starts to thicken.
- Combine the mixtures: Add the cream cheese mixture to the pudding mixture and beat on low speed until fully combined, about 1 minute. Scrape the bowl and beat for another 30 seconds.
- Prepare the cups: Spoon about 2 tablespoons of crushed Oreos into the bottom of each cup. Press down gently with the back of a spoon.
- Add the pudding layer: Spoon or pipe the pudding mixture over the Oreo layer, filling each cup about halfway. Smooth the tops and tap gently to release air bubbles.
- Second Oreo layer: Add another tablespoon of crushed Oreos over the pudding layer.
- Finish with pudding: Add the remaining pudding mixture, filling each cup to about 1/2 inch from the top. Smooth the tops.
- Top with Oreo crumbs: Sprinkle the reserved 1/4 cup of Oreo crumbs over the tops of the cups.
- Chill: Refrigerate for at least 2 hours, preferably overnight.
- Decorate: Just before serving, poke 2-3 gummy worms into each cup. Add any other Halloween candies if desired. Serve cold.
Notes
Use room temperature cream cheese to avoid lumps. Chill for at least 2 hours, but overnight is better for texture. Add gummy worms just before serving to prevent color bleeding. For a gluten-free version, use gluten-free chocolate sandwich cookies.
Nutrition
- Serving Size: 1 cup
- Calories: 380
- Sugar: 32
- Sodium: 380
- Fat: 18
- Saturated Fat: 10
- Carbohydrates: 48
- Fiber: 2
- Protein: 6
Keywords: Halloween dessert, dirt cups, Oreo pudding cups, no-bake dessert, chocolate pudding, easy Halloween treat



