Love this? Save it for later!
Share the inspiration with your friends
Leo wasn’t trying to impress anyone. I’d stopped by to borrow a ladder for a loose gutter and the smell of toasted brown sugar hit me before I even got inside the screen door. It was a Tuesday, the kind of gray, drizzly afternoon that makes you question your life choices, but Leo’s kitchen was a beacon of golden warmth. He was standing at the counter, wiping flour from his forehead with the back of his wrist, looking completely unbothered by the fact that he was making what I would later become obsessed with.
He didn’t announce it. He didn’t say, “Hey, look what I’m making!” He just slid a tray of these magnificent, craggy-topped scones onto the table like they were ordinary toast. I mean, honestly, how do you make something that smells like a fall fantasy look so casual? The kitchen was quiet except for the hum of the fridge and the soft crunch of crust as I took that first bite. It was buttery, spiced, and soaked in a maple glaze that dripped down my chin.
Leo shrugged when I asked for the recipe, saying it was just “pumpkin stuff” he threw together. But let me tell you, there is nothing “just” about it. I’ve made these dozens of times since that day, trying to replicate that specific magic. You know that feeling when you eat something and it instantly takes you back to a safer, cozier time? That’s what happens here. The combination of earthy pumpkin and sweet maple isn’t just food; it’s a hug in edible form. I keep making it because, well, Leo’s indifference to his own genius drives me crazy, and I’m determined to master it.
Why You’ll Love This Recipe
There is a reason these brown sugar pumpkin scones have taken over my weekend mornings and become the go-to for every casual brunch I host. It’s not just about the flavor, though that is certainly a huge part of it. It’s about the texture, the ease, and the sheer comfort they bring to your table. After years of experimenting with pumpkin breads that turned out dense as bricks or muffins that dried out by noon, I found that scones hit a perfect middle ground. They are tender but sturdy enough to hold a generous drizzle of glaze.
- Quick & Easy: You can have these from bowl to oven in under 40 minutes. It’s perfect for those mornings when you want something homemade but don’t want to spend half the day in the kitchen.
- Simple Ingredients: You likely already have pumpkin puree, flour, spices, and maple syrup in your pantry. No need for a special grocery run to find obscure items.
- Perfect for Fall Gatherings: Whether it’s a weekend brunch with friends or a quiet coffee moment alone, these scones fit the season perfectly. They pair beautifully with a hot cup of coffee or a spiced latte.
- Crowd-Pleaser: I’ve served these to picky eaters and seasoned foodies alike. The maple glaze is the universal language of “yes, please.”
- Unbelievably Delicious: The brown sugar adds a deep, molasses-like richness that regular sugar just can’t match. The texture is craggy on the outside and soft on the inside.
What makes this recipe different is the technique. We aren’t overworking the dough, which is the number one mistake people make. By keeping the butter cold and handling the dough gently, we ensure those flaky layers. This isn’t just another pumpkin recipe; it’s the one that actually works every single time. It’s the kind of bake that makes you feel like a pro, even if you’re a beginner.
What Ingredients You Will Need
Making these scones is straightforward because the ingredients play specific roles in creating that ideal texture. We need dry ingredients for structure, fats for flakiness, and wet ingredients for moisture and flavor. The key is balance. Too much pumpkin makes them soggy; too little makes them dry. Here is what you’ll need to get it right.
- All-Purpose Flour: 2 ½ cups. This is the base. I prefer a standard brand like Gold Medal for consistent protein content, which helps with structure.
- Baking Powder: 1 tablespoon. Fresh baking powder is crucial for lift. If yours is old, your scones will be flat.
- Baking Soda: ½ teaspoon. This reacts with the acidity in the pumpkin and brown sugar to help them rise.
- Salt: 1 teaspoon. Enhances all the other flavors.
- Pumpkin Pie Spice: 2 teaspoons. A mix of cinnamon, ginger, nutmeg, and cloves. If you don’t have a blend, make your own.
- Ground Ginger: ½ teaspoon. Adds a little extra warmth and bite.
- Unsalted Butter: ½ cup, very cold and cubed. This is non-negotiable. Cold butter creates steam pockets in the oven, which leads to flaky layers.
- Pumpkin Puree: ½ cup. Make sure it’s pure pumpkin, not pie filling. Pie filling has added sugar and spices that will throw off the balance.
- Brown Sugar: ½ cup, packed. Light or dark works, but dark adds a deeper molasses flavor.
- Large Egg: 1 large egg, room temperature. Acts as the binder.
- Vanilla Extract: 1 teaspoon. Adds depth to the pumpkin flavor.
- Heavy Cream: 2-3 tablespoons. Adds richness and helps the dough come together without being too wet.
For the Maple Glaze:
- Confectioners’ Sugar: 1 cup. Sifted to avoid lumps.
- Maple Syrup: 2-3 tablespoons. Use real maple syrup, not pancake syrup. The flavor difference is night and day.
- Milk: 1 teaspoon. Adjust for consistency.
Can I substitute the pumpkin puree?
You can use sweet potato puree for a similar texture and flavor profile, though it will be slightly sweeter. Just reduce the brown sugar slightly if you use sweet potato.
What if I don’t have heavy cream?
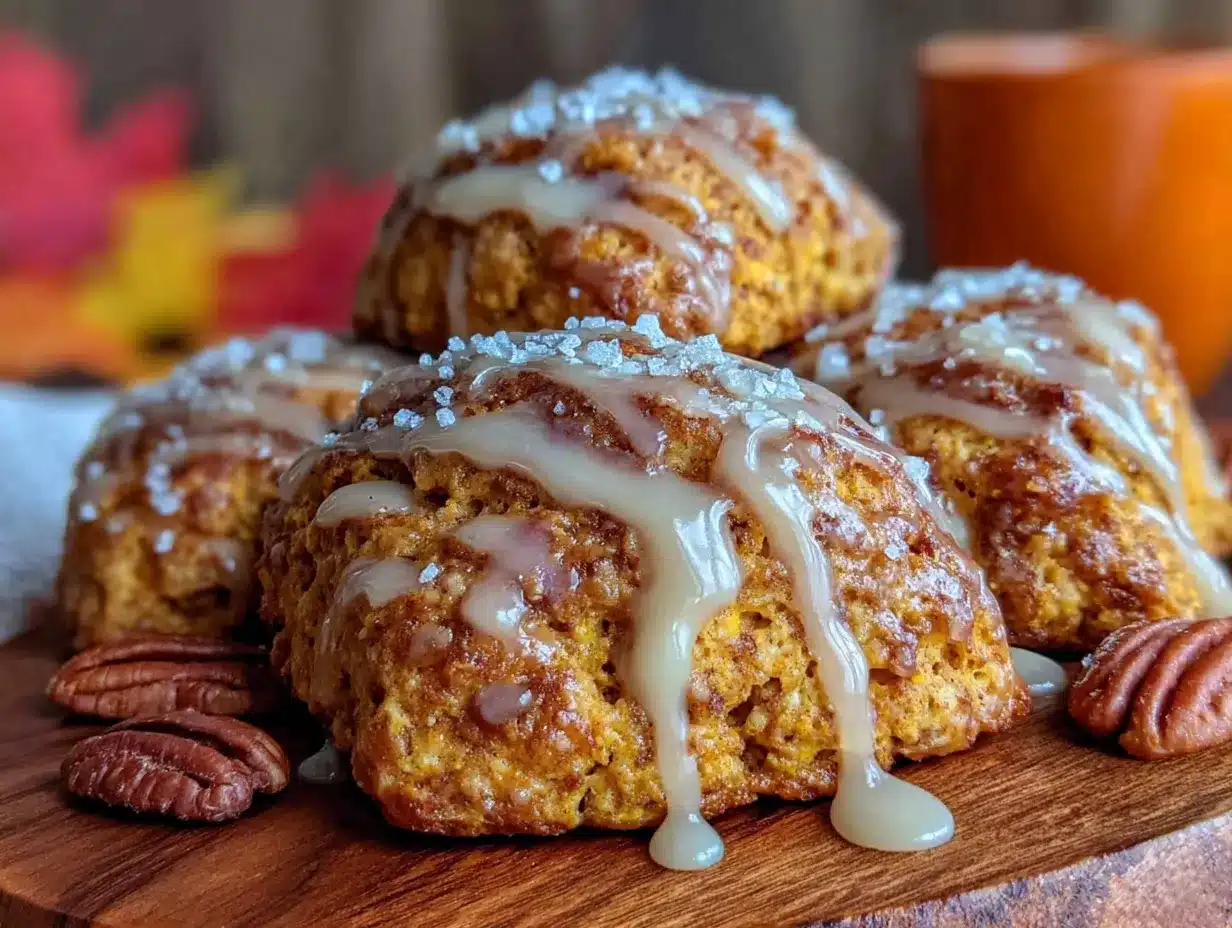
Whole milk or even coconut milk can work in a pinch, but heavy cream gives that extra richness and tender crumb that makes these scones so special.
Equipment Needed
You don’t need a lot of fancy gear to make these, but having the right tools makes the process smoother. A large mixing bowl is essential for combining the dry ingredients. I like using a wooden spoon or a stand mixer with a paddle attachment for the butter, though a pastry cutter works too if you want to get your hands dirty.
A baking sheet lined with parchment paper is crucial. Parchment prevents sticking and promotes even browning. Without it, you might end up with burnt bottoms. A cooling rack is also important. If you let the scones cool on the hot pan, steam gets trapped and makes them soggy. Letting them breathe ensures that perfect craggy texture.
For the glaze, a small whisk and a shallow bowl are all you need. If you’re feeling fancy, you can use a piping bag for a more decorative drizzle, but a spoon works just fine. I usually just drizzle it on while the scones are still warm so it soaks in a bit.
Preparation Method
- Prep the Oven and Pan: Preheat your oven to 400°F (200°C). Line a large baking sheet with parchment paper. This takes about 5 minutes.
- Mix Dry Ingredients: In a large bowl, whisk together the flour, baking powder, baking soda, salt, pumpkin pie spice, and ground ginger. Make sure there are no lumps of baking powder. This should take about 2 minutes.
- Cut in the Butter: Add the cold, cubed butter to the dry mixture. Use a pastry cutter, two forks, or your fingers to work the butter into the flour until the mixture resembles coarse crumbs with some pea-sized pieces of butter remaining. These butter chunks are key for flakiness. This step takes about 3-5 minutes.
- Combine Wet Ingredients: In a separate small bowl, whisk together the pumpkin puree, brown sugar, egg, vanilla extract, and heavy cream until smooth. It should look like a thick, orange batter.
- Combine Wet and Dry: Pour the wet mixture into the dry ingredients. Use a spatula or your hands to gently fold it together. Stop as soon as the dough comes together. It will look shaggy and dry. Do not overmix! Overmixing develops gluten and makes tough scones. This takes about 2 minutes.
- Shape the Dough: Turn the dough out onto a lightly floured surface. Gently press it into a 1-inch thick circle. Do not knead it. Just shape it. Cut the circle into 8 wedges.
- Bake: Place the wedges on the prepared baking sheet, leaving an inch between them. Bake for 18-22 minutes, or until the tops are golden brown and a toothpick inserted into the center comes out clean. The tops should look slightly cracked and rustic.
- Cool: Let the scones cool on the pan for 5 minutes, then transfer them to a wire rack to cool completely before glazing. This takes about 15-20 minutes.
- Make the Glaze: While the scones cool, whisk together the confectioners’ sugar, maple syrup, and milk until smooth. Adjust the milk for desired consistency.
- Glaze: Drizzle the glaze over the cooled scones. Enjoy immediately or store in an airtight container.
Why is my dough too sticky?
If the dough is too sticky to handle, add a tablespoon of flour at a time. However, it’s better to handle it quickly with floured hands than to add too much flour, which can dry out the scones.
How do I know when they are done?
The tops should be golden brown. If they are pale, they need more time. If they are dark brown, they might be burning. Check them at 18 minutes.
Cooking Tips & Techniques
The biggest mistake people make with scones is overworking the dough. When you mix the flour and butter, you want to leave those visible chunks of butter. In the oven, the butter melts and creates steam, which lifts the dough and creates layers. If you mix until smooth, you’ll get dense, bread-like scones instead of flaky ones.
Another tip is to keep everything cold. If your butter gets warm while you’re cutting it in, pop the bowl in the fridge for 10 minutes before adding the wet ingredients. Cold butter is your best friend here. Also, don’t skip the resting time after shaping. Letting the dough rest for 10 minutes before baking helps the gluten relax, resulting in a more tender scone.
I once tried making these with room temperature butter, and they turned out more like muffins. Lesson learned! Always, always keep the butter cold. And when you’re shaping the dough, handle it gently. Just press it together. Kneading develops gluten, which we don’t want. Think of it more like shaping a pie crust than kneading bread.
Can I freeze the dough?
Yes! You can shape the scones and freeze them on the baking sheet. Once frozen, transfer them to a bag. Bake them straight from the freezer, adding a few minutes to the bake time.
Variations & Adaptations
While the classic brown sugar pumpkin scone is my favorite, there are plenty of ways to tweak this recipe. For a nutty twist, add ½ cup of chopped pecans or walnuts to the dough. The crunch pairs beautifully with the soft texture of the scone.
If you want a spicier kick, add a pinch of cayenne pepper to the dough. It sounds weird, but it enhances the pumpkin flavor without making it hot. For a chocolate lover, fold in ½ cup of dark chocolate chips. The bitterness of the chocolate balances the sweetness of the maple glaze.
You can also swap the maple glaze for a cream cheese glaze. Mix 2 oz of softened cream cheese, 1 tablespoon of maple syrup, and a splash of milk until smooth. It adds a tangy contrast to the sweet pumpkin. For a vegan version, use coconut oil instead of butter, almond milk instead of heavy cream, and a flax egg instead of the regular egg. The texture will be slightly different, but still delicious.
Can I use canned pumpkin pie filling?
I don’t recommend it. Pie filling has added sugar and spices that will make the scones too sweet and alter the texture. Stick to pure pumpkin puree for the best results.
Serving & Storage Suggestions
These scones are best served warm, right after glazing. They pair perfectly with a hot cup of coffee or a spiced chai latte. For a more substantial breakfast, serve them with a side of scrambled eggs or bacon. The savory contrast balances the sweetness of the scones.
To store, keep the glazed scones in an airtight container at room temperature for up to 2 days. If you live in a humid climate, refrigerate them. They can also be frozen for up to 3 months. To reheat, warm them in the oven at 350°F for 5-10 minutes to restore their crispness. If you freeze them unglazed, glaze them after reheating for the best texture.
The flavors actually improve slightly after a day, as the maple glaze soaks into the scone. However, they are best enjoyed fresh. Don’t wait too long!
Do they keep well in the fridge?
They can dry out in the fridge. If you need to store them for more than 2 days, freezing is a better option.
Nutritional Information & Benefits
Each scone contains approximately 280 calories, with 12g of fat, 38g of carbohydrates, and 4g of protein. Pumpkin is a great source of Vitamin A, which supports eye health and immune function. Maple syrup contains antioxidants and minerals like zinc and manganese. While these are indulgent treats, the pumpkin adds a nutritional boost compared to plain sugar scones.
They are not gluten-free or vegan by default, but modifications can be made. For a lower sugar option, reduce the brown sugar in the dough and skip the glaze, or use a sugar-free maple syrup.
Are these scones healthy?
They are a moderate treat. The pumpkin adds fiber and vitamins, but they are still baked goods. Enjoy them in moderation as part of a balanced diet.
Conclusion
These Cozy Brown Sugar Pumpkin Scones with Maple Glaze are more than just a recipe; they are a seasonal ritual. They capture the essence of fall in every bite, from the warm spices to the sweet maple drizzle. I hope you try this recipe and make it your own. Feel free to add nuts, chocolate, or extra spices to suit your taste. The beauty of baking is in the experimentation.
I’d love to hear how they turn out for you. Leave a comment below with your thoughts or share a photo of your creations. And if you make them, tag me on social media! Happy baking, and enjoy every cozy moment.
FAQs
Can I use fresh pumpkin instead of canned?
Yes, you can roast and puree fresh pumpkin. Just make sure to drain the puree well to remove excess moisture, as fresh pumpkin can be wetter than canned.
Why did my scones turn out flat?
This usually happens if the baking powder is old or if the dough was overmixed. Make sure your leavening agents are fresh and handle the dough gently.
Can I make the dough ahead of time?
You can mix the dry and wet ingredients separately and combine them just before baking. Or, you can shape the dough and refrigerate it overnight for a head start.
What is the best way to store leftover glaze?
Store leftover glaze in an airtight container in the fridge for up to a week. Reheat it slightly in the microwave before drizzling.
Can I freeze the baked scones?
Yes, freeze them in an airtight container for up to 3 months. Thaw at room temperature and glaze before serving.
Pin This Recipe!
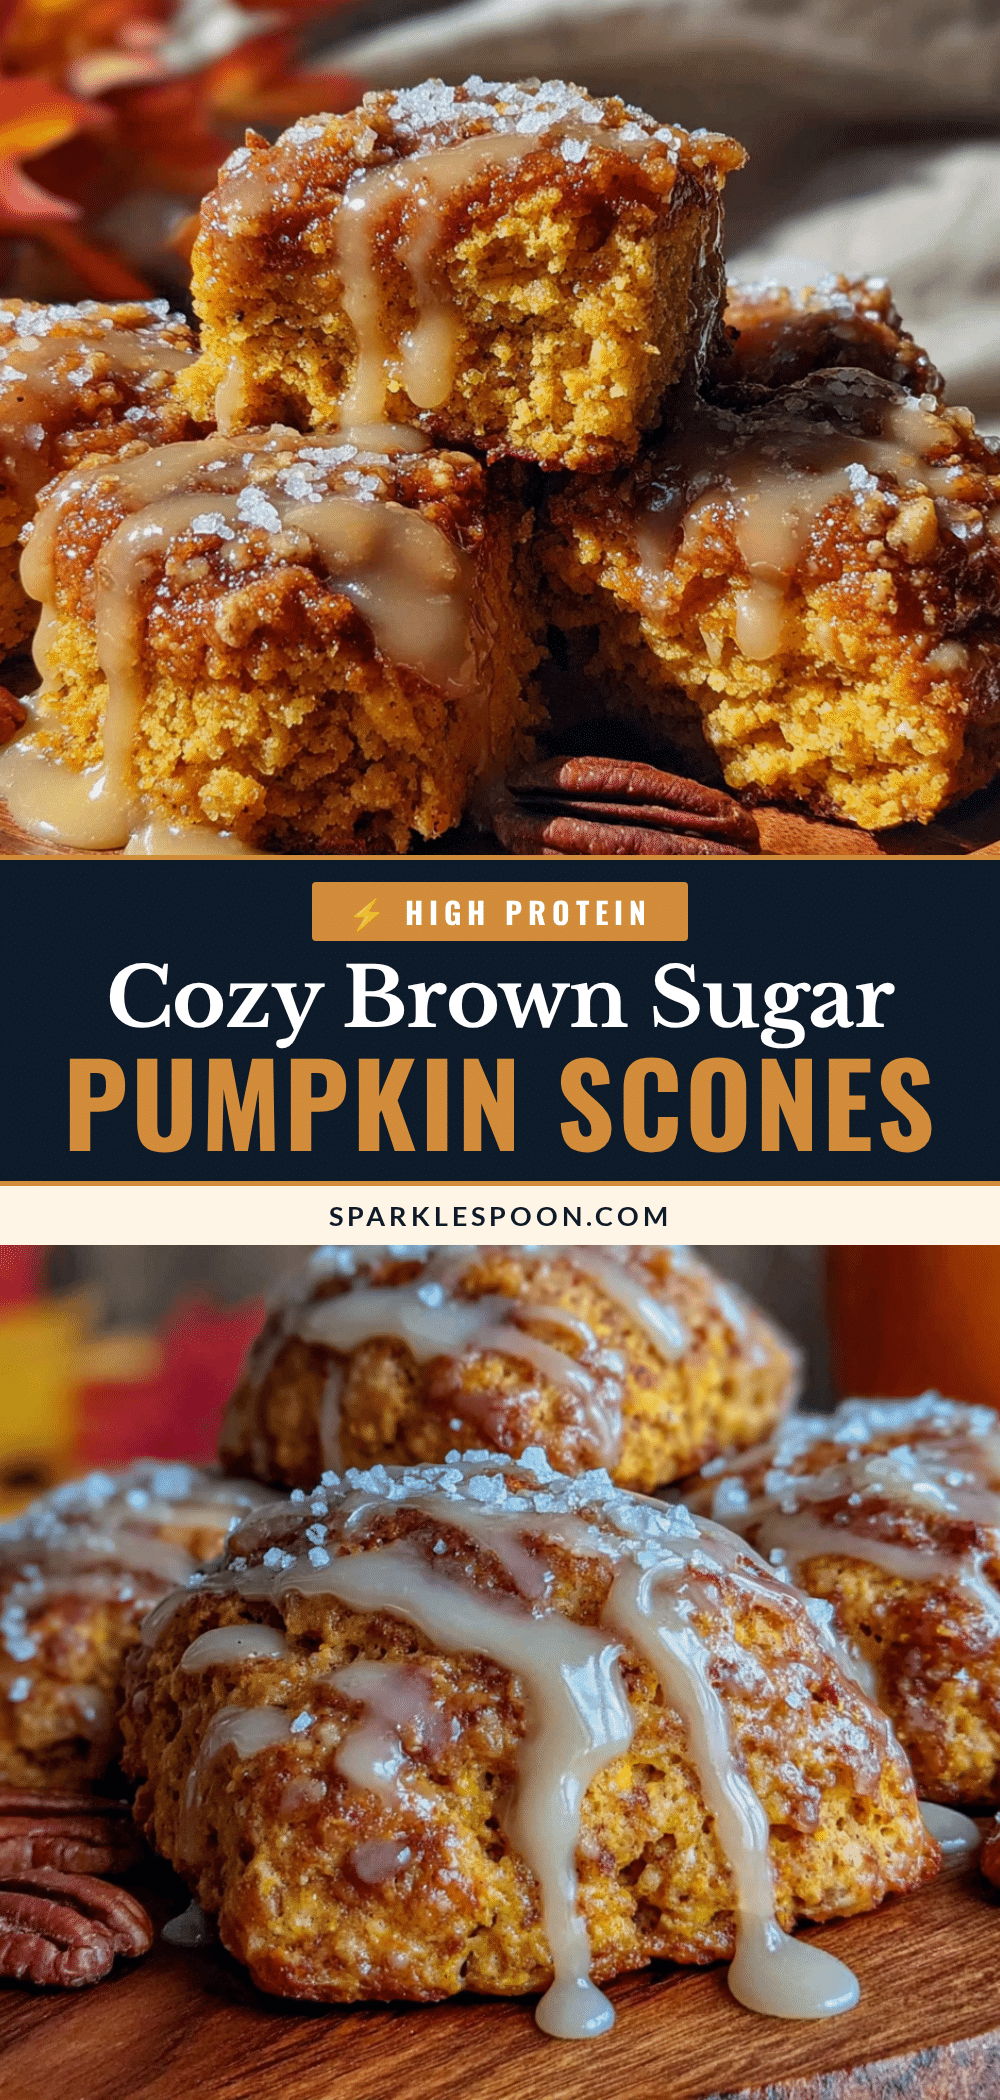
Cozy Brown Sugar Pumpkin Scones: Best Easy Fall Recipe
These tender, flaky pumpkin scones are infused with warm spices and brown sugar, topped with a sweet maple glaze for the perfect cozy fall treat.
- Prep Time: 15 minutes
- Cook Time: 22 minutes
- Total Time: 40 minutes
- Yield: 8 servings 1x
- Category: Breakfast
- Cuisine: American
Ingredients
- 2 ½ cups All-Purpose Flour
- 1 tablespoon Baking Powder
- ½ teaspoon Baking Soda
- 1 teaspoon Salt
- 2 teaspoons Pumpkin Pie Spice
- ½ teaspoon Ground Ginger
- ½ cup Unsalted Butter, very cold and cubed
- ½ cup Pumpkin Puree
- ½ cup Brown Sugar, packed
- 1 Large Egg, room temperature
- 1 teaspoon Vanilla Extract
- 2–3 tablespoons Heavy Cream
- 1 cup Confectioners’ Sugar (for glaze)
- 2–3 tablespoons Maple Syrup (for glaze)
- 1 teaspoon Milk (for glaze)
Instructions
- Preheat oven to 400°F (200°C) and line a large baking sheet with parchment paper.
- In a large bowl, whisk together the flour, baking powder, baking soda, salt, pumpkin pie spice, and ground ginger.
- Add the cold, cubed butter to the dry mixture. Use a pastry cutter, two forks, or your fingers to work the butter into the flour until it resembles coarse crumbs with pea-sized pieces of butter remaining.
- In a separate small bowl, whisk together the pumpkin puree, brown sugar, egg, vanilla extract, and heavy cream until smooth.
- Pour the wet mixture into the dry ingredients. Gently fold together with a spatula or hands until the dough just comes together. Do not overmix.
- Turn the dough out onto a lightly floured surface and gently press it into a 1-inch thick circle. Cut the circle into 8 wedges.
- Place the wedges on the prepared baking sheet, leaving an inch between them.
- Bake for 18-22 minutes, or until the tops are golden brown and a toothpick inserted into the center comes out clean.
- Let the scones cool on the pan for 5 minutes, then transfer to a wire rack to cool completely.
- While scones cool, whisk together confectioners’ sugar, maple syrup, and milk until smooth.
- Drizzle the glaze over the cooled scones and serve.
Notes
Keep butter very cold to ensure flaky layers. Do not overwork the dough to avoid tough scones. If dough is too sticky, add flour sparingly. Scones can be frozen unglazed for up to 3 months.
Nutrition
- Serving Size: 1 scone
- Calories: 280
- Sugar: 22
- Sodium: 350
- Fat: 12
- Saturated Fat: 7
- Carbohydrates: 38
- Fiber: 1
- Protein: 4
Keywords: pumpkin scones, fall baking, maple glaze, brown sugar scones, easy breakfast, autumn recipes, pumpkin spice



