Love this? Save it for later!
Share the inspiration with your friends
My sister asked why I couldn’t just bake the stuffing in muffin tins instead of wrestling with a giant casserole dish every Thanksgiving. I started to explain why that wouldn’t work — something about moisture retention and the sacred tradition of scooping from a shared pan. Then I stopped. I actually had no good reason.
Honestly, I’d been making the same stuffing casserole for over a decade. It was fine. Good, even. But every year, I’d end up with those sad, soggy edges that nobody wanted to eat, and the crispy top would get destroyed the second anyone reached in with a spoon. The whole thing felt like a compromise. So when my sister, who barely cooks, suggested individual muffin portions, I almost laughed. Almost.
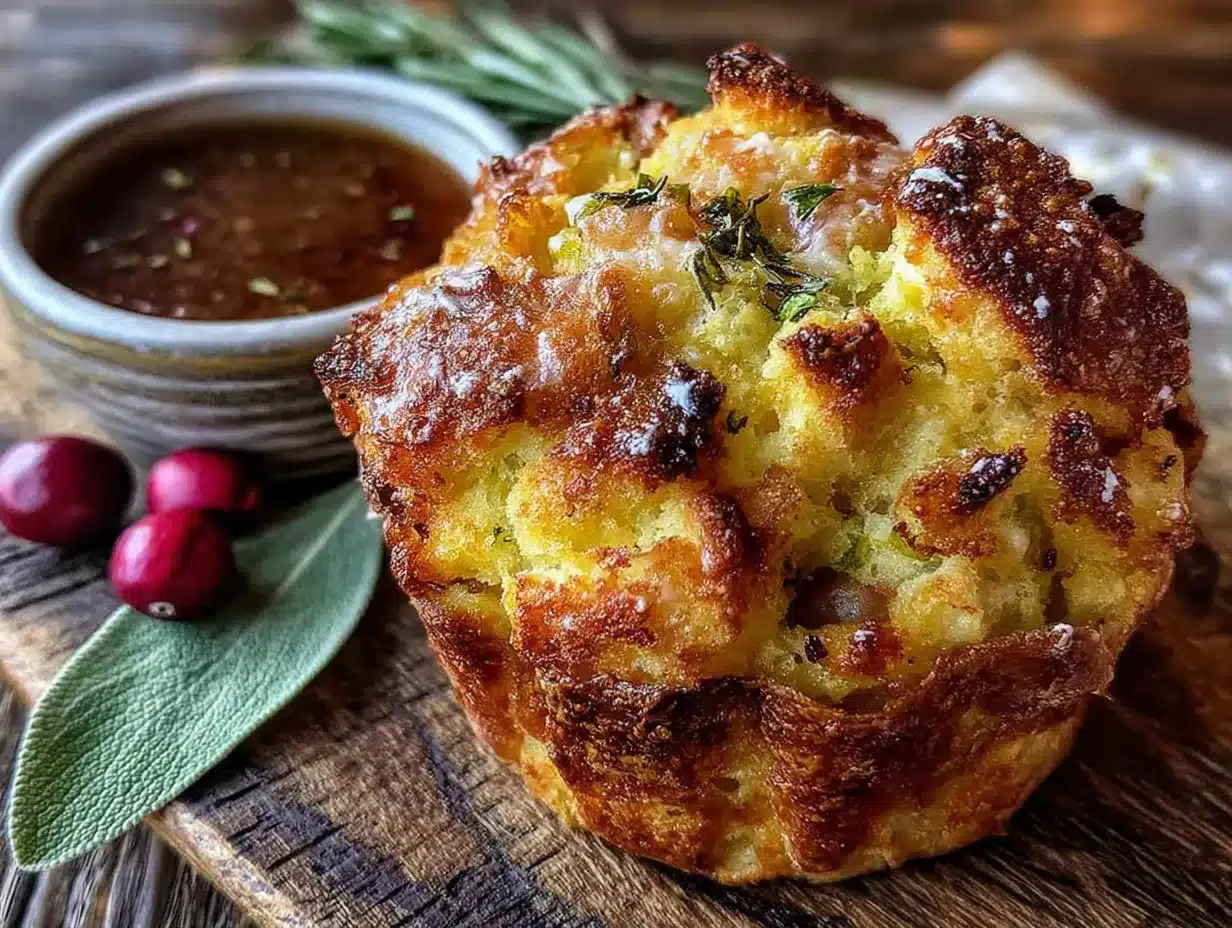
I tried it the next weekend, fully expecting to prove her wrong. I chopped my herbs, toasted my bread, and packed the mixture into a greased muffin tin. I pulled them out of the oven and let me tell you — every single one had a perfect golden crust. Every. Single. One. No sogginess. No fighting over the corner pieces. Just perfectly portioned, herb-flecked, crispy-on-the-outside, tender-on-the-inside stuffing muffins. I texted her a photo with the world’s most humble apology. Maybe you’ve been there — that moment when someone totally unexpected teaches you something about a dish you thought you had mastered. It humbles you. And honestly, it makes the recipe better.
That’s how these Lighter Thanksgiving Stuffing Muffins were born. They’re everything you love about traditional stuffing — the sage, the celery, that buttery herb flavor — but baked into individual servings that get impossibly crispy on every side. And because we’re using whole wheat bread, extra vegetables, and less butter, they’re a lighter take that still feels completely indulgent. I haven’t gone back to the casserole dish since. These muffins are the only stuffing I make now, and honestly, they’re the reason I actually look forward to the leftovers.
Why You’ll Love This Recipe
These Lighter Thanksgiving Stuffing Muffins solve every problem you’ve ever had with traditional stuffing. No more fighting over the crispy bits — every muffin gets its own golden exterior. And because they’re individually portioned, they’re perfect for meal prep and portion control without feeling like you’re missing out.
- Perfectly Crispy Every Time : Each muffin develops a crunchy golden crust on all sides while staying tender and moist inside. No more soggy casserole bottoms!
- Lighter But Still Indulgent : We use whole wheat bread, extra vegetables, and less butter than traditional recipes. You get all the flavor with a fraction of the guilt.
- Make-Ahead Friendly : These muffins can be assembled a day in advance or fully baked and reheated. Thanksgiving morning just got a whole lot easier.
- Portion Control Without the Fuss : Each muffin is the perfect single serving. No more scooping and guessing — grab one (or two) and go.
- Crowd-Pleaser Approved : I’ve served these at three different Thanksgivings now, and they disappear faster than the casserole ever did. Kids love the individual size, and adults appreciate the extra crispiness.
What makes these different from every other stuffing recipe is the technique. By baking in a muffin tin, you maximize surface area for browning without drying out the interior. The result is a stuffing that’s crispy, herbaceous, and completely satisfying — without needing a pool of butter to get there. It’s the kind of recipe that makes you close your eyes after the first bite, honestly. Comfort food reimagined, lighter but with the same soul-soothing satisfaction.
What Ingredients You Will Need
This recipe uses simple, wholesome ingredients that come together to create something truly special. Most of these are pantry staples or easy to find at any grocery store, especially during the holiday season.
- Whole wheat bread, cubed and dried (about 8 cups, from a 1-pound loaf) — I prefer a sturdy bakery-style loaf. Stale bread works best because it absorbs the broth without turning to mush. If your bread is fresh, cube it and let it sit out overnight.
- Unsalted butter, 4 tablespoons (½ stick) — we use less than traditional recipes, but it’s still enough to give that rich, buttery flavor. You can use olive oil for a dairy-free version.
- Yellow onion, 1 large, diced — about 1½ cups. Sweet onions work well here too, but yellow onions give the most classic stuffing flavor.
- Celery stalks, 3 large, diced — about 1 cup. Celery is non-negotiable in stuffing. It adds that essential crunch and aromatic base.
- Carrots, 2 medium, finely diced — about ¾ cup. This is my secret addition for extra vegetables and natural sweetness. You won’t even notice they’re there.
- Fresh sage leaves, 2 tablespoons, chopped — sage is the soul of stuffing. Don’t skip it. Dried sage works in a pinch (use 2 teaspoons), but fresh is noticeably better.
- Fresh rosemary, 1 tablespoon, chopped — adds that piney, aromatic note that pairs perfectly with sage.
- Fresh thyme leaves, 1 tablespoon — or 1 teaspoon dried. Thyme brings an earthy warmth that ties everything together.
- Low-sodium chicken or vegetable broth, 1½ cups — use vegetable broth to keep this vegetarian. Low-sodium is important so you can control the salt level.
- Eggs, 2 large, lightly beaten — these help bind the muffins so they hold their shape. For a vegan version, use flax eggs (2 tablespoons ground flaxseed mixed with 6 tablespoons water).
- Salt, 1 teaspoon — I use fine sea salt. Adjust based on your broth’s saltiness.
- Black pepper, ½ teaspoon, freshly ground — don’t skimp on fresh pepper. It makes a difference.
- Fresh parsley, ¼ cup, chopped — for brightness and color. Stir some in at the end for a fresh pop.
I recommend using a good-quality whole wheat bread like Dave’s Killer Bread or a bakery loaf from your local market. The sturdier the bread, the better the texture. If you’re gluten-free, use a sturdy gluten-free bread — just make sure it’s well-toasted before cubing.
Equipment Needed
You don’t need anything fancy to make these Lighter Thanksgiving Stuffing Muffins, but a few specific tools make the process much smoother.
- 12-cup standard muffin tin — this is essential. Non-stick works best, but a regular metal tin greased well will also do the job. I use my old Wilton tin and it’s never let me down.
- Large skillet or sauté pan — for cooking the vegetables. A 12-inch skillet gives you plenty of room.
- Large mixing bowl — for combining the bread and vegetable mixture. You need space to toss everything without spilling.
- Chef’s knife and cutting board — for dicing vegetables and chopping herbs. A sharp knife makes this prep work so much faster.
- Measuring cups and spoons — accuracy matters, especially with the broth. Too much liquid and your muffins will be dense.
- Whisk — for beating the eggs and broth together.
- Cooling rack — for letting the muffins cool after baking. This keeps the bottoms from getting soggy.
If you don’t have a muffin tin, you can bake this mixture in a standard 9×13 casserole dish. Just spread it evenly and bake for about 35-40 minutes, stirring halfway through for extra crispiness. But honestly, the muffin tin is worth the investment — it’s cheap and makes everything so much better.
Preparation Method
Let me walk you through this step by step. The process is straightforward, but a few details make all the difference.
- Preheat your oven to 375°F (190°C) and generously grease a 12-cup muffin tin with butter or non-stick spray. Don’t skimp here — you want those muffins to release easily.
- Prepare your bread. If you haven’t already, cut your whole wheat bread into ½-inch cubes. You should have about 8 cups. Spread them on a baking sheet and toast in the oven for 8-10 minutes, stirring once, until lightly golden and dry. This step is crucial — dry bread absorbs the broth without turning to paste. Let the cubes cool while you work on the vegetables.
- Cook the aromatics. Melt 4 tablespoons of butter in a large skillet over medium heat. Add the diced onion, celery, and carrots. Cook, stirring occasionally, for 8-10 minutes until the vegetables are soft and the onion is translucent. You want them tender but not browned — that keeps the stuffing light. Add the chopped sage, rosemary, and thyme, and cook for another minute until fragrant. Your kitchen will smell incredible right about now.
- Combine the base. Transfer the cooked vegetables to a large mixing bowl. Add the toasted bread cubes and toss gently to distribute the vegetables evenly. Don’t stir too aggressively — you want the bread to stay somewhat intact.
- Make the binding mixture. In a separate small bowl, whisk together the beaten eggs, low-sodium broth, salt, and pepper. Pour this mixture over the bread and vegetables. Fold everything together gently with a spatula until the bread is evenly moistened. The mixture should look cohesive but not wet. If it seems dry, add a splash more broth. If it seems soupy, add a handful more bread cubes.
- Fold in the parsley. Stir in the fresh chopped parsley. This adds a bright, fresh note that balances the rich herbs.
- Fill the muffin tin. Divide the stuffing mixture evenly among the 12 muffin cups. Press each portion down firmly with the back of a spoon or your fingers. You want them packed tight so they hold their shape. Mound them slightly above the rim — they’ll puff up a little but will mostly stay put.
- Bake to perfection. Place the muffin tin in the preheated oven and bake for 25-30 minutes, until the tops are golden brown and crispy to the touch. The edges should be visibly browned and pulling away from the sides of the tin slightly. Let the muffins cool in the tin for 5 minutes — this helps them set.
- Remove and serve. Run a butter knife around the edges of each muffin to loosen them, then gently lift them out. Place them on a cooling rack if you’re serving later, or serve immediately if you can’t wait (I never can).
Pro tip: For extra-crispy tops, broil the muffins on high for the last 1-2 minutes. Watch them closely — they go from golden to burnt fast. I learned this the hard way, and my smoke detector still holds a grudge.
Cooking Tips & Techniques
I’ve made these Lighter Thanksgiving Stuffing Muffins probably a dozen times now, and I’ve picked up a few tricks along the way. Let me save you from my mistakes.
Dry bread is your best friend. This cannot be overstated. Fresh bread turns into glue when mixed with liquid. Toast those cubes until they’re genuinely dry and slightly crunchy. They should snap when you break one. If you’re short on time, spread the cubes on a baking sheet and bake at 300°F for 15-20 minutes.
Don’t overmix. When you add the broth mixture, fold gently until just combined. Overmixing breaks down the bread cubes and gives you a dense, pasty texture. You want distinct bread pieces that hold their shape.
Pack the muffins firmly. This is the secret to getting them to hold together. Use the back of a spoon or your fingers to press the mixture down into each cup. They should feel compact, not fluffy. I once got lazy and didn’t press hard enough, and my muffins fell apart when I tried to remove them. Lesson learned.
Let them rest. That 5-minute rest in the pan is non-negotiable. It allows the structure to set so the muffins release cleanly. If you try to take them out immediately, they’ll crumble. Trust me on this — I’ve been there, and it’s heartbreaking.
Make ahead strategy. You can assemble the muffins completely (steps 1-7) up to 24 hours in advance. Cover the muffin tin with plastic wrap and refrigerate. When you’re ready to bake, add about 5-10 minutes to the baking time since you’re starting from cold. This is a lifesaver on Thanksgiving morning.
Double batch tip. This recipe makes exactly 12 muffins. If you’re feeding a crowd, double it and use two muffin tins. Bake them on separate racks, rotating halfway through for even browning.
Variations & Adaptations
One of the best things about this recipe is how flexible it is. Here are some variations I’ve tried and loved.
Gluten-Free Version : Use a sturdy gluten-free bread, like Schar or Udi’s. Toast it well until very dry. The texture will be slightly different, but the muffins still hold together beautifully. I tested this for a friend with celiac, and she said they were better than the gluten-filled version she grew up with.
Vegan Adaptation : Replace the butter with olive oil or vegan butter, and use flax eggs (2 tablespoons ground flaxseed mixed with 6 tablespoons water, let sit for 5 minutes). Use vegetable broth instead of chicken broth. The muffins will be a bit less rich but still incredibly flavorful. My vegan sister-in-law devoured half a batch at our last family dinner.
Sausage & Apple Stuffing Muffins : Brown ½ pound of turkey or chicken sausage in the skillet before cooking the vegetables. Remove the sausage, then proceed with the recipe. Add 1 diced apple (like Honeycrisp or Granny Smith) along with the celery. The sweetness of the apple pairs beautifully with the sage and sausage. This is my personal favorite variation for a heartier meal.
Mushroom & Leek Version : Swap the carrots for 8 ounces of sliced cremini mushrooms and use leeks instead of onion. Sauté the leeks and mushrooms until golden and caramelized. This version is earthy and elegant — perfect for a more sophisticated holiday table.
Herb Swap : Not a fan of sage? Use tarragon or dill instead. Both work surprisingly well with the other flavors. I tried tarragon one year when I ran out of sage, and it was a happy accident that I’ve repeated since.
Spicy Kick : Add ½ teaspoon of red pepper flakes along with the herbs. The heat cuts through the richness and adds a nice warmth. My husband loves this version, though it’s definitely not traditional.
Serving & Storage Suggestions
These Lighter Thanksgiving Stuffing Muffins are incredibly versatile when it comes to serving. Here’s how I recommend enjoying them.
Serving temperature: Serve them warm, straight from the oven. The contrast between the crispy exterior and tender interior is at its peak within the first 15 minutes. If you’re making them ahead, reheat in a 350°F oven for 8-10 minutes to restore the crispiness. Avoid the microwave — it makes them soggy.
Presentation: Arrange the muffins on a platter or wooden board for a beautiful, rustic presentation. They look stunning next to a roasted turkey or a glazed ham. Garnish with a few fresh sage leaves or a sprinkle of parsley for color.
What to serve with them: These muffins pair beautifully with roasted turkey, chicken, or pork. They’re also fantastic alongside a simple green salad with a tangy vinaigrette — the acidity cuts through the richness. For a vegetarian Thanksgiving, serve them with roasted root vegetables and a cranberry sauce.
Storage: Store any leftover muffins in an airtight container in the refrigerator for up to 4 days. They actually get better after a day or two as the flavors meld together. I love having them for breakfast with a fried egg on top — it’s a game-changer.
Freezing: These muffins freeze beautifully. Let them cool completely, then wrap each one individually in plastic wrap and place them in a freezer bag. They’ll keep for up to 3 months. To reheat, unwrap and bake at 350°F for 12-15 minutes, or until heated through and crispy again. I always make a double batch just for the freezer.
Reheating tip: For the crispiest results, reheat in a toaster oven or air fryer at 350°F for 5-7 minutes. The air circulation gives them back that golden crust. I use my air fryer all the time for this — it’s like they just came out of the oven.
Nutritional Information & Benefits
These Lighter Thanksgiving Stuffing Muffins are designed to be a healthier take on a classic comfort food. Here’s what you can expect per muffin (based on 12 servings).
| Nutrient | Amount per Muffin |
|---|---|
| Calories | 145 |
| Total Fat | 6g |
| Saturated Fat | 3g |
| Cholesterol | 40mg |
| Sodium | 310mg |
| Total Carbohydrates | 18g |
| Dietary Fiber | 3g |
| Sugars | 3g |
| Protein | 5g |
The whole wheat bread provides more fiber than traditional white bread, which helps with satiety and digestion. The carrots add beta-carotene and vitamin A, while the celery contributes vitamin K and antioxidants. Using less butter than traditional stuffing recipes reduces saturated fat without sacrificing flavor. The fresh herbs — sage, rosemary, and thyme — are packed with antioxidants and anti-inflammatory compounds. This is stuffing you can feel good about eating, even on a holiday.
If you’re watching your sodium, use low-sodium broth and reduce the added salt. You can also use a salt-free herb blend for extra flavor without the sodium. These muffins are vegetarian-friendly as written, and easily adaptable to vegan or gluten-free diets.
Conclusion
These Lighter Thanksgiving Stuffing Muffins have completely changed how I think about holiday sides. They’re everything I want from stuffing — crispy, herbaceous, comforting — but in a form that feels fresh and intentional. No more sad, soggy edges. No more fighting over the corner pieces. Just perfectly portioned, golden-brown muffins that make everyone at the table happy.
What I love most about this recipe is how forgiving it is. You can customize it a hundred different ways, and it still works. Add sausage, swap the herbs, go gluten-free — it adapts without losing its soul. That’s the mark of a great recipe, honestly. It’s a foundation you can build on.
I’d love to hear how these turn out for you. Did you try a variation? Did your family fight over the last muffin? Drop a comment below and let me know. And if you’re looking for more lighter holiday recipes, check out my healthy green bean casserole and light mashed potatoes — they’re perfect companions for these stuffing muffins. Happy cooking, and here’s to a Thanksgiving where you actually have room for dessert!
Frequently Asked Questions
Can I make these stuffing muffins ahead of time?
Absolutely! You can assemble them completely and refrigerate for up to 24 hours before baking. Or bake them fully, cool, and reheat in a 350°F oven for 8-10 minutes. They’re perfect for meal prep.
Can I use dried herbs instead of fresh?
Yes, but use about one-third of the amount. For example, use 2 teaspoons dried sage instead of 2 tablespoons fresh. Fresh herbs give a brighter flavor, but dried works in a pinch.
Why did my stuffing muffins fall apart?
This usually happens if the mixture was too dry or not packed firmly enough. Make sure your bread is well-moistened (but not soggy) and press the mixture firmly into each muffin cup. Also, let them rest for 5 minutes after baking before removing.
Can I freeze these stuffing muffins?
Yes! Let them cool completely, wrap individually in plastic wrap, and store in a freezer bag for up to 3 months. Reheat in the oven or air fryer for best results.
How do I make these dairy-free?
Use olive oil or vegan butter instead of regular butter. Everything else in the recipe is naturally dairy-free. The texture will be slightly different but still delicious.
Pin This Recipe!
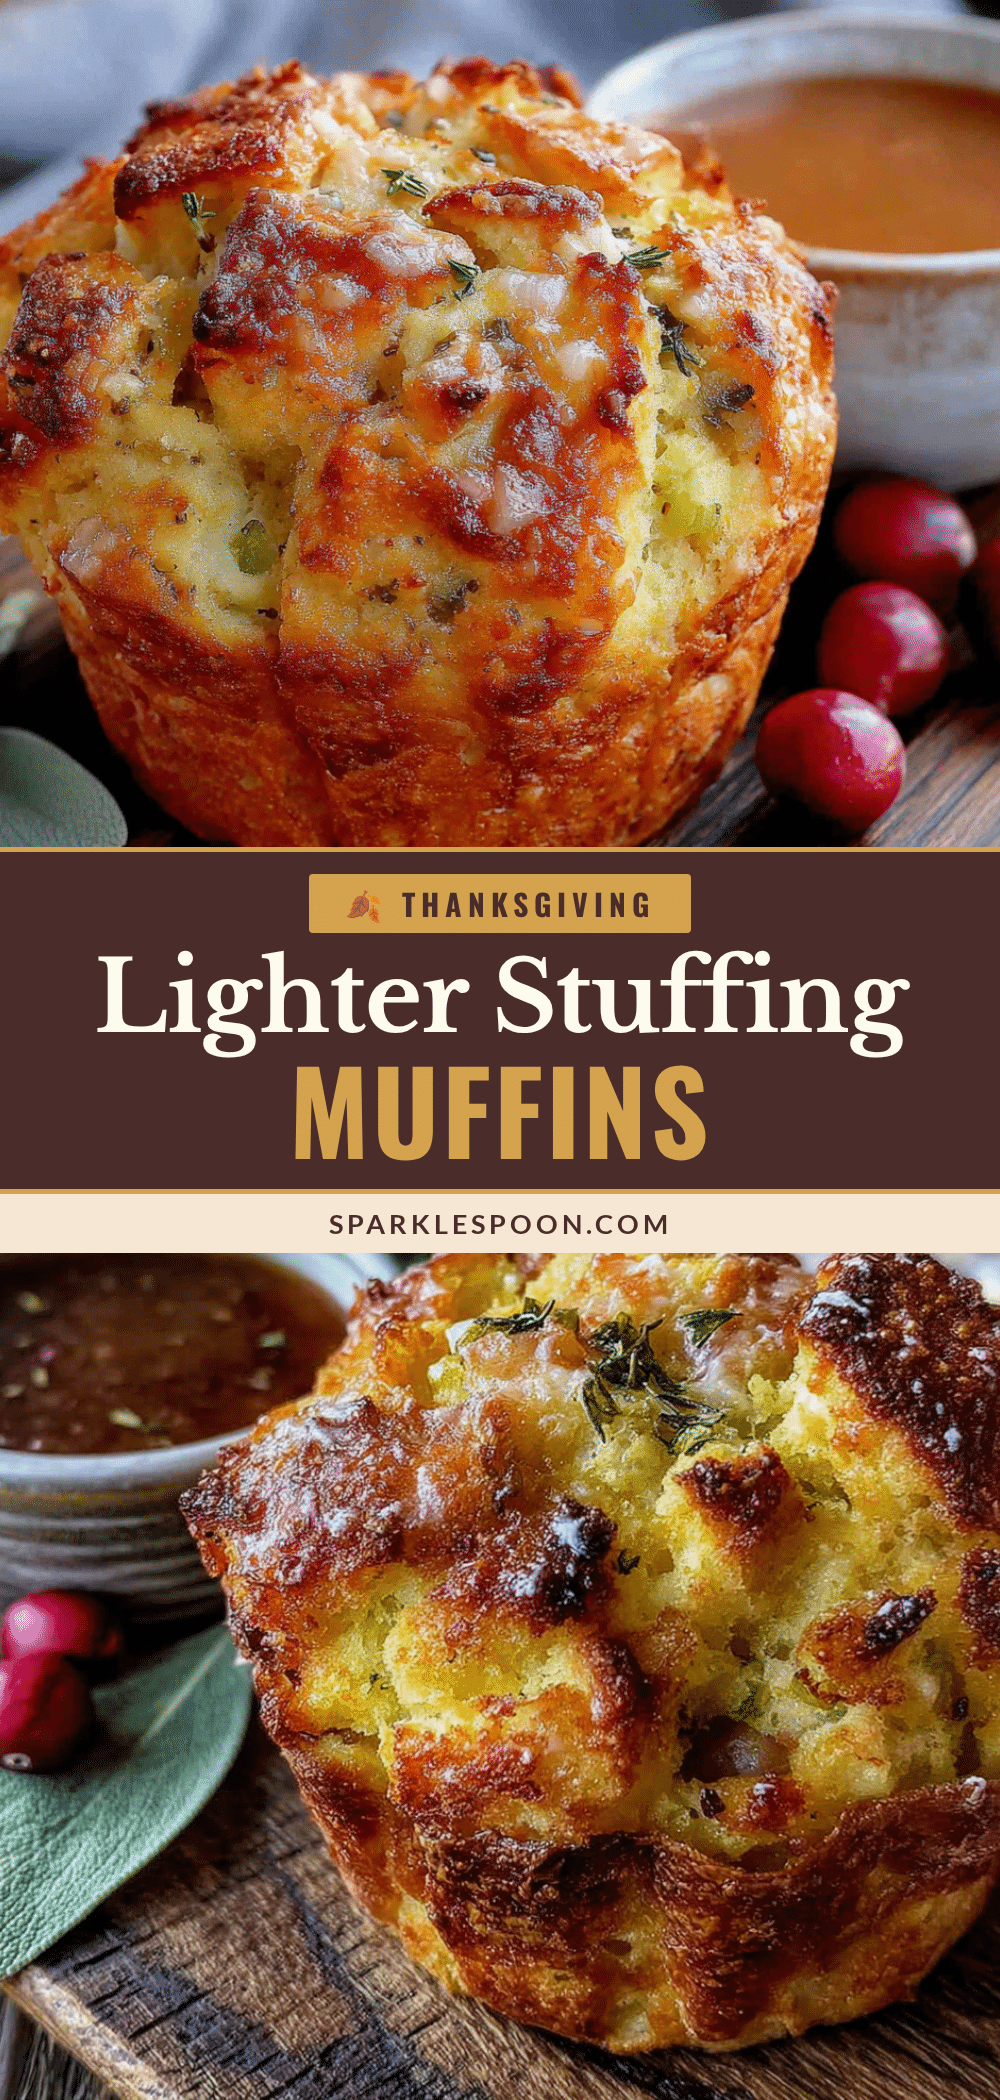
Best Easy Thanksgiving Stuffing Muffins Recipe

These Lighter Thanksgiving Stuffing Muffins are perfectly crispy on every side, tender inside, and made with whole wheat bread, extra vegetables, and less butter. They solve every problem with traditional stuffing—no more soggy edges or fighting over corner pieces.
- Prep Time: 20 minutes
- Cook Time: 30 minutes
- Total Time: 50 minutes
- Yield: 12 servings 1x
- Category: Side Dish
- Cuisine: American
Ingredients
- 8 cups whole wheat bread, cubed and dried (from a 1-pound loaf)
- 4 tablespoons unsalted butter
- 1 large yellow onion, diced (about 1½ cups)
- 3 large celery stalks, diced (about 1 cup)
- 2 medium carrots, finely diced (about ¾ cup)
- 2 tablespoons fresh sage leaves, chopped
- 1 tablespoon fresh rosemary, chopped
- 1 tablespoon fresh thyme leaves
- 1½ cups low-sodium chicken or vegetable broth
- 2 large eggs, lightly beaten
- 1 teaspoon fine sea salt
- ½ teaspoon freshly ground black pepper
- ¼ cup fresh parsley, chopped
Instructions
- Preheat your oven to 375°F (190°C) and generously grease a 12-cup muffin tin with butter or non-stick spray.
- Prepare your bread: Cut whole wheat bread into ½-inch cubes (about 8 cups). Spread on a baking sheet and toast for 8-10 minutes, stirring once, until lightly golden and dry. Let cool.
- Cook the aromatics: Melt 4 tablespoons butter in a large skillet over medium heat. Add diced onion, celery, and carrots. Cook, stirring occasionally, for 8-10 minutes until soft and translucent. Add chopped sage, rosemary, and thyme; cook 1 minute until fragrant.
- Combine the base: Transfer cooked vegetables to a large mixing bowl. Add toasted bread cubes and toss gently to distribute evenly.
- Make the binding mixture: In a separate small bowl, whisk together beaten eggs, low-sodium broth, salt, and pepper. Pour over bread and vegetables. Fold gently with a spatula until evenly moistened. The mixture should look cohesive but not wet.
- Fold in the parsley: Stir in fresh chopped parsley.
- Fill the muffin tin: Divide stuffing mixture evenly among 12 muffin cups. Press each portion down firmly with the back of a spoon or your fingers. Mound slightly above the rim.
- Bake: Place muffin tin in preheated oven and bake for 25-30 minutes, until tops are golden brown and crispy. Let cool in tin for 5 minutes.
- Remove and serve: Run a butter knife around edges to loosen, then gently lift out. Serve immediately or place on a cooling rack.
Notes
For extra-crispy tops, broil on high for the last 1-2 minutes. Watch closely to avoid burning. Dry bread is essential—fresh bread turns to glue. Pack muffins firmly to help them hold together. Let rest 5 minutes in pan before removing. Can be assembled up to 24 hours in advance and refrigerated; add 5-10 minutes to baking time if starting from cold.
Nutrition
- Serving Size: 1 muffin
- Calories: 145
- Sugar: 3
- Sodium: 310
- Fat: 6
- Saturated Fat: 3
- Carbohydrates: 18
- Fiber: 3
- Protein: 5
Keywords: stuffing muffins, Thanksgiving stuffing, lighter stuffing, whole wheat stuffing, individual stuffing, make-ahead stuffing, healthy stuffing



