Love this? Save it for later!
Share the inspiration with your friends
My sister-in-law, Jen, wasn’t trying to impress anyone. I’d stopped by to drop off a casserole dish she’d lent me, and the sight of her kitchen table stopped me cold. It was covered in pretzel rods, melted green candy coating, and slivered almonds. She was casually dipping and decorating, one eye on her toddler who was “helping” by licking a spoon. I just stood there in the doorway, mouth probably hanging open. “Oh, these?” she said, not even looking up. “Just something stupid for the kids’ school party.”
Let me tell you, there was nothing stupid about them. They were these incredible witch finger pretzel rods—creepy, cute, and completely genius. She made it look so easy, like she wasn’t creating the most fun Halloween treat I’d ever seen. Honestly, I felt a little embarrassed by my own complicated plans for that year. Here she was, making something that would blow any store-bought candy out of the water, and she was acting like it was nothing more than a load of laundry. I mean, that’s the real magic, right? The casual confidence of a mom who just knows what works.
That image stuck with me. The green “fingers” with the almond “fingernails” were just so spot-on. And the best part? My own picky eaters, who turn their noses up at anything with a weird texture, went absolutely wild for them. Maybe you’ve been there, trying to find a Halloween treat that’s fun to make but also something your kids will actually eat without a fight. These witch finger pretzel rods are it. They’re the recipe I’ve made every single October since, and I get asked for the “recipe” every single time. It’s the perfect blend of spooky and simple, and honestly, it’s the only Halloween project I bother with anymore.
Why You’ll Love This Recipe
Let’s be real—Halloween can get expensive and complicated. Between costumes and decorations, the last thing you need is a fussy dessert that takes all day. These witch finger pretzel rods are the opposite of that. They are the kind of recipe that makes you look like a rockstar with almost zero effort, which is exactly what we need as busy parents.
- Super Easy for Little Hands: This is a no-bake, no-oven-needed recipe. Kids as young as three can help dip and decorate. It’s a perfect, low-stress activity for a rainy October afternoon.
- Budget-Friendly Ingredients: You only need a handful of things—pretzel rods, candy melts, and almonds. No fancy baking supplies or expensive ingredients. You probably have most of it in your pantry already.
- Always a Crowd-Pleaser: I’ve brought these to school parties, Halloween potlucks, and even just left them on the counter for my kids’ friends. They disappear faster than anything else. Kids love the “gross” factor, and adults love that they’re not too sweet.
- Customizable for Any Allergy: It’s super easy to swap out the candy melts for a dairy-free or soy-free version. You can also skip the almonds for a nut-free classroom treat. Everyone can join in the fun.
- Unbelievably Delicious: The combination of salty, crunchy pretzel with sweet, creamy candy coating is just perfect. It’s that classic sweet-and-salty thing that hits every single time. Honestly, you’ll have a hard time not eating a few yourself.
This isn’t just another Halloween craft you’ll forget about. It’s a tradition in our house now. The kids get so excited to make their “witch fingers” and show them off to their dad when he gets home. It’s a moment of connection, a little bit of messy fun, and a treat that actually tastes good. It’s comfort food with a spooky twist, and it makes everyone at the table happy without breaking the bank.
What Ingredients You Will Need
This recipe uses the most straightforward ingredients to create something that looks incredibly impressive. The magic is all in the assembly, not in any weird or hard-to-find items. Here’s what you need to gather:
- Pretzel Rods: (1 standard 12-16 oz bag). These are the “bones” of your witch fingers. Look for thick, sturdy rods that won’t break easily when you dip them. I usually grab the store brand—they work just fine and save a few bucks.
- Green Candy Melts or Wafers: (1 12-oz bag). This is what gives the pretzels their creepy witch-skin color. You can find these at most craft stores or in the baking aisle of the grocery store. Wilton makes a good one, but any brand will do. For a more vibrant color, you can use a little green oil-based food coloring if your melts are white.
- Slivered Almonds: (1/2 cup). These are the fingernails! You want the raw, slivered kind, not the whole almonds. They have the perfect pointed shape. Try to pick out the nicest, most uniform pieces for the best-looking fingers.
- Optional Decorations:
- Red Gel Food Coloring or Red Icing: To make a little “blood” or cuticle line at the base of the almond. It adds a great gross-out factor.
- Black or Brown Icing Pen: For drawing on wrinkles, knuckles, or warts. It makes them look way more realistic.
- Wax Paper or Parchment Paper: For letting the finished pretzels set without sticking.
A quick note on the candy melts: I’ve learned the hard way that you need to melt them slowly. If you zap them on high power in the microwave, they’ll seize up into a clumpy, unusable mess. Trust me on this one. Use 50% power and stir every 30 seconds. Also, if you’re making these for a school with a nut-free policy, simply leave off the almonds. They still look like creepy green fingers without the fingernails! You can even press a small candy corn into the tip for a different look.
Equipment Needed
The best part about this recipe is that you probably already have everything you need. No fancy mixers or specialty pans required.
- Microwave-Safe Bowl: A medium-sized glass or ceramic bowl works best for melting the candy. Avoid plastic, as it can get too hot and warp.
- Spatula or Spoon: For stirring the melting candy and helping to coat the pretzels.
- Baking Sheet or Large Plate: Line this with your wax paper or parchment paper. This is where your finished witch fingers will set.
- Fork or Dipping Tool: You can use a fork to help submerge the pretzel and let the excess drip off. I actually prefer using my fingers (washed, of course!) for more control, but a fork is less messy.
- Small Piping Bag or Zip-Top Bag: If you’re adding details with icing, you’ll need a small bag with a tiny tip cut off. A simple zip-top bag works perfectly in a pinch.
If you don’t have candy melts, you can try using white chocolate chips or almond bark, but you’ll need to add green food coloring. Just be careful with the coloring—use an oil-based one, not water-based, or your chocolate will seize. I’ve made that mess before, and it’s not fun to clean up!
Preparation Method
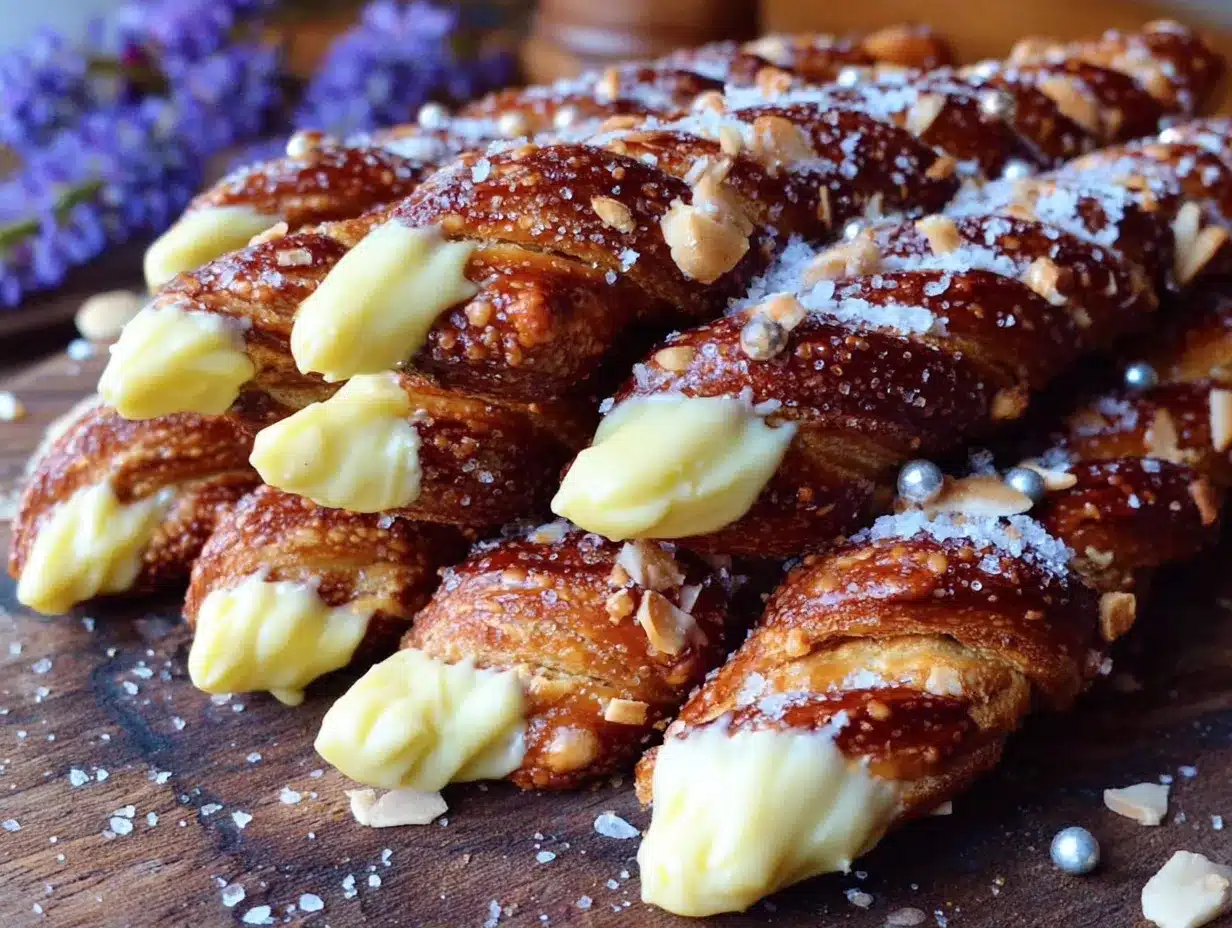
Alright, let’s get to the fun part. This is a perfect project to do with the kids. Just be prepared for a few sticky fingers and lots of giggles.
- Prep Your Station: Before you even open a bag, line your baking sheet with wax paper. Lay out your pretzel rods, slivered almonds, and any other decorations. Having everything ready to go makes the process smooth and fast.
- Melt the Candy Coating: Place your green candy melts in a microwave-safe bowl. Microwave on 50% power for 1 minute. Stir well. Continue microwaving in 30-second intervals on 50% power, stirring thoroughly between each, until the candy is completely smooth and melted. It should be thick but pourable. If it’s too thick, you can stir in a teaspoon of coconut oil or vegetable shortening to thin it out.
- Dip the Pretzels: Hold a pretzel rod by one end and dip it into the melted candy. You can submerge it about two-thirds to three-quarters of the way down. Gently twist and turn the pretzel to get an even coat. Lift it out and let the excess candy drip back into the bowl. You can gently tap your hand on the side of the bowl to help the drips fall.
- Place and Add the “Fingernail”: Lay the coated pretzel on your prepared baking sheet. While the candy is still wet, take a slivered almond and gently press it into the tip of the pretzel, pointy side out, to look like a fingernail. Press it in just enough so it stays put. Repeat this for all your pretzels.
- Add the Details (Optional but Fun!): This is where they go from cute to creepy. Use a toothpick or the tip of a knife to gently drag a line of red gel coloring around the base of the almond to look like a bloody cuticle. You can also use a black or brown icing pen to draw on little lines for knuckles and wrinkles. A tiny dot of icing makes a great wart!
- Let Them Set: Allow the witch fingers to sit at room temperature until the candy coating is completely hard and set. This usually takes about 15-20 minutes, depending on the humidity in your kitchen. Don’t put them in the fridge to speed this up, as the candy can “bloom” or get a weird, streaky look.
- Serve and Enjoy: Once they are fully set, you can gently peel them off the wax paper. Arrange them on a platter like a spooky hand, with the “fingers” pointing every which way. It’s a great, gross effect!
Pro-Tip: If the candy starts to harden in the bowl while you’re working, just pop it back in the microwave for 15-20 seconds on 50% power to re-melt it. Don’t let it get too hot, or it will burn.
Cooking Tips & Techniques
I’ve made a lot of mistakes in the kitchen so you don’t have to. Here are the things I wish I knew the first time I tried to make these.
- The Melt is Everything: I cannot stress this enough. Low and slow is the name of the game for candy melts. High heat is their enemy. If your candy gets clumpy and thick, you’ve overheated it. You can try to save it by adding a teaspoon of vegetable shortening or coconut oil and stirring vigorously, but sometimes it’s a lost cause. Just start over. It’s cheaper than trying to salvage a mess.
- Don’t Over-Dip: You don’t need a super thick layer of candy. A thin, even coat is best. Too much candy will make the pretzel soggy and the “finger” look lumpy. Let the excess drip off well. A little imperfection is fine—it makes them look more realistic, honestly.
- Work in Batches: Don’t try to dip all 20 pretzels at once. Melt your candy, dip 4-5 pretzels, add their almonds and details, and then move on. This keeps the candy from hardening before you can decorate. It’s a much more relaxed process.
- The Almond Angle: The angle you place the almond makes a big difference. You want it to look like a fingernail growing out of the tip, so press it in at a slight upward angle. If you press it flat, it just looks like a seed stuck to the end.
- Keep Them Dry: Any moisture will ruin your candy coating. Make sure your bowl and utensils are completely dry. Even a drop of water can cause the candy to seize up into a grainy, unusable mess. This is a hard lesson I learned when my toddler tried to “help” by dipping a wet spoon in the bowl.
Variations & Adaptations
This recipe is a perfect base for getting creative. Once you know the basic method, you can change it up for any holiday or party.
- Nut-Free Version: If you’re sending these to a nut-free school, just skip the almonds. The pretzel rods still look like creepy green witch fingers! You can also press a small candy corn or an M&M into the tip for a different kind of “fingernail.”
- Different Colors: Who says witches have to be green? Use purple candy melts for a magical, wizard-y look. Use orange for a pumpkin spice vibe. Or go with a bright, zombie-like gray by melting white candy and adding a touch of black food coloring. The possibilities are endless.
- Zombie Fingers: For a different spooky look, use white or pale gray candy melts. Instead of green skin, you have a decaying zombie look. You can add a little bit of red gel coloring on the tips to look like blood. My son actually prefers these to the witch fingers.
- Mummy Pretzels: This is a fun twist. Dip the pretzel in white candy melts. Before it sets, use a piping bag with a small tip to drizzle more white candy back and forth over the top to look like mummy bandages. Add two tiny candy eyes for the final touch.
- Gluten-Free Option: You can easily find gluten-free pretzel rods at most grocery stores. Just make sure to check the label on your candy melts to ensure they are also gluten-free. This is a simple swap that makes the treat accessible for everyone.
Serving & Storage Suggestions
These are best served at room temperature, right after the coating has set. The crunch of the pretzel against the smooth candy is just perfect.
- Presentation: For the full effect, arrange the finished witch fingers on a black or dark-colored platter. You can even place them in a “hand” shape, with the fingers pointing outwards. A little bit of dry ice or some fake spider webs around the platter makes for a fantastic Halloween display.
- Storage: Store any leftover witch finger pretzels in an airtight container at room temperature. Do not refrigerate them, as the moisture in the fridge can make the candy coating sticky and soft. They will stay fresh and crunchy for up to a week, but honestly, they never last that long in our house.
- Layering: If you need to stack them in a container for storage, place a sheet of wax paper or parchment paper between the layers to prevent them from sticking together. This is especially important if you added a lot of icing details.
- Flavor Development: While the flavor doesn’t change much over time, the texture is best within the first 2-3 days. The pretzel stays perfectly crunchy, and the candy coating is snappy. After that, the pretzel can start to absorb a little moisture from the air and get slightly soft, but they are still delicious.
Nutritional Information & Benefits
Let’s be honest—this is a treat, not a health food. But it’s nice to know what you’re working with, especially when you’re planning a party menu.
Estimated Nutritional Information (per 1 pretzel rod):
- Calories: ~150-180
- Fat: ~8-10g
- Carbohydrates: ~20-22g
- Sugar: ~15-18g
- Protein: ~2-3g
A Note on Ingredients: The almonds provide a small amount of healthy fats and vitamin E. The pretzel offers a bit of quick energy from carbohydrates. The biggest thing to watch out for is the sugar content in the candy coating. This is definitely a “sometimes food,” perfect for a special occasion like Halloween.
Dietary Considerations: This recipe can easily be made gluten-free and nut-free with simple substitutions. It is naturally egg-free and can be made dairy-free by using a dairy-free candy melt. Always check the labels on your ingredients to ensure they meet your specific dietary needs.
Conclusion
Honestly, this is the only Halloween recipe you’ll ever need. It’s simple enough for a toddler to help with, impressive enough to take to a party, and delicious enough that everyone will fight over the last one. It perfectly captures that spooky, fun spirit of Halloween without the stress of a complicated baking project. I love that it brings my family together in the kitchen for a few minutes of messy, creative fun.
So go ahead, grab a bag of pretzel rods and some green candy melts. Make a batch with your kids, or for your own inner child. Don’t be afraid to get a little silly with the decorations—the more warts and wrinkles, the better! I promise, once you see the look on your little one’s face when they present their own “witch finger,” you’ll be hooked. This is the kind of tradition that makes holidays special. So, what are you waiting for? Get in the kitchen and make some magic. And when you do, come back and tell me all about it in the comments! I’d love to hear about your own creepy creations and which variations your family loved the most.
Frequently Asked Questions
Can I use white chocolate instead of candy melts?
Yes, you can! Use good-quality white chocolate chips or a bar, chopped. You will need to add green oil-based food coloring to get the witch finger color. Be very careful not to get any water in the chocolate, or it will seize up.
How far in advance can I make these?
You can make them up to a week in advance. Store them in an airtight container at room temperature, with wax paper between the layers. They are a great make-ahead treat for a Halloween party.
My candy melts are too thick. What should I do?
If your melted candy is too thick to dip smoothly, stir in 1 teaspoon of coconut oil or vegetable shortening. Do not use butter or milk, as the water content will ruin the candy. Add the oil a little at a time until you get a nice, dippable consistency.
Can I freeze these witch finger pretzels?
I don’t recommend freezing them. The condensation from thawing can make the candy coating sticky and soft, and it can ruin the crunch of the pretzel. They are best made fresh and stored at room temperature.
What can I use instead of slivered almonds for the fingernails?
If you have a nut allergy or just don’t have almonds, you can use a small candy corn, a pumpkin seed (pepita), or even a small piece of a banana chip. The shape isn’t as perfect, but it still gives a fun, creepy look!
Pin This Recipe!

Best Easy Witch Finger Pretzels: Kid-Approved Halloween Treat

These creepy-cute witch finger pretzel rods are a no-bake Halloween treat that’s super easy for little hands to help make. Made with just pretzel rods, green candy melts, and slivered almonds, they’re a budget-friendly crowd-pleaser that disappears fast at any spooky gathering.
- Prep Time: 15 minutes
- Cook Time: 0 minutes
- Total Time: 35 minutes
- Yield: 20 servings 1x
- Category: Dessert
- Cuisine: American
Ingredients
- 1 (12-16 oz) bag pretzel rods
- 1 (12 oz) bag green candy melts or wafers
- 1/2 cup slivered almonds
- Red gel food coloring or red icing (optional, for ‘blood’ detail)
- Black or brown icing pen (optional, for wrinkles/knuckles)
- Wax paper or parchment paper
Instructions
- Prep your station: Line a baking sheet with wax paper. Lay out pretzel rods, slivered almonds, and any decorations.
- Melt the candy coating: Place green candy melts in a microwave-safe bowl. Microwave on 50% power for 1 minute. Stir well. Continue microwaving in 30-second intervals on 50% power, stirring thoroughly between each, until completely smooth and melted.
- Dip the pretzels: Hold a pretzel rod by one end and dip it into the melted candy, submerging about two-thirds to three-quarters of the way down. Gently twist to get an even coat. Lift out and let excess drip back into the bowl.
- Place and add the ‘fingernail’: Lay the coated pretzel on the prepared baking sheet. While the candy is still wet, press a slivered almond into the tip, pointy side out, to look like a fingernail.
- Add the details (optional): Use a toothpick to drag a line of red gel coloring around the base of the almond for a ‘bloody cuticle.’ Use a black or brown icing pen to draw knuckles and wrinkles.
- Let them set: Allow the witch fingers to sit at room temperature until the candy coating is completely hard, about 15-20 minutes.
- Serve and enjoy: Gently peel them off the wax paper and arrange on a platter.
Notes
Melt candy melts slowly on 50% power to prevent seizing. If candy thickens, stir in 1 teaspoon coconut oil or vegetable shortening. For nut-free version, omit almonds or use candy corn instead. Store in airtight container at room temperature for up to a week; do not refrigerate.
Nutrition
- Serving Size: 1 pretzel rod
- Calories: 165
- Sugar: 16
- Sodium: 180
- Fat: 9
- Saturated Fat: 5
- Carbohydrates: 21
- Fiber: 1
- Protein: 2.5
Keywords: Halloween treats, witch finger pretzels, no-bake Halloween, kid-friendly Halloween, pretzel rods, candy melts, easy Halloween recipe



