Love this? Save it for later!
Share the inspiration with your friends
The neighborhood block party was in less than three hours, and I had completely blanked on what to bring. Everyone else would be showing up with these elaborate multi-layered cakes or homemade pies that looked like they took days to perfect. I had a cracked mixing bowl, half a bottle of red food coloring, and just enough cream cheese in the fridge to frost something small. Honestly, panic was setting in fast.
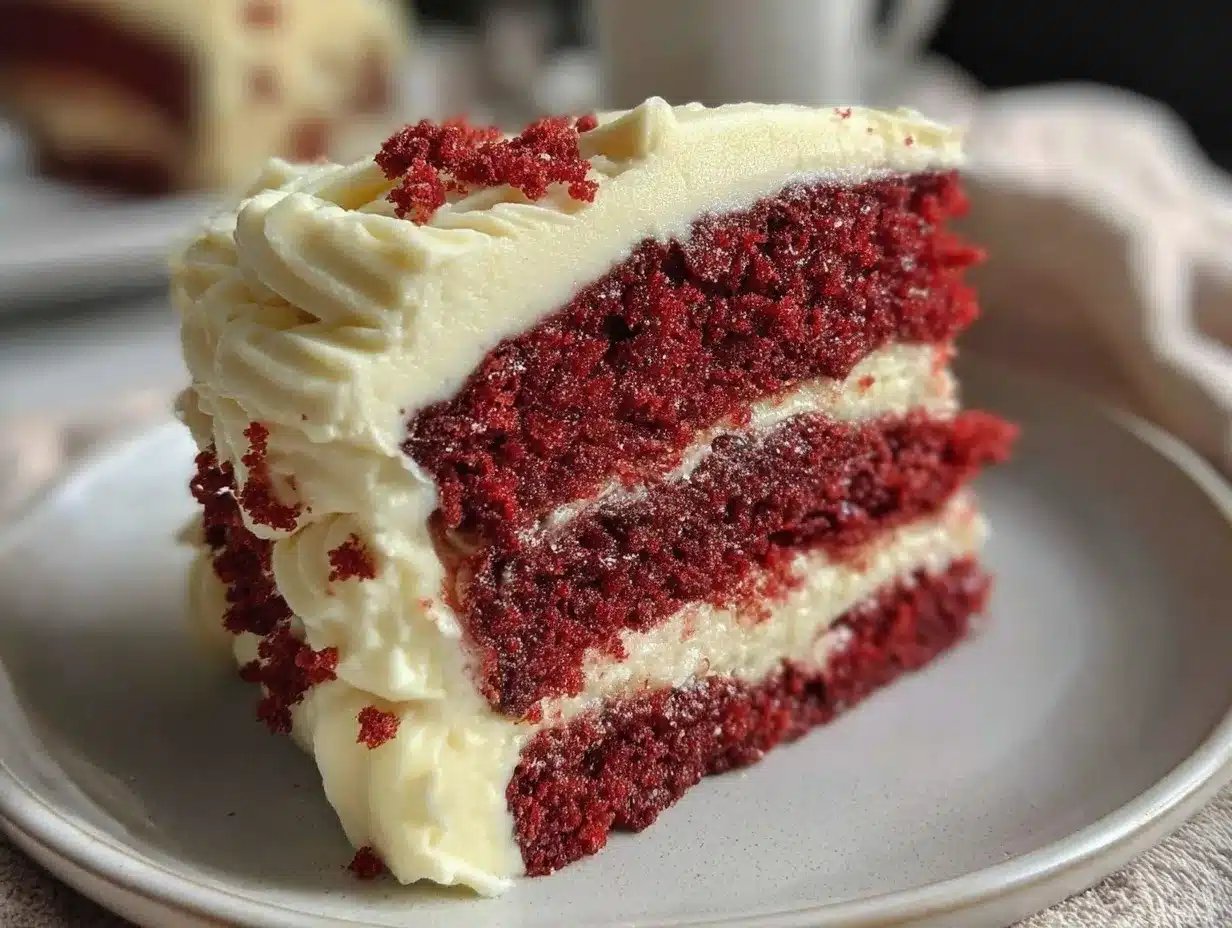
But then I remembered the red velvet cake recipe I’d whipped up on a whim during a particularly hectic Sunday afternoon—something quick, simple, yet surprisingly stunning. I knew I could pull off a red velvet flag cake with cream cheese frosting using those ingredients. No fancy decorations, no complicated steps, just a straightforward homemade cake that somehow feels festive and special. Maybe you’ve been there, scrambling to put together something last minute when the stakes feel high but time is not on your side.
So I got to work, mixing, baking, and assembling that cake with whatever I had on hand, laughing at the mess I made in the kitchen. The neighbors didn’t just like it—they kept talking about how perfect that red velvet flag cake was. It honestly became my go-to for every event since, because it’s easy, impressive, and just downright delicious. Let me tell you, this is the kind of recipe that sticks with you, especially when you need a win without all the fuss.
Why You’ll Love This Recipe
After testing this perfect red velvet flag cake with cream cheese frosting countless times (and yes, that includes some kitchen disasters), I can say this recipe truly stands out. It hits all the right notes for a crowd-pleasing dessert that’s as much about comfort as it is about celebration.
- Quick & Easy: You can have this cake baked, frosted, and flagged in under 90 minutes—ideal for last-minute plans or busy weeknights.
- Simple Ingredients: No need to hunt down exotic items. This recipe calls for everyday pantry staples and common dairy products.
- Perfect for Celebrations: Whether it’s a Fourth of July barbecue, birthday bash, or a casual get-together, the flag design adds that extra festive touch.
- Crowd-Pleaser: Kids and adults alike rave about the moist crumb and tangy cream cheese frosting—it’s a universal favorite.
- Unbelievably Delicious: The subtle cocoa flavor paired with the smooth cream cheese frosting creates a texture and taste combo that feels indulgent yet familiar.
What makes this red velvet flag cake different is the careful balance of flavors and the straightforward assembly method. The cake layers bake evenly and hold their shape well, making flag design easy to achieve without stress. Plus, the cream cheese frosting is whipped just right—not too sweet, not too tangy—which complements the cake perfectly. Honestly, this recipe is all about turning a simple red velvet into a showstopper that feels homemade and heartfelt.
What Ingredients You Will Need
This recipe uses simple, wholesome ingredients to deliver bold flavor and satisfying texture without the fuss. Most are pantry staples, and substitutions are easy if needed.
- For the Cake Batter:
- All-purpose flour, 2 ½ cups (315g)
- Granulated sugar, 1 ½ cups (300g)
- Unsweetened cocoa powder, 2 tablespoons (use a Dutch-processed for deeper flavor)
- Baking soda, 1 teaspoon
- Salt, ½ teaspoon
- Buttermilk, 1 cup (240ml) (adds tenderness and tang; can substitute with 1 cup milk + 1 tablespoon vinegar)
- Vegetable oil, 1 cup (240ml) (I prefer neutral oils like canola for a light crumb)
- Large eggs, 2 (room temperature for better mixing)
- Red food coloring, 2 tablespoons (I recommend gel-based brands like AmeriColor for vibrant color without thinning batter)
- Vanilla extract, 1 teaspoon
- Distilled white vinegar, 1 teaspoon (reacts with baking soda to give the cake lift)
- For the Cream Cheese Frosting:
- Cream cheese, 8 oz (225g), softened (Philadelphia brand works beautifully for smooth texture)
- Unsalted butter, ½ cup (115g), softened
- Powdered sugar, 4 cups (480g), sifted (adjust sweetness to taste)
- Vanilla extract, 1 teaspoon
- Pinch of salt (balances sweetness)
Seasonal tip: If you want to add a fruity twist, fresh strawberries or blueberries make lovely flag accents. For a dairy-free variation, swap cream cheese and butter for coconut-based alternatives and almond milk for buttermilk.
Equipment Needed
- Two 9-inch (23 cm) round cake pans — I use non-stick aluminum pans for even heat distribution
- Mixing bowls — preferably a large one for batter and a medium one for frosting
- Electric mixer or stand mixer — handheld mixers work, but stand mixers save effort when whipping cream cheese frosting
- Measuring cups and spoons — accurate measurements are key for consistent results
- Rubber spatula — for folding and scraping batter cleanly
- Cooling rack — allows cakes to cool evenly and prevents sogginess
- Offset spatula — great for smooth frosting application
- Toothpicks or skewer — to check cake doneness
- Optional: Piping bag with a small round tip — for neat flag stripes
Budget-friendly tip: If you don’t have round pans, square pans work fine; just adjust baking time slightly. For frosting, a sturdy whisk and some elbow grease can substitute a mixer if needed.
Preparation Method
- Preheat your oven to 350°F (175°C). Grease and flour two 9-inch cake pans or line them with parchment paper to prevent sticking. This step ensures your cakes release easily.
- Mix dry ingredients: In a large bowl, sift together 2 ½ cups (315g) all-purpose flour, 1 ½ cups (300g) granulated sugar, 2 tablespoons cocoa powder, 1 teaspoon baking soda, and ½ teaspoon salt. Whisk to combine evenly. This helps distribute the leavening agents so your cake rises uniformly.
- Combine wet ingredients: In a separate bowl, whisk 1 cup (240ml) buttermilk, 1 cup (240ml) vegetable oil, 2 large eggs, 2 tablespoons red food coloring, 1 teaspoon vanilla extract, and 1 teaspoon white vinegar until smooth. The vinegar reacts with baking soda to give a tender crumb and slight tang.
- Make the batter: Slowly pour the wet mixture into the dry ingredients while stirring gently with a spatula or mixer on low speed. Mix just until combined — overmixing can toughen the cake. The batter should be smooth and vibrant red.
- Divide batter evenly: Pour the batter into the prepared pans, using a kitchen scale or measuring cups for equal amounts. Tap the pans gently on the counter to release air bubbles.
- Bake: Place pans in the preheated oven and bake for 25-30 minutes. Use a toothpick inserted in the center to test doneness – it should come out clean or with a few moist crumbs. Avoid opening the oven door too often to keep the temperature steady.
- Cool: Remove cakes from oven and let cool in pans for 10 minutes. Then, run a knife around edges and invert onto cooling racks. Let cool completely before frosting to prevent melting.
- Prepare frosting: In a large bowl, beat 8 oz (225g) softened cream cheese with ½ cup (115g) softened unsalted butter until fluffy. Gradually add 4 cups (480g) sifted powdered sugar, 1 teaspoon vanilla extract, and a pinch of salt. Beat until smooth and spreadable. If frosting feels too soft, chill briefly.
- Assemble the flag cake: Place one cake layer on your serving plate. Spread a thick, even layer of cream cheese frosting on top. Add the second cake layer. Frost the entire cake with a thin crumb coat and chill for 20 minutes.
- Create the flag design: Using the remaining frosting, pipe or spread stripes of red and white alternating bands. Use fresh blueberries or blackberries for the stars section in the corner. I find using a toothpick to tidy edges helps make the flag look sharp and festive.
Cooking Tips & Techniques
One trick I learned early on is to always let the cake layers cool completely before frosting—warm cakes and cream cheese frosting do not mix well! Patience here saves you from a melty mess.
When mixing batter, don’t be tempted to overdo it. Overmixing activates gluten and can make your red velvet dense and tough instead of soft and tender. Just combine until no streaks remain.
For an extra moist cake, I sometimes substitute half the oil with applesauce, but keep the original if you want that classic richness.
While frosting, use an offset spatula and turntable if you have one—makes smoothing much easier. If your frosting is too thick, a teaspoon of milk can loosen it slightly.
When piping the flag stripes, steady hands are your best friend. If you mess up, a quick swipe with a damp cloth and a chill in the fridge helps reset your canvas.
Variations & Adaptations
- Gluten-Free Version: Substitute all-purpose flour with a gluten-free blend like Bob’s Red Mill 1-to-1. The texture will be slightly different but still delicious.
- Vegan Adaptation: Use flax eggs (2 tablespoons flaxseed meal + 6 tablespoons water) and swap buttermilk with almond milk plus lemon juice. Use vegan cream cheese and butter alternatives.
- Flavor Twists: Try adding a teaspoon of espresso powder to the batter to deepen the cocoa flavor or fold in mini white chocolate chips for surprise bursts of sweetness.
- Different Flag Ideas: Swap out blueberries for raspberries or blackberries for the stars if you want a different look. You can also make mini cupcakes with flag designs for individual servings.
- My Tried Variation: I once made a layered version with a strawberry jam swirl between layers for a fruity surprise. It was a hit and added a fresh note to the classic cream cheese frosting.
Serving & Storage Suggestions
This red velvet flag cake is best served at room temperature so the cream cheese frosting is soft and creamy. Presentation-wise, serve it on a white or red platter to make the colors pop.
It pairs wonderfully with a simple cup of black coffee or a glass of cold milk to balance the richness. For a festive twist, try serving alongside fresh berries or a light whipped cream.
Store leftovers covered tightly in the refrigerator for up to 4 days. The flavors actually deepen overnight, making the cake taste even better the next day. If you want to freeze it, wrap the cake layers separately in plastic wrap and freeze for up to 2 months. Thaw in the fridge before frosting.
To reheat slices, let them come to room temperature and enjoy as is. Avoid microwaving the whole cake to prevent the frosting from melting.
Nutritional Information & Benefits
A typical slice of this red velvet flag cake (about 1/12th of the cake) contains approximately 350 calories, 15g fat, 45g carbohydrates, and 3g protein. The cream cheese frosting adds a nice dose of calcium and some vitamin A from the butter.
Red velvet cake’s cocoa powder provides antioxidants, and using buttermilk adds probiotics and tang. For those mindful of gluten, the recipe adapts easily with the right flour blend. Be aware of dairy in the frosting if you have allergies.
From my wellness perspective, I view this cake as a treat to enjoy mindfully — perfect for celebrations and special moments, not everyday indulgence. Its balanced flavor and moist texture mean you don’t need a huge slice to feel satisfied.
Conclusion
This perfect red velvet flag cake with cream cheese frosting is one of those recipes that manages to be both simple and show-stopping. It’s the kind of dessert you pull out when you want to impress without stress and still enjoy every bite.
Feel free to tweak the ingredients or flag design to suit your tastes or occasion. I love making it for summer get-togethers or anytime I’m short on time but want something that feels homemade and special.
Give it a try—you might find yourself reaching for this recipe whenever you need a quick win in the kitchen. And hey, if you have your own twists, I’d love to hear about them in the comments below! Happy baking and celebrating!
Frequently Asked Questions
Can I make this red velvet flag cake ahead of time?
Yes! You can bake the cake layers a day ahead and keep them wrapped tightly in the fridge. Frost and assemble the flag design the next day for the freshest look.
What if I don’t have buttermilk?
No worries. Use 1 cup of milk with 1 tablespoon of white vinegar or lemon juice. Let it sit for 5 minutes to curdle before using.
How do I get a vibrant red color without food coloring?
Traditional red velvet relies on food coloring, but you can add a bit of beetroot powder or juice for a natural alternative—though the color will be more muted.
Can I freeze the decorated cake?
It’s best to freeze the cake layers before frosting. Freezing a fully frosted cake can cause the cream cheese to weep when thawed.
What’s the best way to avoid a crumbly frosting finish?
Make sure your cream cheese and butter are softened fully before mixing. Also, sift the powdered sugar to avoid lumps and beat until smooth and fluffy.
Pin This Recipe!
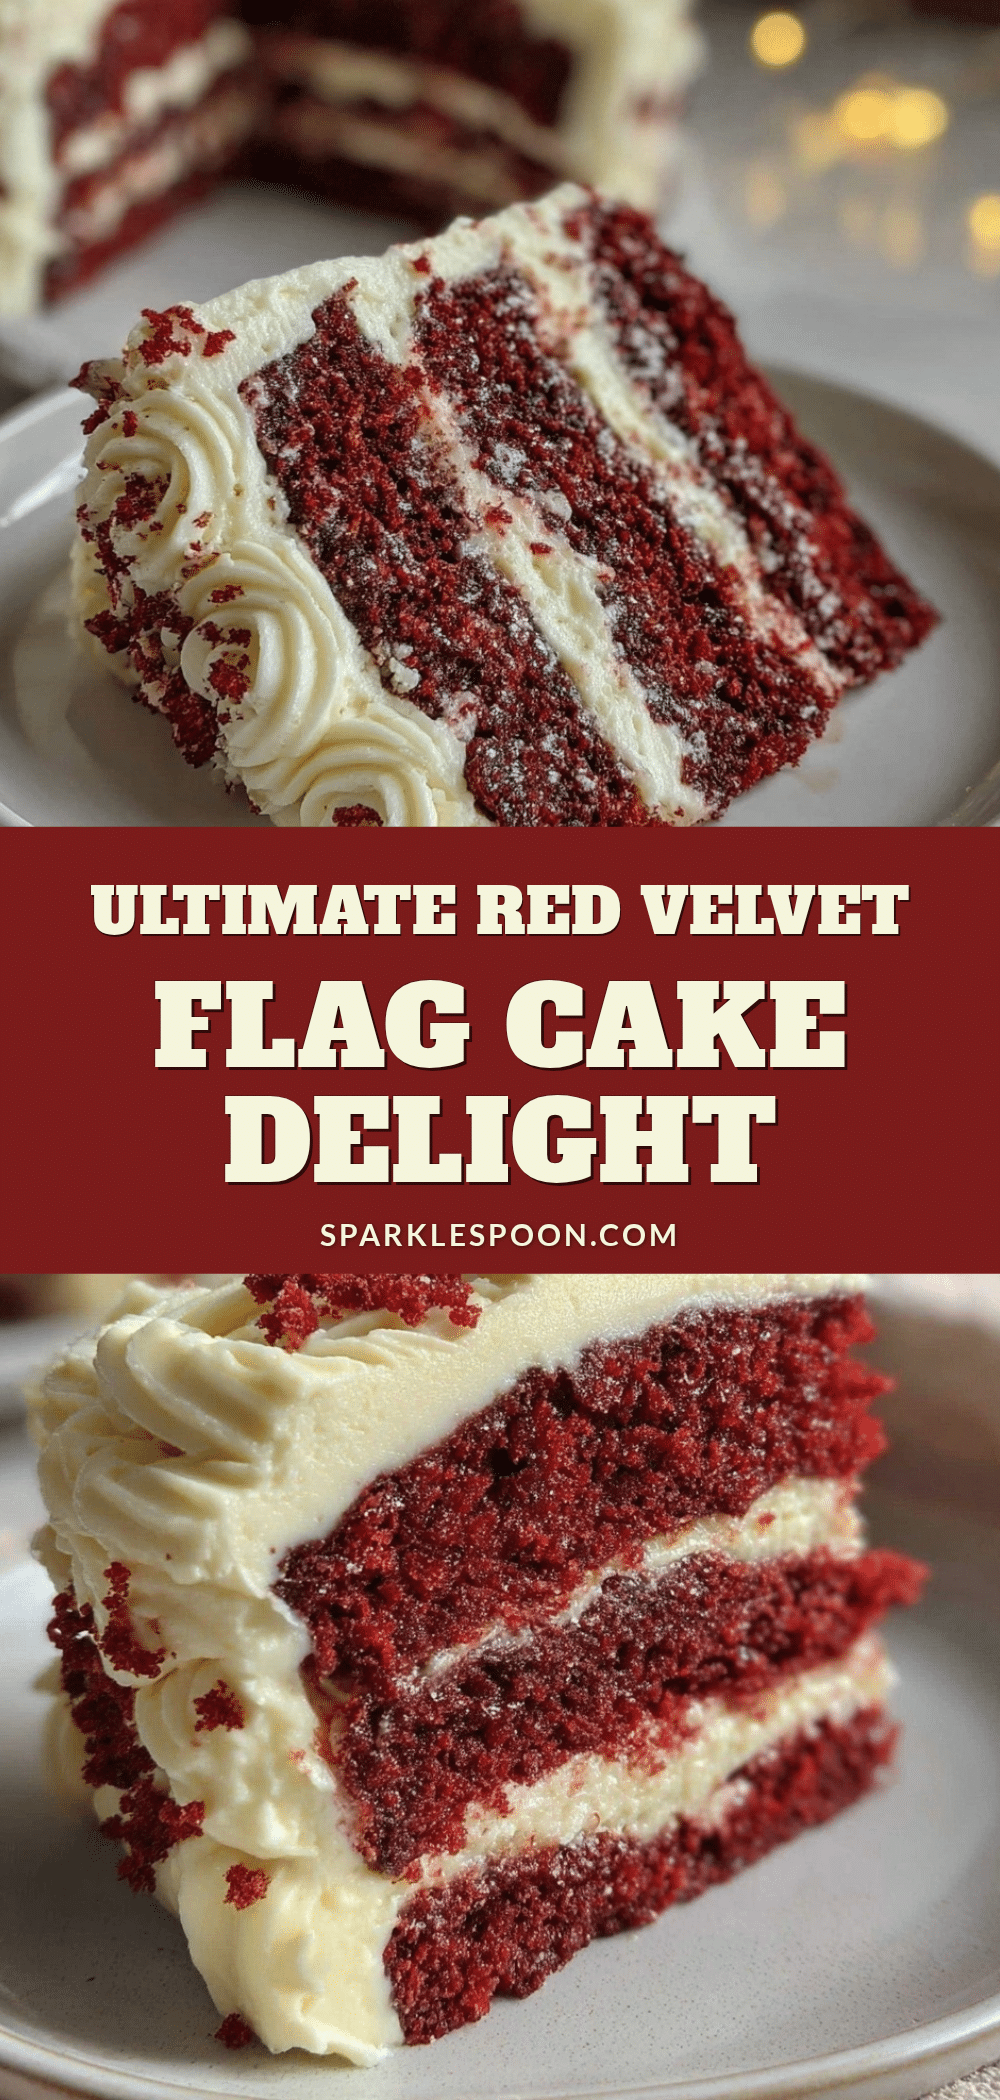
Perfect Red Velvet Flag Cake Recipe Easy Homemade with Cream Cheese Frosting
A quick and easy red velvet flag cake with cream cheese frosting that’s perfect for celebrations and last-minute events. Moist, flavorful, and visually festive with a simple flag design.
- Prep Time: 20 minutes
- Cook Time: 30 minutes
- Total Time: 50 minutes
- Yield: 12 servings 1x
- Category: Dessert
- Cuisine: American
Ingredients
- 2 ½ cups (315g) all-purpose flour
- 1 ½ cups (300g) granulated sugar
- 2 tablespoons unsweetened cocoa powder (preferably Dutch-processed)
- 1 teaspoon baking soda
- ½ teaspoon salt
- 1 cup (240ml) buttermilk (or 1 cup milk + 1 tablespoon vinegar)
- 1 cup (240ml) vegetable oil (neutral oils like canola preferred)
- 2 large eggs (room temperature)
- 2 tablespoons red food coloring (gel-based recommended)
- 1 teaspoon vanilla extract
- 1 teaspoon distilled white vinegar
- 8 oz (225g) cream cheese, softened
- ½ cup (115g) unsalted butter, softened
- 4 cups (480g) powdered sugar, sifted
- 1 teaspoon vanilla extract
- Pinch of salt
Instructions
- Preheat oven to 350°F (175°C). Grease and flour two 9-inch cake pans or line with parchment paper.
- In a large bowl, sift together flour, sugar, cocoa powder, baking soda, and salt. Whisk to combine.
- In a separate bowl, whisk buttermilk, vegetable oil, eggs, red food coloring, vanilla extract, and white vinegar until smooth.
- Slowly pour wet ingredients into dry ingredients, mixing gently until just combined. Avoid overmixing.
- Divide batter evenly between prepared pans. Tap pans gently to release air bubbles.
- Bake for 25-30 minutes or until a toothpick inserted in the center comes out clean or with a few moist crumbs.
- Cool cakes in pans for 10 minutes, then invert onto cooling racks and cool completely.
- For frosting, beat cream cheese and butter until fluffy. Gradually add powdered sugar, vanilla extract, and salt. Beat until smooth and spreadable. Chill if too soft.
- Place one cake layer on serving plate. Spread thick layer of frosting on top. Add second layer. Apply thin crumb coat and chill for 20 minutes.
- Use remaining frosting to pipe or spread red and white stripes for the flag design. Use fresh blueberries or blackberries for stars section. Use a toothpick to tidy edges.
Notes
Let cake layers cool completely before frosting to avoid melting. Avoid overmixing batter to keep cake tender. Substitute half oil with applesauce for extra moistness. Use offset spatula and turntable for smooth frosting. Chill frosting if too soft. Steady hands help with piping flag stripes; mistakes can be fixed with a damp cloth and chilling.
Nutrition
- Serving Size: 1 slice (1/12th of c
- Calories: 350
- Fat: 15
- Carbohydrates: 45
- Protein: 3
Keywords: red velvet cake, cream cheese frosting, flag cake, easy cake recipe, homemade cake, celebration dessert, quick cake, festive cake