Love this? Save it for later!
Share the inspiration with your friends
Last Wednesday, my colleague watched me fumble with the usual high school lunch dilemma—packing something quick, tasty, and actually eaten. She didn’t say a word at first but then casually mentioned how she sends her son off with a no-cook charcuterie lunch box, and suddenly, it clicked. This wasn’t one of those fancy spreads you see on social media, but something simple, satisfying, and utterly practical. Honestly, I was skeptical at first—how do you make a lunch that feels special without firing up the stove or heating anything? But as she shared her little packing secrets, I realized this easy no-cook charcuterie lunch box idea was exactly the kind of thoughtful, no-stress solution I needed for my own busy mornings.
Maybe you’ve been there—standing in front of the fridge, the clock ticking, and that familiar scramble to throw something together that won’t end up in the trash. Well, this recipe came from someone who, like me, had juggling work and school drop-offs on her mind. The beauty is in its simplicity, the way each component chats with the next, creating a balanced, colorful lunch without any cooking involved. I made a bit of a mess trying to pack mine the first time (there was a rogue olive that rolled under the counter), but that little chaos didn’t stop me from coming back to it again and again. So here’s the easy no-cook charcuterie lunch box recipe that’s been a reliable game-changer for school days—and hopefully, it’ll help you too.
Why You’ll Love This Recipe
- Quick & Easy: Ready to pack in under 10 minutes, which means no morning stress and more time for that extra cup of coffee.
- Simple Ingredients: Utilizes pantry staples and fresh deli items, so no last-minute grocery runs required.
- Perfect for School Days: Designed specifically for high school students who want something tasty, nourishing, and fun to eat.
- Crowd-Pleaser: The mix of textures and flavors—creamy cheeses, crunchy crackers, and savory meats—always earns thumbs up from picky eaters.
- Unbelievably Delicious: The layering of salty, sweet, and tangy elements creates a balanced bite every time, no cooking needed.
- This isn’t just another sandwich slapped in a bag. The thoughtful assembly and variety make it feel like a little lunchbox celebration.
- The recipe respects time and taste—ideal for busy parents and students who want something more than the usual fare.
What Ingredients You Will Need
This recipe uses simple, wholesome ingredients to deliver bold flavor and satisfying texture without the fuss. Most of these are pantry staples or easily found at any local grocery or deli counter.
- Deli Meats (for protein): Sliced turkey, ham, or salami (about 3–4 ounces/85–115 grams). I prefer Boar’s Head for its quality and flavor.
- Cheeses: Cubed cheddar, mozzarella balls, or slices of Swiss (around 2–3 ounces/55–85 grams). Look for firm, small-curd cheese for best texture.
- Crackers: Whole grain or multigrain crackers (a handful, roughly 30 grams). I like the ones from Triscuit for a good crunch.
- Fresh Veggies: Cherry tomatoes, cucumber slices, and baby carrots (about 1 cup/150 grams total). Seasonal veggies can be swapped in easily.
- Fresh Fruit: Grapes or apple slices (½ cup/75 grams). Choose whatever’s ripe and in season.
- Olives or Pickles: A small container (about ¼ cup/40 grams). Kalamata olives add a nice tangy contrast.
- Nut Butter or Hummus: A small serving (2 tablespoons/30 grams) for dipping or spreading.
- Nuts or Seeds (optional): A small handful of almonds or pumpkin seeds for extra texture.
- Optional Sweet Treat: A few dark chocolate chips or a small cookie to round out the meal.
For substitutions, use dairy-free cheese or meat alternatives if needed, and swap nuts for seeds to accommodate allergies. I’ve found that a little flexibility here makes the recipe truly adaptable to different tastes and dietary needs.
Equipment Needed
- Lunch Box or Bento Box: Ideally with compartments to keep ingredients separate and fresh. I like using the EasyLunchboxes brand for its durability and size.
- Small Containers or Silicone Cups: Perfect for dips, olives, or small fruit portions to avoid spills.
- Sharp Knife: For slicing cheese and veggies cleanly without squashing delicate items.
- Cutting Board: A sturdy surface for safe and efficient prep.
- Tongs or Small Fork: Helpful for packing and picking up smaller items without mess.
If you don’t have a bento box, a standard reusable container with a tight lid works fine. Just separate ingredients with parchment paper or small containers to keep flavors from mixing. Also, a good quality cooler bag keeps everything fresh if packing the night before.
Preparation Method
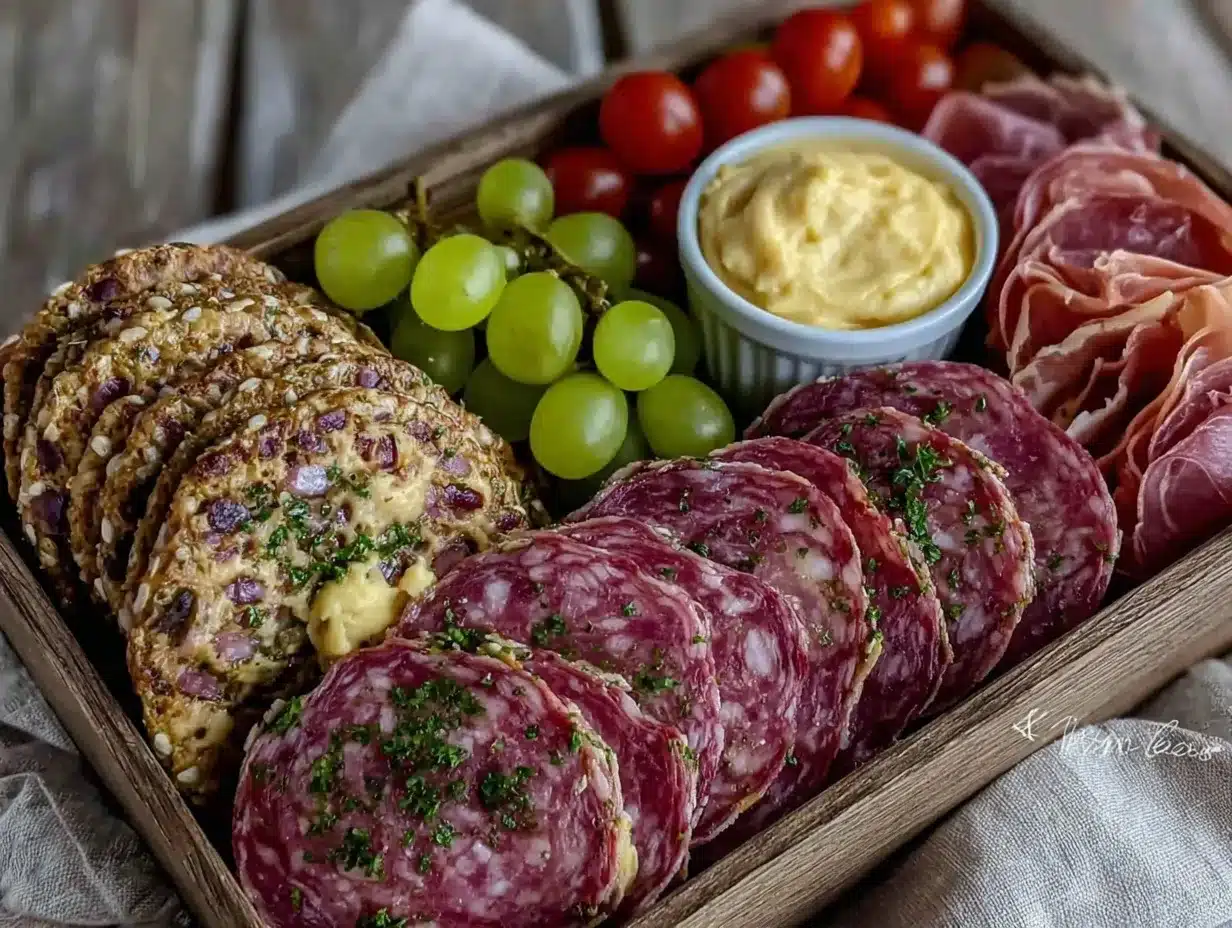
- Prep Your Ingredients (10 minutes): Start by washing and slicing your fresh veggies and fruit. Cherry tomatoes can be left whole; cucumbers and apples slice nicely into thin rounds or wedges. Keep your fruit bite-sized for easy eating.
- Slice and Cube (5 minutes): Cut your cheese into small cubes or slices. If using mozzarella balls, drain them well. Slice deli meats into bite-sized pieces or roll them up for a fun presentation.
- Arrange Base Components (2 minutes): Place crackers in one compartment or side of your lunch box. This keeps them crisp and separate from moist ingredients.
- Pack Protein and Cheese (3 minutes): Layer the sliced deli meats and cheeses in another section. Rolling meats prevents them from drying out and makes them easier to eat.
- Fill With Fresh Veggies and Fruit (3 minutes): Add the washed and sliced veggies and fruit in their own compartments or silicone cups. This keeps them fresh and prevents juices from mixing.
- Add Olives, Pickles, and Dips (2 minutes): Spoon olives or pickles into small containers or cups to prevent leakage. Add nut butter or hummus in a separate small container for dipping veggies or crackers.
- Optional Treat and Nuts (1 minute): Tuck in a few chocolate chips or a small cookie, and sprinkle nuts or seeds in a corner for a finishing touch.
- Pack and Seal: Close the lunch box tightly to avoid spills. If packing ahead, keep refrigerated until ready to go.
Tip: When rolling deli meats, don’t overstuff or they’ll unwrap in the lunch box. And if time is tight, prepping some ingredients the night before makes mornings a breeze. You know that feeling when you’re rushing out the door and every second counts—this method saves you from last-minute scrambling.
Cooking Tips & Techniques
- Keep It Fresh: Use airtight containers and coolers, especially for cheese and meats, to prevent them from drying out.
- Balance Textures: Mixing crunchy crackers with creamy cheese and crisp veggies keeps every bite interesting, preventing lunch fatigue.
- Roll Deli Meats: Rolling slices instead of stacking makes portions manageable and less messy to eat.
- Prep in Advance: Slice fruits and veggies the night before but keep wet items separate until packing to avoid sogginess.
- Watch Portion Sizes: High school students need enough energy—pack a bit more than you think, but avoid overcrowding the box.
- Personal Touches: Add a handwritten note or a favorite small treat; it makes all the difference for a midday morale boost.
My first attempt had me tossing everything in one compartment—big mistake. The crackers got soggy, and the olives leaked. Lesson learned: separation is key! Also, trust me on the small silicone cups for dips—total game-changer.
Variations & Adaptations
- Vegetarian Version: Swap deli meats for chickpea salad or marinated tofu cubes and use dairy or vegan cheeses.
- Seasonal Swaps: In summer, replace apples with fresh berries or peaches. In fall, use roasted pumpkin seeds instead of nuts.
- Gluten-Free Option: Use gluten-free crackers or veggie sticks as a crunchy alternative.
- Flavor Twists: Add a little pesto or flavored hummus for an extra punch. I tried sun-dried tomato hummus once—such a hit!
- Different Dips: Try guacamole or tzatziki instead of nut butter or hummus for variety.
One time, I packed a spicy salami and paired it with a mild mozzarella—my kid loved the contrast and insisted I make it that way again. The flexibility here is what makes this lunch box idea so fun.
Serving & Storage Suggestions
Serve this no-cook charcuterie lunch box chilled or at room temperature—both work well and keep the flavors bright. Presentation matters, so arrange colorful ingredients to make the meal inviting. Pair with a cold glass of water or a small juice box for a complete meal.
Store leftovers in the refrigerator, ideally wrapped tightly or in sealed containers. Most components keep well for up to two days, but crackers are best packed fresh to keep crunch. Reheat is not necessary or recommended since it’s designed to be enjoyed cold and fresh.
Flavors meld beautifully if packed the night before, especially the dips and cheeses, making the lunch even tastier. Just keep wet ingredients separated until ready to eat to avoid soggy crackers or veggies.
Nutritional Information & Benefits
This easy no-cook charcuterie lunch box offers a balanced mix of protein, healthy fats, and fiber, providing sustained energy for active high schoolers. The fresh veggies add vitamins and antioxidants, while nuts supply essential minerals and healthy fats.
Estimated per serving: around 400–500 calories, 20–25 grams of protein, moderate carbs, and healthy fats. It’s naturally gluten-free if you choose the right crackers, and can easily be dairy-free with appropriate substitutions.
Including nutrient-rich ingredients like fresh produce and lean deli meat supports brain function and stamina—important for those long school days. Personally, I appreciate how this lunch feels wholesome without being heavy or boring.
Conclusion
This easy no-cook charcuterie lunch box is a practical, delicious way to upgrade school lunches without adding stress to your morning routine. It’s flexible, kid-approved, and uses simple ingredients that most homes already have. I love how it turns lunch into a little moment of joy—something that feels thoughtful and fresh, even on the busiest days.
Give it a try, tweak it to your taste, and watch how your high schooler looks forward to their midday meal. If you like this approach, you might enjoy my crispy garlic chicken recipe for quick dinners or the vegan quinoa salad for a wholesome side.
Don’t forget to share your own lunchbox adaptations or tips in the comments—I’d love to hear how you make this recipe your own. Here’s to stress-free, tasty lunches that keep everyone happy and fueled!
FAQs
Can I prepare the no-cook charcuterie lunch box the night before?
Yes, prepping the ingredients the night before saves time in the morning. Just keep crackers separate until packing to prevent sogginess.
How do I keep the crackers crunchy?
Store crackers in a separate compartment or airtight container. Avoid packing them with moist ingredients until just before eating.
What are some good dairy-free cheese alternatives?
Look for plant-based cheeses made from nuts or soy. Brands like Daiya or Miyoko’s offer tasty options suitable for this recipe.
Is this lunch box suitable for picky eaters?
Absolutely. The variety of textures and flavors means you can customize it to suit even the fussiest eaters by swapping ingredients they like.
Can I include this lunch box in a gluten-free diet?
Yes, simply choose gluten-free crackers or substitute with crunchy veggies like carrot sticks or celery for a gluten-free option.
Pin This Recipe!
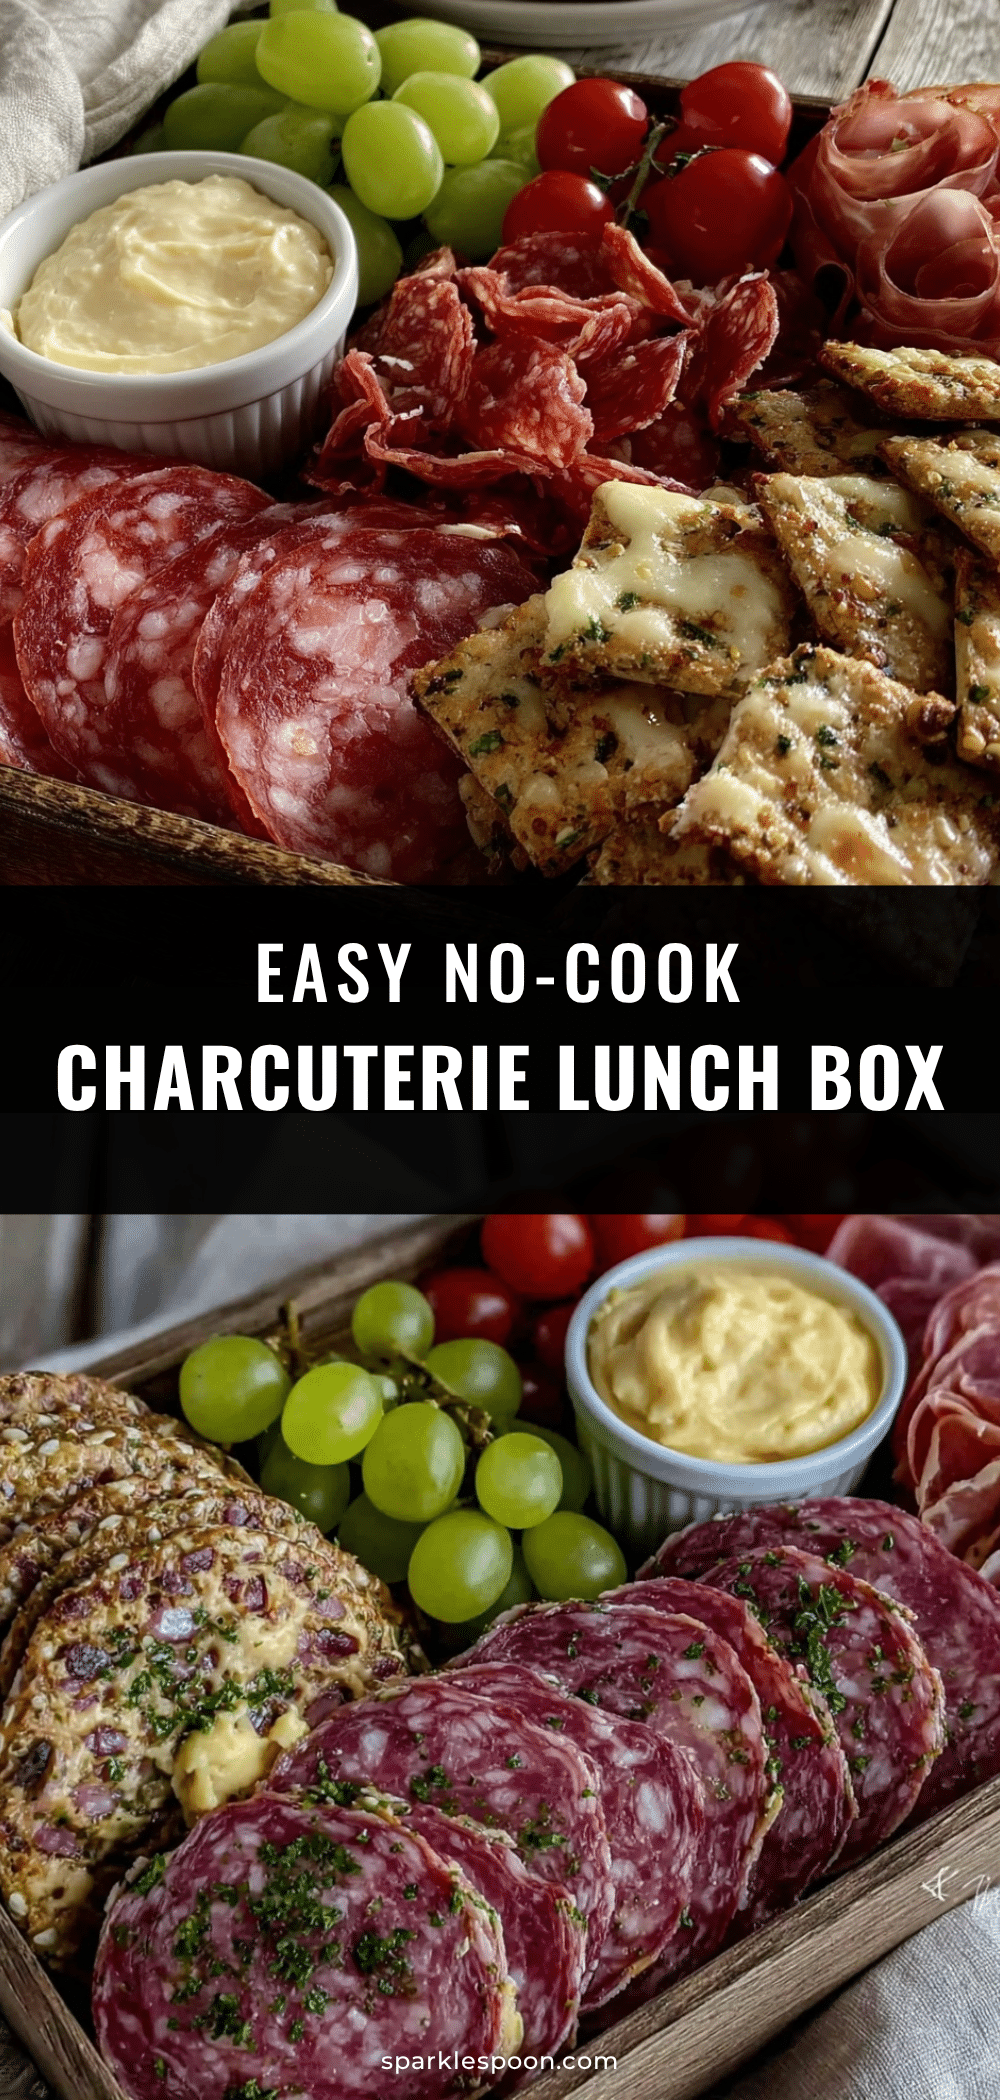
Easy No-Cook Charcuterie Lunch Box Ideas for High School Students

A quick, tasty, and no-cook lunch box idea perfect for high school students, featuring a balanced mix of deli meats, cheeses, crackers, fresh veggies, and fruits.
- Prep Time: 10 minutes
- Cook Time: 0 minutes
- Total Time: 10 minutes
- Yield: 1 lunch box (1 serving) 1x
- Category: Lunch
- Cuisine: American
Ingredients
- 3–4 ounces sliced deli meats (turkey, ham, or salami)
- 2–3 ounces cubed cheddar, mozzarella balls, or Swiss cheese
- A handful (about 1 ounce) whole grain or multigrain crackers
- 1 cup fresh veggies (cherry tomatoes, cucumber slices, baby carrots)
- ½ cup fresh fruit (grapes or apple slices)
- ¼ cup olives or pickles (Kalamata olives preferred)
- 2 tablespoons nut butter or hummus
- Small handful of nuts or seeds (almonds or pumpkin seeds, optional)
- Optional: a few dark chocolate chips or a small cookie
Instructions
- Wash and slice fresh veggies and fruit; keep cherry tomatoes whole and slice cucumbers and apples into thin rounds or wedges.
- Cut cheese into small cubes or slices; drain mozzarella balls if using.
- Slice deli meats into bite-sized pieces or roll them up.
- Place crackers in one compartment or side of the lunch box to keep them crisp.
- Layer sliced deli meats and cheeses in another section.
- Add washed and sliced veggies and fruit in separate compartments or silicone cups.
- Spoon olives or pickles into small containers to prevent leakage.
- Add nut butter or hummus in a separate small container for dipping.
- Tuck in optional chocolate chips or a small cookie and sprinkle nuts or seeds in a corner.
- Close the lunch box tightly to avoid spills; refrigerate if packing ahead.
Notes
Keep crackers separate until packing to avoid sogginess. Rolling deli meats prevents them from unwrapping. Prep some ingredients the night before for a quicker morning. Use airtight containers and cooler bags to keep ingredients fresh. Customize with dairy-free cheeses or meat alternatives for dietary needs.
Nutrition
- Serving Size: One lunch box servin
- Calories: 450
- Sugar: 8
- Sodium: 700
- Fat: 22
- Saturated Fat: 7
- Carbohydrates: 35
- Fiber: 5
- Protein: 23
Keywords: no-cook lunch, charcuterie lunch box, high school lunch ideas, easy lunch, deli meat lunch, healthy lunch box, kid-friendly lunch



