Love this? Save it for later!
Share the inspiration with your friends
“I never thought I’d be the person who keeps a jar of energy balls in the fridge,” my friend Mark admitted one afternoon, eyeing the little bites of goodness I’d casually handed him. For years, he’d claimed that healthy snacks were either too complicated or just plain boring. Then one day, after a hectic morning filled with back-to-back meetings and zero time for breakfast, he found himself sneaking one of these Easy No-Bake Energy Balls with 5 Simple Ingredients straight from my kitchen counter. The look on his face—surprised, maybe a little guilty—was priceless. Honestly, I wasn’t even trying to convert him; I just wanted a quick snack that didn’t involve a blender or baking. But seeing Mark scarf down a couple with no complaints felt like a quiet victory.
Let me tell you, getting someone like Mark to admit he enjoyed a “healthy” snack? That’s no small feat. Maybe you’ve been there—stuck in the snack rut, juggling cravings and a busy schedule, and feeling like the only options are sugary bars or chips. This recipe changed everything for us. It’s straightforward, no-fuss, and honestly, a little addictive. I remember the first time I made these energy balls; I was in a rush, forgot to add one key ingredient, and the whole batch was a bit crumbly. But even that imperfect batch disappeared faster than I expected, which told me something important: these simple little bites are here to stay.
So, why do these Easy No-Bake Energy Balls with 5 Simple Ingredients keep showing up in my kitchen? Because they’re the kind of snack that makes you feel like you’re treating yourself—even when you’re just grabbing something between meetings or before a workout. And if you keep reading, I’ll share everything you need to know to make these your go-to snack, too.
Why You’ll Love This Recipe
Now, I’m not just tossing together ingredients here; this recipe has been tested, tweaked, and approved by a few picky eaters (Mark included!). It’s designed for busy folks who want something healthy without the hassle. Here’s why these Easy No-Bake Energy Balls stand out:
- Quick & Easy: Ready in under 15 minutes—no oven, no blender required.
- Simple Ingredients: Just five pantry staples you likely already have on hand.
- Perfect for On-the-Go: Great for busy mornings, afternoon slumps, or post-gym fuel.
- Crowd-Pleaser: Family, friends, or coworkers will be asking for the recipe.
- Unbelievably Delicious: Chewy, nutty, and just the right amount of sweetness, these bites feel like a treat, not a chore.
What makes this recipe different? I’ve found that the balance between nut butter and oats is key—it’s not too dry or sticky. Also, mixing in a touch of honey and vanilla gives these energy balls a subtle sweetness that’s not overpowering. Plus, the no-bake approach means you keep all the nutrients intact without heating things up unnecessarily. This isn’t just another energy ball recipe—it’s the one I come back to over and over because it’s fuss-free and consistently hits the spot.
If you’ve ever felt skeptical about healthy snacks tasting good, these might just change your mind. They have that kind of texture and flavor that makes you close your eyes and savor the moment, even if you’re just standing by the fridge. Honestly, I keep a batch ready because you never know when you’ll need a quick pick-me-up.
What Ingredients You Will Need
This recipe uses simple, wholesome ingredients to deliver bold flavor and satisfying texture without the fuss. Most of these are pantry staples, so you won’t need to make a special grocery run—though I’ll share a few tips to make sure you pick the best versions.
- Old-fashioned rolled oats (1 cup / 90 g): The base of the energy balls, providing chewiness and fiber. I prefer Bob’s Red Mill for consistent texture.
- Natural peanut butter (½ cup / 125 g): Adds richness and binds everything together. Choose one with just peanuts and salt—no added sugar or oils for the cleanest flavor.
- Honey (¼ cup / 85 g): The natural sweetener that keeps these balls moist. You can swap with maple syrup if you want a vegan option.
- Vanilla extract (1 teaspoon): Offers a warm aroma and depth of flavor. I always use pure vanilla extract for best results.
- Mini chocolate chips (½ cup / 90 g): The fun finishing touch. Semi-sweet works well, but dark chocolate chips give a richer taste. You can omit or replace with chopped nuts or dried fruit.
Feel free to customize the mix-ins based on what you like—I’ve tried shredded coconut and chopped almonds, too. The key is sticking to roughly the same volumes so the texture stays just right. If you’re avoiding gluten, oats are naturally gluten-free but watch for cross-contamination; certified gluten-free oats are best.
Equipment Needed
You really don’t need much to whip up these energy balls. Here’s what helped me keep things simple:
- Mixing bowl: A medium-sized bowl to combine all ingredients comfortably.
- Spoon or spatula: For stirring everything together. A sturdy silicone spatula works wonders.
- Measuring cups and spoons: For accuracy (don’t underestimate this for consistent results).
- Baking sheet or tray: To place the rolled balls on while they chill.
- Wax paper or parchment paper: To line the tray and prevent sticking.
If you don’t have a baking sheet, any flat plate or tray will do. For rolling, I just use my hands—warm water nearby sometimes helps prevent sticking. No fancy gadgets, just good old-fashioned hand mixing.
Preparation Method
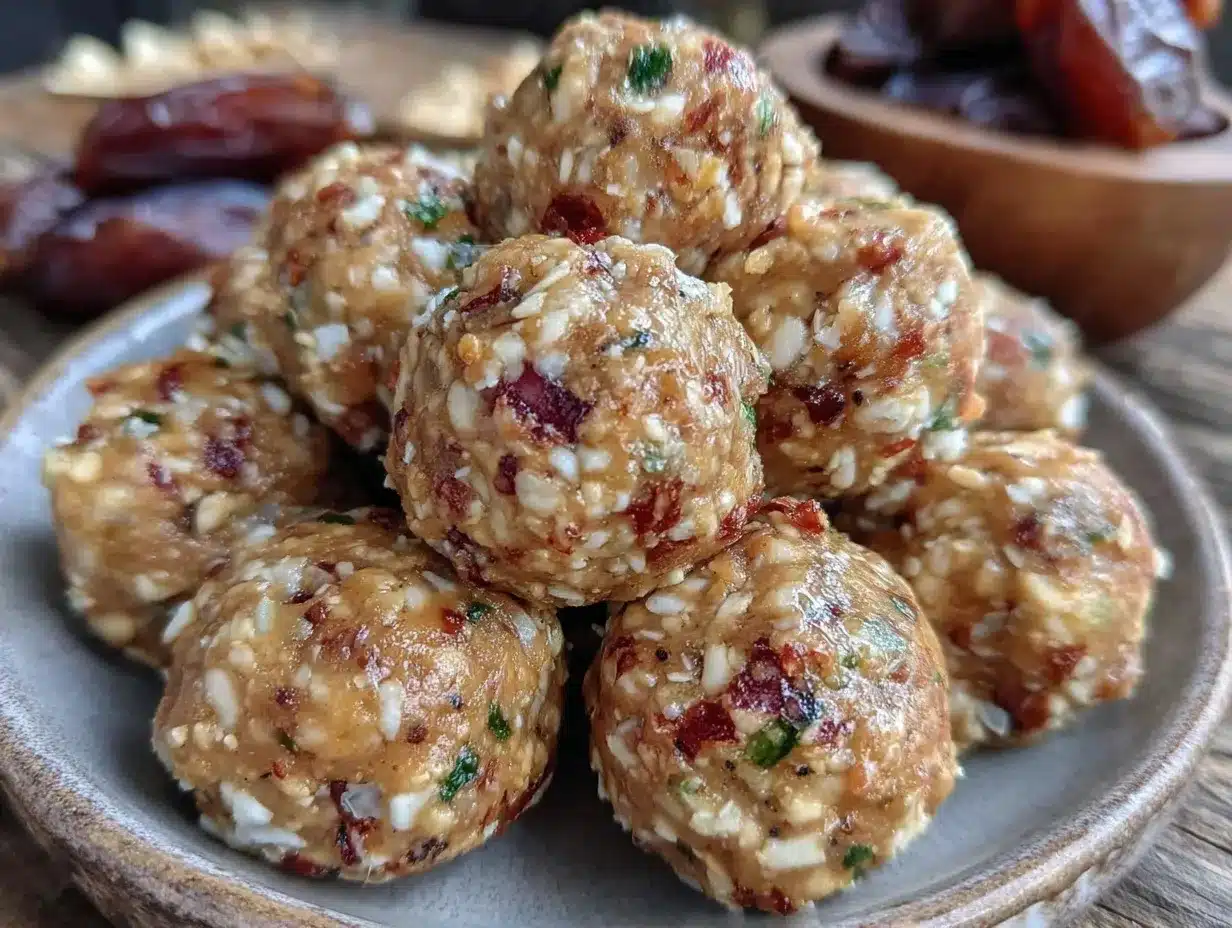
- Gather your ingredients. Measure everything out so you’re ready to mix—this makes the process smoother and faster (about 2 minutes).
- Combine the oats and peanut butter. In your mixing bowl, stir the rolled oats and peanut butter together until the oats are evenly coated. It’ll look crumbly but don’t worry—that’s normal (about 2–3 minutes).
- Add the honey and vanilla extract. Pour in the honey and vanilla, then mix thoroughly. The mixture should start sticking together. If it seems too dry, add a bit more honey or a teaspoon of water (1–2 minutes).
- Fold in the mini chocolate chips. Gently stir the chips into the mixture so they’re evenly distributed without melting (1 minute).
- Chill the mixture. Place the bowl in the refrigerator for 10 minutes to firm up slightly—this helps with rolling.
- Roll into balls. Using your hands, scoop out small portions (about 1 tablespoon or 15 grams each) and roll into tight balls. If the mixture sticks to your hands, wet them slightly with cold water (5–7 minutes).
- Set the balls on a lined tray. Arrange them evenly spaced on your wax paper-lined baking sheet.
- Refrigerate again. Chill the energy balls for at least 30 minutes before serving to let them fully set.
Preparation notes: If your peanut butter is on the oily side, stir it well before measuring to avoid excess oiliness affecting texture. Also, don’t skip the chilling steps—it makes rolling easier and the texture better. If you’re in a rush, you can freeze these for 15 minutes instead of refrigerating.
Cooking Tips & Techniques
Getting these energy balls just right isn’t rocket science, but a few tricks helped me avoid pitfalls:
- Mix thoroughly but gently: Overmixing can make the balls tough. Stir until just combined.
- Adjust sweetness carefully: Honey adds moisture and sweetness, so too much can make the mixture sticky. Taste the mixture before chilling and tweak if needed.
- Keep your hands slightly wet: This is a game-changer for rolling—prevents sticking without adding extra moisture.
- Use natural nut butter: Creamy peanut butter with minimal additives gives the best flavor and texture.
- Don’t skip chilling: It firms up the mixture, making it easier to roll and improving the final texture.
One time, I forgot the vanilla extract, and while the balls still tasted fine, they lacked that little something that makes you go “hmm.” Trust me, vanilla is the secret weapon here. Also, I learned that storing them in an airtight container keeps them fresh for up to a week, but they tend to taste better after sitting a day or so—the flavors mellow and marry nicely.
Variations & Adaptations
Once you’ve nailed the base recipe, it’s fun to mix things up. Here are a few variations I’ve tried and loved:
- Nut-Free Version: Swap peanut butter for sunflower seed butter and use pumpkin seeds instead of chocolate chips.
- Seasonal Fruit Twist: Add dried cranberries or chopped dried apricots instead of chocolate chips for a fruity kick.
- Superfood Boost: Mix in a tablespoon of chia seeds or flaxseeds for extra fiber and omega-3s.
If you want to change the texture, try rolling the balls in shredded coconut or cocoa powder after forming. For a little spice, a pinch of cinnamon or cayenne pepper can add unexpected warmth. Personally, I once swapped the oats with quinoa flakes for a nuttier flavor and it was surprisingly good.
Different cooking methods aren’t really needed here since it’s no-bake, but if you want a softer texture, warming the peanut butter slightly before mixing can help. Just don’t overheat or it’ll get oily.
Serving & Storage Suggestions
These energy balls are best served chilled or at room temperature. I like to pull a few from the fridge about 10 minutes before eating so they soften slightly. They make an excellent quick breakfast snack, a pre- or post-workout bite, or a healthy treat to satisfy your sweet tooth without guilt.
Pair them with a glass of milk, a cup of coffee, or a smoothie for a more filling snack. They also travel well in small containers, making them perfect for lunchboxes or road trips.
For storage, keep the energy balls in an airtight container in the refrigerator for up to one week. If you want to keep them longer, they freeze beautifully for up to three months—just thaw at room temperature before eating. Over time, the flavors deepen, and the texture becomes even chewier, which I love.
Nutritional Information & Benefits
Each energy ball (assuming 20 balls per batch) provides roughly:
| Nutrient | Amount |
|---|---|
| Calories | 90-100 kcal |
| Protein | 3 grams |
| Fat | 6 grams (mostly healthy fats) |
| Carbohydrates | 8-10 grams (includes fiber and natural sugars) |
| Fiber | 2 grams |
Key ingredients like oats and peanut butter provide fiber, protein, and heart-healthy fats. Honey offers a natural energy boost without refined sugars. This recipe is naturally gluten-free if you use certified oats, and vegan options are easy by swapping honey for maple syrup.
From my perspective, these energy balls are a great way to fuel yourself without sacrificing taste or convenience. They fit well into balanced diets and help keep cravings in check during busy days.
Conclusion
So, why give these Easy No-Bake Energy Balls with 5 Simple Ingredients a shot? Because they prove that healthy snacking doesn’t have to be complicated or boring. You get a delicious, quick, and fuss-free snack that’s perfect for any time of day. I love how flexible the recipe is—you can tweak it endlessly yet still come back to that simple, satisfying base.
Honestly, these energy balls have become a staple in my kitchen. They’re the snack I reach for when I want something quick but nourishing, and the perfect excuse to treat myself without guilt. I hope you’ll enjoy making and munching on them as much as I do!
If you try this recipe, I’d love to hear how you make it your own. Feel free to share your tweaks, questions, or stories in the comments below. Happy snacking!
FAQs
Can I store energy balls at room temperature?
It’s best to store them in the refrigerator to keep their shape and freshness, but if your kitchen is cool and dry, they can last a day or two at room temperature.
Can I use other nut butters?
Absolutely! Almond, cashew, or sunflower seed butter all work well—just watch the texture as different butters vary in oiliness.
How do I make these energy balls vegan?
Simply replace the honey with maple syrup or agave nectar, and use vegan-friendly mix-ins.
Can I add protein powder?
Yes, you can add a scoop of your favorite protein powder. You might need to adjust the amount of oats or nut butter to keep the right consistency.
What’s the best way to prevent energy balls from sticking to my hands?
Wet your hands slightly with cold water before rolling each ball. This little trick helps keep the mixture from sticking without adding moisture.
Pin This Recipe!
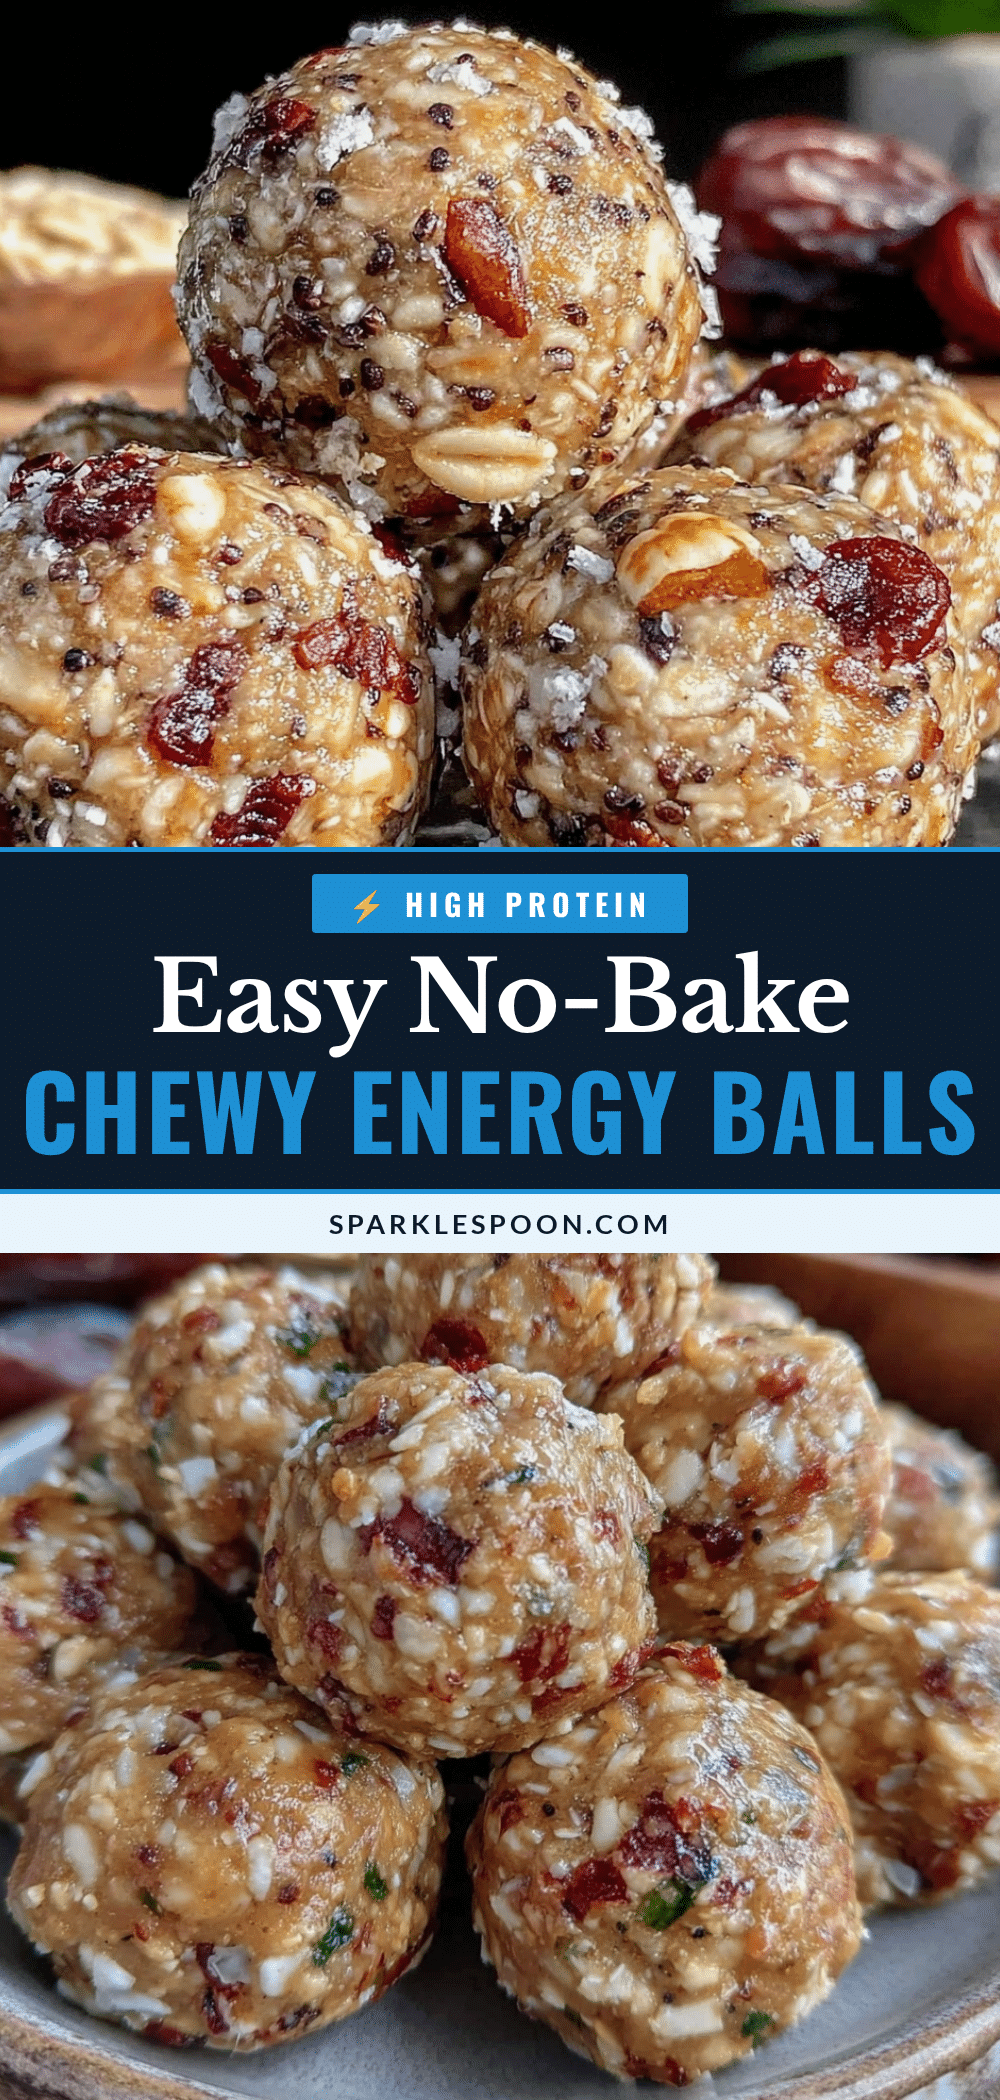
Easy No-Bake Energy Balls Recipe 5 Simple Ingredients for Quick Healthy Snacks
A quick and easy no-bake energy balls recipe using just five simple ingredients, perfect for healthy on-the-go snacks that are chewy, nutty, and delicious.
- Prep Time: 10 minutes
- Cook Time: 0 minutes
- Total Time: 40 minutes
- Yield: 20 balls 1x
- Category: Snack
- Cuisine: American
Ingredients
- 1 cup old-fashioned rolled oats (90 g)
- 1/2 cup natural peanut butter (125 g)
- 1/4 cup honey (85 g) or maple syrup for vegan option
- 1 teaspoon vanilla extract
- 1/2 cup mini chocolate chips (90 g) or substitute with chopped nuts or dried fruit
Instructions
- Gather your ingredients and measure everything out.
- In a mixing bowl, combine the rolled oats and peanut butter until oats are evenly coated.
- Add honey and vanilla extract, mixing thoroughly. If too dry, add a bit more honey or a teaspoon of water.
- Fold in the mini chocolate chips gently.
- Place the bowl in the refrigerator for 10 minutes to firm up slightly.
- Using your hands, scoop out small portions (about 1 tablespoon or 15 grams each) and roll into tight balls. Wet hands slightly with cold water if mixture sticks.
- Set the balls on a wax paper-lined baking sheet, evenly spaced.
- Chill the energy balls in the refrigerator for at least 30 minutes before serving.
Notes
If peanut butter is oily, stir well before measuring. Don’t skip chilling steps to improve rolling and texture. Wet hands slightly with cold water to prevent sticking when rolling. Store in airtight container in refrigerator up to one week or freeze up to three months.
Nutrition
- Serving Size: 1 energy ball (about
- Calories: 90100
- Fat: 6
- Carbohydrates: 810
- Fiber: 2
- Protein: 3
Keywords: energy balls, no-bake snacks, healthy snacks, peanut butter snacks, quick snacks, easy energy balls, healthy energy bites



