Love this? Save it for later!
Share the inspiration with your friends
“I wasn’t expecting my Saturday morning grocery run to turn into a full-on snack pack mission,” I confessed to my friend over the phone last weekend. You see, it all started when I spotted a colorful, somewhat sad-looking prepackaged Lunchables display near the checkout lane. My mind wandered to my niece’s picky lunch habits and the mountain of single-use plastic wrappers that came with those store-bought packs. That’s when the idea hit me: why not make easy DIY Lunchables homemade snack packs that are fun, healthier, and kind to the planet?
The next thing I knew, my kitchen looked like a mini deli counter — slices of cheddar cheese, crackers lined up like tiny soldiers, and fresh veggies waiting to be packed. Honestly, making these snack packs felt like a small victory, especially when my niece’s eyes lit up as she grabbed her favorite one from the fridge. Maybe you’ve been there — scrambling to pull together something quick for kids that doesn’t feel like a compromise.
These easy DIY Lunchables homemade snack packs quickly became a staple in my weekly meal prep, saving me time and stress while giving the kids a chance to enjoy their lunch break with excitement. I’ll admit, I even made a mess or two along the way (don’t judge the kitchen crumbs!), but the payoff? Totally worth it. Let me tell you, once you try these homemade snack packs, it’s hard to go back to the plastic-wrapped versions.
Why You’ll Love This Recipe
This easy DIY Lunchables recipe has been tested repeatedly in my kitchen, and I can honestly say it ticks all the boxes for busy parents and snack lovers alike. Here’s why it’s become my go-to:
- Quick & Easy: Each snack pack comes together in about 10-15 minutes—perfect for busy mornings or last-minute after-school munchies.
- Simple Ingredients: No need for fancy or obscure ingredients. Most of what you need is probably sitting in your pantry or fridge right now.
- Perfect for Kids’ Lunches and Snacks: These packs are ideal for school lunches, picnics, or even a casual movie night snack.
- Crowd-Pleaser: Kids (and adults!) love the mix of textures and flavors — crunchy crackers, creamy cheese, and fresh fruits or veggies.
- Unbelievably Delicious: The balance between salty, sweet, and savory is spot on, making each bite satisfying and fun.
What sets this recipe apart is the flexibility and freshness you get by assembling your own snack packs. I like to swap out store-bought processed meats for high-quality deli cuts or roasted chickpeas for a plant-based protein punch. Plus, the portion control is a breeze, which means less food waste and happier tummies.
Honestly, you get to skip the artificial stuff and customize every bite to what your family loves. It’s a clever little lunch hack that feels homemade but looks like a treat — no wonder it’s become a family favorite around here!
What Ingredients You Will Need
This recipe uses simple, wholesome ingredients to deliver bold flavor and satisfying texture without the fuss. Most are pantry staples or easily found at your local grocery store.
- For the Base:
- Assorted crackers (like multigrain, buttery butter crackers, or gluten-free options) – about 3-4 types for variety
- Mini pita pockets or small flatbreads (optional, for alternative base)
- For the Protein:
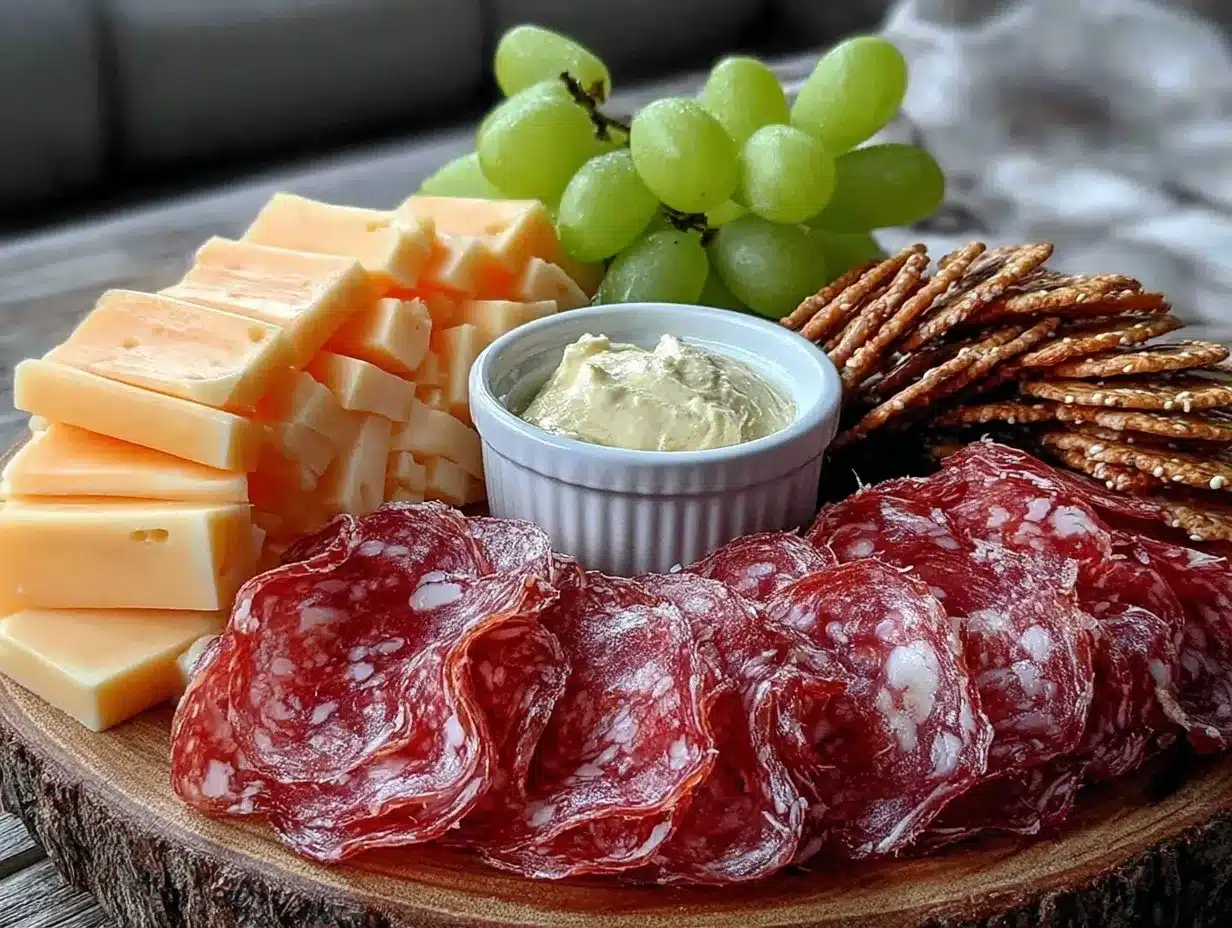
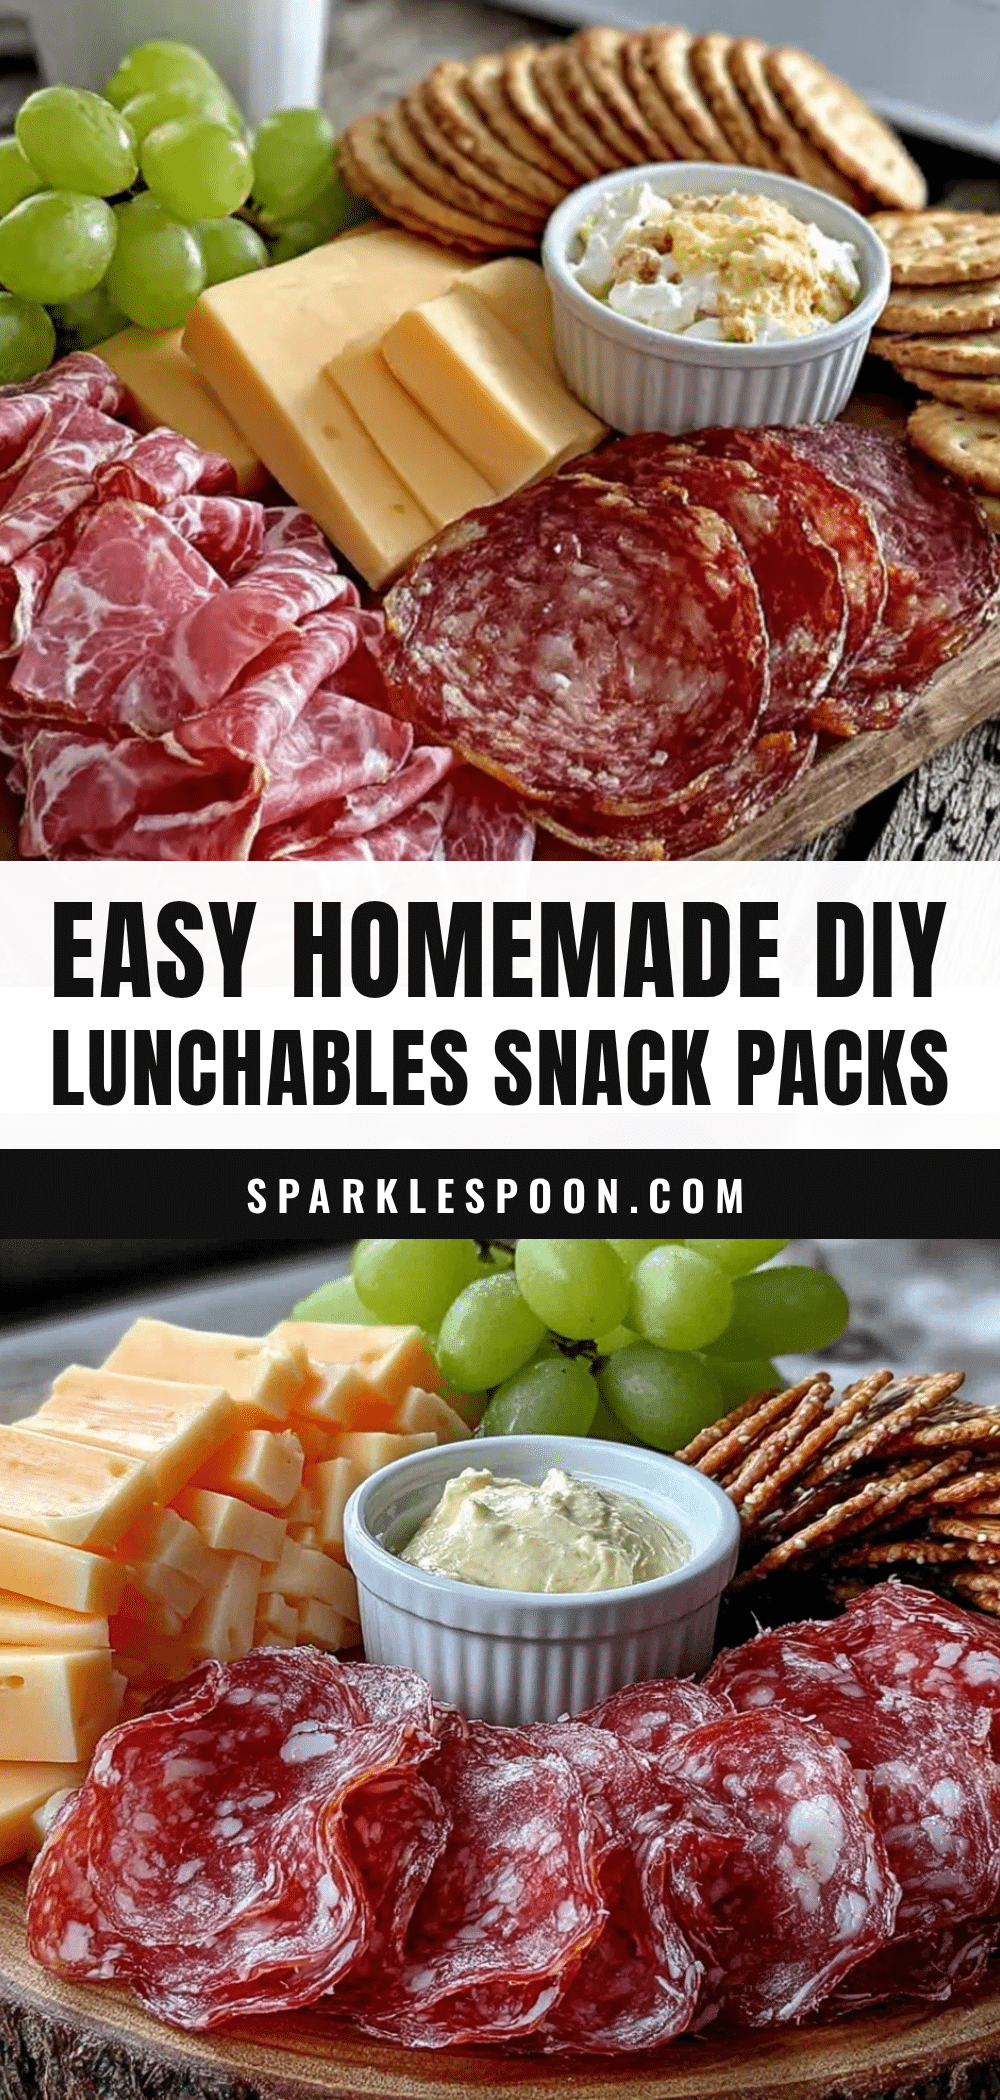
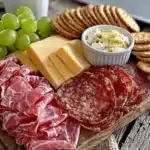
- Sliced deli meats such as turkey, ham, or chicken breast (about 4 oz / 115 g per pack) — I prefer Boar’s Head brand for good quality
- Cheese slices or cubes: cheddar, mozzarella, or pepper jack (about 3 oz / 85 g per pack)
- Optional: hard-boiled eggs, roasted chickpeas, or hummus cups for vegetarian options
- For the Fresh Elements:
- Baby carrots or cucumber slices (about ½ cup / 75 g)
- Grape tomatoes or snap peas (about ½ cup / 75 g)
- Fresh fruit like apple slices, grapes, or berries (about ½ cup / 75 g) — in summer, swap in fresh berries instead of frozen
- Extras & Treats:
- Olives or pickles (a small handful)
- Small containers of ranch dressing, mustard, or honey for dipping
- Mini chocolate chips or a few animal crackers for a little sweet finish
You can swap out any cheese for dairy-free varieties or use almond flour crackers for gluten-free options. I often recommend using organic produce when possible for the freshest flavors and to keep things wholesome. The beauty of this recipe is how adaptable it is to your pantry and preferences.
Equipment Needed
Putting together these easy DIY Lunchables homemade snack packs doesn’t require any fancy gadgets, which is great when you want to keep things simple.
- Snack-sized containers or bento boxes: I like using reusable plastic or glass compartments. Bento boxes with dividers make packing neat and fun.
- Small silicone cupcake liners or paper cups: Perfect for separating dips, olives, or smaller snacks inside the containers.
- Sharp kitchen knife and cutting board: For slicing cheese, fruits, and veggies neatly.
- Measuring cups and spoons: Helpful for consistent portioning, especially if you’re packing multiple snack packs.
- Optional: a small sharp cookie cutter: For making cheese or sandwich shapes more playful (my niece loves stars and hearts!).
If you’re on a budget, inexpensive reusable containers from dollar stores or thrift shops work just fine. Just remember to wash them thoroughly and avoid containers with strong plastic odors. I’ve found that a good sharp knife makes all the difference — I can slice cheese thinly without it crumbling, which makes the snack pack look extra appetizing.
Preparation Method
- Prepare your workspace: Clear a clean counter space and gather all ingredients and equipment. Wash fresh produce thoroughly and pat dry. (Approx. 5 minutes)
- Slice cheese and meats: Cut cheese into bite-sized cubes or thin slices. Roll or fold deli meat slices for easy packing. Use a cookie cutter if you want fun shapes. (Approx. 10 minutes)
- Cut fruits and veggies: Slice cucumbers into rounds, halve grape tomatoes, and peel and slice apples if using. Keep fruits like apples from browning by tossing them with a little lemon juice if packing ahead. (Approx. 10 minutes)
- Assemble snack packs: Start by placing crackers or pita pieces in one section of your container. Add cheese and meat in separate compartments to keep textures fresh. (Approx. 5 minutes)
- Add fresh produce and extras: Fill remaining sections with veggies, fruits, olives, and a small treat. Place dips in silicone liners to avoid sogginess. (Approx. 5 minutes)
- Seal and store: Close containers tightly and store in the fridge if not eating immediately. These packs hold well for up to 3 days. (Approx. 2 minutes)
Tip: When slicing, try to keep pieces uniform so everything fits nicely and looks inviting. Also, if you notice any moisture buildup inside the container, place a paper towel at the bottom to absorb it — trust me, it saves a soggy snack disaster later.
Cooking Tips & Techniques
Though this recipe doesn’t involve cooking per se, there are still a few techniques to keep in mind for the best snack pack experience.
- Keep things dry: Moisture is the enemy of crisp crackers and fresh veggies. Dry all produce well and use separate compartments or liners for dips.
- Portion control: Use measuring spoons or cups to portion cheese and meat to avoid overpacking, which can make the snack heavy or unbalanced.
- Freshness matters: Assemble packs the night before or the morning of use for best flavor and texture. If prepping early, store fruits with lemon juice to prevent browning.
- Mix textures: Try to balance crunchy, creamy, and juicy elements in each pack. It keeps the eating experience interesting and satisfying.
- Personalize the packs: Let kids help choose what goes into their snack packs — it encourages them to eat and reduces lunchbox battles.
One mistake I made early on was packing too many crackers in one section, which crushed during transport. Lesson learned: keep crackers in smaller portions and separated from moist ingredients!
Variations & Adaptations
This easy DIY Lunchables recipe is super flexible, letting you customize based on dietary needs, seasons, or flavor preferences.
- Vegetarian option: Swap deli meats for roasted chickpeas, hummus, or hard-boiled eggs for protein. Add kale chips or crunchy roasted veggies to keep that snack crunch.
- Gluten-free version: Use gluten-free crackers or rice cakes as the base. Pair with dairy-free cheese or nut-based spreads if dairy is a concern.
- Seasonal swaps: In summer, include fresh berries or sliced peaches. In fall, try apple slices with cinnamon or roasted pumpkin seeds for a cozy twist.
- Spice it up: Add a small container of spicy mustard or a dash of smoked paprika on the cheese for an adult-friendly flavor upgrade.
- Personal favorite: I once made a Mediterranean-inspired pack with feta cheese, olives, cherry tomatoes, and pita chips — a total hit at a picnic!
Serving & Storage Suggestions
These easy DIY Lunchables homemade snack packs are best served chilled or at room temperature, depending on preference. I usually recommend storing them in the fridge and letting them sit out 10 minutes before eating, so the cheese and meats aren’t too cold — it really brings out their flavor.
Serve alongside a refreshing drink like infused water or a small juice box for a balanced snack or light lunch. They also pair nicely with a crisp salad or a warm bowl of soup if you’re aiming for a fuller meal.
To store, keep the packs in airtight containers in the refrigerator for up to three days. If you want to prep ahead for the week, consider packing fruits separately to add fresh each day. Reheat is generally not needed, but if you add pita or flatbreads, a quick warm-up in the toaster oven adds a nice touch.
Over time, the flavors meld nicely, but keep an eye on crackers to avoid sogginess. Using silicone cups or dividers helps keep everything fresh and crisp longer.
Nutritional Information & Benefits
Each homemade snack pack typically provides around 300-400 calories, depending on ingredient choices and portion sizes. The combination of protein from cheese and deli meats, fiber from veggies and fruits, and carbohydrates from crackers makes for a balanced mini meal.
Key health benefits include:
- High protein content supports energy and muscle health.
- Fresh fruits and veggies contribute antioxidants, vitamins, and fiber.
- Controlled portions help manage calorie intake and reduce waste.
For those with dietary restrictions, swapping in gluten-free crackers or dairy-free cheeses keeps the snack pack inclusive. Just be mindful of potential allergens like nuts or eggs depending on add-ins.
From a wellness perspective, making these snack packs at home means less processed ingredients and added preservatives — something my nutritionist friends always nod approvingly at!
Conclusion
This easy DIY Lunchables homemade snack packs recipe is truly a game-changer for anyone juggling busy schedules and picky eaters. It’s quick, customizable, and downright fun to make. I love how it turns snack time into a little moment of joy instead of a scramble for something “good enough.”
Feel free to experiment and tailor these packs to your family’s tastes — that’s the beauty of it. Whether you’re packing school lunches, a picnic, or a quick afternoon bite, these snack packs deliver satisfaction with minimal fuss.
If you try this recipe, I’d love to hear how you make it your own! Drop a comment below, share your tweaks, or tell me which combos your kids loved the most. Let’s keep making snack time simple, tasty, and homemade.
FAQs
Can I make these snack packs ahead of time?
Yes! They hold well in the fridge for up to 3 days. Just keep fruits like apples separate if you want to avoid browning, or toss them with a little lemon juice before packing.
What’s the best way to keep crackers from getting soggy?
Use separate compartments or silicone liners for wet ingredients like dips or sliced tomatoes. Pack crackers last and avoid mixing them with juicy items until ready to eat.
Are these snack packs suitable for toddlers?
With some adjustments, yes! Cut all items into smaller, toddler-friendly pieces and avoid choking hazards like whole grapes or large chunks of cheese.
Can I freeze any components of these snack packs?
Most fresh ingredients don’t freeze well for snack packs, but you can freeze some cheeses or meats separately and thaw as needed. Avoid freezing crackers and fresh fruits to maintain texture.
How can I make this recipe allergy-friendly?
Swap out common allergens like dairy and gluten with dairy-free cheeses and gluten-free crackers. Use seed butters instead of nuts if nut allergies are a concern, and always check ingredient labels carefully.
Pin This Recipe!
Easy DIY Lunchables Recipe 5 Homemade Snack Packs for Kids
A quick and customizable recipe for homemade snack packs that are healthier, fun, and perfect for kids’ lunches or snacks.
- Prep Time: 15 minutes
- Cook Time: 0 minutes
- Total Time: 15 minutes
- Yield: 5 snack packs
- Category: Snack
- Cuisine: American
Ingredients
- Assorted crackers (multigrain, buttery butter crackers, or gluten-free options) – about 3-4 types for variety
- Mini pita pockets or small flatbreads (optional)
- Sliced deli meats such as turkey, ham, or chicken breast (about 4 oz / 115 g per pack)
- Cheese slices or cubes: cheddar, mozzarella, or pepper jack (about 3 oz / 85 g per pack)
- Optional: hard-boiled eggs, roasted chickpeas, or hummus cups for vegetarian options
- Baby carrots or cucumber slices (about ½ cup / 75 g)
- Grape tomatoes or snap peas (about ½ cup / 75 g)
- Fresh fruit like apple slices, grapes, or berries (about ½ cup / 75 g)
- Olives or pickles (a small handful)
- Small containers of ranch dressing, mustard, or honey for dipping
- Mini chocolate chips or a few animal crackers for a little sweet finish
Instructions
- Prepare your workspace: Clear a clean counter space and gather all ingredients and equipment. Wash fresh produce thoroughly and pat dry. (Approx. 5 minutes)
- Slice cheese and meats: Cut cheese into bite-sized cubes or thin slices. Roll or fold deli meat slices for easy packing. Use a cookie cutter if you want fun shapes. (Approx. 10 minutes)
- Cut fruits and veggies: Slice cucumbers into rounds, halve grape tomatoes, and peel and slice apples if using. Toss apples with a little lemon juice if packing ahead to prevent browning. (Approx. 10 minutes)
- Assemble snack packs: Place crackers or pita pieces in one section of your container. Add cheese and meat in separate compartments to keep textures fresh. (Approx. 5 minutes)
- Add fresh produce and extras: Fill remaining sections with veggies, fruits, olives, and a small treat. Place dips in silicone liners to avoid sogginess. (Approx. 5 minutes)
- Seal and store: Close containers tightly and store in the fridge if not eating immediately. These packs hold well for up to 3 days. (Approx. 2 minutes)
Notes
Keep produce dry to avoid soggy crackers. Use separate compartments or liners for dips. Portion control helps balance the snack. Assemble packs the night before or morning of use for best freshness. Store in airtight containers in the fridge for up to 3 days. Use lemon juice on apples to prevent browning. Use silicone cups to keep items separated and fresh longer.
Nutrition
- Serving Size: One snack pack
- Calories: 300400
- Sugar: 5
- Sodium: 500
- Fat: 15
- Saturated Fat: 6
- Carbohydrates: 30
- Fiber: 3
- Protein: 15
Keywords: DIY Lunchables, homemade snack packs, kids lunch, healthy snacks, easy snack recipe, gluten-free options, vegetarian snack