Love this? Save it for later!
Share the inspiration with your friends
The neighborhood BBQ was in less than a day, and I had absolutely zero pickles prepped. Everyone else was boasting about their multi-day brining adventures or homemade fermentations that took weeks. Meanwhile, I had a jar of cucumbers, some garlic, and a vague hope that things would come together. Honestly, I was panicking—my contribution was slipping through my fingers faster than I could slice those cukes.
To make matters worse, I’d forgotten the measuring spoons, dropped the jar of dill on the counter (yes, it cracked!), and got interrupted mid-chop by the doorbell ringing off the hook. You know that feeling when everything’s spiraling but you still need to pull off something edible and impressive? That was me.
Yet, somehow, this quick recipe for crispy garlic dill refrigerator pickles ready in 24 hours not only saved the day but stole the show. The crunch was spot-on, the garlicky tang was just right, and the dill added that perfect herbal punch. It’s funny because this recipe wasn’t supposed to be a big deal; it was just a last-minute fix. But now, it’s my go-to for any time I want that fresh, crisp pickle without waiting forever.
Maybe you’ve been there too—scrambling at the last second, wondering if you can pull off something homemade that actually tastes great. That’s why I keep coming back to these pickles. They’re simple, fast, and honestly, they feel like a little secret weapon for any meal. Plus, they’re so satisfying to make when time’s ticking.
Why You’ll Love This Crispy Garlic Dill Refrigerator Pickles Recipe
This recipe has been put through the wringer during countless last-minute kitchen sprints, so trust me, it’s tried and true. It’s not just another pickle recipe—this one hits the sweet spot for speed, crunch, and flavor that even pickle purists will nod at.
- Quick & Easy: Ready in just 24 hours, perfect for those surprise guests or sudden cravings.
- Simple Ingredients: No fancy spices or rare finds—just fresh cucumbers, garlic, dill, and pantry basics.
- Perfect for Summer Gatherings: Whether it’s a BBQ, potluck, or casual weeknight dinner, these pickles add that bright, crunchy vibe.
- Crowd-Pleaser: Kids and adults alike love the garlicky punch and crisp texture that feels homemade but effortless.
- Unbelievably Delicious: The balance of tangy brine, fresh dill, and garlic is comfort food with a refreshing twist.
What makes these pickles stand out is the method—cold brining with just the right salt and vinegar ratio plus a garlic infusion that isn’t overpowering. It’s not just soaking; it’s a little magic happening in your fridge overnight. I’ve tested versions with longer brines, but honestly, the 24-hour mark is when they’re at their peak. If you want the perfect crunch without the wait, this is it.
So, if you want to impress without stress, this recipe is your best bet. It’s like having your own pickle jar ready to go whenever you need that kick of flavor.
What Ingredients You Will Need
This recipe uses simple, wholesome ingredients to deliver bold flavor and satisfying texture without the fuss. Most of these are pantry staples or fresh produce that’s easy to find year-round.
- Fresh cucumbers: About 6 medium Kirby or Persian cucumbers (firm and small for extra crunch)
- Garlic cloves: 4-5, peeled and smashed (adds that signature punch)
- Fresh dill: 3-4 sprigs (look for bright green stems with feathery leaves)
- White vinegar: 1 cup (use distilled for a clean, sharp tang)
- Water: 1 cup (filtered or tap works fine)
- Pickling salt or kosher salt: 1 tablespoon (avoid iodized salt for best flavor)
- Granulated sugar: 1 teaspoon (balances the acidity)
- Whole peppercorns: 1 teaspoon (adds subtle warmth)
- Red chili flakes (optional): ¼ teaspoon (if you like a little heat)
I usually grab my cucumbers fresh from the local farmer’s market, but you can find Kirby cucumbers year-round at grocery stores. For the garlic, I prefer organic bulbs, which tend to be more flavorful and less harsh. The dill comes from my herb garden in summer, but even store-bought bunches work well.
If you want to make this recipe gluten-free or vegan-friendly, no worries—it’s naturally both! Just keep an eye on salt varieties if you’re using specialty salts.
Equipment Needed
- Large glass jar or container (at least 1-quart size): Mason jars work perfectly and keep the pickles fresh.
- Sharp knife: For slicing cucumbers evenly. A serrated knife can help with thin slices.
- Cutting board: A sturdy surface to handle all the slicing safely.
- Measuring cups and spoons: To get the salt, vinegar, and sugar just right.
- Mixing bowl: For combining the brine ingredients before pouring.
If you don’t have a mason jar, any clean, food-safe container with a lid will do. I once used a repurposed pickle jar when I ran out of glass containers, and it worked just fine—just make sure it seals well.
For slicing, I’ve found that a mandoline can speed things up, but I usually stick to a knife to keep the slices a bit thicker, which I prefer for crunch. Also, keeping your knives sharp makes all the difference; dull blades squash the cucumbers and that’s no good for pickle texture.
Preparation Method
- Wash and slice cucumbers: Rinse about 6 medium Kirby cucumbers under cold water. Slice them into ¼-inch (6 mm) thick rounds or spears depending on your preference. This takes about 10 minutes.
- Prep the garlic and dill: Peel 4-5 garlic cloves and gently smash them with the side of your knife to release flavor. Pick fresh dill sprigs, about 3-4, trimming any thick stems. This step takes 5 minutes.
- Make the brine: In a mixing bowl, combine 1 cup (240 ml) white vinegar, 1 cup (240 ml) water, 1 tablespoon (15 g) pickling salt, and 1 teaspoon (5 g) sugar. Stir until salt and sugar dissolve completely. Add 1 teaspoon (5 g) whole peppercorns and optional ¼ teaspoon (0.5 g) red chili flakes for a hint of spice. About 5 minutes prep.
- Pack the jar: Layer the cucumber slices or spears tightly into a 1-quart (950 ml) glass jar. Tuck in garlic cloves and dill sprigs. Press down lightly to remove air pockets. This usually takes 5 minutes.
- Pour the brine: Carefully pour the brine over the cucumbers, making sure they’re fully submerged. Leave about ½ inch (1.25 cm) of headspace to allow for expansion. Seal the jar tightly.
- Refrigerate: Place the jar in the fridge for at least 24 hours. The pickles start tasting good at this point but improve if left for 2-3 days. The cold temperature keeps them crispy and fresh.
Tip: If you notice any cucumbers floating above the brine, press them down with a clean utensil to keep them submerged. This prevents browning and ensures even pickling.
Warning: Do not leave the jar at room temperature; these are quick refrigerator pickles and must stay chilled to maintain safety and crunch.
Cooking Tips & Techniques
Making crispy garlic dill refrigerator pickles is more about technique than complicated cooking. One crucial trick is to slice cucumbers evenly so they pickle uniformly. Uneven slices can lead to some pieces becoming mushy while others remain hard.
Another pro tip: use pickling salt or kosher salt instead of table salt. Table salt contains anti-caking agents that can cloud the brine and affect flavor. I learned this the hard way after a batch turned out cloudy and a bit bitter.
Also, smashing garlic cloves releases more of their oils and flavor, but don’t overdo it or the garlic can overpower the pickles. I recommend gently pressing them just enough to crack the cloves.
Timing-wise, don’t rush the 24-hour fridge rest. That’s when the magic happens—flavors meld and the cucumbers stay wonderfully crisp. If you’re pressed for time, even 12 hours helps, but the full day is ideal.
Lastly, avoid overcrowding your jar. Pack tightly but leave some room for the brine to circulate. This keeps every slice consistently pickled.
Variations & Adaptations
- Spicy Dill Pickles: Add extra red chili flakes or a few slices of fresh jalapeño for a spicy kick.
- Low-Sodium Version: Reduce salt by half and increase fermentation time slightly for flavor development.
- Herb Twist: Swap dill for fresh tarragon or cilantro for a different herbal profile.
- Vinegar Swap: Use apple cider vinegar instead of white vinegar for a milder, fruitier taste.
- Quick Bread-and-Butter Style: Add a tablespoon of sugar and a pinch of mustard seeds for a sweeter, tangier pickle.
I once tried a batch with fresh turmeric root added for color and subtle earthiness—it was a surprising hit! These pickles are forgiving, so feel free to experiment based on what’s in your fridge or garden.
Serving & Storage Suggestions
Serve these pickles chilled straight from the jar for the best crunch and flavor experience. They’re perfect alongside sandwiches, burgers, or even as a zesty snack on their own.
Pair them with rich dishes like pulled pork or creamy chicken salad to cut through the heaviness. A cold glass of lemonade or iced tea also complements the garlicky tang wonderfully.
Store the pickles in the refrigerator for up to 3 weeks. Over time, they’ll deepen in flavor but may soften slightly. To revive crispness, drain the brine and soak the pickles briefly in ice water before serving.
These pickles actually taste better after a day or two, as the garlic and dill meld with the cucumber’s natural sweetness. Just remember to keep them submerged in brine to prevent spoilage.
Nutritional Information & Benefits
Each serving of these crispy garlic dill refrigerator pickles is low in calories (around 10-15 calories per 1/4 cup or 60 ml), fat-free, and packed with hydration from cucumbers. The vinegar and garlic provide antimicrobial benefits, which can aid digestion.
This recipe is naturally gluten-free, vegan, and keto-friendly, making it suitable for many diets. The fresh dill adds antioxidants and vitamins, while cucumbers contribute fiber and vitamin K.
Personally, I appreciate how these pickles satisfy my craving for something tangy and crunchy without the guilt or added sugars of store-bought versions.
Conclusion
Crispy garlic dill refrigerator pickles ready in 24 hours are the perfect quick fix when you want fresh, homemade pickles without the wait. Whether you’re scrambling before a party or just craving something tangy and crunchy, this recipe comes through every time.
Feel free to tweak the garlic, dill, or spice level to match your taste buds. I love this recipe because it’s simple, dependable, and honestly, it makes me look like I spent hours in the kitchen when really, it’s just a little fridge magic.
If you give these pickles a try, I’d love to hear how you customize them or what dishes you pair them with—drop a comment below or share your experience!
Frequently Asked Questions
How long do these refrigerator pickles last?
Stored properly in the fridge, they keep well for up to 3 weeks. The flavor deepens over time but the crunch may soften slightly.
Can I use regular cucumbers instead of Kirby cucumbers?
Yes, but Kirby cucumbers are preferred for their firmness and smaller seeds, which keep the pickles crisp.
Do I need to boil the brine?
Nope! This recipe uses a cold brine method, so just mix the ingredients until salt and sugar dissolve and pour over cucumbers.
Can I make these pickles without garlic?
Sure, but garlic adds a key flavor dimension. You might try substituting with shallots or onion slices for a different twist.
Is it possible to make these pickles crunchy without refrigeration?
Refrigeration is essential for keeping these quick pickles crisp and safe. Room temperature storage is not recommended for this style.
Pin This Recipe!
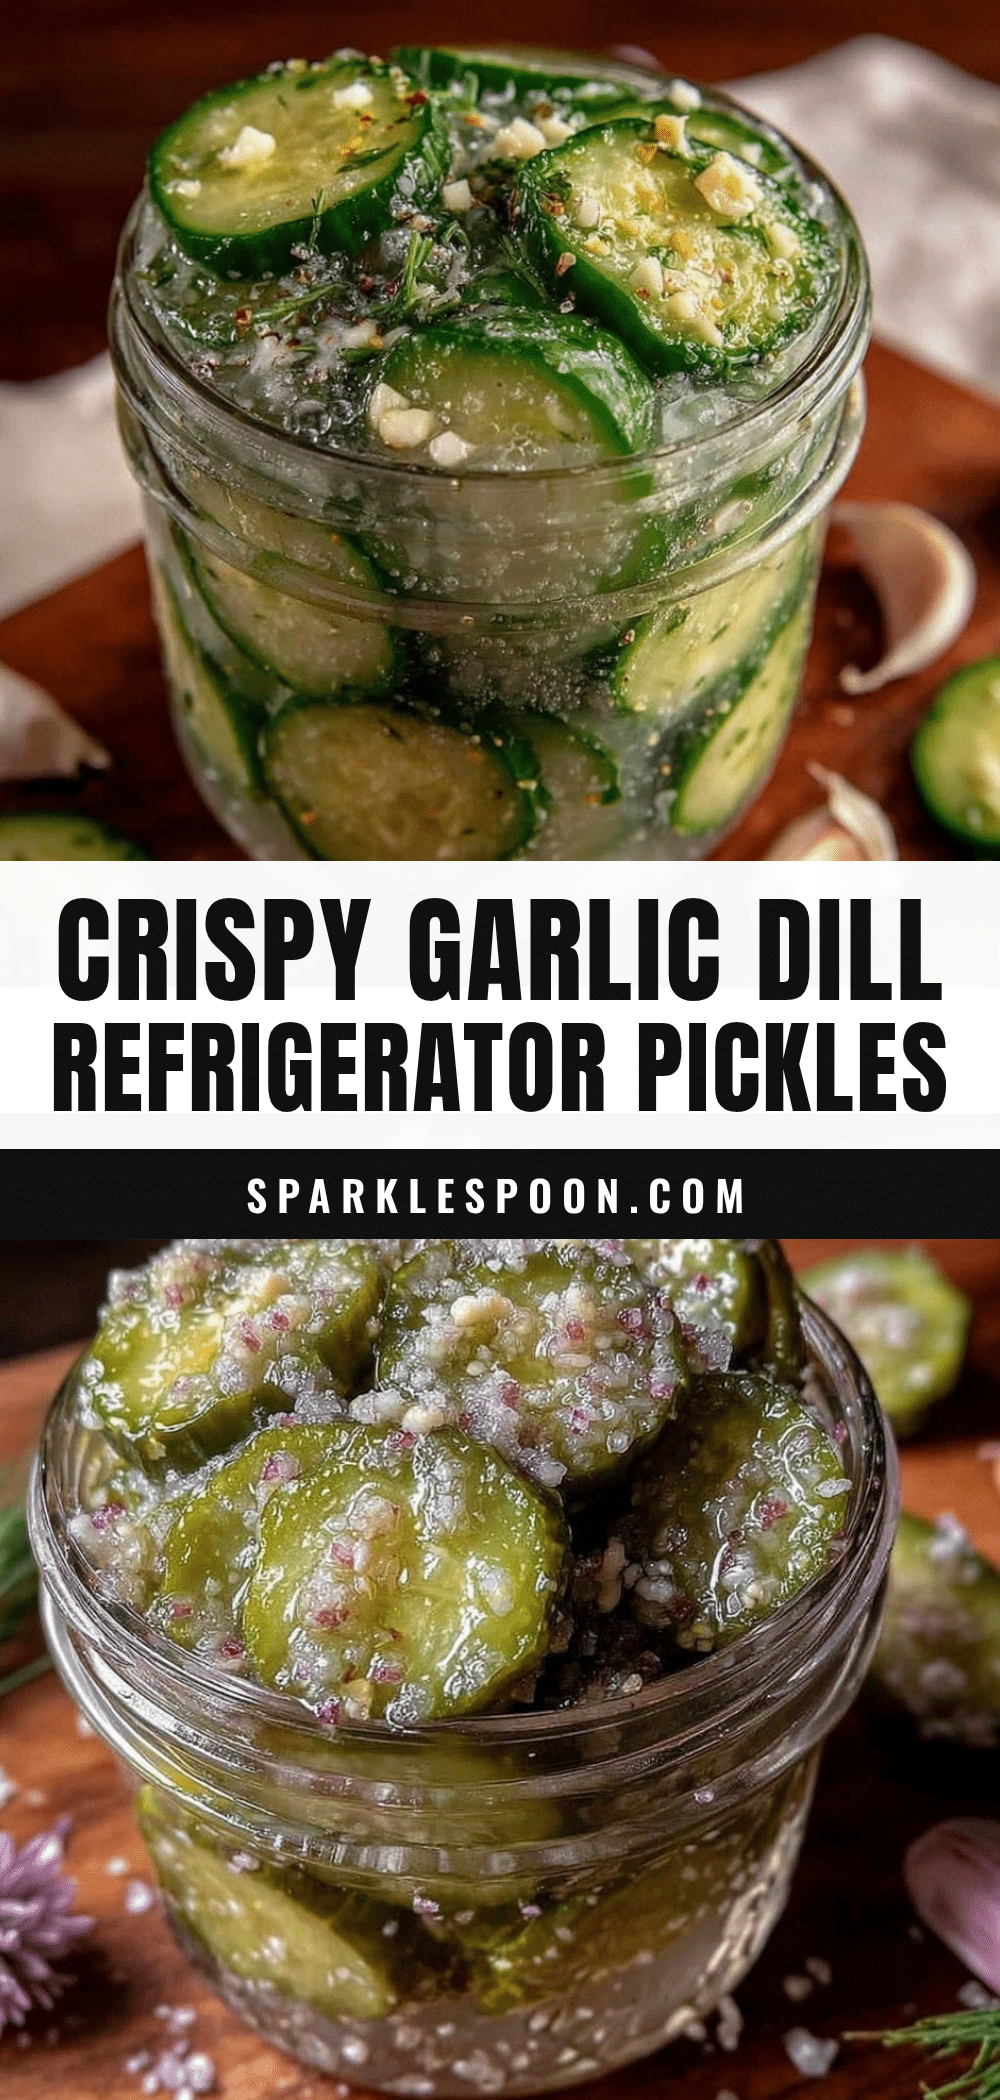
Crispy Garlic Dill Refrigerator Pickles
A quick and easy recipe for crispy garlic dill refrigerator pickles ready in 24 hours, perfect for last-minute gatherings and craving fresh, crunchy pickles without the wait.
- Prep Time: 20 minutes
- Cook Time: 0 minutes
- Total Time: 24 hours 20 minutes
- Yield: About 1 quart (approximately 4 servings) 1x
- Category: Condiment
- Cuisine: American
Ingredients
- 6 medium Kirby or Persian cucumbers
- 4–5 garlic cloves, peeled and smashed
- 3–4 sprigs fresh dill
- 1 cup white vinegar (distilled)
- 1 cup water (filtered or tap)
- 1 tablespoon pickling salt or kosher salt
- 1 teaspoon granulated sugar
- 1 teaspoon whole peppercorns
- ¼ teaspoon red chili flakes (optional)
Instructions
- Wash and slice cucumbers into ¼-inch (6 mm) thick rounds or spears.
- Peel and gently smash garlic cloves; trim dill sprigs.
- In a mixing bowl, combine white vinegar, water, pickling salt, and sugar. Stir until dissolved. Add peppercorns and optional red chili flakes.
- Layer cucumber slices or spears tightly into a 1-quart glass jar. Add garlic cloves and dill sprigs, pressing down lightly.
- Pour the brine over the cucumbers, ensuring they are fully submerged with about ½ inch headspace. Seal the jar tightly.
- Refrigerate for at least 24 hours before serving. For best flavor, allow 2-3 days.
Notes
Use pickling salt or kosher salt instead of table salt to avoid cloudiness and bitterness. Slice cucumbers evenly for uniform pickling. Keep cucumbers submerged in brine to prevent browning. Refrigerate at all times to maintain crunch and safety. Optional variations include adding jalapeño for spice or swapping vinegar types.
Nutrition
- Serving Size: 1/4 cup (60 ml)
- Calories: 15
- Sugar: 2
- Sodium: 600
- Carbohydrates: 3
- Fiber: 1
Keywords: refrigerator pickles, garlic dill pickles, quick pickles, crispy pickles, easy pickle recipe, homemade pickles, cold brine pickles



