Love this? Save it for later!
Share the inspiration with your friends
Introduction
This was supposed to be a fancy gelato experiment. I grabbed the wrong container of cream, the mixer was acting up, and I was already running late for a dinner party. What came out was nothing like the plan — and better. Honestly, I was staring at a bowl of whipped cream mixed with sweetened condensed milk, wondering if my kitchen disaster would earn me any points. Then I added a scraped vanilla bean, folded it gently, and popped it into the freezer, half-expecting it to turn into an icy mess. But, you know that feeling when you taste something and your brain just pauses? That happened here. The texture was silky, the vanilla so pure it felt like sunshine in a scoop. I remember this odd little cracked bowl I accidentally dropped during the process (don’t ask how), and my neighbor, Julie, knocking mid-chaos to borrow a cup of sugar. Maybe you’ve been there—racing against the clock, juggling distractions, and somehow landing on something unexpectedly delicious. That’s why this creamy no-churn vanilla bean ice cream recipe stayed with me; it’s proof that sometimes, the best treats come from happy accidents when you stop panicking and just trust the process.
Why You’ll Love This Recipe
After multiple trials and quite a few spills, this creamy no-churn vanilla bean ice cream recipe became my go-to homemade dessert. It’s honestly a lifesaver when you crave something indulgent but don’t want to fuss with an ice cream maker or complicated steps.
- Quick & Easy: Ready in under 10 minutes of prep time and sets in the freezer—perfect for spontaneous dessert cravings or busy weeknights.
- Simple Ingredients: You likely have everything on hand—heavy cream, sweetened condensed milk, and a real vanilla bean for that authentic flavor.
- Perfect for Any Occasion: Whether it’s a casual family dinner, a summer BBQ, or even a cozy night in, this recipe fits the bill.
- Crowd-Pleaser: Kids and adults alike rave about the creamy texture and rich vanilla taste, making it a guaranteed hit.
- Unbelievably Delicious: The secret? Scraping fresh vanilla beans directly into the mix for a luxurious, aromatic flavor that’s miles ahead of store-bought versions.
This isn’t just another vanilla ice cream recipe. It’s the one where you don’t need fancy tools but still get that ultra-smooth, melt-in-your-mouth experience. Plus, the no-churn method means you can whip it up while you’re making dinner or even while binge-watching your favorite show. Honestly, it’s the kind of recipe that makes you close your eyes after the first bite and smile quietly to yourself.
What Ingredients You Will Need
This creamy no-churn vanilla bean ice cream recipe uses simple, wholesome ingredients to deliver bold flavor and satisfying texture without any fuss or fancy equipment. Most are pantry staples, and the vanilla bean adds that special touch you don’t get with extract.
- Heavy Cream (2 cups / 480 ml) – For the rich, creamy base. I recommend using a brand like Organic Valley for the best texture.
- Sweetened Condensed Milk (1 can, 14 oz / 396 g) – This adds sweetness and the perfect creamy consistency without needing to churn.
- Vanilla Bean (1 large, fresh) – Scrape out the seeds from the pod for an intense, fragrant vanilla flavor. If you can’t find fresh beans, use 2 tsp of pure vanilla extract, but it won’t be quite the same.
- Salt (a pinch) – To balance the sweetness and enhance flavors.
Optional:
- Vanilla Extract (1 tsp) – For an extra vanilla punch if using less-than-fresh beans.
- Mix-ins like chocolate chips, crushed cookies, or swirls of caramel (add after folding the base).
For substitutions, you can use coconut cream instead of heavy cream for a dairy-free version, and swap sweetened condensed milk with a homemade condensed coconut milk. Just remember, the texture might be a touch different but still delicious!
Equipment Needed
- Mixing Bowl: A large, sturdy bowl to whip the cream in. Glass or metal works best.
- Electric Mixer or Stand Mixer: Essential for whipping the heavy cream to soft peaks. A hand whisk works in a pinch but requires elbow grease!
- Spatula: For gently folding the condensed milk and vanilla into the whipped cream without deflating it.
- Freezer-Safe Container: A loaf pan or airtight container to freeze the ice cream. This helps it set evenly.
- Vanilla Bean Scraper or Knife: To carefully split and scrape the vanilla bean seeds.
If you don’t have an electric mixer, chilling your bowl and beaters for 15 minutes before whipping can help. For budget-friendly options, any basic hand mixer will do—no need for fancy gadgets here.
Preparation Method
- Chill your equipment: Place your mixing bowl and beaters in the fridge for about 15 minutes. Cold tools help the cream whip faster and fluffier.
- Scrape the vanilla bean: Using a sharp knife, split the vanilla bean lengthwise and scrape out the tiny seeds. Set aside both seeds and pod.
- Whip the heavy cream: Pour 2 cups (480 ml) of heavy cream into your chilled bowl. Beat on medium-high speed until soft peaks form, about 3-5 minutes. The cream should hold a gentle peak when you lift the beaters but still be soft and fluffy.
- Fold in sweetened condensed milk and vanilla: Slowly add the entire 14 oz (396 g) can of sweetened condensed milk, the vanilla bean seeds, and a pinch of salt to the whipped cream. Gently fold with a spatula in a figure-eight motion to keep the mixture airy. Avoid stirring vigorously or you’ll lose the light texture.
- Remove the vanilla pod: Take out the empty vanilla bean pod to avoid any tough bits in your ice cream.
- Transfer to container and freeze: Pour the mixture into a freezer-safe container, smoothing the top with your spatula. Cover tightly with a lid or plastic wrap.
- Freeze for at least 6 hours: Let the ice cream set in the freezer until firm. For best texture, overnight is ideal.
- Serve: Let the ice cream sit at room temperature for 5 minutes before scooping for easier serving and creamier texture.
Pro tip: If your whipped cream starts to deflate while folding, take a quick break and whip it again briefly before continuing. Also, don’t skip chilling your equipment—that step really makes a difference!
Cooking Tips & Techniques
Making this creamy no-churn vanilla bean ice cream is straightforward, but a few tricks make it shine every time.
- Whipping cream to soft peaks: Stop whipping as soon as the cream forms soft peaks. Over-whipping leads to grainy texture or butter formation—been there, done that, and not fun to fix.
- Folding gently: This is key to keeping the ice cream light and airy. Use a spatula and fold slowly instead of stirring quickly.
- Using fresh vanilla beans: The seeds really boost flavor and add those lovely black specks that scream homemade. If you don’t have fresh beans, use high-quality vanilla extract instead, but reduce the quantity slightly.
- Freezing tips: Use a shallow container so the ice cream freezes evenly and faster. Also, cover the surface with parchment paper before sealing to prevent ice crystals.
- Multitasking: While your ice cream sets, prep toppings or an easy crispy garlic chicken for a complete meal.
My biggest lesson? Don’t rush the freezing. The texture improves the longer it chills. And if you forget to whip the cream enough, well… let’s say the texture won’t be quite as dreamy.
Variations & Adaptations
This recipe is super flexible to fit different tastes and dietary needs. Here are some ideas I’ve tried or recommend:
- Dairy-Free Version: Use full-fat coconut cream instead of heavy cream, and condensed coconut milk in place of sweetened condensed milk. The flavor shifts but stays rich and creamy.
- Flavored Swirls: Fold in ribbons of homemade strawberry sauce or chocolate fudge after mixing the base for a fun twist.
- Spiced Vanilla: Add a pinch of cinnamon or nutmeg along with the vanilla bean for a warm, cozy vibe.
- Low-Sugar: Substitute sweetened condensed milk with a low-sugar condensed milk alternative or mix in a bit of powdered erythritol, but freezing times may vary.
- For a boozy touch: Stir in a tablespoon of bourbon or rum before freezing, which also helps keep the ice cream scoopable.
I once tried folding in chopped toasted almonds and a swirl of honey — it was a game changer for texture and flavor depth.
Serving & Storage Suggestions
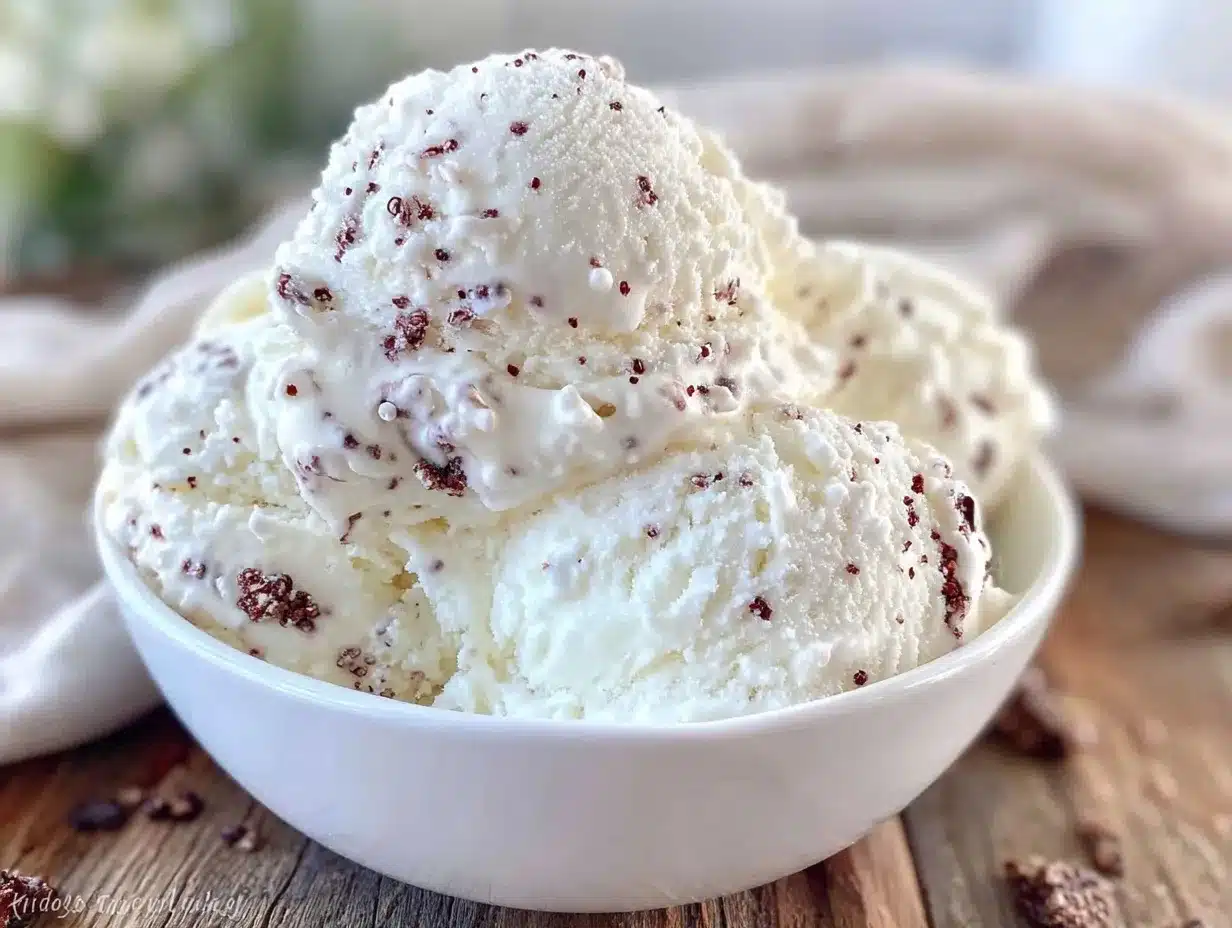
Serve this creamy no-churn vanilla bean ice cream slightly softened, about 5 minutes out of the freezer, for the best scoop and creaminess. It pairs beautifully with fresh fruit, warm pie, or a drizzle of caramel or chocolate sauce.
- Presentation: Use a warm scoop dipped in hot water for smooth, perfect scoops. Garnish with a vanilla bean pod or a few fresh berries for a pretty touch.
- Storage: Store in an airtight container in the freezer for up to 2 weeks. For longer storage, wrap the container in foil to prevent freezer burn.
- Reheating: No actual reheating needed, but letting it soften at room temperature makes serving easier.
- Flavor development: The vanilla flavor intensifies after a day or two, so if you can wait, it tastes even better.
For a fun twist, try serving alongside a slice of moist chocolate cake or fresh berries for an easy yet elegant dessert.
Nutritional Information & Benefits
This creamy no-churn vanilla bean ice cream recipe provides approximately 250 calories per half-cup (125 ml) serving. It’s rich in fats from the heavy cream, which contribute to its luscious texture and satiating feel.
- Key benefits: Vanilla beans are a natural antioxidant source, and the recipe includes no artificial additives or preservatives.
- Dietary considerations: Gluten-free by default, and easily adaptable to dairy-free versions.
- Allergens: Contains dairy; coconut cream versions are suitable for those avoiding cow’s milk.
From a wellness perspective, making your own ice cream means you control the ingredients—no unknown stabilizers or excess sugars sneaking in. Plus, the occasional homemade treat like this is a joyful part of balanced living.
Conclusion
This creamy no-churn vanilla bean ice cream recipe is a simple, satisfying way to enjoy homemade ice cream without the fuss. You can tweak it easily to fit your tastes and dietary needs, making it a versatile addition to your recipe box. I love how this recipe reminds me that sometimes, the best dishes come from little kitchen slip-ups and a bit of improvisation. Give it a try, and let me know how your batch turns out — I’d love to hear about your favorite mix-ins or adaptations! Remember, the joy is in the making and the sharing.
FAQs
Can I use vanilla extract instead of vanilla bean?
Yes, you can substitute 2 teaspoons of pure vanilla extract if you don’t have a fresh vanilla bean. The flavor won’t be quite as intense but still delicious.
How long does the ice cream need to freeze?
Freeze for at least 6 hours or overnight for the best texture. This gives the ice cream time to firm up properly.
Can I add mix-ins like chocolate chips or nuts?
Absolutely! Fold them in gently after combining the whipped cream and condensed milk, just before freezing.
Is this recipe suitable for a dairy-free diet?
Yes, swap the heavy cream with full-fat coconut cream and use condensed coconut milk instead of sweetened condensed milk for a dairy-free version.
How do I store leftover ice cream?
Keep it in an airtight container in the freezer for up to 2 weeks. Covering the surface with parchment paper before sealing helps prevent ice crystals.
Pin This Recipe!
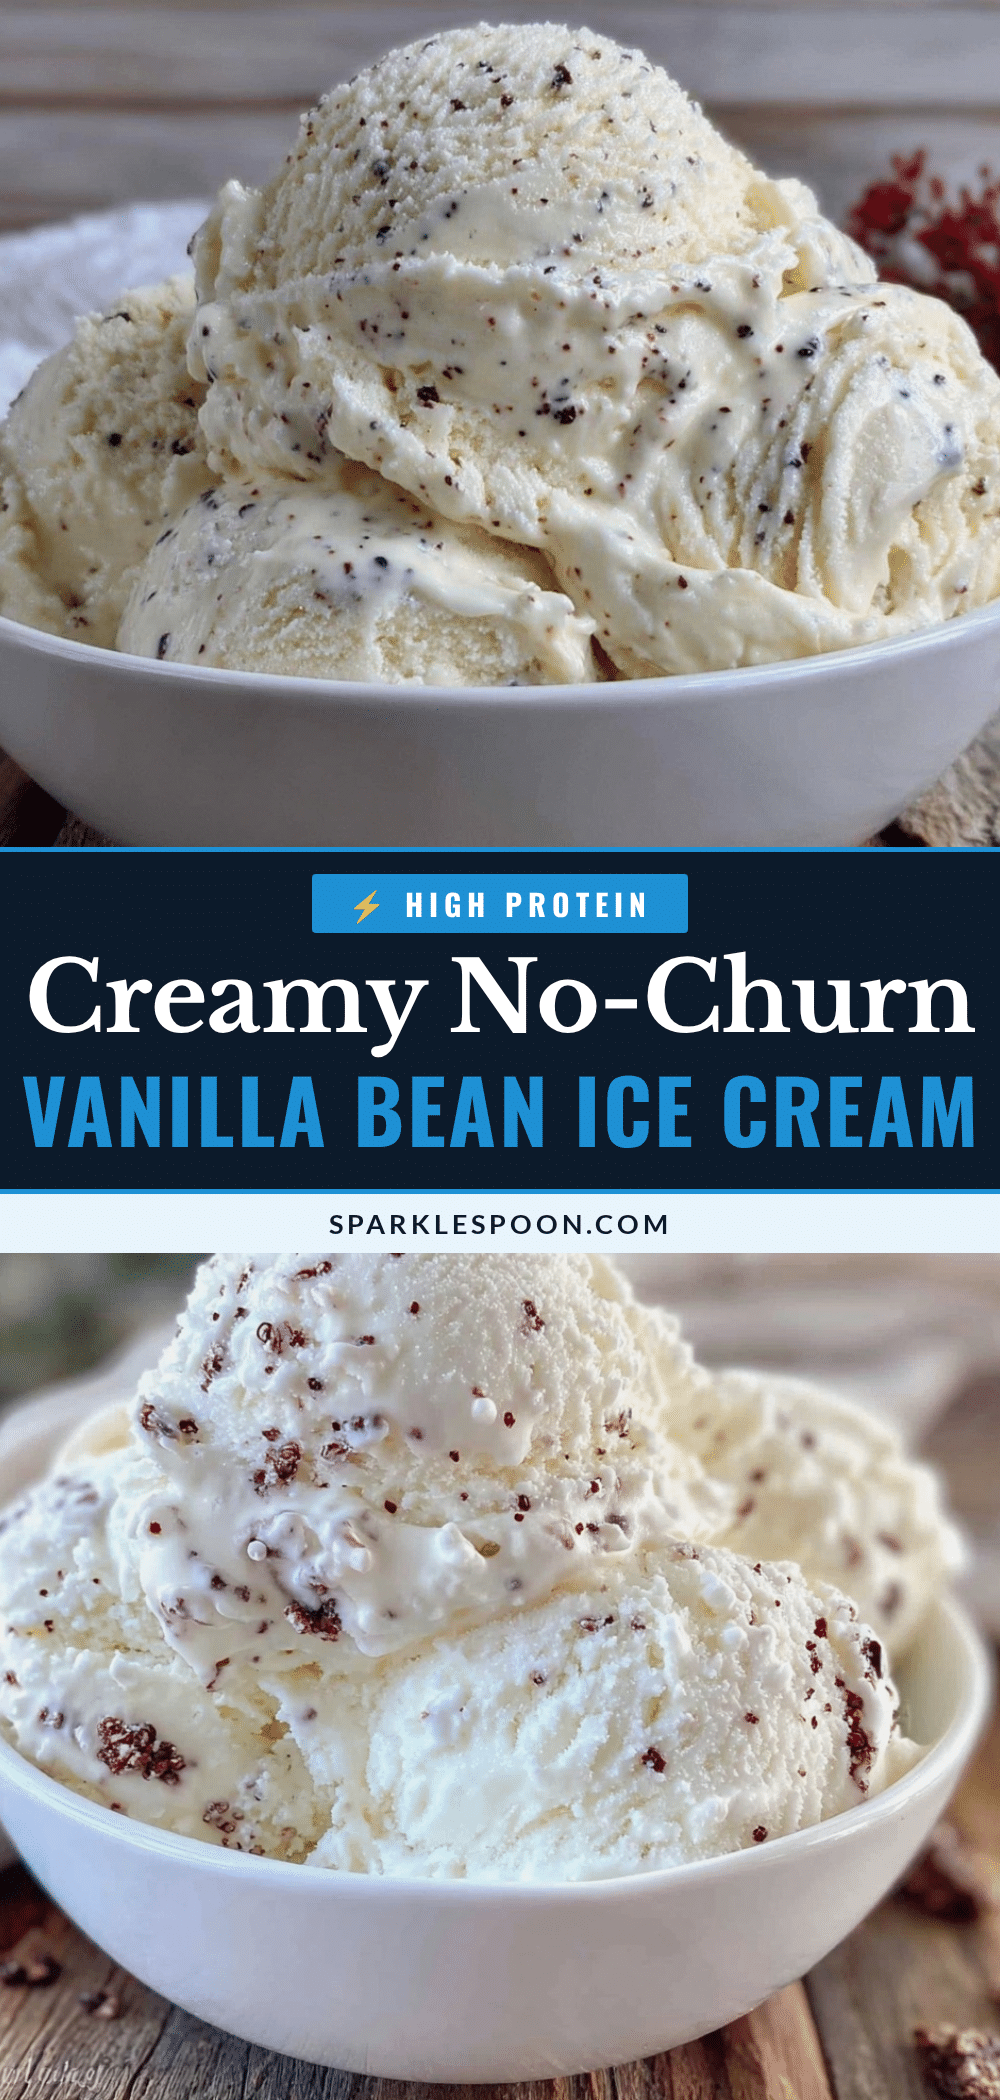
Creamy No-Churn Vanilla Bean Ice Cream
A quick and easy homemade vanilla bean ice cream recipe that requires no ice cream maker. Made with whipped heavy cream, sweetened condensed milk, and fresh vanilla bean for a rich, creamy texture and pure vanilla flavor.
- Prep Time: 10 minutes
- Cook Time: 0 minutes
- Total Time: 6 hours 10 minutes
- Yield: 8 servings 1x
- Category: Dessert
- Cuisine: American
Ingredients
- 2 cups (480 ml) heavy cream
- 1 can (14 oz / 396 g) sweetened condensed milk
- 1 large fresh vanilla bean, seeds scraped
- Pinch of salt
- Optional: 1 tsp vanilla extract
- Optional mix-ins: chocolate chips, crushed cookies, caramel swirls
Instructions
- Chill your mixing bowl and beaters in the fridge for about 15 minutes.
- Split the vanilla bean lengthwise with a sharp knife and scrape out the seeds. Set aside seeds and pod.
- Pour heavy cream into the chilled bowl and whip on medium-high speed until soft peaks form, about 3-5 minutes.
- Slowly fold in the sweetened condensed milk, vanilla bean seeds, and a pinch of salt using a spatula in a gentle figure-eight motion.
- Remove the empty vanilla bean pod from the mixture.
- Transfer the mixture to a freezer-safe container and smooth the top.
- Cover tightly with a lid or plastic wrap and freeze for at least 6 hours or overnight for best texture.
- Before serving, let the ice cream sit at room temperature for 5 minutes to soften for easier scooping.
Notes
Chill your mixing bowl and beaters before whipping cream for better volume. Fold ingredients gently to keep the mixture airy. Use a shallow container and cover surface with parchment paper before sealing to prevent ice crystals. Let ice cream soften 5 minutes before scooping for best texture. For dairy-free version, substitute heavy cream with full-fat coconut cream and sweetened condensed milk with condensed coconut milk.
Nutrition
- Serving Size: 1/2 cup (125 ml)
- Calories: 250
- Sugar: 23
- Sodium: 50
- Fat: 16
- Saturated Fat: 10
- Carbohydrates: 24
- Protein: 3
Keywords: no-churn ice cream, vanilla bean ice cream, homemade ice cream, easy dessert, no ice cream maker, creamy vanilla ice cream



