Love this? Save it for later!
Share the inspiration with your friends
Maggie wasn’t trying to impress anyone. I’d stopped by her place on a random Tuesday night, dropping off a book she’d lent me, and the smell hit me before I even got through the door. It was rich, deeply chocolate, and unmistakably warm—like the world’s most sophisticated brownie was baking in her tiny apartment kitchen. She shrugged when I asked what she was making. “Oh, just that lava cake thing.” Just that lava cake thing. As if she hadn’t created a small miracle in a ramekin. I stood there, coat still on, watching her pull two perfect little cakes out of the oven. She flipped one onto a plate, and I watched the center ooze out like slow, dark honey. Honestly, I think I audibly gasped. She handed me a spoon and said, “Here, taste it before it gets cold.” That was three years ago, and I’ve been chasing that exact moment ever since.
Let me tell you, there’s something almost magical about a chocolate lava cake. It feels fancy, like something you’d only order at a restaurant on a special occasion. But here’s the thing—it’s actually one of the easiest desserts you can make at home. Especially this version. This isn’t a complicated, multi-step project. This is a 15-minute, one-bowl, no-fuss situation that delivers pure, molten chocolate bliss. Maybe you’ve been there, staring at a box mix and thinking, “There has to be a better way.” There is. And it starts with ingredients you probably already have in your pantry right now.
I’ve made this recipe more times than I can count. For date nights, for myself on a rough Tuesday, for friends who need a little sweet pick-me-up. And every single time, it works. The edges are perfectly set, the center is gloriously gooey, and the whole thing comes together with zero stress. No fancy equipment, no complicated techniques, just honest, incredible chocolate dessert. That first bite, where the warm liquid center mixes with the tender cake—it never gets old. And knowing I made it in my own kitchen, in under the time it takes to watch a single episode of something, makes it taste even better.
Why You’ll Love This Recipe
Let’s be real for a second. Finding a dessert that feels special but doesn’t require a culinary degree or a trip to three different stores is rare. This recipe is that unicorn. It’s designed for real people, real kitchens, and real schedules. Here’s what makes it stand out:
- Quick & Easy: From start to finish, we’re talking about 15 minutes. Fifteen. That’s less time than it takes to decide what to order for delivery. Perfect for a weeknight craving or a spontaneous date night.
- Simple Ingredients: You don’t need anything weird. Butter, chocolate, eggs, sugar, a little flour. Chances are, you can make this right now without a grocery run. That’s the kind of recipe I love.
- Perfect for Date Night: This is the ultimate “I made you something special” dessert. It looks incredibly impressive, but you know the secret—it’s almost embarrassingly easy. The kind of thing that makes your partner think you slaved away, while you were actually just relaxing.
- Crowd-Pleaser: Even though this recipe makes just two servings, it’s a guaranteed hit. The rich chocolate flavor and the dramatic lava center win over everyone. Kids think it’s magic. Adults think it’s gourmet. Everyone wins.
- Unbelievably Delicious: The texture is everything. The outside is a soft, tender cake, and the inside is a warm, liquid chocolate sauce. It’s the perfect contrast. Honest comfort food that feels like a hug in a ramekin.
What makes this recipe different from all those other lava cake recipes out there? It’s the balance. I’ve tested this dozens of times to get the perfect ratio of ingredients so the center stays liquid without being raw, and the cake is tender without being dry. It’s not just another version—it’s the version that works every single time. The one you’ll bookmark and come back to for years.
This isn’t just good. It’s the kind of dessert that makes you close your eyes after the first bite. It’s comfort food reimagined—faster, simpler, but with the same soul-soothing satisfaction. Perfect for impressing someone special without any stress, or turning a quiet evening into something memorable.
What Ingredients You Will Need
This recipe uses simple, everyday ingredients to create something truly spectacular. No special trips to a gourmet shop required. Here’s what you’ll need:
- 4 ounces (113g) high-quality semi-sweet chocolate, chopped (I prefer Ghirardelli or Guittard—the better the chocolate, the better the lava. Don’t use chocolate chips, they have stabilizers that affect the texture.)
- 1/2 cup (113g or 1 stick) unsalted butter (Salted butter works in a pinch, just skip the extra salt in the recipe. Make sure it’s softened to room temperature for easier mixing.)
- 2 large eggs, at room temperature (Cold eggs can seize the chocolate. If you forgot to take them out, place them in a bowl of warm water for 5 minutes.)
- 2 large egg yolks, at room temperature (The extra yolks are the secret to that rich, fudgy texture. Don’t skip them!)
- 1/4 cup (50g) granulated sugar (Regular white sugar works best. You can reduce it to 3 tablespoons if you prefer a less sweet dessert.)
- 2 tablespoons (15g) all-purpose flour (That’s it. Just a tiny bit to give the cake structure. For a gluten-free version, use a 1:1 gluten-free flour blend.)
- 1/4 teaspoon salt (Enhances the chocolate flavor. If using salted butter, omit this.)
- 1 teaspoon vanilla extract (Pure vanilla extract is best, but imitation works fine. It rounds out the chocolate flavor beautifully.)
- Optional: Butter and cocoa powder for greasing the ramekins (This is crucial for easy release. Don’t use cooking spray—it doesn’t work as well.)
- Optional: Powdered sugar, fresh berries, or ice cream for serving (A scoop of vanilla ice cream is the classic pairing, but a dusting of powdered sugar and some raspberries is equally lovely.)
Equipment Needed
You don’t need a fancy kitchen to make this recipe. Here’s what you’ll need:
- Two (6-ounce) ramekins (These are the standard size for individual lava cakes. You can find them at any kitchen store or online for a few dollars. If you don’t have ramekins, you can use a muffin tin—just adjust the baking time by a minute or two.)
- Medium microwave-safe bowl (For melting the chocolate and butter. A glass bowl works great.)
- Whisk (A balloon whisk is ideal for incorporating air into the batter.)
- Rubber spatula (For scraping every last bit of batter into the ramekins. Trust me, you don’t want to waste any.)
- Baking sheet (Place the ramekins on a baking sheet for easy handling and to catch any potential drips.)
- Measuring cups and spoons (Accuracy matters here, especially with the flour.)
- Small bowl (For whisking the eggs and sugar.)
I’ve made these cakes in all sorts of ramekins—cheap ones from a discount store, fancy ones from a wedding registry, even a set I found at a thrift store. They all work. The key is making sure they’re well-greased and dusted with cocoa powder. That’s the secret to getting them out in one piece. And honestly, if one breaks? Just serve it in the ramekin with a spoon. No one will complain.
Preparation Method
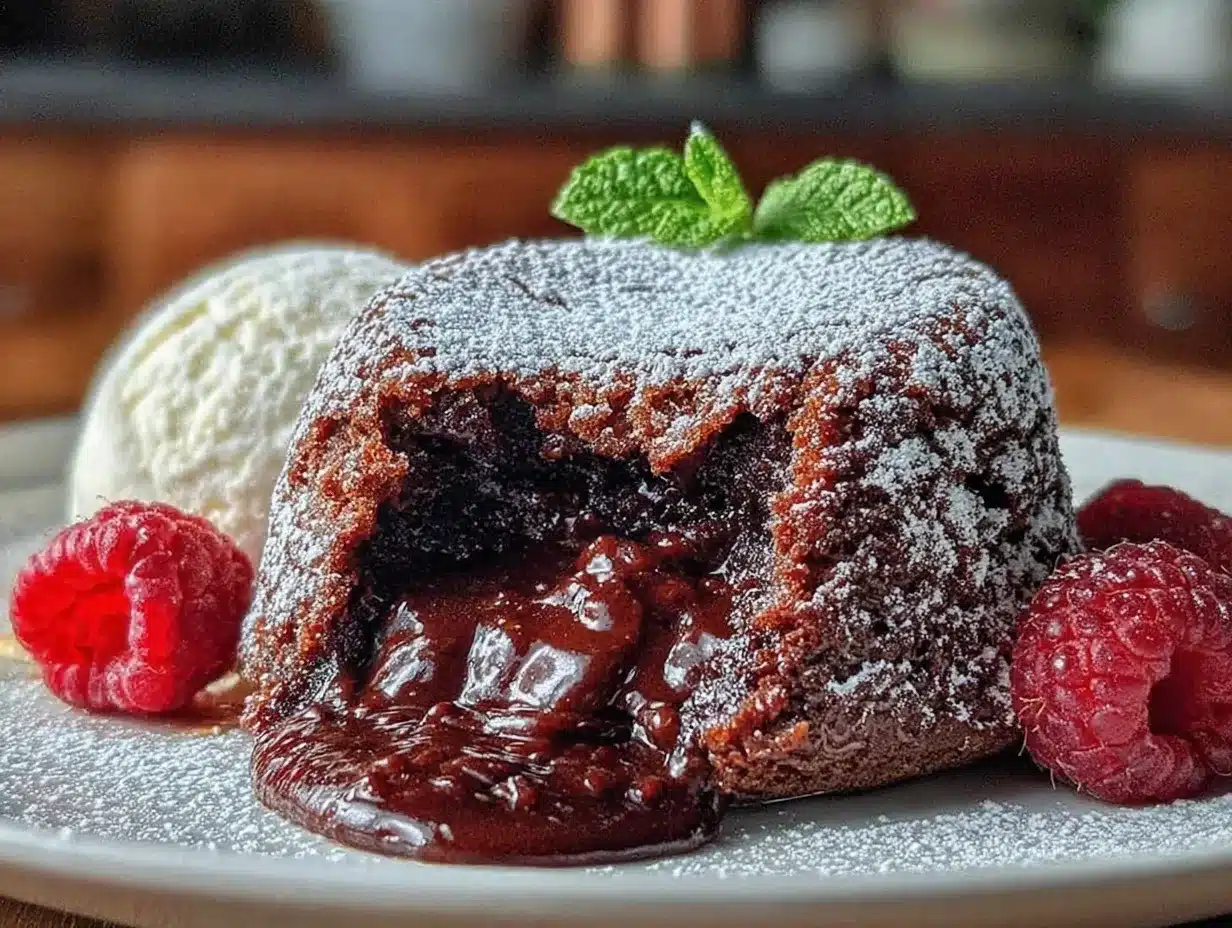
Alright, let’s make some magic. Follow these steps carefully, and you’ll have perfect lava cakes in no time.
- Preheat your oven to 425°F (220°C). Place a baking sheet on the middle rack. Getting the oven hot is crucial—the high heat sets the outside quickly while keeping the center liquid.
- Prepare your ramekins. Generously butter the inside of two 6-ounce ramekins. Make sure you get the corners and the rim. Then, add a spoonful of cocoa powder and tilt the ramekin around to coat the butter. Tap out the excess. This creates a non-stick surface and adds a little extra chocolate flavor. Don’t skip this step!
- Melt the chocolate and butter. In a medium microwave-safe bowl, combine the chopped chocolate and the butter. Microwave in 30-second intervals, stirring after each, until completely smooth. This usually takes about 1-2 minutes total. Be careful not to overheat—chocolate burns easily. The mixture should be glossy and smooth. Set it aside to cool slightly while you do the next step.
- Whisk the eggs and sugar. In a separate bowl, combine the 2 whole eggs, 2 egg yolks, and the sugar. Whisk vigorously for about 2 minutes until the mixture is thick, pale, and doubled in volume. This is important—it incorporates air that helps the cakes rise. You’ll know it’s ready when it forms a ribbon that holds its shape for a few seconds when you lift the whisk.
- Combine the mixtures. Pour the slightly cooled chocolate mixture into the egg mixture. Add the vanilla extract and the salt. Gently fold everything together with a rubber spatula until just combined. Don’t overmix—you want to keep as much air in the batter as possible.
- Add the flour. Sift the flour over the batter. Fold it in gently with the spatula, using a cutting motion, until no streaks of flour remain. The batter will be thick and shiny. It should look like a very rich brownie batter.
- Divide the batter. Spoon the batter evenly into the two prepared ramekins. It will fill them almost to the top—that’s okay. Smooth the tops gently with the back of a spoon.
- Bake immediately. Place the ramekins on the preheated baking sheet in the oven. Bake for exactly 12-14 minutes. The edges should be set and the top should look slightly puffed and cracked. The center should jiggle slightly when you gently shake the ramekin. This is your visual cue—a jiggly center means a liquid center.
- Rest for 1 minute. Remove the baking sheet from the oven. Let the ramekins sit on the sheet for exactly 1 minute. This allows them to firm up just enough to hold their shape when inverted.
- Unmold and serve. Run a thin knife around the edge of each ramekin to loosen the cake. Place a small plate upside down on top of the ramekin. In one quick, confident motion, flip the ramekin over onto the plate. Let it sit for 10 seconds, then carefully lift the ramekin off. The cake should release beautifully, with the lava center pooling on the plate. If it sticks, don’t panic—just serve it in the ramekin with a spoon. It tastes the same.
- Serve immediately. Lava cakes are best enjoyed warm, within 5 minutes of coming out of the oven. Add a scoop of vanilla ice cream, a dusting of powdered sugar, or some fresh berries. Then dig in!
Cooking Tips & Techniques
I’ve learned a few things the hard way so you don’t have to. Here are my best tips for lava cake success:
Don’t overbake. This is the number one mistake. The difference between a perfect lava cake and a fully cooked chocolate cake is about 60 seconds. Start checking at the 12-minute mark. The edges should be set, the top should look dry, but the center should wobble like Jell-O. When in doubt, take them out. You can always put them back in, but you can’t un-bake a cake.
Room temperature eggs are non-negotiable. I learned this the hard way when I was rushing. Cold eggs can cause the chocolate to seize, making the batter grainy and thick. If you forget to take your eggs out ahead of time, place them in a bowl of warm (not hot) water for 5-10 minutes. Problem solved.
Quality chocolate matters. This is not the time for cheap chocolate chips. Use a good-quality semi-sweet or bittersweet chocolate bar. The flavor is the star of the show, and better chocolate makes a better cake. I’ve tried this with 60% cacao and 70% cacao—both work, but 60% gives a slightly sweeter, more traditional lava cake.
Prep everything before you start. This recipe comes together fast. Have your ramekins greased, your eggs cracked, and your chocolate chopped before you turn on the mixer. Trust me, you don’t want to be scrambling (pun intended) to find a whisk while your chocolate is cooling.
The resting time is crucial. That 1-minute rest after baking is not optional. It allows the cake to set up just enough to hold its shape when you flip it. If you skip it, you’ll end up with a chocolate puddle on your plate. Still delicious, but not as dramatic.
Variations & Adaptations
Once you’ve mastered the basic recipe, here are some fun ways to change it up:
- Flavor Infusions: Add 1/2 teaspoon of instant espresso powder to the dry ingredients. It doesn’t make the cake taste like coffee—it just deepens the chocolate flavor. You can also add a pinch of cinnamon or cayenne pepper for a spicy twist.
- Peanut Butter Lava Cake: Before pouring the batter into the ramekins, place a teaspoon of creamy peanut butter in the center. It will melt into a gooey, salty-sweet lava. This is my personal favorite variation. You can also use Nutella or cookie butter.
- Gluten-Free Version: Substitute the all-purpose flour with a 1:1 gluten-free baking flour blend. I’ve used Bob’s Red Mill and King Arthur’s measure-for-measure blends with great success. The texture is slightly different, but the lava effect works perfectly.
- Dairy-Free Version: Use a high-quality dairy-free butter substitute (like Miyoko’s or Earth Balance) and a dairy-free chocolate bar (like Enjoy Life or Hu Kitchen). The rest of the ingredients are naturally dairy-free. It works beautifully.
- Single Serving: Cut all the ingredients in half and bake in one ramekin. The baking time stays the same. Perfect for a solo treat.
Serving & Storage Suggestions
Lava cakes are best enjoyed fresh, but here’s how to handle them:
Serving: Serve immediately while warm. The classic presentation is on a small plate, inverted, with a scoop of vanilla ice cream melting over the top. A dusting of powdered sugar and a few fresh raspberries or strawberries add a beautiful pop of color and a tangy contrast. You can also drizzle with caramel sauce or a little extra melted chocolate.
Storage: These cakes don’t store well once baked—the lava will set as they cool. However, you can prepare the batter in advance. Fill the greased ramekins, cover them with plastic wrap, and refrigerate for up to 24 hours. When you’re ready to bake, add 2-3 minutes to the baking time. You can also freeze the unbaked ramekins for up to a month. Bake from frozen, adding 3-5 minutes.
Reheating: If you have leftover baked cakes (unlikely, but possible), you can reheat them in the microwave for 15-20 seconds. The center won’t be as liquid, but it will still be delicious. Or, just eat it cold—it’s basically a fudgy brownie.
Flavor Development: The batter actually benefits from a short rest in the fridge. The flavors meld together, and the cakes become even more fudgy. So if you have time, make the batter an hour ahead. It’s a great make-ahead option for date night.
Nutritional Information & Benefits
Let’s be honest, this is a dessert. It’s not a health food. But knowing what’s in it is important. Here’s the estimated breakdown per serving (one ramekin):
- Calories: Approximately 550-600
- Fat: 40g
- Saturated Fat: 24g
- Carbohydrates: 48g
- Sugar: 36g
- Protein: 10g
On the bright side, dark chocolate is rich in antioxidants and flavonoids, which are good for heart health. The eggs provide high-quality protein and essential vitamins. And portion control is built right in—it’s just two servings. This is the kind of dessert you enjoy mindfully, savoring every single bite. It’s a treat, and that’s okay. Life is about balance.
Conclusion
This chocolate lava cake for two is more than just a recipe—it’s an experience. It’s the dessert you make when you want to say “I love you” without words. It’s the sweet ending to a quiet night in. It’s the thing that makes a regular Tuesday feel like a celebration. And the best part? It’s so simple that you’ll actually make it, not just pin it for later.
I’ve made this recipe on busy weeknights, on lazy Sunday afternoons, and on Valentine’s Day when I wanted something special without the hassle of a complicated dessert. It never fails. The joy on someone’s face when you place a perfectly oozing lava cake in front of them is priceless. And knowing you made it with your own two hands, in 15 minutes, from ingredients you already had? That’s the real magic.
So go ahead. Give it a try. Make it for your partner, for a friend, or just for yourself. Customize it with your favorite add-ins. Serve it with a scoop of ice cream and a big smile. And when you take that first warm, chocolatey bite, remember—you made this. You’re officially a lava cake pro.
I’d love to hear how it turns out! Drop a comment below and let me know if you tried any variations, or share a photo of your beautiful lava cake. Don’t forget to pin this recipe for later and share it with someone who deserves a little chocolate love. Happy baking!
Frequently Asked Questions
Can I make chocolate lava cake in a microwave?
Technically, yes, but the texture won’t be the same. The oven’s high heat is what creates that perfect contrast between the set exterior and the liquid center. A microwave will cook the cake more evenly, resulting in a fully cooked cake with no lava effect. Stick with the oven for the best results.
Why did my lava cake not have a liquid center?
This usually means it was overbaked. The center should still jiggle when you gently shake the ramekin. Next time, try taking it out of the oven 1-2 minutes earlier. Also, make sure your oven is fully preheated to 425°F (220°C) before baking.
Can I use milk chocolate instead of semi-sweet?
You can, but the cake will be much sweeter and the lava may not be as rich. Milk chocolate has more sugar and less cocoa butter, which can affect the texture. If you only have milk chocolate, reduce the sugar in the recipe by 1 tablespoon.
How do I prevent the lava cakes from sticking to the ramekins?
The key is generous greasing with butter and a dusting of cocoa powder. Make sure you get every surface, including the rim. Don’t use cooking spray—it doesn’t create the same non-stick barrier. Also, let the cakes rest for exactly 1 minute after baking before you try to unmold them.
Can I double this recipe?
Absolutely! This recipe scales beautifully. Just double all the ingredients and use four ramekins. The baking time stays roughly the same, but start checking at the 12-minute mark. You may need to bake in two batches if your oven doesn’t have enough room for all four ramekins on one baking sheet.
Pin This Recipe!
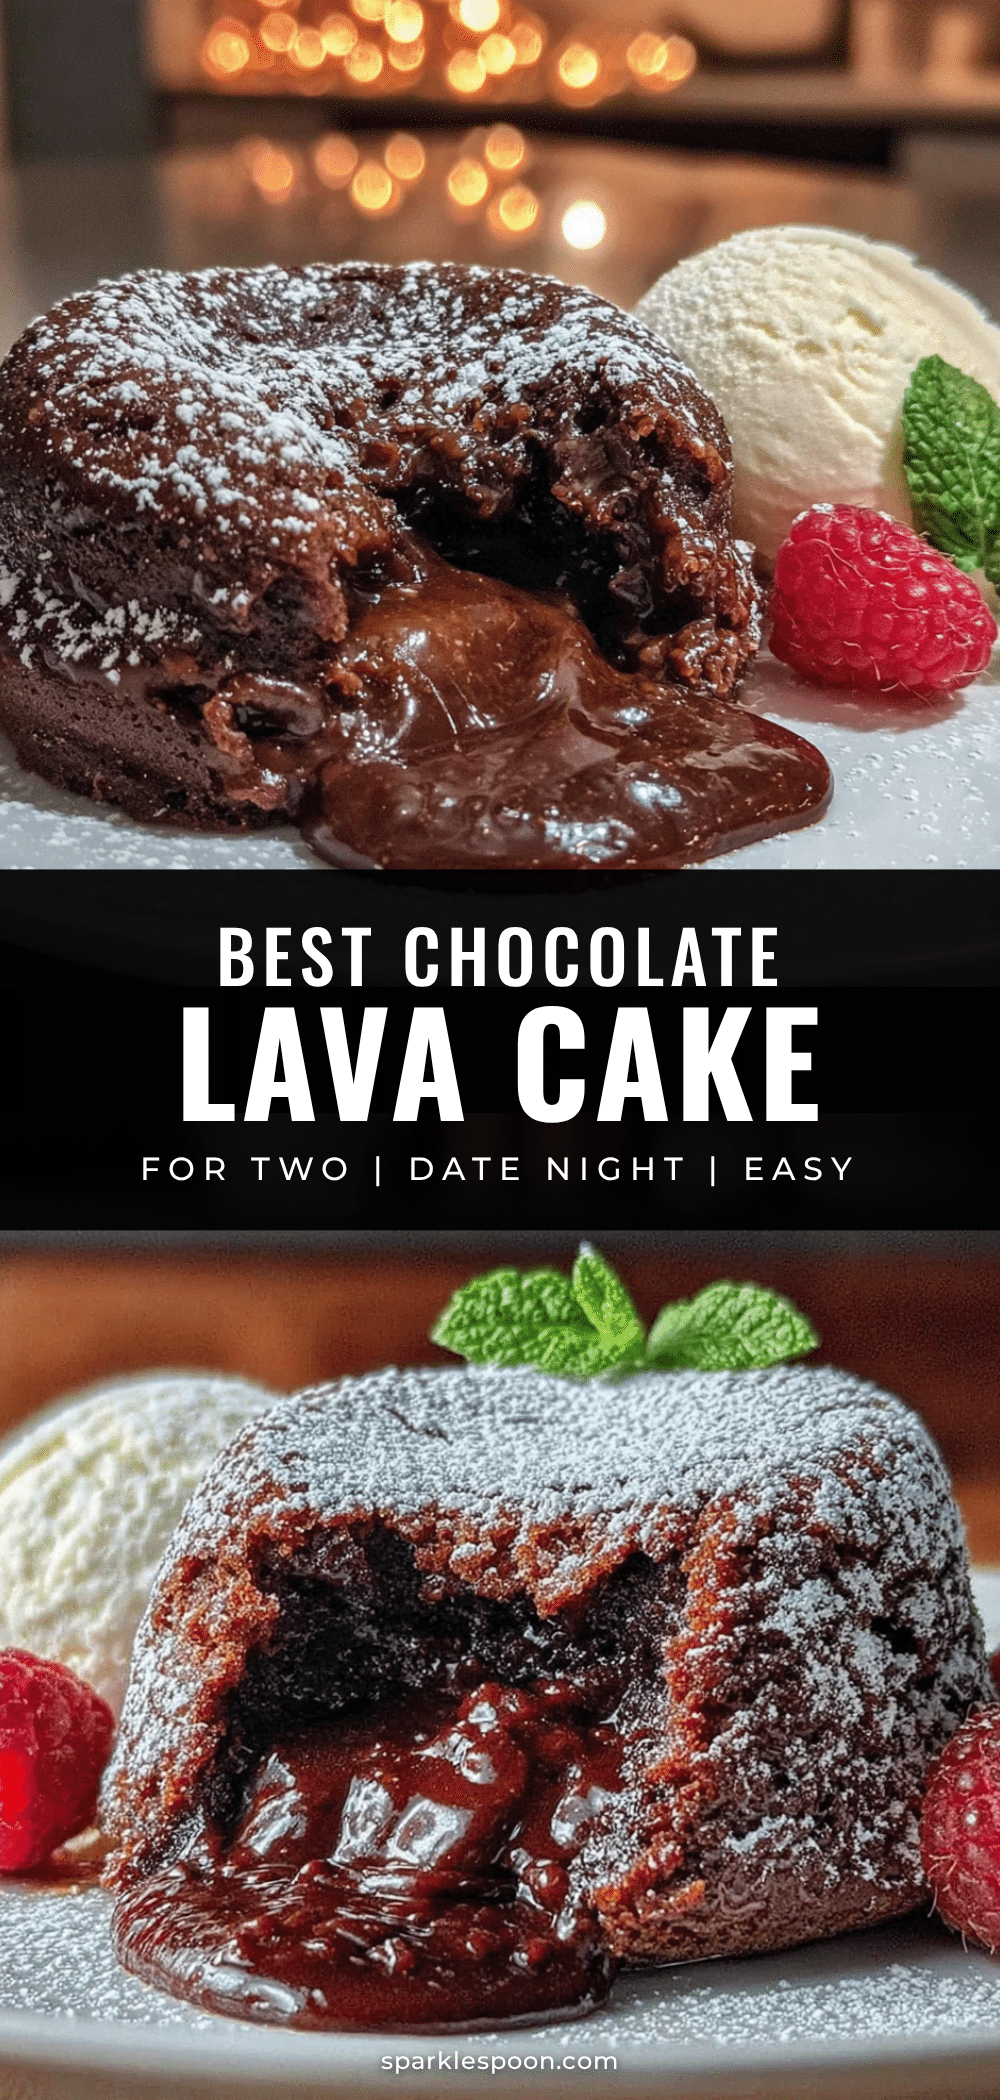
Best Chocolate Lava Cake for Two – Easy 15-Minute Dessert
This quick and easy chocolate lava cake for two is made in just 15 minutes with simple ingredients. Perfect for date night or a spontaneous sweet treat, it features a tender cake exterior and a warm, molten chocolate center.
- Prep Time: 5 minutes
- Cook Time: 12-14 minutes
- Total Time: 15 minutes
- Yield: 2 servings 1x
- Category: Dessert
- Cuisine: American
Ingredients
- 4 ounces (113g) high-quality semi-sweet chocolate, chopped
- 1/2 cup (113g or 1 stick) unsalted butter, softened to room temperature
- 2 large eggs, at room temperature
- 2 large egg yolks, at room temperature
- 1/4 cup (50g) granulated sugar
- 2 tablespoons (15g) all-purpose flour
- 1/4 teaspoon salt
- 1 teaspoon vanilla extract
- Optional: Butter and cocoa powder for greasing the ramekins
- Optional: Powdered sugar, fresh berries, or ice cream for serving
Instructions
- Preheat your oven to 425°F (220°C). Place a baking sheet on the middle rack.
- Prepare your ramekins. Generously butter the inside of two 6-ounce ramekins. Add a spoonful of cocoa powder and tilt to coat the butter. Tap out the excess.
- Melt the chocolate and butter. In a medium microwave-safe bowl, combine the chopped chocolate and butter. Microwave in 30-second intervals, stirring after each, until completely smooth. Set aside to cool slightly.
- Whisk the eggs and sugar. In a separate bowl, combine the 2 whole eggs, 2 egg yolks, and sugar. Whisk vigorously for about 2 minutes until thick, pale, and doubled in volume.
- Combine the mixtures. Pour the slightly cooled chocolate mixture into the egg mixture. Add the vanilla extract and salt. Gently fold together with a rubber spatula until just combined.
- Add the flour. Sift the flour over the batter. Fold it in gently until no streaks remain.
- Divide the batter. Spoon the batter evenly into the two prepared ramekins. Smooth the tops gently.
- Bake immediately. Place the ramekins on the preheated baking sheet. Bake for exactly 12-14 minutes. The edges should be set and the center should jiggle slightly.
- Rest for 1 minute. Remove from the oven and let the ramekins sit on the sheet for exactly 1 minute.
- Unmold and serve. Run a thin knife around the edge of each ramekin. Place a small plate upside down on top, flip quickly, and let sit for 10 seconds. Carefully lift the ramekin off.
- Serve immediately. Add a scoop of vanilla ice cream, a dusting of powdered sugar, or fresh berries.
Notes
Don’t overbake. The center should jiggle when shaken. Room temperature eggs are crucial. Quality chocolate matters. Prep everything before starting. The 1-minute rest after baking is essential for unmolding.
Nutrition
- Serving Size: 1 ramekin
- Calories: 575
- Sugar: 36
- Sodium: 200
- Fat: 40
- Saturated Fat: 24
- Carbohydrates: 48
- Fiber: 2
- Protein: 10
Keywords: chocolate lava cake, lava cake for two, easy lava cake, 15-minute dessert, molten chocolate cake, date night dessert



