Love this? Save it for later!
Share the inspiration with your friends
It was 11:47 PM on a random Tuesday in December, and I had a craving that just wouldn’t quit. You know that feeling—when your brain decides it absolutely needs something warm, chocolatey, and topped with something fluffy, but your body is already in pajamas and your kitchen is half-dark? That was me. I wanted hot cocoa so badly I could practically taste it, but I didn’t have heavy cream, I didn’t have fancy chocolate bars, and honestly, I didn’t have the energy for a production.
What I did have was a half-empty carton of oat milk, some leftover dark chocolate chips from a baking project, and a can of coconut cream I’d bought on a whim. And then the idea arrived—what if I could make a hot cocoa that felt just as indulgent as the real deal, but didn’t leave me feeling like I’d swallowed a brick of sugar right before bed? I grabbed my favorite mug, started experimenting, and somewhere between the first sip and the last, I knew I’d stumbled onto something worth keeping.
That late-night improvisation turned into this Lightened-Up Hot Cocoa Bar with Peppermint Whipped Cream. It’s the kind of recipe that feels like a hug in a mug, but without the heavy, overly sweet aftermath. Maybe you’ve been there—wanting something cozy but not wanting to undo all the good choices you made that day. This one’s for those nights. And honestly, I’ve been making it ever since.
Why You’ll Love This Recipe
This isn’t just another hot cocoa recipe. After testing this version at least a dozen times—with different milks, different sweeteners, and different toppings—I can confidently say this is the one that hits that perfect sweet spot between healthy-ish and completely satisfying. Here’s why it stands out:
- Quick & Easy: From start to finish, you’re looking at about 10 minutes. That’s faster than driving to a coffee shop.
- Simple Ingredients: No fancy grocery store runs. You probably have cocoa powder, milk, and a sweetener in your kitchen right now.
- Perfect for Cozy Nights: Whether it’s a snowy evening, a movie night, or just a Tuesday that needed a little warmth, this fits.
- Crowd-Pleaser: I’ve served this at holiday gatherings and regular get-togethers. Kids and adults both go back for seconds.
- Unbelievably Delicious: The peppermint whipped cream is the star here—it’s light, fluffy, and tastes like a candy cane dream without all the sugar.
What makes this recipe different from the rest is the technique. By using unsweetened cocoa powder and controlling the sweetness yourself, you get a rich, deep chocolate flavor that isn’t masked by loads of sugar. The coconut cream whipped topping is a game-changer—it’s dairy-free, stable, and whips up in minutes. This is comfort food reimagined: lighter, faster, but with the same soul-soothing satisfaction that makes you close your eyes after that first sip.
What Ingredients You Will Need
This recipe uses simple, wholesome ingredients to deliver that cozy chocolate flavor without the heavy feeling. Most of these are pantry staples, and I’ve included notes on substitutions so you can make it work with what you have.
For the Hot Cocoa Base
- Unsweetened cocoa powder (2 tablespoons) – I prefer Ghirardelli or Hershey’s Special Dark for a richer flavor
- Milk of choice (2 cups) – Oat milk gives a creamy texture, but almond, cow’s milk, or coconut milk all work
- Maple syrup or honey (1-2 tablespoons, to taste) – Adds natural sweetness without refined sugar
- Vanilla extract (1/2 teaspoon) – Enhances the chocolate flavor
- Pinch of sea salt – Balances sweetness and deepens the cocoa taste
For the Peppermint Whipped Cream
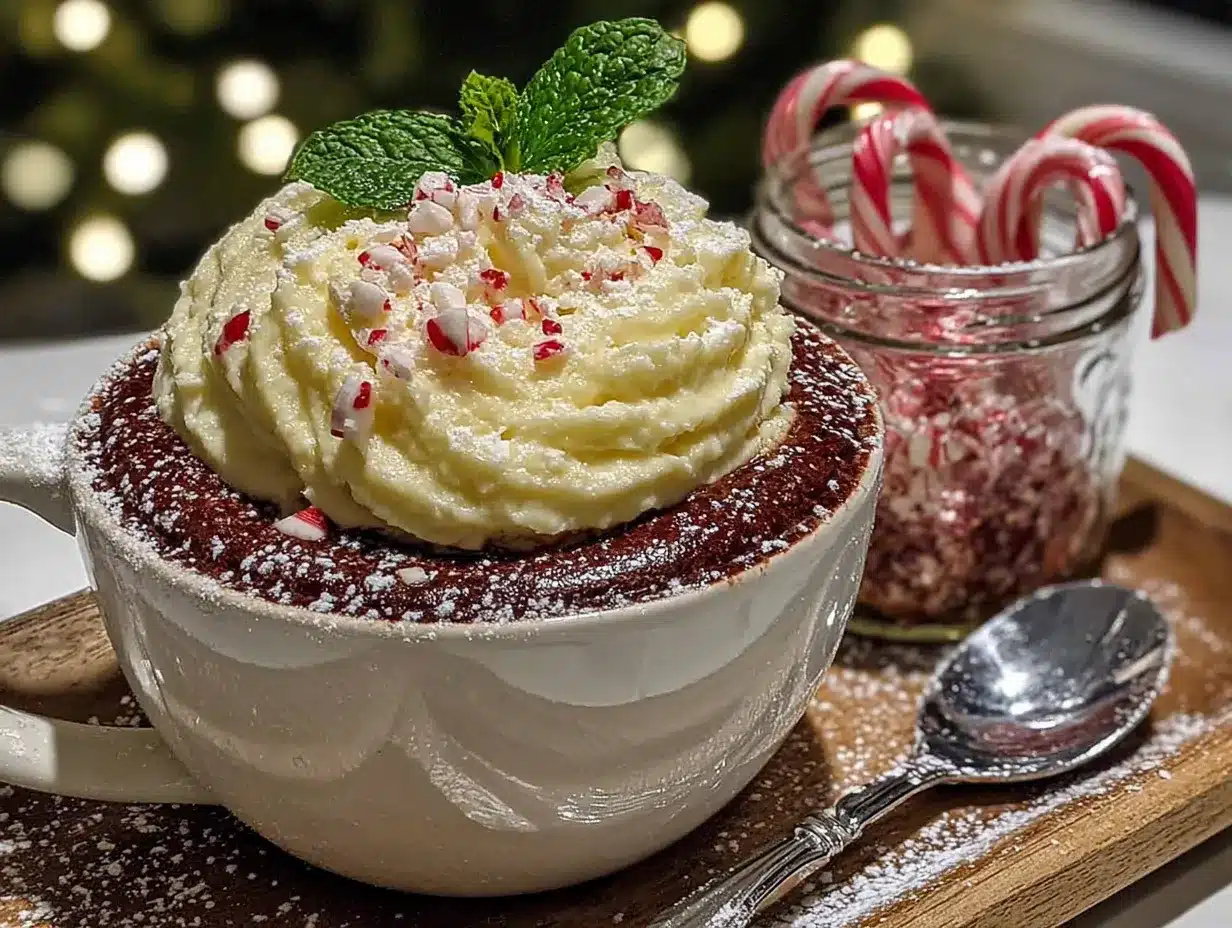
- Full-fat coconut cream (1 can, chilled overnight) – The key to a dairy-free, fluffy topping. Look for cans without guar gum for best results
- Powdered sugar or monk fruit sweetener (2 tablespoons) – Adds structure and sweetness
- Peppermint extract (1/4 teaspoon) – Start with less; you can always add more
- Optional: Crushed sugar-free candy canes or cacao nibs for garnish
Optional Toppings Bar
- Dark chocolate shavings – For extra chocolate intensity
- Cinnamon sticks – For stirring and a warm spice note
- Mini marshmallows – Use sugar-free if you’re watching sugar
- Crushed peppermint candies – Adds crunch and festive flair
For the coconut cream, I’ve found that Thai Kitchen or Native Forest brands work consistently well. Just make sure to chill the can overnight so the cream separates from the water. If you’re not dairy-free, you can absolutely use heavy cream—just whip it the same way.
Equipment Needed
You don’t need a fancy setup for this recipe, which is part of the beauty. Here’s what you’ll need:
- Small saucepan – For heating the milk mixture. A heavy-bottomed one prevents scorching.
- Whisk – Essential for combining the cocoa powder smoothly. A silicone whisk is gentle on nonstick pans.
- Mixing bowl – For whipping the coconut cream. A metal or glass bowl that’s been chilled works best.
- Hand mixer or stand mixer – While you can whisk by hand, a mixer makes the coconut cream light and fluffy in under 2 minutes. I’ve used a $20 hand mixer from Target for years, and it works perfectly.
- Measuring cups and spoons – Accuracy matters, especially with the cocoa powder and peppermint extract.
- Mugs – Go for your favorite ones. This recipe makes about 2 generous servings.
If you don’t have a hand mixer, you can shake the coconut cream in a mason jar with a tight lid. It takes about 5 minutes of vigorous shaking, but it works in a pinch. I learned that trick during a power outage, and let me tell you, desperation breeds creativity.
Preparation Method
Let’s get to the good part. Follow these steps, and you’ll have a steaming mug of comfort in no time.
Step 1: Chill Your Coconut Cream
Place the can of full-fat coconut cream in the refrigerator the night before, or at least for 8 hours. This step is non-negotiable—the cold helps the fat solidify so you can separate it from the liquid. When you open the can, scoop out the thick, white cream and leave the watery liquid behind. (Save that liquid for smoothies or soups!)
Step 2: Make the Peppermint Whipped Cream
In a chilled mixing bowl, add the solid coconut cream, powdered sugar, and peppermint extract. Beat with a hand mixer on medium-high speed for about 2-3 minutes, until light, fluffy, and soft peaks form. Don’t overmix, or it can turn grainy. Taste and adjust the peppermint—some like it strong, some like it subtle. Set aside in the refrigerator while you make the cocoa.
Step 3: Whisk the Cocoa Base
In your small saucepan, whisk together the cocoa powder and about 1/4 cup of your milk until it forms a smooth paste. This prevents lumps. Then add the remaining milk, maple syrup, vanilla extract, and a pinch of sea salt. Whisk again to combine.
Step 4: Heat Gently
Place the saucepan over medium heat. Whisk frequently as it warms up—about 4-5 minutes. You want it steaming hot but not boiling. Small bubbles around the edges are your cue. If it boils, the milk can scorch and the cocoa might get a bitter edge. Trust the visual cue: when you see steam rising steadily and tiny bubbles forming, it’s ready.
Step 5: Taste and Adjust
Take the saucepan off the heat. Give it a taste. Need more sweetness? Add another drizzle of maple syrup. Want it more chocolatey? Whisk in another teaspoon of cocoa powder. This is your moment to customize.
Step 6: Assemble and Serve
Pour the hot cocoa into your favorite mugs. Top generously with the peppermint whipped cream. Add crushed peppermint candies, dark chocolate shavings, or a cinnamon stick for stirring. Serve immediately while it’s warm and the cream is cold—that contrast is everything.
Cooking Tips & Techniques
Over the years, I’ve made every mistake you can imagine with hot cocoa. Here’s what I’ve learned so you don’t have to repeat my errors.
Don’t rush the whisking. I once tried to save time by dumping all the cocoa powder into hot milk at once. Big mistake. Lumpy, gritty, sad cocoa. Always make a paste first with a small amount of cold milk. It takes an extra 30 seconds and makes all the difference.
Watch your heat. Medium heat is your friend. High heat might seem faster, but it can scorch the milk and ruin the flavor. I speak from experience—the smell of burnt milk is not something you forget. Keep it gentle, and whisk often.
Chill everything for the whipped cream. The bowl, the beaters, the coconut cream. Cold ingredients whip up faster and hold their shape longer. I keep a metal bowl in the freezer just for this purpose.
Don’t over-whip coconut cream. Unlike heavy cream, coconut cream can go from fluffy to grainy pretty quickly. Stop as soon as you see soft peaks. If you go too far, add a teaspoon of cold water and gently fold it in to bring it back.
Make it ahead. The cocoa base can be made and stored in the fridge for up to 3 days. Just reheat gently on the stove or in the microwave. The whipped cream can be made a day ahead and kept covered in the fridge. Give it a quick whisk before serving if it separates.
Variations & Adaptations
This recipe is a starting point, not a rulebook. Here are some ways I’ve adapted it over the years:
Dairy-Free & Vegan
This version is already dairy-free if you use oat or almond milk and coconut cream. For a nut-free option, use oat milk. For a soy-free option, use coconut milk. It’s surprisingly allergy-friendly.
Extra Creamy Version
If you’re not worried about calories, swap half the milk for full-fat canned coconut milk. It makes the cocoa incredibly rich and velvety. I do this on really cold nights when I need extra comfort.
Spiced Hot Cocoa
Add 1/4 teaspoon of cinnamon, a pinch of nutmeg, and a tiny pinch of cayenne pepper to the cocoa powder before whisking. It gives a Mexican hot chocolate vibe that’s warming in a completely different way.
Mocha Twist
Add 1 shot of espresso or 1 teaspoon of instant coffee granules to the milk while it heats. Coffee and chocolate are best friends, and it gives a nice little energy boost for afternoon sipping.
Peppermint-Free Version
Not a peppermint fan? Skip the extract in the whipped cream and add 1/2 teaspoon of vanilla bean paste instead. Top with cinnamon dust or cocoa powder. It’s just as delicious.
I once made a salted caramel version by adding a tablespoon of sugar-free caramel syrup to the cocoa and topping with flaky sea salt. It was dangerous because I couldn’t stop drinking it.
Serving & Storage Suggestions
This hot cocoa is best served immediately, while the contrast between the warm drink and the cold, fluffy whipped cream is at its peak. Pour into pre-warmed mugs if you want it to stay hot longer—just fill your mugs with hot water for a minute, then dump and dry before pouring in the cocoa.
For a hot cocoa bar, set out small bowls of toppings: crushed peppermint, dark chocolate chips, cinnamon sticks, mini marshmallows, and maybe some orange zest for a fun twist. Let everyone build their own mug. It’s a hit at holiday parties and cozy gatherings.
Storage: The cocoa base keeps in an airtight container in the refrigerator for up to 3 days. Reheat on the stovetop over medium-low heat, whisking occasionally. You can also microwave it in 30-second intervals, stirring between each. The peppermint whipped cream should be stored covered in the fridge and used within 2 days. Give it a quick whip with a fork before serving if it looks a little loose.
I don’t recommend freezing the cocoa—the texture changes when thawed. But the whipped cream freezes surprisingly well. Drop spoonfuls onto a parchment-lined baking sheet, freeze until solid, then transfer to a freezer bag. Drop a frozen dollop into hot cocoa whenever you need a quick treat.
Nutritional Information & Benefits
Per serving (using oat milk and maple syrup, with 2 tablespoons of peppermint whipped cream):
- Calories: ~180
- Fat: 9g
- Carbohydrates: 22g
- Fiber: 3g
- Sugar: 12g (naturally occurring)
- Protein: 4g
This lightened-up version has about half the calories and a third of the sugar of traditional hot cocoa made with whole milk and heavy cream. The cocoa powder is rich in antioxidants called flavanols, which support heart health and can improve mood. Oat milk adds fiber and is naturally creamy without the saturated fat of dairy. Coconut cream provides healthy medium-chain triglycerides (MCTs) that can give you steady energy.
If you’re watching your sugar intake, using monk fruit sweetener in the whipped cream and reducing the maple syrup to 1 tablespoon drops the sugar to about 6 grams per serving. For a lower-carb option, use unsweetened almond milk and skip the maple syrup—the sweetness from the whipped cream and the natural richness of the cocoa is often enough.
This recipe is naturally gluten-free, dairy-free, and vegan. The only potential allergen is coconut, so if that’s an issue, use a different whipped topping or skip it altogether. The cocoa itself is still delicious on its own.
Conclusion
This Lightened-Up Hot Cocoa Bar with Peppermint Whipped Cream has become my go-to for those nights when I want something warm and special but don’t want to undo all my good habits. It’s proof that you don’t need loads of sugar and heavy cream to make something that feels indulgent. The secret is in the quality of the ingredients and a little bit of technique—and honestly, the peppermint whipped cream does most of the heavy lifting.
I love that this recipe adapts to whatever you have on hand. Some nights I go all out with the toppings bar; other nights it’s just cocoa and a dollop of cream, and it’s still perfect. It’s the kind of recipe that becomes a ritual, especially during the colder months. I hope it becomes one for you too.
Give it a try and let me know how it turns out! Tag me in your photos or leave a comment below with your favorite topping combination. I’m always looking for new ideas, and I’d love to hear how you make it your own. Until next time, stay warm and keep sipping something good.
Frequently Asked Questions
Can I use regular milk instead of oat milk?
Absolutely! Any milk works here. Whole milk will make it richer, while skim milk will keep it lighter. Oat milk is my favorite for its natural creaminess, but cow’s milk, almond milk, or soy milk all work beautifully.
How do I make the coconut cream whip properly?
The key is chilling the can for at least 8 hours. Scoop only the solid white cream, leaving the watery liquid behind. Use a chilled bowl and beaters, and don’t overmix. If it seems too soft, pop it in the fridge for 10 minutes before serving.
Can I make this sugar-free?
Yes! Use monk fruit sweetener or erythritol in place of the maple syrup in the cocoa, and use powdered monk fruit sweetener in the whipped cream. The cocoa itself has minimal natural sugar from the milk, so it’s very low-carb friendly.
How long does the whipped cream last?
Store it in an airtight container in the refrigerator for up to 2 days. It may firm up a bit, so just give it a quick whisk or stir before using. I don’t recommend leaving it out at room temperature for more than an hour.
Can I double this recipe for a party?
Definitely! Simply double or triple the ingredients. Keep the cocoa warm in a slow cooker on the “keep warm” setting, and set out the whipped cream and toppings for a self-serve bar. It’s perfect for holiday gatherings or cozy movie nights.
Pin This Recipe!
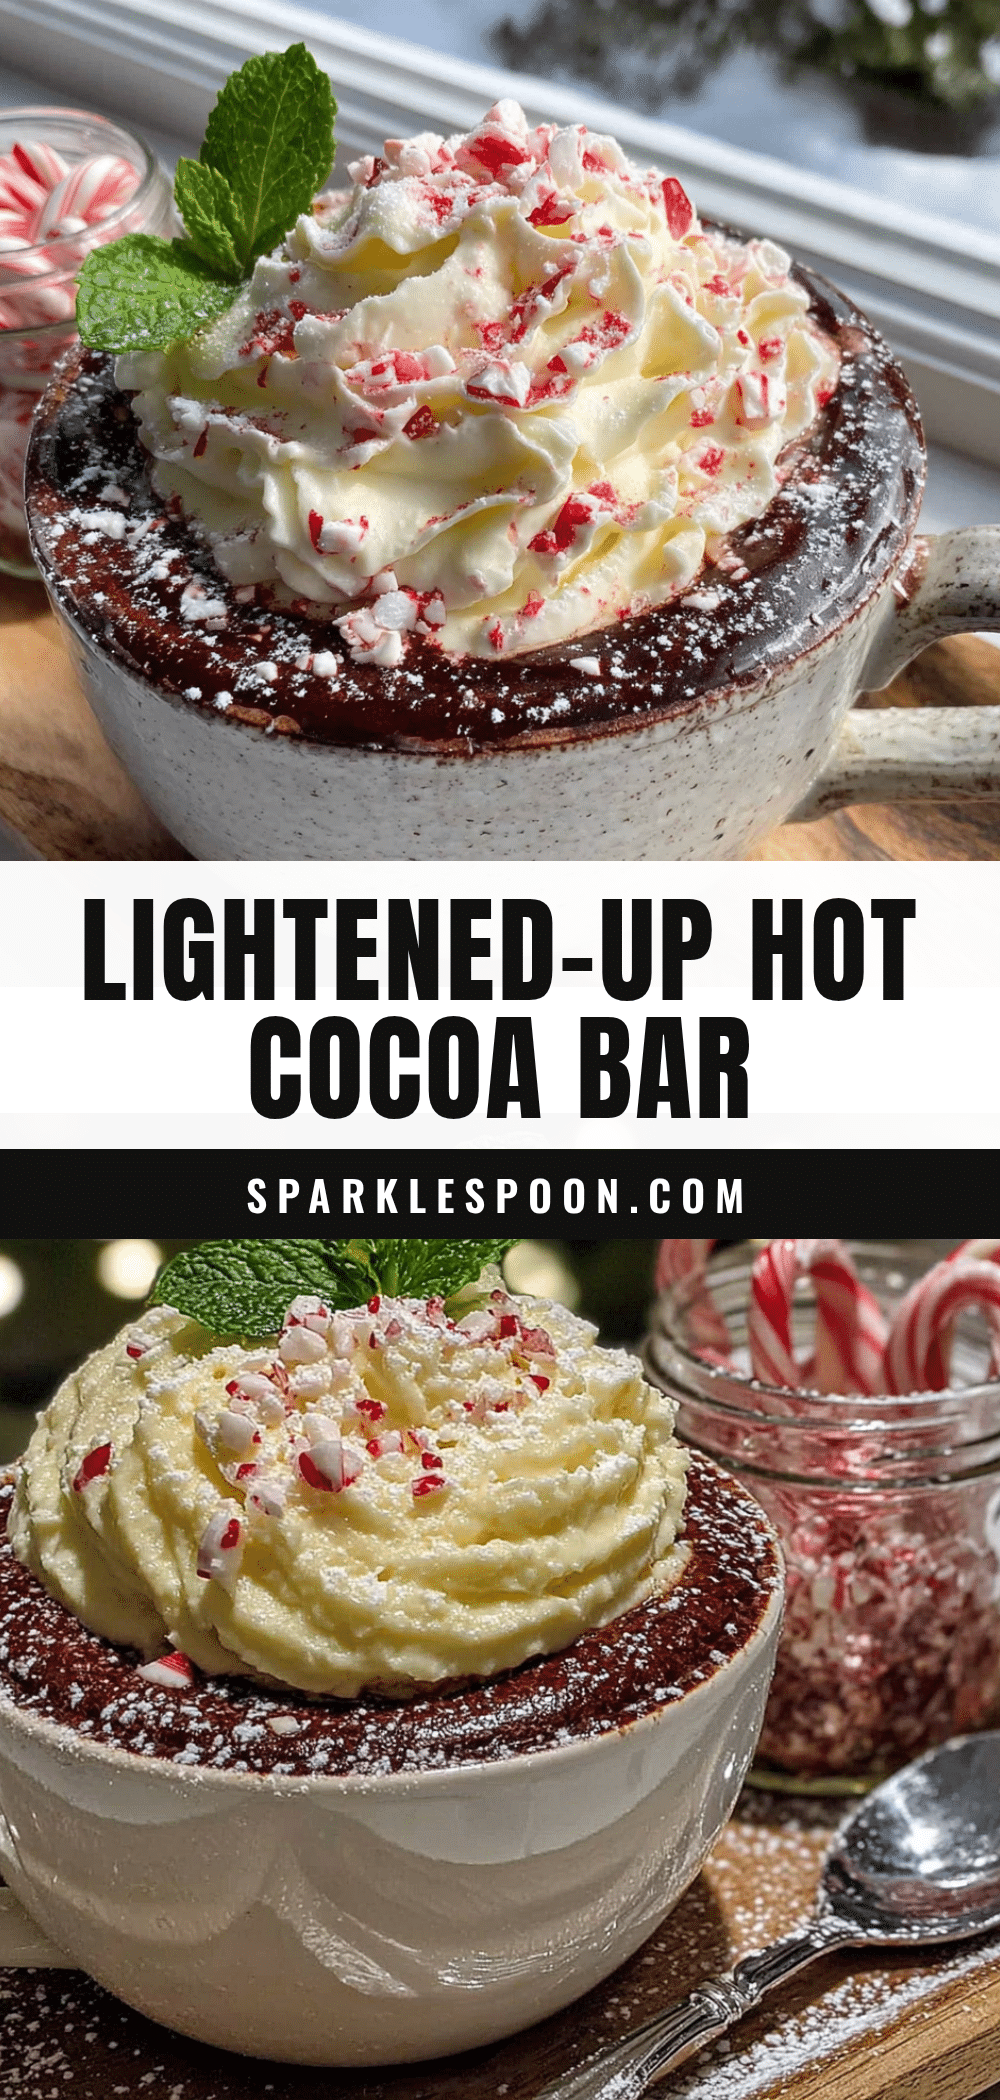
Lightened-Up Hot Cocoa Bar with Peppermint Cream
A quick and easy hot cocoa recipe made with simple, wholesome ingredients, topped with a dairy-free peppermint whipped cream. Perfect for cozy nights and holiday gatherings.
- Prep Time: 10 minutes
- Cook Time: 5 minutes
- Total Time: 15 minutes
- Yield: 2 servings 1x
- Category: Beverage
- Cuisine: American
Ingredients
- 2 tablespoons unsweetened cocoa powder
- 2 cups milk of choice (oat, almond, cow’s, or coconut milk)
- 1–2 tablespoons maple syrup or honey, to taste
- 1/2 teaspoon vanilla extract
- Pinch of sea salt
- 1 can full-fat coconut cream, chilled overnight
- 2 tablespoons powdered sugar or monk fruit sweetener
- 1/4 teaspoon peppermint extract
- Optional: crushed sugar-free candy canes or cacao nibs for garnish
- Optional toppings: dark chocolate shavings, cinnamon sticks, mini marshmallows, crushed peppermint candies
Instructions
- Chill the can of full-fat coconut cream in the refrigerator for at least 8 hours. Scoop out the solid white cream, discarding the liquid.
- In a chilled mixing bowl, combine the solid coconut cream, powdered sugar, and peppermint extract. Beat with a hand mixer on medium-high speed for 2-3 minutes until light, fluffy, and soft peaks form. Refrigerate until ready to use.
- In a small saucepan, whisk together the cocoa powder and about 1/4 cup of the milk until a smooth paste forms. Add the remaining milk, maple syrup, vanilla extract, and a pinch of sea salt. Whisk to combine.
- Place the saucepan over medium heat. Whisk frequently for 4-5 minutes until steaming hot but not boiling (small bubbles around the edges).
- Remove from heat. Taste and adjust sweetness or chocolate intensity as desired.
- Pour the hot cocoa into mugs. Top generously with peppermint whipped cream and optional garnishes. Serve immediately.
Notes
For best results, chill the coconut cream can overnight. Use a chilled bowl and beaters for the whipped cream. The cocoa base can be made ahead and stored in the fridge for up to 3 days; reheat gently. The whipped cream can be made a day ahead and kept covered in the fridge.
Nutrition
- Serving Size: 1 mug (about 1 cup)
- Calories: 180
- Sugar: 12
- Sodium: 120
- Fat: 9
- Saturated Fat: 7
- Carbohydrates: 22
- Fiber: 3
- Protein: 4
Keywords: hot cocoa, peppermint, dairy-free, vegan, gluten-free, lightened-up, healthy hot chocolate, coconut cream whipped cream



