Love this? Save it for later!
Share the inspiration with your friends
I was standing in the canned soup aisle at Kroger last November, staring at a can of cream of mushroom that I absolutely did not need, when this smell hit me. It wasn’t from the store—it was from somewhere deep in my memory banks. Roasted squash, browned butter, and that nutty, toasty scent of melted cheese. And suddenly I was eight years old in my neighbor Mrs. Kowalski’s tiny yellow kitchen, watching her stir something into a pot of macaroni that I’d never seen anyone add before.
Mrs. K (that’s what we called her) was this tiny Polish woman who lived three doors down and always had a jar of homemade pickles in her fridge. She wasn’t related to me or anything—she was just the kind of person who adopted the neighborhood kids who wandered into her yard. I’d show up after school sometimes, and she’d hand me a spoon and tell me to stir. I never asked what she was making. I just trusted her. That day, she was making mac and cheese, but it was orange in a way that wasn’t just cheddar. It was richer. Sweeter. She winked at me and said, “Secret ingredient. Don’t tell your mother.” I never did figure out what she put in there until years later, when I was roasting a butternut squash for soup and that exact smell came rushing back. Honestly, I almost cried right there in my kitchen.
Mrs. K moved away when I was twelve, and I never got her recipe. But this version—my version—is what I think she was making. It’s the mac and cheese I bring to every Friendsgiving now, the one people hover around and ask for the recipe before they’ve even finished their first serving. It’s cozy in that way only a dish made with squash and cheese can be, and it tastes like November feels. Maybe you’ve had a moment like that, where a random scent stops you mid-step and pulls you somewhere warm. That’s what this recipe is for me. And now, I get to share it with you.
Why You’ll Love This Recipe
Let me tell you why this particular mac and cheese has earned a permanent spot on my Friendsgiving table. I’ve tested this thing six times, tweaked the cheese ratios, tried different squashes, and even messed up the roux once so badly I had to start over (that was a Tuesday, and I was not happy about it). But every single time, the result was worth it.
- Quick & Easy: I know that sounds like a lie for a dish with roasted squash, but hear me out. You can roast the squash ahead of time—like, days ahead. Then the whole thing comes together in about 30 minutes. Perfect for when you’re hosting and already juggling a million things.
- Simple Ingredients: No weird cheese blends you have to special order. No obscure spices. You probably have most of this in your kitchen right now, minus maybe the butternut squash.
- Perfect for Friendsgiving: This dish was practically made for a table full of people you actually like. It’s hearty enough to be a main course for vegetarians, and it sits beautifully next to turkey, stuffing, or whatever else shows up.
- Crowd-Pleaser: I brought this to a potluck last year, and three separate people texted me the next day for the recipe. Even the picky eaters went back for seconds.
- Unbelievably Delicious: The squash makes the sauce velvety smooth without being heavy. It’s comfort food that somehow feels a little lighter, a little brighter, but still has that soul-soothing satisfaction you want from mac and cheese.
What makes this different from every other mac and cheese recipe out there? It’s the squash, sure. But it’s also the technique. I blend the roasted squash right into the cheese sauce, which gives it this silky texture you can’t get from flour and butter alone. Plus, the squash adds a subtle sweetness that balances the sharp cheddar perfectly. It’s not just another version—it’s the version. The one that makes you close your eyes after the first bite.
What Ingredients You Will Need
This recipe uses simple, wholesome ingredients to deliver bold flavor and satisfying texture without the fuss. Most of these are pantry staples or easy to find at any grocery store, especially during fall and winter when squash is at its peak.
For the Butternut Squash Puree
- 1 medium butternut squash (about 2 lbs or 900g), peeled, seeded, and cubed
- 2 tablespoons olive oil
- 1/2 teaspoon salt
- 1/4 teaspoon black pepper
For the Pasta
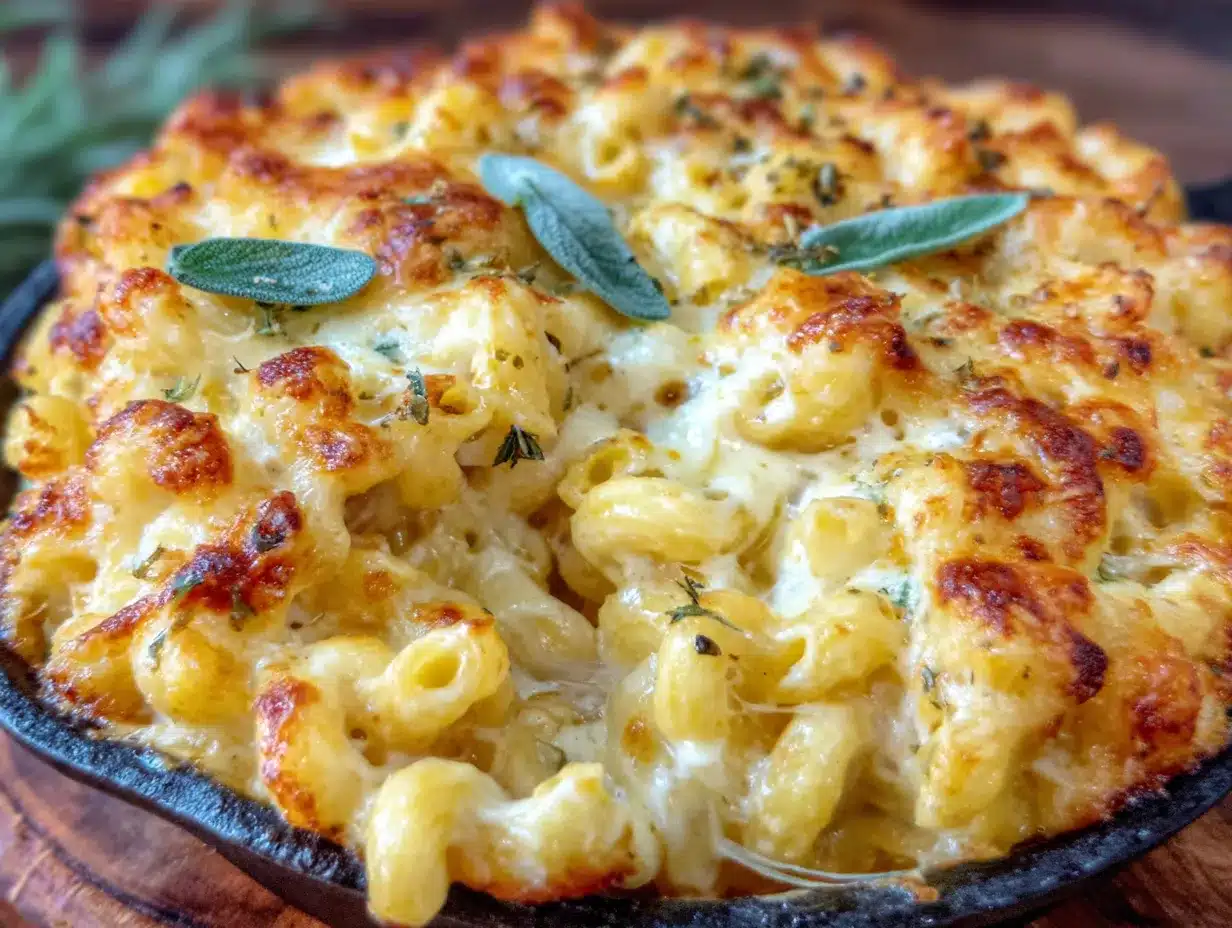
- 1 lb (450g) cavatappi or elbow macaroni (I prefer cavatappi—those curly tubes hold onto the sauce like nobody’s business)
- Salt for the pasta water (don’t skimp here—it’s your only chance to season the pasta itself)
For the Cheese Sauce
- 4 tablespoons (57g) unsalted butter
- 1/4 cup (31g) all-purpose flour
- 2 cups (480ml) whole milk, warmed
- 1 cup (240ml) heavy cream, warmed
- 2 cups (226g) sharp cheddar cheese, shredded (I recommend Cabot or Tillamook for best melting)
- 1 cup (113g) Gruyère cheese, shredded (adds that nutty, fancy flavor)
- 1/2 cup (60g) Parmesan cheese, grated
- 1 teaspoon Dijon mustard (trust me—it brightens everything)
- 1/2 teaspoon garlic powder
- 1/4 teaspoon smoked paprika
- 1/2 teaspoon salt (adjust to taste)
- 1/4 teaspoon black pepper
- 1 cup (240ml) butternut squash puree (from above)
For the Topping (Optional but Highly Recommended)
- 1 cup (100g) panko breadcrumbs
- 2 tablespoons butter, melted
- 1/4 cup (30g) Parmesan cheese, grated
- 2 tablespoons fresh sage, chopped (or 1 teaspoon dried)
Ingredient Tips: Look for a squash that feels heavy for its size—that means it’s dense and sweet. If you’re short on time, you can use 1 cup of high-quality canned pumpkin puree instead of roasted squash. It won’t be exactly the same, but it’ll still be delicious. For a gluten-free version, use gluten-free pasta and a 1:1 gluten-free flour blend. For a dairy-free option, swap the butter with vegan butter, use unsweetened oat milk, and choose your favorite dairy-free cheese shreds (though I’ll be honest—the texture won’t be quite as creamy).
Equipment Needed
You don’t need a fancy kitchen to pull this off. Here’s what you’ll actually use:
- Large pot for boiling pasta (at least 5 quarts)
- Baking sheet for roasting the squash (rimmed, so nothing slides off)
- Food processor or blender to puree the squash (I use my trusty Vitamix, but a regular blender works fine—just let the squash cool a bit first)
- Large saucepan or Dutch oven for the cheese sauce (I love my Le Creuset for this, but any heavy-bottomed pot will do)
- Whisk (a good one—don’t use a flimsy whisk, you’ll regret it)
- 9×13-inch baking dish (or similar 3-quart casserole dish)
- Cheese grater (please, for the love of all things cheesy, grate your own cheese—pre-shredded stuff has anti-caking agents that ruin the sauce)
- Mixing bowls for combining topping ingredients
If you don’t have a food processor, you can mash the roasted squash with a potato masher or even a fork. It won’t be as smooth, but it’ll still work. And if you don’t have a 9×13 dish, use a 10-inch cast iron skillet or even individual ramekins for a fun presentation. I’ve made this in a disposable aluminum pan for a potluck before, and it turned out just fine.
Preparation Method
Alright, let’s get cooking. I’ve broken this down into steps so you don’t miss anything. Read through once before you start—it’ll save you from scrambling mid-recipe.
Step 1: Roast the Squash
Preheat your oven to 400°F (200°C). Toss the cubed butternut squash with olive oil, salt, and pepper on a rimmed baking sheet. Spread it out in a single layer—don’t overcrowd, or it’ll steam instead of roast. Roast for 25-30 minutes, flipping halfway through, until the squash is fork-tender and the edges are starting to caramelize. You’ll know it’s done when you can easily pierce a cube with a fork and it smells like autumn in your kitchen. Let it cool for 5 minutes, then transfer to a blender or food processor. Puree until completely smooth. You should have about 1 cup of puree. Set aside.
Step 2: Cook the Pasta
While the squash roasts, bring a large pot of generously salted water to a boil. Cook the pasta according to package directions until al dente—usually about 8-10 minutes. Here’s the trick: undercook it by about 1 minute because it’ll continue cooking in the oven. Drain the pasta, but don’t rinse it. That starch on the surface helps the sauce cling. Set aside.
Step 3: Make the Roux
In a large saucepan or Dutch oven, melt the butter over medium heat. Once it’s bubbling, whisk in the flour. Keep whisking for about 2 minutes until the mixture turns a light golden color and smells slightly nutty. This is your roux, and it’s the foundation of your sauce. Don’t walk away here—burnt roux is a sad, sad thing. I learned that the hard way.
Step 4: Build the Cheese Sauce
Slowly pour in the warmed milk and cream, whisking constantly to prevent lumps. I warm my milk in the microwave for about 45 seconds before adding it—cold milk into a hot roux can cause it to seize up. Keep whisking until the mixture thickens enough to coat the back of a spoon, about 3-4 minutes. Reduce the heat to low.
Now, add the cheeses one handful at a time, stirring gently until each addition is fully melted before adding the next. This is where patience pays off. Add the Dijon mustard, garlic powder, smoked paprika, salt, and pepper. Then stir in the butternut squash puree. The sauce should be a beautiful golden-orange color and smell absolutely incredible. Taste it and adjust the seasoning—you want it slightly saltier than you think because the pasta will absorb some.
Step 5: Combine and Assemble
Add the cooked pasta to the cheese sauce and stir until every piece is coated. Pour the mixture into your greased 9×13 baking dish and spread it evenly.
Step 6: Make the Topping
In a small bowl, combine the panko breadcrumbs, melted butter, Parmesan, and chopped sage. Sprinkle this mixture evenly over the mac and cheese.
Step 7: Bake
Bake at 375°F (190°C) for 20-25 minutes, until the top is golden brown and the sauce is bubbly around the edges. If you want an extra-crispy topping, broil for 1-2 minutes at the end—but watch it closely, because breadcrumbs go from golden to burnt in seconds. Let it rest for 5 minutes before serving. I know it’s hard to wait, but trust me, it sets up better this way.
Cooking Tips & Techniques
Here’s the stuff I wish someone had told me before I started making this recipe. First, grate your own cheese. I know I said this already, but I’m saying it again because it’s that important. Pre-shredded cheese has cellulose in it to prevent clumping, and that same stuff prevents it from melting smoothly. Your sauce will be grainy, and you’ll be sad.
Don’t overcook the pasta. Mushy pasta in mac and cheese is a tragedy. Cook it al dente, and remember it’ll cook a little more in the oven. If you’re making this ahead of time (which you totally can), undercook the pasta by a full 2 minutes.
Warm your milk and cream. This was the game-changer for me. I used to add cold milk to my roux, and I’d end up with a lumpy mess that took forever to smooth out. Now I microwave my milk for about a minute before adding it, and the sauce comes together in half the time.
Season in layers. Salt your pasta water, season the squash while it roasts, and season the sauce before you add the pasta. Each layer of seasoning builds on the last, and you end up with a dish that tastes deeply flavorful instead of flat.
Let it rest. I know you want to dig in right away, but giving the mac and cheese 5-10 minutes out of the oven lets the sauce set up so it’s creamy instead of runny. I once served it immediately and it was like a cheese soup—still tasty, but not the experience I was going for.
Variations & Adaptations
This recipe is super flexible, so feel free to make it your own. Here are some variations I’ve tried and loved:
- Vegetarian & Hearty: Add 1 cup of roasted Brussels sprouts or kale (massaged with olive oil and salt) to the pasta before baking. The bitterness of the greens plays beautifully with the sweet squash.
- Protein-Packed: Stir in 2 cups of shredded rotisserie chicken or cooked Italian sausage. I did this for a Friendsgiving where I knew some folks wanted extra protein, and it was a hit.
- Gluten-Free: Use your favorite gluten-free pasta (I like the brown rice pasta from Trader Joe’s) and a 1:1 gluten-free flour blend for the roux. The texture will be slightly different, but still delicious.
- Dairy-Free: Swap the butter with vegan butter, use unsweetened oat milk or cashew milk, and choose dairy-free cheese shreds. I’ve tried this with Violife cheddar shreds, and it was surprisingly good—just not quite as creamy.
- Spicy Twist: Add 1/2 teaspoon of cayenne pepper or a diced jalapeño to the sauce for a kick. My friend Sarah requested this version, and now it’s her go-to.
- Herb-Infused: Swap the sage in the topping for fresh thyme or rosemary. I did this once when I ran out of sage, and it was lovely—earthy and fragrant.
Serving & Storage Suggestions
This mac and cheese is best served warm, straight from the oven, with that golden topping and bubbly edges. I like to scoop it into bowls and top it with a sprinkle of fresh black pepper and maybe some extra chopped sage if I’m feeling fancy. It’s hearty enough to be a main dish, but it also shines as a side next to roasted turkey, honey-glazed ham, or even a simple green salad with vinaigrette.
For Friendsgiving, I set it out on a trivet with a serving spoon and watch it disappear. It pairs beautifully with a crisp white wine like Sauvignon Blanc or a light red like Pinot Noir. If you’re serving it with other sides, keep it warm in a 200°F oven until everything else is ready.
Storage: Leftovers (if you have any) keep in an airtight container in the fridge for up to 4 days. The pasta will absorb some of the sauce, so it won’t be quite as creamy the next day, but it’s still delicious. To reheat, add a splash of milk and microwave in 30-second bursts, stirring in between. Or reheat in a 350°F oven for about 15 minutes, covered with foil.
Freezer: This mac and cheese freezes beautifully. Assemble the dish but don’t bake it, cover tightly with foil, and freeze for up to 3 months. When you’re ready to eat, thaw overnight in the fridge, then bake as directed, adding about 10 minutes to the cooking time. I’ve done this for two Friendsgivings now, and nobody ever knows it was frozen.
The flavors actually deepen after a day in the fridge—the squash and cheese meld together in a way that’s even more comforting. So don’t be afraid to make it ahead.
Nutritional Information & Benefits
I’m not a nutritionist, but I can tell you this: this mac and cheese is packed with good stuff. Here’s the estimated breakdown per serving (based on 8 servings):
- Calories: ~520
- Protein: 22g
- Fat: 28g
- Carbohydrates: 48g
- Fiber: 4g
- Sugar: 8g
Butternut squash is a nutritional powerhouse—it’s loaded with vitamin A (great for your eyes and immune system), vitamin C, potassium, and fiber. The squash also adds natural sweetness, which means you can use less salt and still get amazing flavor. The cheese provides calcium and protein, and the whole milk and cream add richness that keeps you satisfied.
This recipe is vegetarian as written, and can easily be made gluten-free or dairy-free with the swaps I mentioned. It’s not low-calorie, but it’s real food made from scratch—and sometimes that’s exactly what you need.
From a wellness perspective, I love that this dish feels indulgent but is actually full of vegetables. It’s comfort food that doesn’t leave you feeling heavy or guilty. It’s the kind of meal that nourishes you, body and soul.
Conclusion
This Cozy Friendsgiving Butternut Squash Mac and Cheese is more than just a recipe—it’s a memory in the making. It’s the dish that brings people together around a table, the one that sparks conversation and second helpings. It’s the taste of November, of gratitude, of good friends and good food.
I hope you make this for your next gathering, whether it’s Friendsgiving, a holiday dinner, or just a random Tuesday when you need something warm and comforting. Don’t be afraid to tweak it—add your favorite cheese, swap in different herbs, make it your own. That’s what cooking is all about.
I’d love to hear how it turns out for you. Drop a comment below and let me know if you tried any variations, or tag me in your photos on social media. Seriously, it makes my day when I see someone else making this recipe. And if you’re looking for more cozy fall dishes, check out my roasted Brussels sprouts with balsamic glaze or my easy apple crisp for dessert. Happy cooking, friends!
Frequently Asked Questions
Can I use frozen butternut squash instead of fresh?
Absolutely. Frozen butternut squash is a great time-saver. Just thaw it, pat it dry, and roast it as directed. It might be a little more watery than fresh, so drain off any excess liquid before pureeing.
Can I make this without a food processor?
Yes! If you don’t have a food processor or blender, you can mash the roasted squash with a potato masher or even a fork. It won’t be perfectly smooth, but it’ll still work beautifully in the sauce.
What’s the best cheese for mac and cheese?
I love a combination of sharp cheddar for flavor, Gruyère for its nutty meltability, and Parmesan for a salty kick. But feel free to experiment—Gouda, fontina, or even Monterey Jack would be delicious.
Can I skip the topping?
You can, but I wouldn’t. The crunchy panko-sage topping is what takes this from good to great. If you’re in a hurry, you can skip it and just bake the mac and cheese as-is, but the topping adds texture and flavor that’s totally worth the extra 2 minutes.
How do I prevent my cheese sauce from being grainy?
Grate your own cheese (I know, I sound like a broken record), add it gradually over low heat, and don’t let the sauce boil after you’ve added the cheese. High heat can cause the proteins to separate, leaving you with a grainy texture. Patience is key here.
Pin This Recipe!
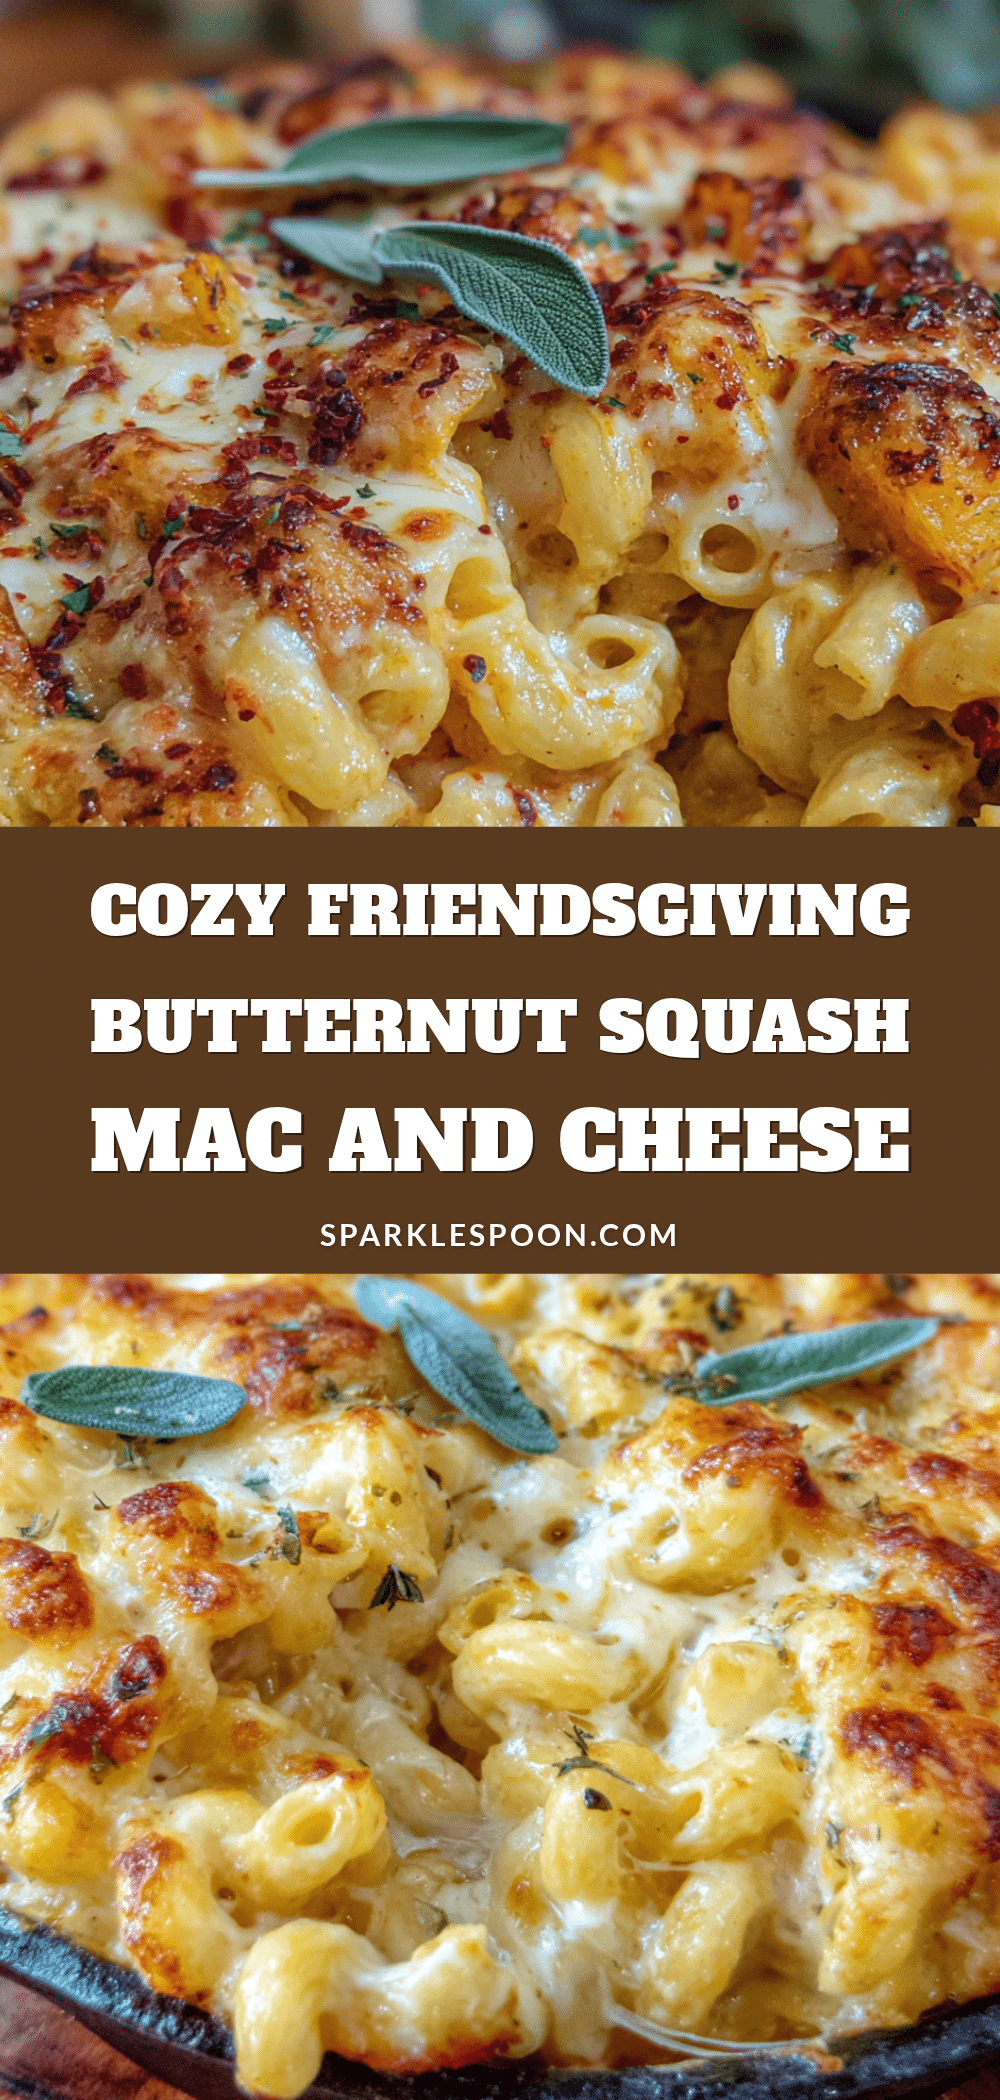
Cozy Friendsgiving Butternut Squash Mac and Cheese

This creamy, velvety mac and cheese features roasted butternut squash blended into a rich cheese sauce, topped with a crunchy panko-sage crust. It’s the ultimate comfort dish for Friendsgiving or any fall gathering.
- Prep Time: 15 minutes
- Cook Time: 45 minutes
- Total Time: 1 hour
- Yield: 8 servings 1x
- Category: Main Course
- Cuisine: American
Ingredients
- 1 medium butternut squash (about 2 lbs or 900g), peeled, seeded, and cubed
- 2 tablespoons olive oil
- 1/2 teaspoon salt
- 1/4 teaspoon black pepper
- 1 lb (450g) cavatappi or elbow macaroni
- Salt for the pasta water
- 4 tablespoons (57g) unsalted butter
- 1/4 cup (31g) all-purpose flour
- 2 cups (480ml) whole milk, warmed
- 1 cup (240ml) heavy cream, warmed
- 2 cups (226g) sharp cheddar cheese, shredded
- 1 cup (113g) Gruyère cheese, shredded
- 1/2 cup (60g) Parmesan cheese, grated
- 1 teaspoon Dijon mustard
- 1/2 teaspoon garlic powder
- 1/4 teaspoon smoked paprika
- 1/2 teaspoon salt (adjust to taste)
- 1/4 teaspoon black pepper
- 1 cup (240ml) butternut squash puree (from above)
- 1 cup (100g) panko breadcrumbs
- 2 tablespoons butter, melted
- 1/4 cup (30g) Parmesan cheese, grated
- 2 tablespoons fresh sage, chopped (or 1 teaspoon dried)
Instructions
- Preheat oven to 400°F (200°C). Toss cubed butternut squash with olive oil, salt, and pepper on a rimmed baking sheet. Spread in a single layer and roast for 25-30 minutes, flipping halfway, until fork-tender and edges caramelize. Let cool 5 minutes, then puree in a blender or food processor until smooth. Set aside (should yield about 1 cup).
- While squash roasts, bring a large pot of generously salted water to a boil. Cook pasta according to package directions until al dente (undercook by 1 minute). Drain, do not rinse.
- In a large saucepan or Dutch oven, melt butter over medium heat. Whisk in flour and cook for 2 minutes until light golden and nutty (roux).
- Slowly pour in warmed milk and cream, whisking constantly. Cook until thickened enough to coat the back of a spoon, about 3-4 minutes. Reduce heat to low.
- Add cheeses one handful at a time, stirring until melted before adding the next. Stir in Dijon mustard, garlic powder, smoked paprika, salt, pepper, and butternut squash puree. Adjust seasoning.
- Add cooked pasta to the cheese sauce and stir until coated. Pour into a greased 9×13-inch baking dish.
- In a small bowl, combine panko breadcrumbs, melted butter, Parmesan, and chopped sage. Sprinkle evenly over the mac and cheese.
- Bake at 375°F (190°C) for 20-25 minutes until golden and bubbly. For extra crispy topping, broil 1-2 minutes. Let rest 5 minutes before serving.
Notes
Grate your own cheese for a smooth sauce. Warm milk and cream before adding to roux to prevent lumps. Undercook pasta slightly as it will continue cooking in the oven. Let the dish rest 5 minutes after baking to set the sauce. Can be assembled ahead and frozen unbaked for up to 3 months.
Nutrition
- Serving Size: 1 serving (1/8 of re
- Calories: 520
- Sugar: 8
- Sodium: 680
- Fat: 28
- Saturated Fat: 16
- Carbohydrates: 48
- Fiber: 4
- Protein: 22
Keywords: butternut squash mac and cheese, Friendsgiving, fall comfort food, vegetarian mac and cheese, creamy mac and cheese



