Love this? Save it for later!
Share the inspiration with your friends
I was standing in the checkout line at the grocery store last Tuesday, half-listening to the Muzak and mentally running through my to-do list, when a kid behind me ripped open a bag of pretzel rods. The smell hit me—that salty, almost toasty scent—and suddenly I was eight years old, sitting cross-legged on my Aunt Margo’s linoleum kitchen floor. She was pulling a tray of these funny, knobby pretzel things out of the oven, and she turned to me with a wink and said, “These are for the Halloween party. Don’t you dare tell anyone they’re not real fingers.” I remember the way the white chocolate looked, all lumpy and pale, and how she’d stuck an almond sliver on the end for a fingernail. It was ridiculous. It was perfect. And honestly, I haven’t stopped thinking about them since. Maybe you’ve been there—you catch a whiff of something ordinary, and it just unlocks a whole room in your memory. That’s what this recipe is for me. It’s not fancy, and it’s not complicated, but it’s that one thing that makes a Halloween party feel like a Halloween party. I’ve been making them every year since, and I’ve finally got the method down so they’re easy, fast, and just spooky enough to make people do a double-take. Let’s make some witch fingers.
Why You’ll Love This Recipe
Let’s be real—when you’re running around on a weeknight trying to get a costume together and the doorbell is about to start ringing, the last thing you need is a complicated dessert. These witch finger pretzels are the kind of recipe that saves your sanity. They look like you spent hours on them, but they come together in about 15 minutes of active work. I mean, that’s less time than it takes to find the Halloween decorations in the attic.
- Quick & Easy: From start to finish, you’re looking at about 20 minutes total. That includes melting the chocolate and sticking on the almonds. Perfect for those “I totally forgot about the school party” moments.
- Simple Ingredients: You need exactly four things: pretzel rods, white chocolate chips or melting wafers, slivered almonds, and a little bit of red food coloring. That’s it. No weird stuff you have to hunt down at three different stores.
- Perfect for Halloween: These are the star of any Halloween spread—classroom parties, office potlucks, or just a creepy snack for movie night. They’re spooky without being too gross.
- Crowd-Pleaser: Kids go nuts for them, and adults can’t stop picking them up. They’re salty, sweet, and just weird enough to be fun.
- Unbelievably Delicious: The combo of crunchy pretzel, smooth white chocolate, and buttery almond is honestly addictive. I’ve eaten more than I’d like to admit straight off the tray.
What makes these different from other Halloween treats? It’s the texture. Most spooky snacks are all sugar and no crunch. These have that satisfying snap from the pretzel, the creamy melt of the chocolate, and the little pop from the almond “fingernail.” It’s a perfect bite. And honestly, it’s the kind of thing that makes people smile. You put a plate of these out, and suddenly everyone’s in a better mood. It’s comfort food with a creepy twist.
What Ingredients You Will Need
This recipe uses simple, everyday ingredients that you can grab on a quick trip to the store. Nothing fancy, nothing expensive—just the basics that come together to make something that looks way more complicated than it is. Here’s what you need:
- Pretzel rods (1 bag, about 12-16 ounces): These are the “bones” of your witch fingers. Look for thick, sturdy rods that won’t snap easily when you’re dipping them. I prefer the standard brand, but any will work. You want them to be straight-ish, not too curved, so they look more like fingers.
- White chocolate chips or melting wafers (12 ounces or about 2 cups): This is the “skin.” Melting wafers are easier to work with because they don’t seize up as easily, but good-quality white chocolate chips work fine too. If you’re using chips, add a teaspoon of coconut oil or shortening to help them melt smoothly. I’ve used both, and honestly, the wafers are less stressful for a weeknight.
- Slivered almonds (about 1/2 cup): These become the fingernails. You want the raw, slivered kind—not roasted or salted, because they’ll be more flexible and look more realistic. Pick out the biggest, flattest pieces you can find. The shape matters for the spooky factor.
- Red food coloring (gel or liquid, a few drops): This is for the “blood” at the base of the fingernail and maybe a little around the “knuckle.” Gel coloring gives you a more intense red without thinning the chocolate, but liquid works fine. You really only need a tiny bit.
- Optional: A pinch of salt or sprinkles: If you want a little extra crunch or a salty-sweet kick, a flaky sea salt on top is amazing. Orange or black sprinkles are fun for a less-spooky version.
One thing I’ve learned the hard way: don’t skip the step of checking your almonds. I once grabbed a bag of sliced almonds instead of slivered, and they were too thin and kept breaking. Slivered almonds have that nice, teardrop shape that looks just like a real fingernail. It’s a small detail, but it makes the whole thing work.
Equipment Needed
You don’t need a lot of fancy gear for this, which is part of the beauty. Here’s what you’ll need:
- Baking sheet: A standard half-sheet pan works perfectly. Line it with parchment paper or a silicone baking mat for easy cleanup.
- Microwave-safe bowl or double boiler: A glass bowl works great for melting the chocolate in the microwave. If you’re using a double boiler, just make sure the bowl doesn’t touch the water.
- Small spoon or offset spatula: For spreading the chocolate onto the pretzels. A butter knife works in a pinch, but an offset spatula gives you more control.
- Tweezers or toothpick: For placing the almond “fingernails” and adding the red food coloring details. Tweezers are surprisingly helpful for getting the almonds exactly where you want them.
- Piping bag or small zip-top bag: For drizzling the red “blood” if you want to get fancy. Honestly, a toothpick dipped in food coloring works just as well.
I’ll be real with you: I’ve made these with just a microwave, a fork, and a cutting board when I was visiting my parents’ house. They weren’t as pretty, but they tasted the same. Don’t let the equipment list stress you out.
Preparation Method
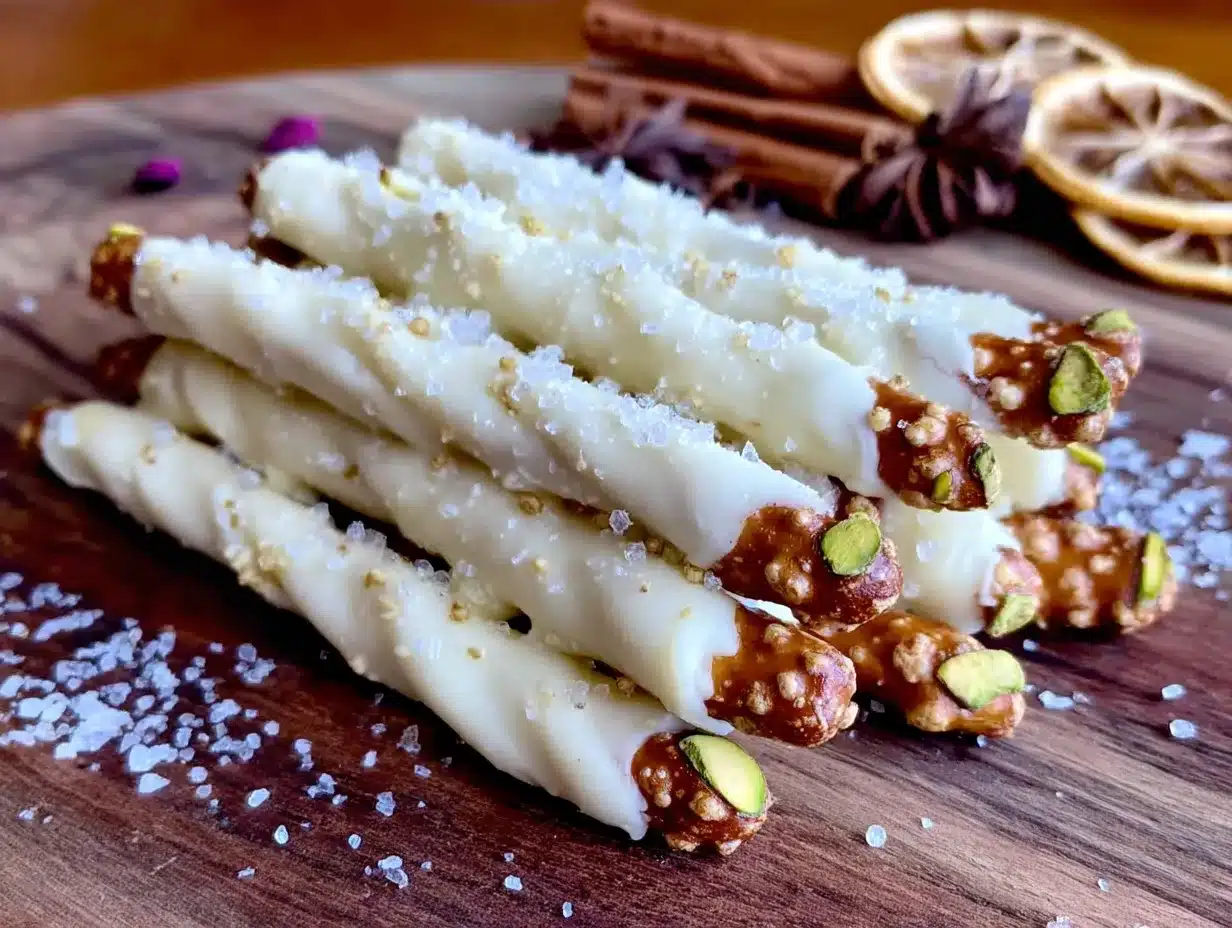
Alright, let’s get into it. This is the fun part. The whole process takes about 20 minutes, and most of that is just waiting for chocolate to set. Here’s how to do it:
- Line your baking sheet with parchment paper or a silicone mat. This is non-negotiable—trust me, you don’t want to be scraping melted chocolate off a bare pan. Set it aside where it can sit undisturbed for about 10 minutes.
- Melt the white chocolate. Put your white chocolate chips or melting wafers in a microwave-safe bowl. Microwave in 30-second intervals, stirring well after each one. It usually takes about 1.5 to 2 minutes total. Stop when the chocolate is mostly melted and just a few lumps remain—stir until it’s completely smooth. If it looks thick, add a teaspoon of coconut oil. Don’t overheat it, or it’ll seize up and get grainy. I’ve ruined a batch by getting impatient and nuking it for a full minute—don’t be me.
- Dip the pretzel rods. Take one pretzel rod and dip it into the melted white chocolate, covering about two-thirds of the rod. Let the excess drip off back into the bowl. You want a nice, even coating, but you don’t need it to be super thick. Place the dipped pretzel on the prepared baking sheet. Repeat with the remaining pretzels, working quickly so the chocolate doesn’t start to set.
- Add the fingernails. While the chocolate is still wet, take a slivered almond and press it gently into the tip of the pretzel, pointed end facing outward. It should look like a fingernail sitting on top of a finger. Press it just enough so it sticks, but don’t push it all the way in—you want it to stand out. Use tweezers if you have them, or just your fingers (they’ll get a little chocolatey, but that’s fine).
- Create the “blood” detail. Dip a toothpick into the red food coloring and dab a tiny bit at the base of the almond “fingernail.” You can also add a little smear around the “knuckle” area of the pretzel if you want it to look extra gruesome. A little goes a long way—you can always add more, but you can’t take it away. I usually do one small dab per finger, and it looks plenty spooky.
- Let them set. Leave the pretzels on the baking sheet at room temperature for about 10-15 minutes, or until the white chocolate is completely firm. If you’re in a hurry, you can pop them in the fridge for 5 minutes, but don’t leave them too long or the chocolate might get condensation spots.
- Serve or store. Once they’re set, you can arrange them on a platter or store them in an airtight container. They’re best eaten within a day or two, but they’ll keep for up to a week if stored properly.
One thing I always do: I make a few “practice” fingers first to get the hang of it. The first one is always a little messy, but by the third one, you’ll be a pro. Don’t stress about perfection—the slightly uneven, lumpy look actually makes them more realistic. Real fingers aren’t perfect either!
Cooking Tips & Techniques
I’ve made these witch finger pretzels probably a dozen times over the years, and I’ve picked up a few tricks that make the process smoother. Here’s what I’ve learned from my failures:
Don’t overheat the chocolate. This is the number one mistake. White chocolate is finicky—it seizes up if it gets too hot or if any water gets into it. Melt it low and slow. If it does seize, you can try adding a teaspoon of vegetable oil and stirring vigorously, but honestly, it’s easier to just start over with fresh chocolate. I’ve had to do that twice, and it’s annoying but worth it.
Work in batches. Don’t try to dip all the pretzels at once if your bowl isn’t big enough. Work with 5-6 at a time so the chocolate doesn’t start setting before you get the almonds on. If the chocolate in the bowl starts to thicken, pop it back in the microwave for 10 seconds.
Use a fork for dipping. If you want a cleaner finish, use a fork to lower the pretzel into the chocolate and lift it out, letting the excess drip through the tines. This gives you a thinner, more even coating. I usually just dip by hand because it’s faster, but the fork method looks more polished.
Keep the almonds organized. Before you start, sort through your slivered almonds and pick out the ones that look most like fingernails—flat, wide, and slightly curved. Have them ready in a small bowl so you’re not fumbling around when the chocolate is wet. I learned this the hard way when I was digging through the bag with chocolate-covered fingers.
Plan your timing. These are best made the day you’re serving them, but you can make them a day ahead. If you’re making them for a party, do the dipping and almond placement the night before, and add the red food coloring details right before serving. The red can bleed a little if it sits too long, so fresh is better.
Variations & Adaptations
One of the best things about this recipe is how easy it is to change up. Here are a few ways I’ve made it different over the years:
Dark Chocolate Witch Fingers: Swap the white chocolate for dark or milk chocolate. The dark chocolate gives them a more sinister look, honestly. I did this one year when I ran out of white chocolate, and they looked like creepy, gnarled old witch fingers. Use the same method, but melt dark chocolate chips instead. The almond “fingernails” stand out beautifully against the dark background.
Green “Witch Skin” Version: Add a few drops of green food coloring to the white chocolate before dipping. Stir it in well, and you get these pale green fingers that look truly otherworldly. I did this for a “Wicked Witch” themed party, and they were a huge hit. Just be careful not to add too much color, or the chocolate can get a little weird in texture.
Gluten-Free Option: Use gluten-free pretzel rods. They’re available at most grocery stores now, and they work exactly the same way. The texture is a little different—a bit more crumbly—but the taste is still great. I’ve made these for a friend with celiac disease, and she was thrilled.
Extra Spooky “Blood” Drip: Instead of just a dab at the fingernail, drizzle a little red candy melt or thinned red food coloring down the side of the pretzel to look like dripping blood. I do this by melting a few red candy melts with a drop of water and drizzling it with a toothpick. It’s extra messy, but it’s perfect for a horror movie night.
Nut-Free Version: Skip the almonds and use a small piece of dried apricot or a white chocolate chip for the fingernail. It doesn’t look quite as realistic, but it works for nut-free classrooms or parties. I’ve also used a tiny piece of banana chip, which gives a similar shape.
Serving & Storage Suggestions
These witch finger pretzels are best served at room temperature, arranged on a platter in a way that looks like a pile of severed fingers. I like to put them on a black or dark purple plate for maximum creep factor. You can also stand them up in a small cup or jar, pointing upward, like they’re reaching out of a grave. It sounds silly, but it gets a great reaction.
For a Halloween party, I serve them alongside other spooky snacks like “eyeball” cupcakes or “mummy” hot dogs. They also pair surprisingly well with a hot cup of apple cider or a pumpkin spice latte—the salty-sweet combo is perfect with something warm and spiced. If you’re doing a dessert table, put them near the front because they’re such a conversation starter.
For storage, place the finished pretzels in an airtight container, layered between sheets of parchment paper. They’ll keep at room temperature for up to a week, but they’re best within the first 2-3 days. Don’t refrigerate them unless you absolutely have to, because the chocolate can get condensation and look blotchy. If you do refrigerate, let them come to room temperature before serving so the chocolate isn’t too hard.
One thing I’ve noticed: the flavors actually get a little better after a day. The salt from the pretzel melds with the sweetness of the chocolate, and the almond flavor deepens. So if you’re making them for a Saturday party, Friday afternoon is the perfect time to whip them up.
Nutritional Information & Benefits
Let’s be honest—these are a treat, not a health food. But here’s the breakdown if you’re curious. Per serving (about 2 pretzel fingers), you’re looking at roughly:
- Calories: 180-200
- Fat: 10-12 grams (mostly from the white chocolate and almonds)
- Carbohydrates: 20-22 grams
- Sugar: 12-14 grams
- Protein: 3-4 grams
- Sodium: 200-250 mg (from the pretzels)
On the plus side, the almonds do provide a small amount of healthy fats, vitamin E, and magnesium. And the pretzels give you a little bit of iron and B vitamins. But honestly, these are about fun, not nutrition. If you’re looking for a slightly lighter version, you can use dark chocolate instead of white, which has more antioxidants and less sugar. Or use a sugar-free white chocolate alternative, though the texture might be different.
One thing to note: these are not gluten-free unless you specifically buy gluten-free pretzels. And they obviously contain dairy from the white chocolate. If you’re vegan, look for dairy-free white chocolate chips—they exist and work just as well.
Conclusion
These easy spooky white chocolate witch finger pretzels are the kind of recipe that makes you look like a Halloween hero without actually having to do much work. They’re quick, they’re fun, and they always get a laugh—or a scream, depending on how realistic you make them. I love making them because they remind me of that afternoon in my aunt’s kitchen, and because they’re one of those rare treats that both kids and adults genuinely enjoy. You can dress them up or keep them simple, add extra spooky details or just stick with the basics. The recipe is forgiving, and the result is always delicious.
So go ahead—give them a try. Customize them however you want, and don’t be afraid to get a little messy. That’s half the fun. And when you make them, I’d love to hear about it. Drop a comment below and tell me how they turned out, or share your own creepy twist on the recipe. Did you add green food coloring? Use dark chocolate? Make a whole hand? I want to know. Happy Halloween, and happy snacking!
Frequently Asked Questions
Can I use white chocolate chips instead of melting wafers?
Yes, you can. Just add a teaspoon of coconut oil or shortening to help them melt smoothly. White chocolate chips can be a little thicker, so the oil helps them coat the pretzels more evenly.
How far in advance can I make these?
You can make them up to 3 days ahead. Store them in an airtight container at room temperature. If you’re adding red food coloring details, it’s best to do that the day you serve them so the color doesn’t bleed.
Can I freeze these witch finger pretzels?
I don’t recommend freezing them. The white chocolate can get condensation when it thaws, which makes the surface look blotchy and can affect the texture. They’re best made fresh or within a few days.
What if my white chocolate seizes up?
If your chocolate gets grainy and thick, you can try adding a teaspoon of vegetable oil or coconut oil and stirring vigorously. If that doesn’t work, it’s best to start over with fresh chocolate. To prevent seizing, melt it slowly and make sure no water gets into the bowl.
Can I make these without almonds for a nut-free version?
Absolutely. Use a small piece of dried apricot, a white chocolate chip, or even a tiny piece of banana chip for the fingernail. The look won’t be as realistic, but they’ll still be delicious and spooky.
Pin This Recipe!
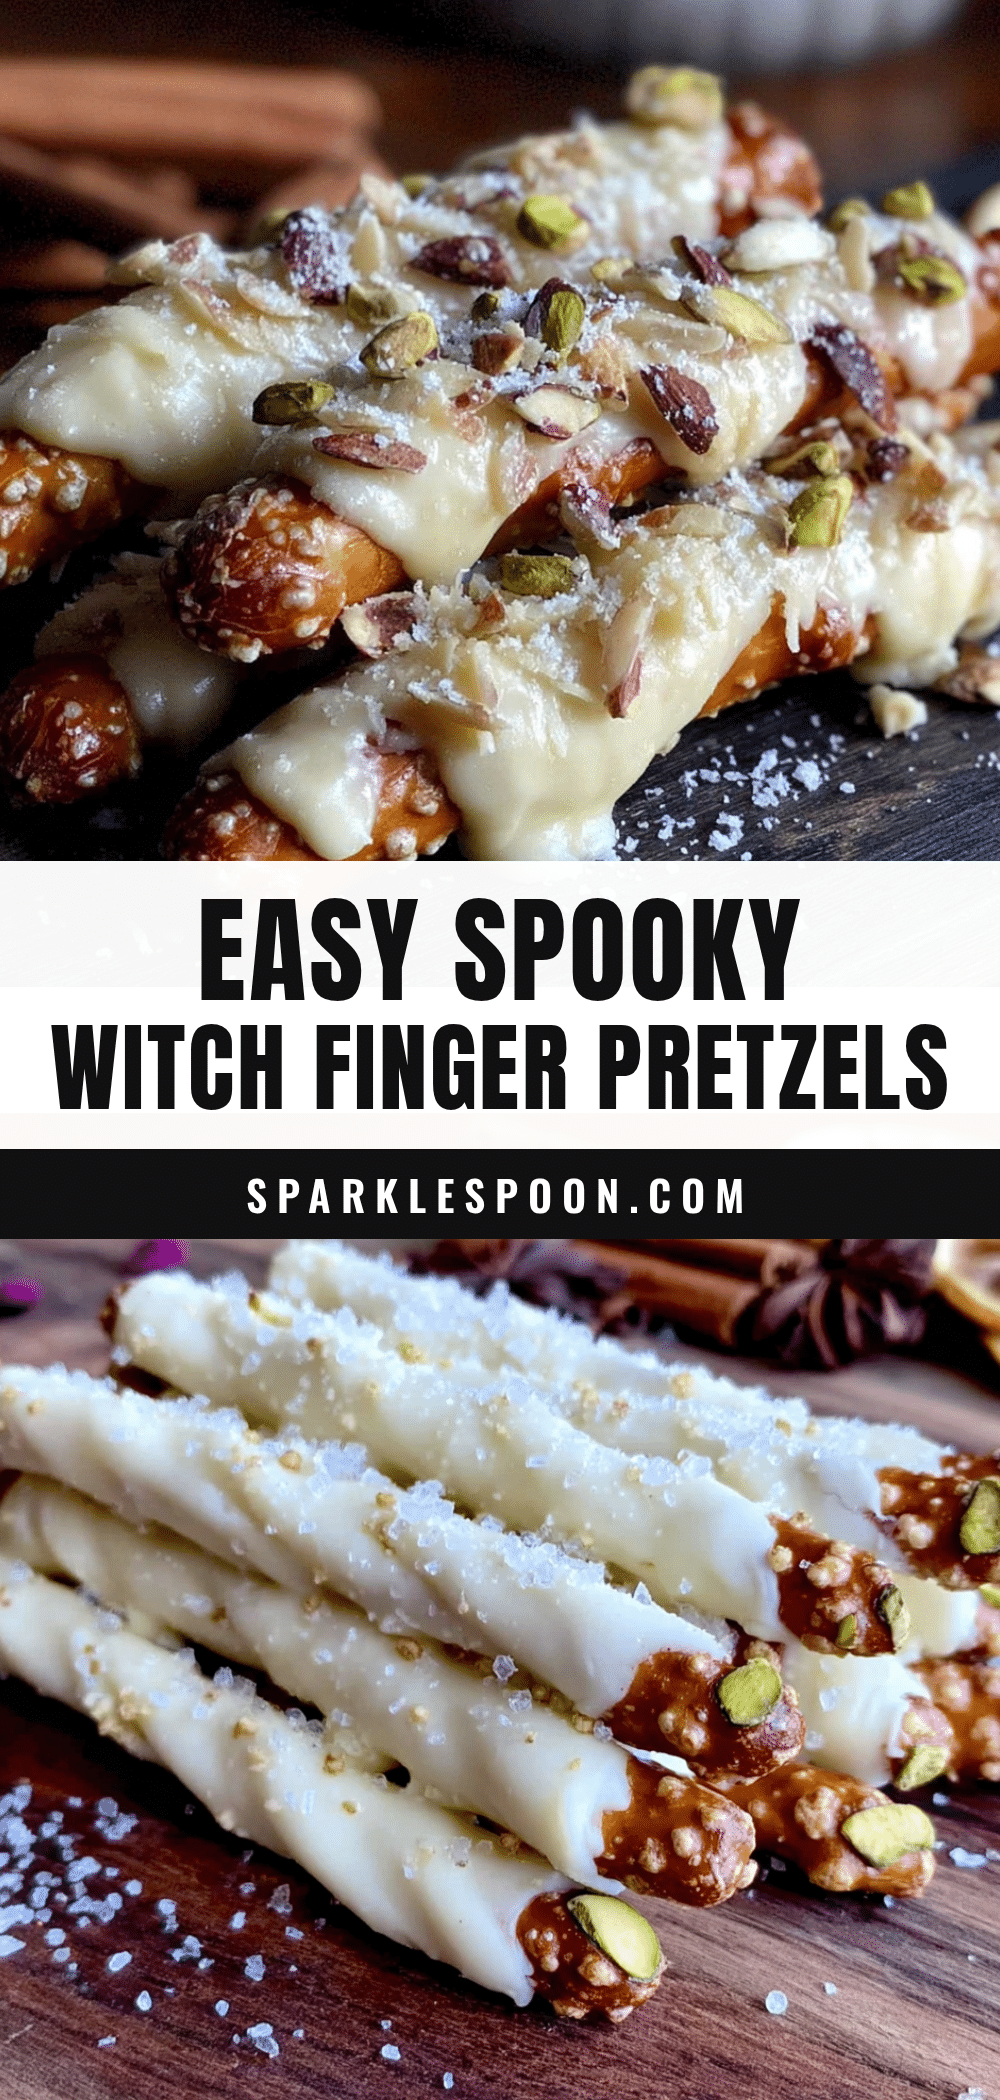
Easy Spooky Witch Finger Pretzels: Best White Chocolate Treat

These easy spooky white chocolate witch finger pretzels are the kind of recipe that makes you look like a Halloween hero without actually having to do much work. They’re quick, they’re fun, and they always get a laugh—or a scream, depending on how realistic you make them.
- Prep Time: 15 minutes
- Cook Time: 5 minutes
- Total Time: 20 minutes
- Yield: 12 servings 1x
- Category: Dessert
- Cuisine: American
Ingredients
- 1 bag (12-16 ounces) pretzel rods
- 12 ounces (about 2 cups) white chocolate chips or melting wafers
- 1/2 cup slivered almonds
- Red food coloring (gel or liquid, a few drops)
- Optional: pinch of flaky sea salt or sprinkles
Instructions
- Line your baking sheet with parchment paper or a silicone mat.
- Melt the white chocolate in a microwave-safe bowl in 30-second intervals, stirring well after each one, until smooth (about 1.5 to 2 minutes total). Add a teaspoon of coconut oil if needed.
- Dip each pretzel rod into the melted white chocolate, covering about two-thirds of the rod. Let excess drip off, then place on the prepared baking sheet.
- While the chocolate is still wet, press a slivered almond into the tip of each pretzel (pointed end outward) to create a fingernail.
- Dip a toothpick into red food coloring and dab a tiny bit at the base of each almond ‘fingernail’ and optionally around the ‘knuckle’ area.
- Let the pretzels set at room temperature for 10-15 minutes, or until the chocolate is firm. For faster setting, refrigerate for 5 minutes.
- Serve immediately or store in an airtight container.
Notes
Don’t overheat the white chocolate or it will seize. Work in batches to prevent chocolate from setting before adding almonds. For best results, add red food coloring details just before serving to prevent bleeding.
Nutrition
- Serving Size: 2 pretzel fingers
- Calories: 190
- Sugar: 13
- Sodium: 225
- Fat: 11
- Saturated Fat: 6
- Carbohydrates: 21
- Fiber: 1
- Protein: 3.5
Keywords: Halloween treats, witch finger pretzels, white chocolate pretzels, spooky snacks, easy Halloween dessert



