Love this? Save it for later!
Share the inspiration with your friends
The dryer had just finished its cycle, and I was pulling out a warm towel when it happened. That dusty, warm, almost earthy smell of cumin and chili powder wafted up from somewhere—maybe it was stuck in the fabric softener sheet, maybe it was just my brain playing tricks. But there I was, suddenly seven years old, sitting at Aunt Rita’s wobbly oak table with a plastic spoon in my hand and a bowl of something steaming in front of me. She called it “kitchen sink soup” because she’d toss in whatever was in the pantry. I remember the way the broth stained the edges of her Melamine bowls orange, and how she’d always put out little bowls of shredded cheese and crushed tortilla chips so we could build our own bowls. Honestly, I haven’t thought about that table in years. It had a crack right down the middle from when Uncle Joe dropped a cast iron skillet on it, and she’d covered it with a vinyl cloth that smelled like lemons. I tried to recreate that soup a dozen times as an adult, but it never tasted right—until I stopped trying to copy her recipe and started making one that worked for my own chaotic kitchen. This Kid-Approved Friendsgiving Taco Soup Bar is that recipe. It’s the one I make when I have six kids running through the house, three moms asking what they can bring, and exactly twenty minutes to get dinner on the table. It’s not fancy, but it’s the kind of meal that makes everyone stop and pay attention—even the ones who swear they don’t like soup. Maybe you’ve been there, standing in your kitchen wondering how to feed a crowd without losing your mind. This one’s for you.
Why You’ll Love This Recipe
Let me be real with you—I’ve tested this recipe at three separate Friendsgiving gatherings, two weeknight dinners when I was running on three hours of sleep, and one particularly chaotic birthday party where the kids decorated their own bowls before we filled them. Every single time, it worked. Not just “the adults liked it” worked, but “the five-year-old asked for thirds” worked. Here’s why this one’s different:
- It’s ready in 20 minutes flat. From opening the cans to sitting down with a spoon, you’re looking at less time than it takes to argue about what to watch on TV. I mean it—set a timer if you don’t believe me.
- No fancy ingredients. Everything comes from a can or a bag. No trips to a specialty store, no hunting for obscure spices. If you’ve got a pantry at all, you probably already have 80% of this.
- Perfect for Friendsgiving chaos. This is the recipe you pull out when you’ve got a crowd of kids and adults who all want different things. The bar setup means everyone builds their perfect bowl, and nobody complains.
- It pleases picky eaters. My neighbor’s daughter, who has declared war on anything that looks “soupy,” ate two bowls by loading hers with chips, cheese, and just enough broth to wet the chips. She called it “nachos with a drink.” I call it a win.
- The leftovers are even better. I’m not kidding—the flavors meld overnight, and the next day’s lunch tastes like you spent hours on it. If you’re smart, you’ll double the batch on purpose.
This isn’t just another taco soup recipe you’ve seen floating around Pinterest. What makes this version different is the balance—it’s brothy enough to feel like soup but thick enough to hold up to all the toppings. I spent three versions getting the liquid ratio right because I kept ending up with chili, not soup. Plus, I’ve cracked the code on making it kid-friendly without dumbing down the flavor. The secret? A tiny pinch of cinnamon in the spice mix. It rounds everything out so the heat doesn’t hit you in the face, but the adults still get that deep, slow-cooked taste.
Honestly, this is the kind of recipe that makes you feel like a kitchen hero without actually doing much work. You set out the toppings, let everyone go wild, and suddenly you’re the person who threw the best Friendsgiving ever. And the best part? You didn’t even break a sweat.
What Ingredients You Will Need
This recipe uses simple, pantry-friendly ingredients to deliver big flavor without the fuss. Most of these are things you probably already have in your cupboard, and if you don’t, they’re all easy to find at any grocery store. I’ve organized them by category so you can grab what you need without reading the label on every can twice.
For the Soup Base
- 1 pound ground beef (I use 80/20 for flavor, but lean works too; drain the fat if you’re using something greasier)
- 1 medium yellow onion, diced (about 1 cup; you can use frozen diced onion in a pinch, just don’t thaw it first)
- 3 cloves garlic, minced (or 1 teaspoon garlic powder if you’re in a hurry—I won’t judge)
- 1 can (15 ounces) black beans, drained and rinsed (rinsing removes that metallic can taste and cuts down on sodium)
- 1 can (15 ounces) pinto beans, drained and rinsed (or use all black beans if that’s what you have)
- 1 can (15 ounces) corn, drained (frozen corn works too—add it frozen, no need to thaw)
- 1 can (14.5 ounces) diced tomatoes with green chiles (like Rotel; this is where the mild heat comes from)
- 1 can (14.5 ounces) fire-roasted diced tomatoes (regular diced tomatoes work, but fire-roasted add that smoky depth without extra effort)
- 1 can (8 ounces) tomato sauce (the small can, not the big one)
- 2 cups low-sodium beef broth (chicken broth works too, but beef gives it that hearty backbone)
For the Seasoning
- 2 tablespoons chili powder (I prefer McCormick for consistent heat, but use your favorite brand)
- 1 tablespoon ground cumin (this is non-negotiable—it’s what makes it taste like taco soup and not just tomato soup with beans)
- 1 teaspoon smoked paprika (regular paprika works, but smoked adds that campfire vibe)
- 1 teaspoon onion powder (don’t skip this even if you used fresh onion—it adds a different layer)
- ½ teaspoon garlic powder (see above—fresh and powdered garlic do different things)
- ½ teaspoon dried oregano (Mexican oregano if you have it, but regular is fine)
- ¼ teaspoon ground cinnamon (trust me on this—it doesn’t make it taste like dessert, it just rounds out the acidity of the tomatoes)
- Salt and black pepper to taste (start with ½ teaspoon salt and ¼ teaspoon pepper, then adjust)
For the Toppings Bar
- Shredded cheddar or Mexican blend cheese (about 2 cups; let people pile it on)
- Sour cream (or Greek yogurt for a protein boost)
- Crushed tortilla chips (I like Tostitos Scoops because they hold up better, but any sturdy chip works)
- Diced avocado (toss with a squeeze of lime to keep it from browning)
- Fresh cilantro, chopped (some kids hate it, so keep it on the side)
- Lime wedges (a squeeze of lime brightens everything up)
- Diced jalapeño (for the brave adults)
- Hot sauce (set out a few options—Cholula, Tabasco, whatever you’ve got)
Equipment Needed
You don’t need a fancy kitchen for this recipe. I’ve made it in a rental cabin with a scratched nonstick pot and a wooden spoon that was splitting at the handle, and it still turned out great. Here’s what you’ll actually need:
- Large pot or Dutch oven (at least 5 quarts; you need room for all the liquid and beans without splashing everywhere)
- Wooden spoon or spatula (for breaking up the ground beef and stirring everything together)
- Can opener (the manual kind never fails you—I’ve had electric ones die mid-can)
- Cutting board and knife (for the onion and garlic; nothing fancy needed)
- Measuring cups and spoons (or just eyeball it—I’ve done both, and honestly, this recipe is forgiving)
- Small bowls for the toppings bar (ramekins work great, or just use whatever bowls you have)
- Ladle (for serving; a measuring cup with a handle works in a pinch)
If you don’t have a Dutch oven, any heavy-bottomed pot will do. I’ve even made this in an Instant Pot on sauté mode, then switched to slow cook mode to keep it warm during the party. The key is just having something big enough to hold everything without boiling over. And if your pot is on the smaller side, just cook the beef and onions in a skillet first, then transfer everything to the pot—it’s one extra step but totally doable.
Preparation Method
Alright, let’s get cooking. This comes together fast, so have your ingredients ready before you start. I like to open all the cans first so I’m not fumbling with a can opener while the beef is browning. Trust me, I learned that lesson the hard way—burnt garlic smells terrible and takes forever to air out.
- Brown the beef. Set your pot over medium-high heat and add the ground beef. Break it up with your wooden spoon as it cooks, scraping up any brown bits from the bottom. This takes about 5-6 minutes. You want it fully browned, not just gray—that browning is where the flavor lives. If you’re using 80/20 beef, you might need to drain off some fat. I usually tilt the pot and spoon out the excess, leaving about a tablespoon for flavor.
- Cook the aromatics. Add the diced onion to the pot with the beef. Cook for 3-4 minutes, stirring occasionally, until the onion turns translucent and starts to soften. You’ll smell it change from raw onion to something sweeter and more mellow. Add the minced garlic and cook for 30 seconds more—just until you can smell it. Don’t let it burn, or you’ll have to start over. I’ve done that. It’s sad.
- Add the seasonings. Sprinkle the chili powder, cumin, smoked paprika, onion powder, garlic powder, oregano, and cinnamon over the beef and onion mixture. Stir everything together and let it cook for about 1 minute. This toasts the spices and wakes them up. The kitchen will smell incredible at this point—like a taco truck parked in your house.
- Pour in the liquids and tomatoes. Add the diced tomatoes with green chiles, fire-roasted diced tomatoes, and tomato sauce. Stir to combine, scraping the bottom of the pot to incorporate any browned bits. Then pour in the beef broth. Give everything a good stir. The color should be a deep, rusty red—not too orange, not too dark.
- Add the beans and corn. Stir in the drained black beans, pinto beans, and corn. Bring the soup to a gentle boil—you’ll see bubbles breaking the surface, but not a violent rolling boil. Once it’s bubbling, reduce the heat to low and let it simmer for 10 minutes. This is where the magic happens. The flavors meld together, the beans soften into the broth, and the whole thing becomes more than the sum of its parts.
- Taste and adjust. After 10 minutes, taste the soup. This is crucial—different brands of broth and tomatoes have different salt levels. Add salt and pepper a little at a time, tasting as you go. I usually end up adding about ½ teaspoon of salt and ¼ teaspoon of pepper, but you might need more or less. If it tastes flat, add another pinch of salt. If it needs more depth, add another ½ teaspoon of cumin.
- Set up the toppings bar. While the soup simmers, arrange your toppings in small bowls. Put the cheese, sour cream, crushed chips, avocado, cilantro, lime wedges, jalapeño, and hot sauce out on the counter or table. Give each topping its own spoon so people can serve themselves without cross-contamination—especially important if anyone has allergies.
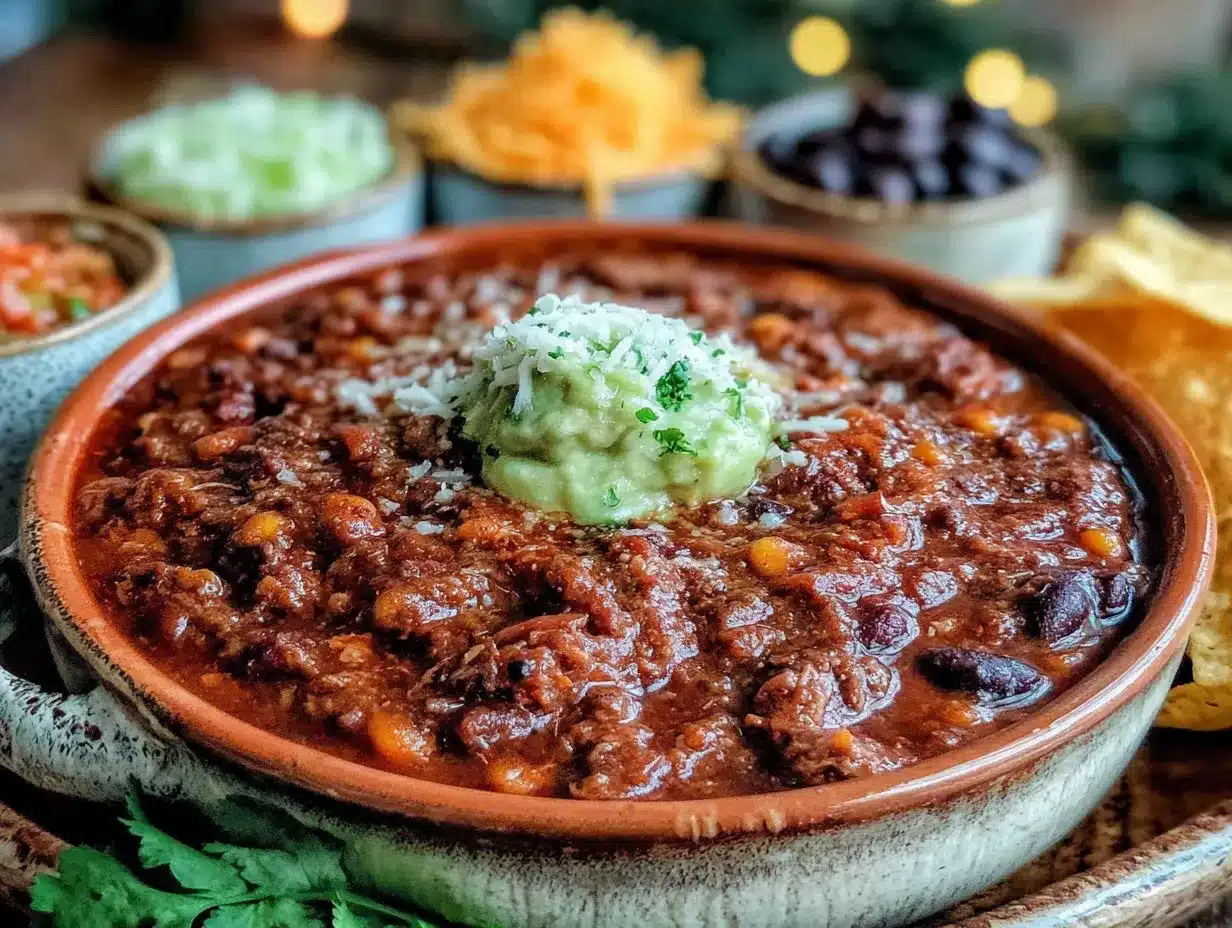
- Serve and let everyone build their own bowl. Ladle the soup into bowls and let everyone go wild at the toppings bar. I like to put the chips at the bottom of the bowl, then add soup, then pile on the toppings. But honestly, there’s no wrong way to do it. Let the kids figure out their own system—half the fun is the building.
Cooking Tips & Techniques
I’ve made this soup so many times that I’ve collected a few hard-won lessons along the way. Here are the things I wish someone had told me before my first attempt:
Don’t skip the cinnamon. I know it sounds weird. I was skeptical too. The first time I tried it, I was sure I’d ruined the whole pot. But that tiny pinch does something magical—it rounds out the acidity of the tomatoes and makes the chili powder taste deeper without making it spicy. Your kids won’t taste it, but they’ll notice something is different. In a good way.
Toast your spices. That minute you spend stirring the spices into the hot beef and onions isn’t just for show. Toasting dried spices in fat releases their essential oils and makes them taste more vibrant. If you skip this step, the soup will taste flat, no matter how much seasoning you add. I learned this after making a batch that tasted like tomato water with beans. Never again.
Watch your liquid ratio. This soup is meant to be brothy but not watery. If you add too much broth, it’ll taste thin. If you add too little, it’ll be more like chili. The 2 cups of broth is the sweet spot—enough to make it soupy but not so much that you’re drinking it with a straw. If you’re doubling the recipe, don’t double the broth exactly. Start with 3 cups and add more if needed.
Let it sit. This soup is good right away, but it’s amazing the next day. If you have time, make it a few hours ahead and let it sit on the stove (covered, off the heat) or in the fridge overnight. The flavors continue to develop as it sits. I’ve made this for Friendsgiving the night before and just reheated it before people arrived. Nobody knew it wasn’t made that day.
Multitask strategically. While the soup is simmering, set up your toppings bar and get the bowls and spoons ready. You can also use that time to wipe down the counters and put away ingredients you’re done with. The whole point of a 20-minute meal is to actually save time, not just cook faster but clean up slower.
Variations & Adaptations
One of the best things about this recipe is how flexible it is. I’ve tweaked it for different diets, different crowds, and different cravings. Here are some of my favorite variations:
Vegetarian version. Skip the ground beef and add an extra can of beans—try kidney beans or chickpeas for variety. You can also add a bag of frozen mixed vegetables (peas, carrots, green beans) for more texture. Use vegetable broth instead of beef broth. The flavor will be a little lighter, but it’s still deeply satisfying. I made this for a vegetarian friend last year, and she asked for the recipe before she finished her bowl.
Slow cooker adaptation. Brown the beef and onions in a skillet first, then transfer everything to the slow cooker. Cook on low for 4-6 hours or on high for 2-3 hours. This is perfect for a party because you can keep it on warm and let people serve themselves throughout the evening. Just don’t add the toppings until right before serving, or they’ll get soggy.
Spicy version for adults. If you’re cooking for a crowd where the kids are getting a separate meal (or they’re older and can handle heat), add a diced jalapeño with the onions, use hot Rotel instead of mild, and stir in a teaspoon of chipotle powder with the other spices. Top with fresh jalapeño slices and a drizzle of hot sauce. I did this for an adult Friendsgiving, and it was gone in twenty minutes.
Dairy-free adaptation. Skip the cheese and sour cream on the toppings bar, or offer dairy-free alternatives. The soup itself is dairy-free, so this is an easy swap. I’ve used cashew sour cream and nutritional yeast for a cheesy flavor, and it worked surprisingly well.
My personal favorite variation. Sometimes I add a cup of frozen butternut squash cubes along with the beans and corn. It adds a subtle sweetness that kids love, and it boosts the vegetable content without anyone noticing. I call it “secret vegetable soup,” and my kids eat it without complaint every time.
Serving & Storage Suggestions
This soup is meant to be served hot, straight from the pot. The toppings bar is the star of the show, so set it up buffet-style and let everyone build their own bowl. I like to put the bowls at the beginning of the line, then the soup, then the toppings in order from mildest to spiciest. That way, kids can grab what they want without navigating around the hot sauce.
What to serve alongside: Cornbread is the classic pairing, but I’ve also served this with warm flour tortillas, a simple side salad, or even just extra tortilla chips for dipping. If you’re doing a full Friendsgiving spread, this soup works as a main dish or a hearty starter. I’ve even served it in small cups as an appetizer while the turkey finishes cooking.
Storage instructions: Leftover soup keeps in the refrigerator for up to 5 days in an airtight container. The flavors actually get better as they sit, so don’t be afraid to make this ahead. Store the toppings separately—if you mix the chips or avocado into the soup, they’ll get soggy and sad. I learned this the hard way when I tried to meal prep everything together. Never again.
Freezing instructions: This soup freezes beautifully. Let it cool completely, then transfer to freezer-safe containers or zip-top bags. Leave about an inch of headspace for expansion. It keeps for up to 3 months. To reheat, thaw in the refrigerator overnight, then warm on the stovetop over medium heat, stirring occasionally. Add a splash of broth or water if it’s too thick after freezing.
Reheating tips: The microwave works in a pinch—just heat in 30-second intervals, stirring between each. But the stovetop is better because it heats more evenly and lets you adjust the consistency. If the soup has thickened in the fridge, add a little broth or water to thin it out. Taste and adjust the seasoning after reheating, because flavors can mute slightly in the fridge.
Nutritional Information & Benefits
This soup is surprisingly nutritious for something that tastes like comfort food. Here’s the breakdown per serving (based on 8 servings, without toppings):
| Nutrient | Amount per Serving |
|---|---|
| Calories | ~320 |
| Protein | 22g |
| Fat | 12g |
| Carbohydrates | 32g |
| Fiber | 8g |
| Sodium | ~680mg (varies by broth and canned goods) |
Health benefits: The black beans and pinto beans are packed with fiber and plant-based protein, which helps keep everyone full and satisfied. The tomatoes are rich in lycopene, an antioxidant that supports heart health. The cumin and chili powder have anti-inflammatory properties, and the garlic is great for immune support. Plus, the toppings bar lets everyone add their own vegetables—avocado for healthy fats, cilantro for detoxifying properties, and lime for vitamin C.
Dietary considerations: This recipe is naturally gluten-free (check your broth and canned goods to be sure) and dairy-free if you skip the cheese and sour cream toppings. It’s also nut-free and egg-free. If you’re watching sodium, use low-sodium broth and rinse your canned beans thoroughly. You can also use no-salt-added tomatoes.
My wellness perspective: I love that this soup feels indulgent but is actually pretty balanced. It’s the kind of meal I feel good about serving my family—filling, flavorful, and full of real ingredients. Plus, the toppings bar means everyone can customize their bowl to fit their own dietary needs without me having to make three different dinners. That’s a win in my book.
Conclusion
This Kid-Approved Friendsgiving Taco Soup Bar has become my go-to for any occasion where I need to feed a crowd without losing my cool. It’s quick enough for a weeknight, flexible enough for picky eaters, and impressive enough for a party. The toppings bar turns dinner into an activity, which means less pressure on you and more fun for everyone.
I love that this recipe feels like a warm hug in a bowl—exactly what Friendsgiving should be about. It’s not about fancy presentations or complicated techniques. It’s about gathering around a table, building your perfect bowl, and sharing a meal with people you care about. That’s the kind of cooking that matters.
So give it a try, and don’t be afraid to make it your own. Swap in your family’s favorite beans, add extra spice, or let the kids go wild with the toppings. I’d love to hear how it turns out for you. Drop a comment below and tell me what your family thought—or better yet, share a photo of your toppings bar. There’s nothing that makes me happier than seeing this recipe come to life in someone else’s kitchen.
Happy cooking, and happy Friendsgiving!
Frequently Asked Questions
Can I make this soup in advance for a party?
Absolutely! This soup is actually better when made a day ahead. The flavors have time to meld and deepen, making it taste like you simmered it all day. Just make the soup, let it cool, and store it in the refrigerator. Reheat gently on the stovetop before serving, and set up the toppings bar fresh.
Can I use ground turkey or chicken instead of beef?
Yes, you can substitute ground turkey or chicken for the beef. Keep in mind that poultry is leaner, so you might need to add a tablespoon of oil when browning to prevent sticking. The flavor will be a bit lighter, so consider adding an extra teaspoon of cumin to boost the savory notes.
How do I make this soup less spicy for kids?
Use mild diced tomatoes with green chiles instead of the original Rotel, and skip any hot sauce on the toppings bar. The cinnamon in the spice blend actually helps mellow out the heat, so don’t skip that. You can also serve the soup with extra sour cream or Greek yogurt, which cools down any residual spiciness.
Can I freeze this soup with the toppings already added?
I don’t recommend it. The chips will get soggy, the avocado will brown, and the sour cream will separate when thawed. Instead, freeze the soup base on its own in airtight containers. When you’re ready to serve, thaw, reheat, and set up the toppings bar fresh. It takes five extra minutes and makes a huge difference in texture.
What can I use instead of tortilla chips for a lower-carb option?
Try using crushed pork rinds for a keto-friendly crunch, or serve the soup over cauliflower rice for a grain-free option. You can also skip the chips entirely and just load up on cheese, avocado, and sour cream. The soup is hearty enough to stand on its own without the crunch factor.
Pin This Recipe!
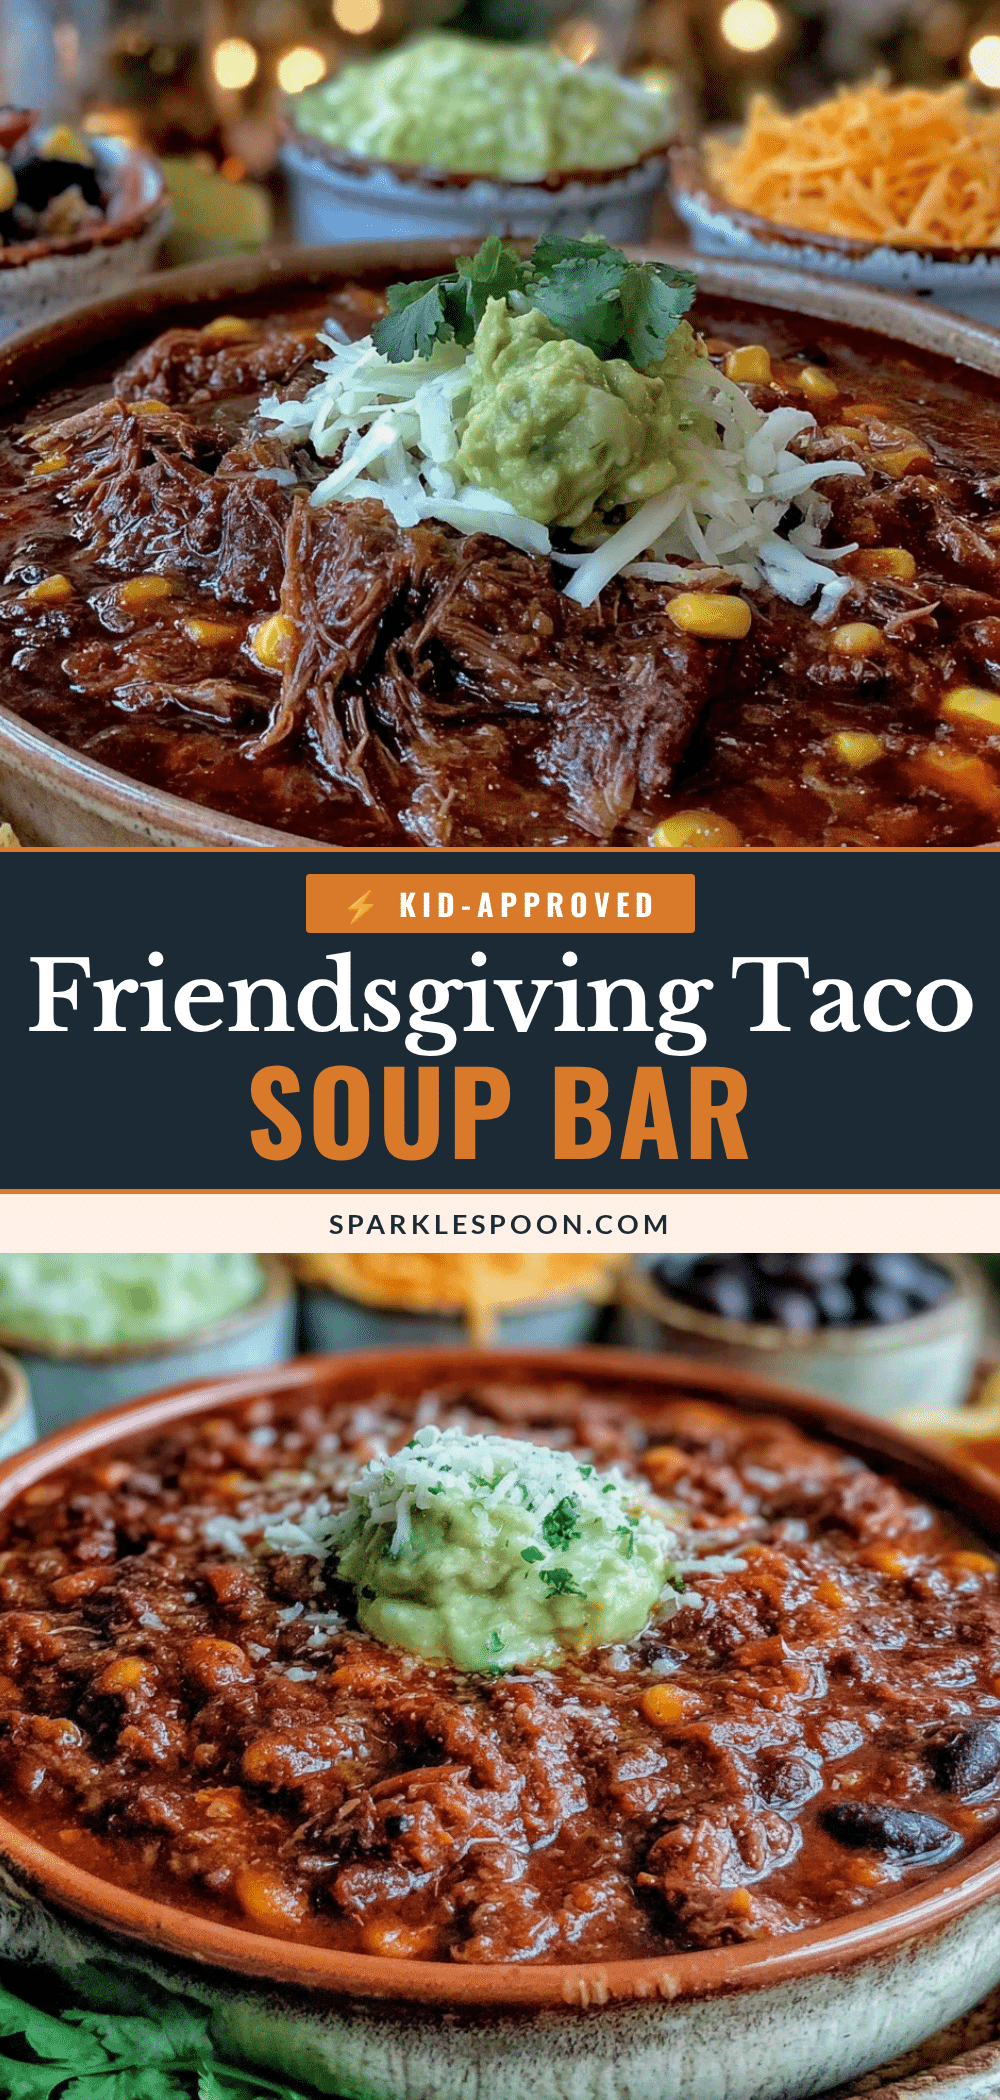
Kid-Approved Friendsgiving Taco Soup Bar: Easy 20-Minute Recipe
A quick and easy taco soup bar perfect for Friendsgiving or weeknight dinners. Ready in 20 minutes with simple pantry ingredients, this customizable soup features a toppings bar that pleases both kids and adults.
- Prep Time: 10 minutes
- Cook Time: 10 minutes
- Total Time: 20 minutes
- Yield: 8 servings 1x
- Category: Main Course
- Cuisine: Mexican-American
Ingredients
- 1 pound ground beef (80/20 recommended)
- 1 medium yellow onion, diced (about 1 cup)
- 3 cloves garlic, minced (or 1 teaspoon garlic powder)
- 1 can (15 ounces) black beans, drained and rinsed
- 1 can (15 ounces) pinto beans, drained and rinsed
- 1 can (15 ounces) corn, drained
- 1 can (14.5 ounces) diced tomatoes with green chiles (like Rotel)
- 1 can (14.5 ounces) fire-roasted diced tomatoes
- 1 can (8 ounces) tomato sauce
- 2 cups low-sodium beef broth
- 2 tablespoons chili powder
- 1 tablespoon ground cumin
- 1 teaspoon smoked paprika
- 1 teaspoon onion powder
- ½ teaspoon garlic powder
- ½ teaspoon dried oregano
- ¼ teaspoon ground cinnamon
- Salt and black pepper to taste (start with ½ teaspoon salt and ¼ teaspoon pepper)
- Shredded cheddar or Mexican blend cheese (about 2 cups)
- Sour cream (or Greek yogurt)
- Crushed tortilla chips (like Tostitos Scoops)
- Diced avocado (tossed with lime juice)
- Fresh cilantro, chopped
- Lime wedges
- Diced jalapeño (optional)
- Hot sauce (optional)
Instructions
- Brown the beef: Set your pot over medium-high heat and add the ground beef. Break it up with a wooden spoon as it cooks, scraping up any brown bits. Cook for 5-6 minutes until fully browned. Drain excess fat if needed, leaving about 1 tablespoon.
- Cook the aromatics: Add the diced onion to the pot with the beef. Cook for 3-4 minutes until translucent. Add the minced garlic and cook for 30 seconds more until fragrant.
- Add the seasonings: Sprinkle chili powder, cumin, smoked paprika, onion powder, garlic powder, oregano, and cinnamon over the beef and onion mixture. Stir and cook for 1 minute to toast the spices.
- Pour in the liquids and tomatoes: Add diced tomatoes with green chiles, fire-roasted diced tomatoes, and tomato sauce. Stir to combine, scraping the bottom of the pot. Pour in the beef broth and stir well.
- Add the beans and corn: Stir in the drained black beans, pinto beans, and corn. Bring to a gentle boil, then reduce heat to low and simmer for 10 minutes.
- Taste and adjust: After 10 minutes, taste the soup and add salt and pepper as needed. Adjust other seasonings if desired.
- Set up the toppings bar: While the soup simmers, arrange toppings (cheese, sour cream, chips, avocado, cilantro, lime wedges, jalapeño, hot sauce) in small bowls with serving spoons.
- Serve: Ladle the soup into bowls and let everyone build their own bowl with desired toppings.
Notes
Don’t skip the cinnamon—it rounds out the acidity without making it sweet. Toast spices in fat for best flavor. Soup is even better the next day. For a vegetarian version, skip the beef and add an extra can of beans. For slow cooker, brown beef and onions first, then cook on low for 4-6 hours. Store soup and toppings separately. Freezes well for up to 3 months.
Nutrition
- Serving Size: 1 bowl (about 1.5 cu
- Calories: 320
- Sugar: 6
- Sodium: 680
- Fat: 12
- Saturated Fat: 4
- Carbohydrates: 32
- Fiber: 8
- Protein: 22
Keywords: taco soup, Friendsgiving, easy dinner, 20-minute meal, kid-friendly, soup bar, ground beef, black beans, pinto beans, corn, toppings bar



