Love this? Save it for later!
Share the inspiration with your friends
Hand me that whisk, my friend said, eyeing the ice cream maker gathering dust on my top shelf. “Why can’t you just whip some cream and fold in caramel?” I started to explain why that wouldn’t work—something about ice crystal formation and the science of churning. Then I stopped. I had absolutely no good reason except that I’d been trained to believe real ice cream required machinery.
That afternoon, I proved myself wrong in the best possible way. Three ingredients, ten minutes of active work, and a freezer later, I was eating the creamiest, most decadent salted caramel ice cream I’d ever made. My friend didn’t say “I told you so,” but she didn’t have to. The silence was filled with the sound of spoons scraping bowls.
Look, I’ve been developing recipes for over a decade, and honestly? Some of the best discoveries come from questioning the rules we take for granted. This easy no-churn salted caramel ice cream is one of those happy accidents. It’s the kind of recipe that makes you wonder why you ever bothered with complicated methods. Maybe you’ve been there—staring at a recipe that calls for a candy thermometer and a lot of patience, wondering if there’s a better way.
There is. Let me show you.
Why You’ll Love This Recipe
This isn’t just another ice cream recipe. After testing this method with my neighbor’s picky kids and a group of friends who swear they can taste the difference between homemade and store-bought (spoiler: they couldn’t), I can confidently say this is the version you’ll come back to again and again.
- No Machine Required : You don’t need an ice cream maker, a stand mixer with a freezing bowl, or any fancy equipment. Just a bowl, a whisk or hand mixer, and a freezer.
- Five Ingredients : Heavy cream, sweetened condensed milk, butter, sugar, and salt. That’s it. No eggs to temper, no custard to babysit.
- Ready in 6 Hours : While you do need to wait for it to freeze, the active prep time is under 15 minutes. Perfect for those “I need dessert tomorrow” moments.
- Restaurant-Quality Flavor : The homemade salted caramel is deeply rich, with that perfect balance of sweet and salty that makes you take another bite before you’ve finished the first one.
- Customizable : Once you master this base, you can fold in chocolate chunks, toasted nuts, or even swirl in extra caramel for a marbled effect.
What makes this recipe different from the dozens of no-churn recipes out there? It’s the caramel. Most versions use store-bought caramel sauce, which can be thin and artificial-tasting. I’ll show you how to make a foolproof salted caramel that sets up perfectly in the cold, creating ribbons of silky sweetness throughout every scoop. It’s the kind of ice cream that makes you close your eyes after the first bite—comfort food reimagined as something you can whip up on a Tuesday afternoon.
What Ingredients You Will Need
This recipe relies on simple, wholesome ingredients that work together to create a luxuriously creamy texture without any stabilizers or artificial flavors. Most of these are probably already in your pantry.
For the Salted Caramel Swirl
- 1 cup granulated sugar (200g) – Regular white sugar works best. Don’t substitute brown sugar here; it contains molasses that can cause the caramel to crystallize.
- 6 tablespoons unsalted butter (85g), cut into small cubes – Use good-quality butter. I prefer Kerrygold for its richness, but any unsalted butter will work. The butter must be at room temperature so it incorporates smoothly into the hot sugar.
- 1/2 cup heavy cream (120ml), warmed slightly – Cold cream can cause the caramel to seize. Microwave it for about 15 seconds until it’s just warm to the touch.
- 1 teaspoon flaky sea salt (plus more for garnish) – Maldon or another flaky salt is ideal. Don’t use table salt; it’s too fine and can make the caramel taste harsh.
For the Ice Cream Base
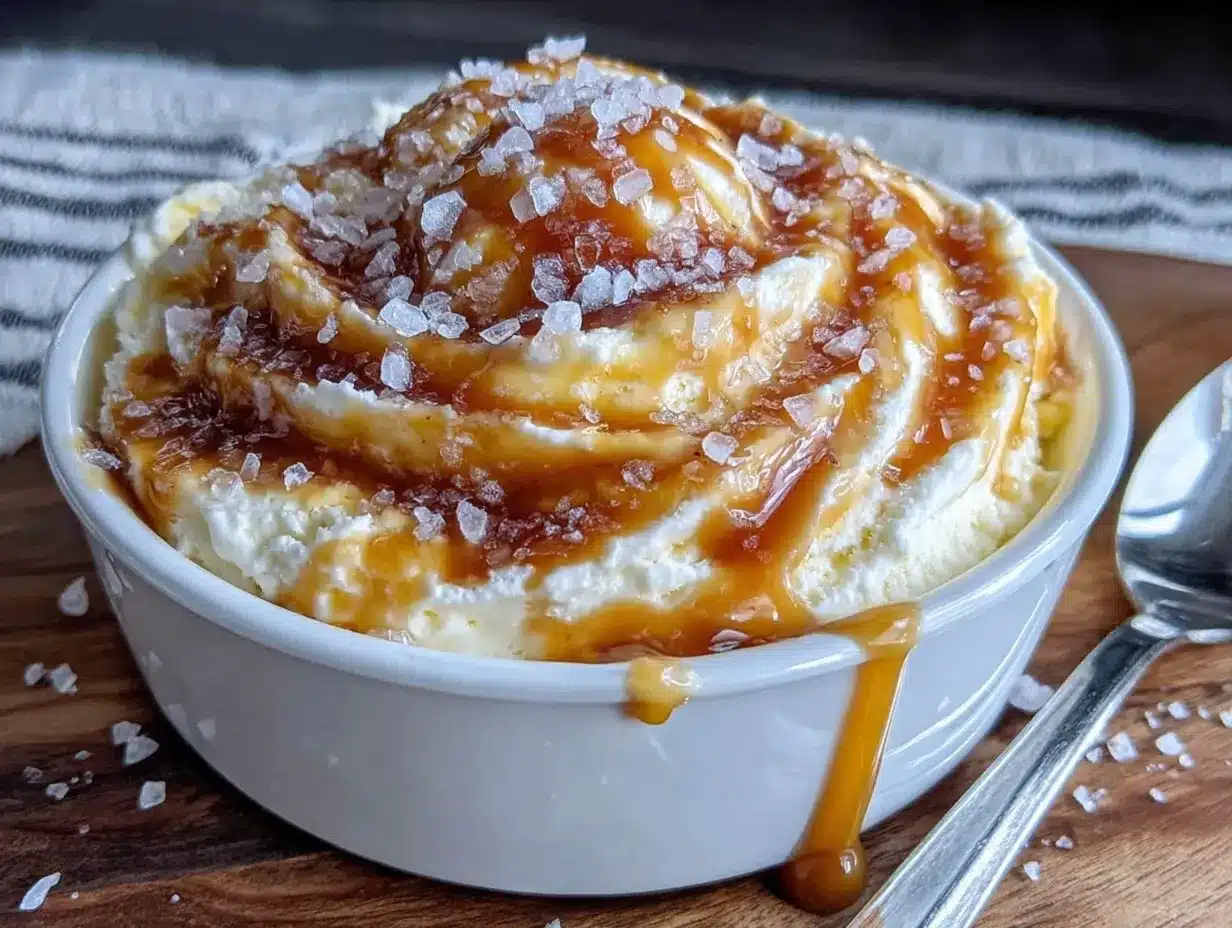
- 2 cups heavy cream (480ml) – Must be cold from the refrigerator. Look for cream with at least 36% milk fat for the best texture. I’ve tested this with organic and conventional brands; both work fine.
- 1 can (14 ounces) sweetened condensed milk (397g) – This is the secret to no-churn ice cream. The sugar in condensed milk prevents large ice crystals from forming, giving you a silky-smooth texture. Don’t use evaporated milk; they’re not the same.
- 1 teaspoon vanilla extract (optional but recommended) – Pure vanilla extract adds depth. If you have a vanilla bean, scrape the seeds into the condensed milk for an even more pronounced flavor.
Pro Tip : For the best results, make sure your bowl and beaters are completely clean and dry. Any trace of grease can prevent the cream from whipping properly. I learned this the hard way after a failed batch of whipped cream that turned into butter!
Equipment Needed
You don’t need much for this recipe, which is part of its beauty.
- Medium saucepan – For making the caramel. A light-colored pan is helpful so you can see the sugar change color.
- Large mixing bowl – For whipping the cream. Metal or glass is best; plastic can retain grease.
- Hand mixer or stand mixer – While you can whisk by hand, a mixer makes the job much easier. A hand mixer is perfect here.
- 8×4-inch loaf pan (or similar container) – For freezing the ice cream. A metal pan freezes faster than glass.
- Rubber spatula – For folding everything together gently.
- Candy thermometer (optional) – While I’ll give you visual cues, a thermometer can take the guesswork out of caramel-making.
Budget-Friendly Tip : If you don’t have a loaf pan, use any freezer-safe container. Even a disposable aluminum baking dish works. Just make sure it has a tight-fitting lid or cover it tightly with plastic wrap.
Preparation Method
Step 1: Make the Salted Caramel (15 minutes)
Place the sugar in an even layer in your saucepan over medium heat. Resist the urge to stir immediately. Let the sugar melt around the edges, then gently swirl the pan occasionally. This takes about 8-10 minutes. You’re looking for a deep amber color—think the color of a copper penny. If you’re using a thermometer, aim for 350°F (177°C).
Watch out : The sugar can go from perfect to burnt in seconds. Once it reaches that amber color, immediately remove the pan from heat. Add the butter cubes and whisk vigorously—the mixture will bubble up dramatically. Don’t panic; this is normal.
Once the butter is fully incorporated, slowly pour in the warm cream while whisking constantly. The caramel will bubble up again. Keep whisking until smooth. Stir in the flaky sea salt. Let the caramel cool for about 10 minutes, then transfer it to a heatproof bowl and let it cool completely to room temperature. It will thicken as it cools.
Step 2: Whip the Cream (5 minutes)
Pour the cold heavy cream into your large mixing bowl. Using a hand mixer or stand mixer fitted with the whisk attachment, beat the cream on medium-high speed until stiff peaks form. You’ll know it’s ready when you lift the beaters and the cream holds its shape without collapsing. Be careful not to over-whip, or you’ll end up with butter.
Sensory Cue : The cream should look billowy and cloud-like, with peaks that stand up straight when you lift the beaters. If it looks grainy or curdled, you’ve gone too far.
Step 3: Combine the Base (3 minutes)
In a separate bowl, stir together the sweetened condensed milk and vanilla extract until smooth. Gently fold about one-third of the whipped cream into the condensed milk mixture to lighten it. Then, pour this mixture back into the bowl with the remaining whipped cream. Fold gently with a rubber spatula until no white streaks remain. Be patient—overmixing will deflate the cream and make your ice cream dense.
Step 4: Layer and Swirl (5 minutes)
Spoon about one-third of the ice cream base into your loaf pan. Drizzle about one-third of the cooled caramel over the top. Use a knife or skewer to gently swirl the caramel into the base—don’t overdo it, or you’ll lose the distinct ribbons. Repeat with the remaining base and caramel, finishing with a final drizzle of caramel on top. Sprinkle a pinch of flaky sea salt over the surface.
Step 5: Freeze (6 hours or overnight)
Cover the pan tightly with plastic wrap or a lid. Place it in the coldest part of your freezer. Freeze for at least 6 hours, but overnight is even better. The ice cream will be scoopable right from the freezer, thanks to the high fat content from the cream and condensed milk.
Troubleshooting Tip : If your ice cream is too hard after freezing, let it sit at room temperature for 5-10 minutes before scooping. This softens it just enough for that perfect creamy texture.
Cooking Tips & Techniques
After making this recipe more times than I care to count (purely for research, of course), I’ve picked up a few tricks that make a real difference.
Don’t Skip the Warm Cream : I once added cold cream to hot caramel out of sheer laziness. The caramel seized into a hard, grainy mess. Warming the cream (even just 15 seconds in the microwave) ensures a silky-smooth sauce every time.
The Freezer Bowl Trick : For faster freezing, use a metal loaf pan. Metal conducts cold much better than glass or ceramic. If you’re in a hurry, you can also pour the mixture into a shallow dish—it freezes faster because there’s more surface area.
Patience with the Caramel : I’ve burned more batches of caramel than I’d like to admit. The key is to stay close to the stove and trust your eyes over a timer. When the sugar turns a golden amber, it’s ready. If you see wisps of smoke, you’ve waited too long. Start over—burnt caramel tastes bitter, not sweet.
Multi-Tasking Strategy : While the caramel is cooling, whip your cream and mix the base. This way, everything comes together in one smooth workflow. I usually make the caramel first, then clean up while it cools. It makes the whole process feel effortless.
Variations & Adaptations
Once you’ve mastered the basic recipe, the possibilities are endless. Here are some of my favorite variations.
Chocolate Salted Caramel : Add 1/4 cup unsweetened cocoa powder to the sweetened condensed milk before mixing. The chocolate and caramel combination is absolutely divine. I made this for a dinner party, and my guests couldn’t stop talking about it.
Vegan Version : Substitute the heavy cream with full-fat coconut cream (chilled overnight) and use a dairy-free sweetened condensed milk. The coconut flavor pairs surprisingly well with the salted caramel. Just note that the texture will be slightly icier than the dairy version.
Nutty Crunch : Fold in 1/2 cup toasted pecans or walnuts along with the caramel. The crunch adds a lovely textural contrast. Toast the nuts in a dry pan over medium heat for about 5 minutes until fragrant—don’t skip this step, as raw nuts can taste a bit flat.
Boozy Bourbon Caramel : Add 2 tablespoons of bourbon to the caramel after removing it from the heat. The alcohol won’t freeze solid, so it keeps the ice cream soft and scoopable. Plus, the smoky notes of bourbon complement the caramel beautifully.
Dairy-Free Adaptation : For those who are lactose intolerant, use a dairy-free heavy cream alternative (like oat cream) and a plant-based sweetened condensed milk. The texture won’t be as rich, but it’s still a delicious treat.
Serving & Storage Suggestions
This ice cream is best served slightly softened, about 5 minutes after removing from the freezer. Scoop it into bowls or cones, and drizzle with a little extra caramel sauce if you’re feeling indulgent. A sprinkle of flaky sea salt on top just before serving makes the flavors pop.
Pairing Ideas : Serve alongside a warm brownie for the ultimate hot-and-cold experience. Or, use it as a topping for apple pie, bread pudding, or even a simple slice of pound cake. For a grown-up treat, pour a shot of espresso over a scoop for an affogato that will change your life.
Storage : Store the ice cream in an airtight container in the freezer for up to 2 weeks. After that, ice crystals may start to form. To prevent this, press a piece of plastic wrap directly onto the surface of the ice cream before sealing the container. This creates a barrier against freezer burn.
Re-softening Tip : If the ice cream becomes too hard after a few days, let it sit at room temperature for 10-15 minutes before scooping. You can also microwave it for 10-second intervals on low power, but be careful not to melt it.
Flavor Development : Interestingly, the caramel flavor becomes more pronounced after the ice cream has been frozen for 24 hours. I’m not sure why this happens, but the second-day scoop always tastes better than the first. Patience pays off!
Nutritional Information & Benefits
While this is definitely a treat, there are a few bright spots worth mentioning. Each serving (about 1/2 cup) contains approximately:
- Calories : 380-420
- Fat : 28g (18g saturated)
- Carbohydrates : 35g (30g sugar)
- Protein : 3g
- Sodium : 200mg
Health Benefits : The heavy cream provides a good source of vitamin A and calcium. The butter contains butyrate, a fatty acid that supports gut health. And the sea salt? Well, it’s a source of trace minerals. I’m not saying this is health food, but it’s made with real ingredients—no stabilizers, preservatives, or artificial flavors.
Dietary Considerations : This recipe is gluten-free and contains no eggs. It does contain dairy, so it’s not suitable for vegans or those with lactose intolerance (though I’ve included a dairy-free variation above).
My Take : I believe in balance. This isn’t an everyday dessert, but when you do indulge, make it count. This ice cream delivers on flavor and satisfaction in a way that a store-bought pint never could. One scoop is enough to feel like a real treat.
FAQs
Can I use store-bought caramel sauce instead of making my own?
You can, but the texture and flavor won’t be the same. Homemade caramel thickens as it cools, creating distinct ribbons throughout the ice cream. Store-bought sauce is thinner and tends to sink to the bottom. If you’re short on time, look for a thick, high-quality caramel sauce—preferably one that lists cream and butter as ingredients.
Why did my caramel turn into a hard lump?
This usually happens when the cream is too cold or is added too quickly. Always warm the cream and pour it in a slow, steady stream while whisking constantly. If the caramel does seize, don’t throw it away. Return it to low heat and stir gently until it smooths out.
Can I reduce the sugar in this recipe?
The sugar in the sweetened condensed milk is essential for the no-churn texture. Reducing it can result in icy, hard ice cream. However, you can use a sugar-free sweetened condensed milk alternative if you’re watching your sugar intake. Just know the texture may be slightly different.
How long does this ice cream keep in the freezer?
It’s best within the first 2 weeks. After that, ice crystals can form and the texture becomes less creamy. To extend its life, press plastic wrap directly onto the surface before sealing the container. This minimizes air exposure and freezer burn.
Can I double this recipe?
Absolutely. Double all the ingredients and use a larger container for freezing. Just make sure your bowl is big enough to whip 4 cups of cream—it expands significantly as it whips. A stand mixer is helpful for larger batches.
Conclusion
This easy no-churn salted caramel ice cream is proof that you don’t need fancy equipment or culinary training to create something truly spectacular. It’s the kind of recipe that feels like a secret—simple enough to make on a whim, but impressive enough to serve at a dinner party. Every time I make it, I’m reminded that sometimes the best things come from questioning the rules.
I’d love to hear how this turns out for you. Did you try any of the variations? Did you discover a new favorite way to serve it? Drop a comment below and share your experience. And if you’re looking for more no-churn inspiration, check out our no-churn vanilla bean ice cream for a classic base that’s endlessly adaptable. Happy freezing, friends—I hope this recipe brings as much joy to your kitchen as it has to mine.
Pin This Recipe!
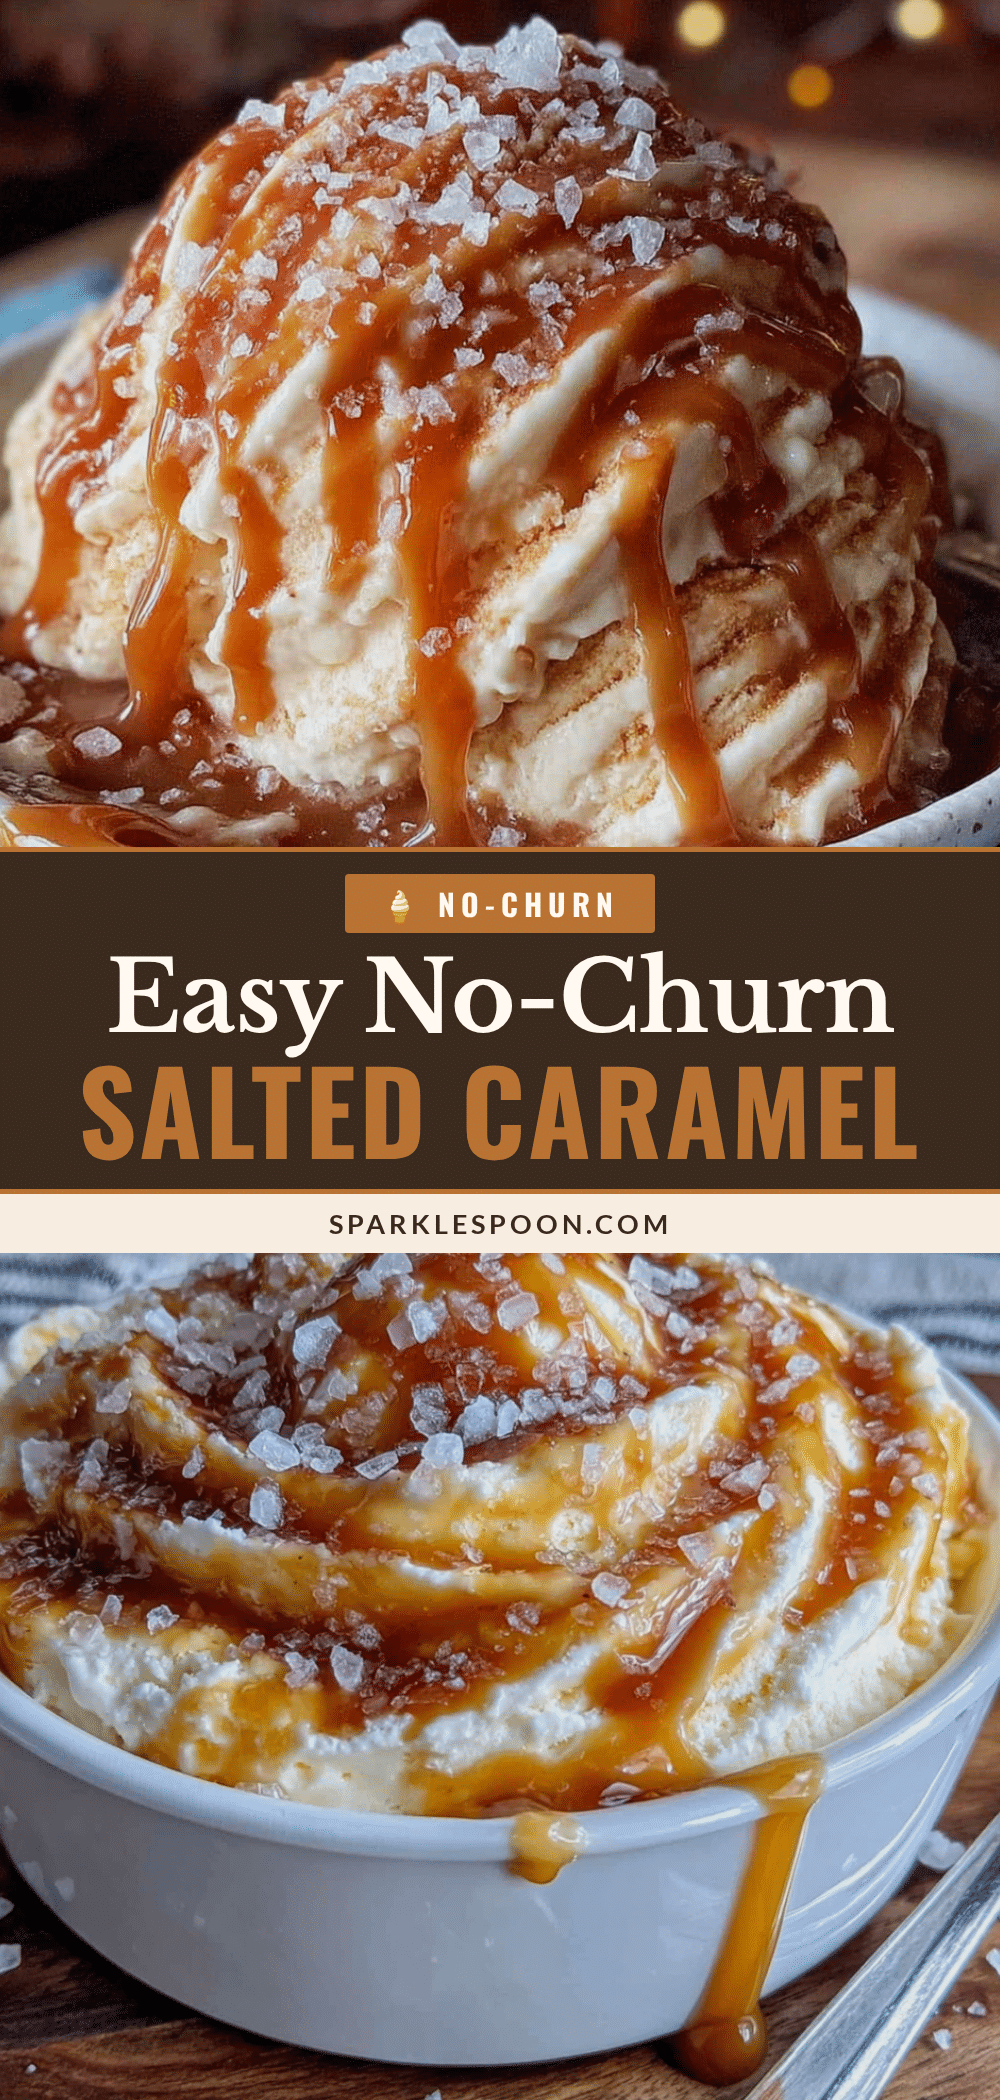
Easy No-Churn Salted Caramel Ice Cream (Best Homemade Recipe)
This easy no-churn salted caramel ice cream is proof that you don’t need fancy equipment or culinary training to create something truly spectacular. Three ingredients, ten minutes of active work, and a freezer later, you’ll have the creamiest, most decadent salted caramel ice cream you’ve ever made.
- Prep Time: 15 minutes
- Cook Time: 15 minutes
- Total Time: 6 hours 30 minutes (including freezing time)
- Yield: 8 servings 1x
- Category: Dessert
- Cuisine: American
Ingredients
- 1 cup granulated sugar (200g)
- 6 tablespoons unsalted butter (85g), cut into small cubes, at room temperature
- 1/2 cup heavy cream (120ml), warmed slightly
- 1 teaspoon flaky sea salt (plus more for garnish)
- 2 cups heavy cream (480ml), cold
- 1 can (14 ounces) sweetened condensed milk (397g)
- 1 teaspoon vanilla extract (optional but recommended)
Instructions
- Make the Salted Caramel: Place the sugar in an even layer in a medium saucepan over medium heat. Let the sugar melt around the edges, then gently swirl the pan occasionally until it turns a deep amber color (about 8-10 minutes, or 350°F/177°C if using a thermometer). Immediately remove from heat. Add the butter cubes and whisk vigorously until fully incorporated. Slowly pour in the warm cream while whisking constantly until smooth. Stir in the flaky sea salt. Let cool for 10 minutes, then transf…
- Whip the Cream: Pour the cold heavy cream into a large mixing bowl. Using a hand mixer or stand mixer fitted with the whisk attachment, beat on medium-high speed until stiff peaks form (about 5 minutes). Be careful not to over-whip.
- Combine the Base: In a separate bowl, stir together the sweetened condensed milk and vanilla extract until smooth. Gently fold about one-third of the whipped cream into the condensed milk mixture to lighten it. Then pour this mixture back into the bowl with the remaining whipped cream and fold gently with a rubber spatula until no white streaks remain.
- Layer and Swirl: Spoon about one-third of the ice cream base into an 8×4-inch loaf pan. Drizzle about one-third of the cooled caramel over the top. Use a knife or skewer to gently swirl the caramel into the base. Repeat with the remaining base and caramel, finishing with a final drizzle of caramel on top. Sprinkle a pinch of flaky sea salt over the surface.
- Freeze: Cover the pan tightly with plastic wrap or a lid. Place in the coldest part of the freezer and freeze for at least 6 hours, preferably overnight.
Notes
For best results, make sure your bowl and beaters are completely clean and dry. Any trace of grease can prevent the cream from whipping properly. If the ice cream is too hard after freezing, let it sit at room temperature for 5-10 minutes before scooping. The caramel flavor becomes more pronounced after the ice cream has been frozen for 24 hours. Store in an airtight container in the freezer for up to 2 weeks; press plastic wrap directly onto the surface to prevent freezer burn.
Nutrition
- Serving Size: 1/2 cup
- Calories: 400
- Sugar: 30
- Sodium: 200
- Fat: 28
- Saturated Fat: 18
- Carbohydrates: 35
- Protein: 3
Keywords: no-churn ice cream, salted caramel ice cream, homemade ice cream, easy ice cream, no machine ice cream, caramel ice cream



