Love this? Save it for later!
Share the inspiration with your friends
This was supposed to be a batch of my standard chewy chocolate chip cookies—the ones I’ve made a hundred times, the ones I could practically bake in my sleep. But somewhere between grabbing the butter and measuring the flour, I grabbed the wrong bag from the pantry. You know that feeling when you’re halfway through a recipe, the mixer is going, and you realize you’ve already messed up? I had reached for bread flour instead of all-purpose, and my butter was still cold from the fridge—not softened. I was already running late for a dinner party, and the last thing I needed was a baking disaster. I almost dumped the whole thing and started over. But honestly, I was too tired to care. I just threw the cold butter in the mixer anyway, let it go longer than usual, and hoped for the best. What came out of the oven was nothing like the plan—and better. They were softer, puffier, and had this almost pillowy center that my usual cookies never had. I’ve been making them this way ever since.
Why You’ll Love This Recipe
Let me tell you, these aren’t your average chocolate chip cookies. After years of testing and tweaking, I’ve landed on a version that’s genuinely foolproof. I mean, I’ve made them when I was distracted, when I was tired, and even when I was pretty sure I’d forgotten an ingredient—and they still came out perfect. That’s the kind of recipe you need in your back pocket.
- Quick & Easy : From start to finish, you’re looking at about 25 minutes. No chilling the dough, no complicated steps—just mix, scoop, and bake.
- Simple Ingredients : You probably have everything in your kitchen right now. Butter, sugar, flour, eggs, chocolate chips—the usual suspects.
- Perfect for a Cozy Night In : This small batch makes exactly 6 cookies. It’s not a party-sized recipe. It’s for a quiet Tuesday when you just want something warm and sweet without a mountain of leftovers.
- Crowd-Pleaser : I’ve brought these to book club and to a neighbor’s house, and they disappear fast. Kids and adults both reach for seconds.
- Unbelievably Delicious : The texture is the star here. They’re soft, almost tender in the middle, with slightly crisp edges. It’s the kind of cookie that makes you close your eyes after the first bite.
What makes this recipe different from the rest? It’s the technique. Using cold butter and bread flour creates a softer, puffier cookie without any weird ingredients. It’s not just another version—it’s my best version, born from a happy mistake. This recipe isn’t just good—it’s comfort food reimagined. It’s faster, simpler, but with the same soul-soothing satisfaction. Perfect for impressing yourself on a weeknight, or turning a simple evening into something memorable.
What Ingredients You Will Need
This recipe uses simple, wholesome ingredients to deliver that signature soft texture and rich flavor. They’re all pantry staples, so you likely won’t need a special trip to the store.
- Unsalted butter, cold and cubed (4 tablespoons / 56g) – Using cold butter is the secret to the soft texture. It doesn’t spread as much in the oven, giving you a thicker, puffier cookie. I use Kerrygold for its rich flavor, but any good unsalted butter works.
- Granulated sugar (3 tablespoons / 38g) – Adds sweetness and helps with browning. Standard white sugar is perfect here.
- Light brown sugar, packed (3 tablespoons / 38g) – This adds moisture and a touch of molasses flavor. Make sure it’s packed firmly into the measuring spoon. Dark brown sugar works too, but the cookies will be slightly darker and more caramel-flavored.
- Large egg yolk (1 yolk, room temperature) – The yolk adds richness and tenderness. Save the white for scrambled eggs or an omelet! If you forget to let it come to room temp, place the yolk in a bowl of warm water for 5 minutes.
- Vanilla extract (1/2 teaspoon) – Pure vanilla is best. Imitation works in a pinch, but the flavor won’t be as deep.
- Bread flour (1/2 cup + 2 tablespoons / 85g) – This is the game-changer. Bread flour has higher protein content, which creates more gluten structure and gives you a softer, chewier cookie. All-purpose flour will work, but the cookies will be flatter and less puffy. I recommend King Arthur Bread Flour for consistent results.
- Baking soda (1/4 teaspoon) – Helps the cookies spread just enough and gives them a nice golden color.
- Salt (1/4 teaspoon) – Balances the sweetness and enhances the chocolate flavor. I use fine sea salt. If you use kosher salt, increase to 1/2 teaspoon.
- Semi-sweet chocolate chips (1/3 cup / 60g) – I prefer Ghirardelli for their deep flavor and good melt. You can also chop up a chocolate bar for bigger puddles of chocolate. Milk chocolate or dark chocolate chips work just as well.
Substitution Guidance: If you’re out of bread flour, use all-purpose flour and add 1 teaspoon of cornstarch to mimic the soft texture. For a dairy-free option, use vegan butter sticks (not tub margarine) and keep them cold. You can swap the egg yolk for 1 tablespoon of aquafaba (chickpea brine) if needed, though the texture will be slightly less rich.
Equipment Needed
You don’t need a fancy bakery setup for these cookies. Here’s what you’ll need:
- Mixing bowl – A medium-sized bowl works best. I use a glass one so I can see if the butter is properly creamed.
- Electric hand mixer or stand mixer – A hand mixer is fine, but a stand mixer with the paddle attachment makes it easier. If you’re mixing by hand, expect to work a bit harder to cream the cold butter.
- Rubber spatula – For scraping down the bowl and folding in the chocolate chips.
- Baking sheet – A light-colored, rimmed baking sheet is ideal. Dark sheets can cause the bottoms to brown too quickly. I use a Nordic Ware half-sheet pan.
- Parchment paper or silicone baking mat – Prevents sticking and makes cleanup a breeze. Silicone mats can make cookies spread a tiny bit more, so keep an eye on them.
- Cookie scoop (about 1.5 tablespoons) – This gives you evenly sized cookies. If you don’t have one, use two spoons to portion the dough. A #40 cookie scoop is the perfect size for this recipe.
- Cooling rack – Lets air circulate under the cookies so they don’t get soggy. If you don’t have one, transfer the cookies to a plate after a few minutes.
- Measuring cups and spoons – For accuracy. I’ve learned the hard way that eyeballing flour leads to dry cookies.
Preparation Method
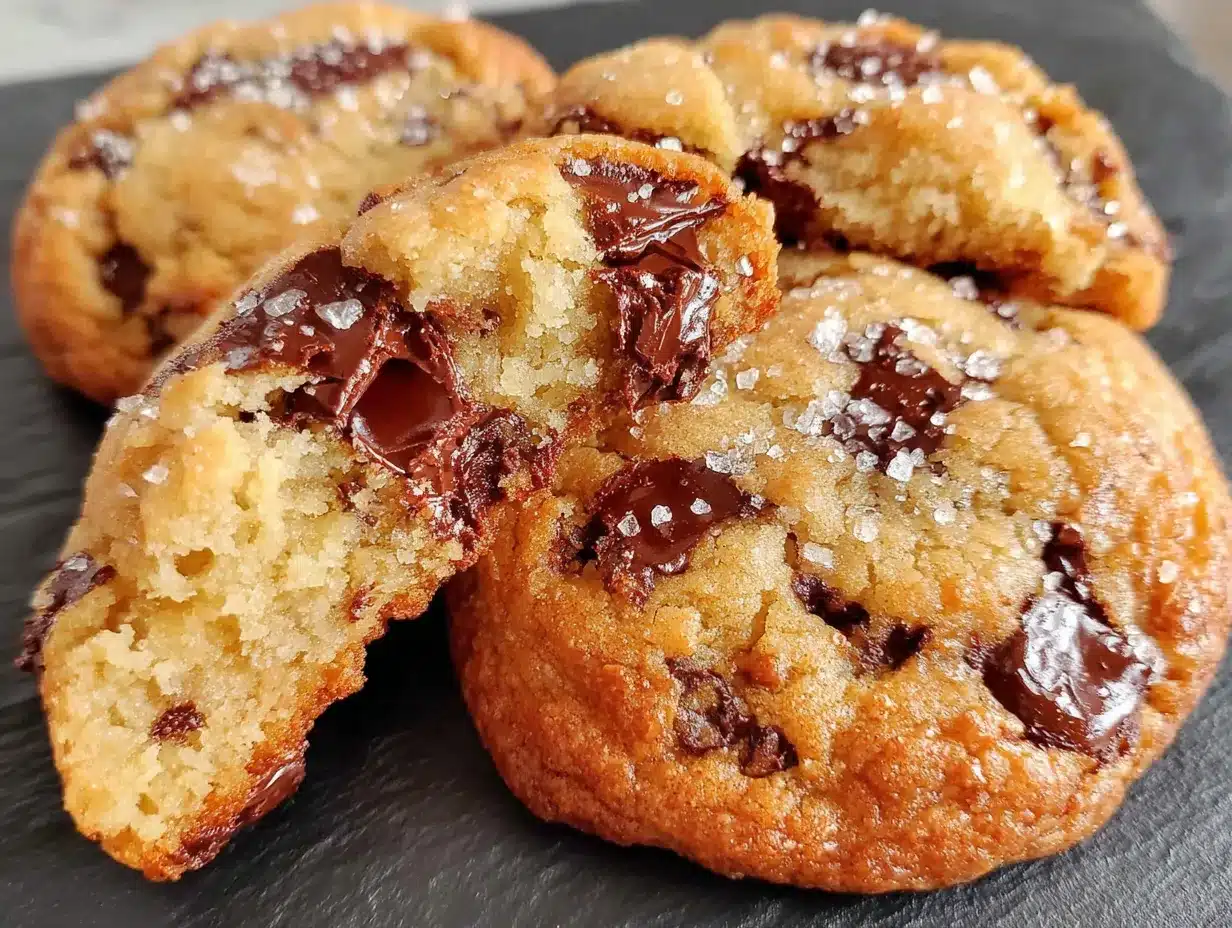
Let’s get baking! This whole process takes about 25 minutes, and most of that is hands-off oven time.
- Preheat your oven to 350°F (175°C). Line your baking sheet with parchment paper or a silicone mat. This is a small batch, so you’ll only need one sheet. While the oven heats, get your ingredients ready.
- Cream the cold butter and sugars. In your mixing bowl, combine the cold cubed butter, granulated sugar, and packed brown sugar. Beat with an electric mixer on medium speed for 2-3 minutes. The mixture will look grainy and a little clumpy—that’s exactly what you want. Don’t expect it to get fluffy like room-temperature butter. It should look like wet sand. Scrape down the sides of the bowl with your spatula halfway through.
- Add the egg yolk and vanilla. Drop in the egg yolk and pour in the vanilla extract. Mix on low speed until just combined, about 15 seconds. The dough will look slightly curdled at this point, but don’t worry—that’s normal. Scrape the bowl again to make sure everything is incorporated.
- Whisk the dry ingredients separately. In a small bowl, whisk together the bread flour, baking soda, and salt. This ensures the baking soda and salt are evenly distributed so you don’t get a pocket of baking soda in one cookie.
- Add the dry ingredients to the wet mixture. Pour the flour mixture into the butter mixture. Mix on low speed until just a few streaks of flour remain. This should only take about 20-30 seconds. Overmixing at this stage will make the cookies tough. The dough will be thick and slightly sticky.
- Fold in the chocolate chips. Add the chocolate chips to the bowl. Use your rubber spatula to fold them in gently. Make sure they’re evenly distributed throughout the dough. If you want a prettier cookie, reserve a few chips to press into the tops of the dough balls before baking.
- Scoop the dough. Use your cookie scoop to portion the dough into 6 equal balls, about 1.5 tablespoons each. Place them on the prepared baking sheet, spacing them about 2 inches apart. They will spread, but not too much. Don’t flatten the balls—leave them domed for that bakery-style look.
- Bake the cookies. Place the baking sheet on the center rack of your preheated oven. Bake for 10-12 minutes. At 10 minutes, the edges should be set and lightly golden, but the centers will still look soft and slightly underdone. That’s perfect. If you prefer a slightly crispier cookie, go to 12 minutes, but the centers will be less soft.
- Cool on the baking sheet. Remove the sheet from the oven. Let the cookies rest on the hot baking sheet for 3-4 minutes. This allows them to set up without over-baking. The residual heat will finish cooking the centers. Don’t skip this step—moving them too soon can cause them to fall apart.
- Transfer to a cooling rack. Use a thin spatula to carefully move the cookies to a cooling rack. Let them cool completely if you can resist—though I never can. Enjoy warm for the ultimate cozy treat.
Cooking Tips & Techniques
I’ve made this recipe dozens of times, and I’ve learned a few things the hard way. Here’s what I wish I’d known from the start.
Don’t overmix the dough. This is the number one mistake people make. Once you add the flour, mix just until it disappears. Overmixing develops too much gluten, and you’ll end up with dense, tough cookies instead of soft, tender ones. I’ve done it—I was distracted by a phone call and kept the mixer running. The cookies were still edible, but they were more like hockey pucks.
Keep that butter cold. I know it feels wrong to cream cold butter, but trust the process. Cold butter doesn’t spread as much in the oven, which gives you those thick, puffy centers. If your kitchen is very warm, pop the scooped dough balls in the fridge for 10 minutes before baking. This helps them hold their shape even better.
Use a light-colored baking sheet. Dark baking sheets absorb more heat and can cause the bottoms of your cookies to burn before the centers are done. I learned this after a batch of cookies that looked perfect on top but were almost black on the bottom. If you only have dark sheets, reduce the oven temperature by 25°F.
Rotate the pan halfway through. Ovens have hot spots. About 5 minutes into baking, quickly rotate the baking sheet 180 degrees. This ensures even browning. I forgot to do this once, and half my cookies were pale while the other half were overdone.
Let them rest. The 3-4 minute rest on the hot baking sheet is crucial. It’s tempting to grab a cookie immediately, but they’ll just fall apart. The rest allows the structure to set while keeping the centers soft. I’ve burned my fingers more times than I care to admit rushing this step.
Variations & Adaptations
This recipe is a great base for experimenting. Here are some of my favorite twists.
- Double Chocolate Chip Cookies : Replace 1 tablespoon of the bread flour with 1 tablespoon of unsweetened cocoa powder. Use dark chocolate chips instead of semi-sweet. The result is a rich, fudgy cookie that tastes like a brownie in cookie form. I made these for a friend’s birthday, and she asked for the recipe before she even finished the first one.
- Gluten-Free Adaptation : Swap the bread flour for a 1:1 gluten-free baking flour blend that contains xanthan gum. Bob’s Red Mill works well. The texture will be slightly more tender and crumbly, but still delicious. Avoid using almond flour or coconut flour, as they change the structure too much.
- Add-In Swaps : Instead of chocolate chips, try chopped toasted pecans, white chocolate chips with dried cranberries, or butterscotch chips. For a salty-sweet version, sprinkle a tiny pinch of flaky sea salt on top of each dough ball before baking. I love this variation for holiday cookie trays.
- Vegan Version : Use vegan butter sticks (like Earth Balance) and replace the egg yolk with 1 tablespoon of aquafaba (the liquid from a can of chickpeas) mixed with 1/2 teaspoon of cornstarch. The cookies will be slightly less rich, but they’ll still be soft and satisfying. I tested this for a vegan friend, and she couldn’t tell the difference.
- Spiced Cookies : Add 1/2 teaspoon of cinnamon and a pinch of nutmeg to the dry ingredients. This gives the cookies a warm, cozy flavor that’s perfect for fall. I made these on a rainy October afternoon, and the whole house smelled like a bakery.
Serving & Storage Suggestions
These cookies are best served warm, straight from the oven. The chocolate is still melty, and the centers are irresistibly soft. For an extra treat, serve them with a cold glass of milk or a warm mug of coffee. They’re also fantastic crumbled over vanilla ice cream for an impromptu sundae.
Storage: Store leftover cookies in an airtight container at room temperature for up to 3 days. To keep them soft, add a slice of plain bread to the container—the cookies will absorb the moisture from the bread. Replace the bread slice every day if you’re keeping them longer. I learned this trick from my grandmother, and it works like magic.
Freezing: You can freeze the baked cookies for up to 2 months. Place them in a single layer in a freezer-safe bag or container. To thaw, leave them at room temperature for about 15 minutes, or pop them in a 300°F oven for 5 minutes to re-crisp the edges. You can also freeze the raw dough balls. Scoop them onto a baking sheet, freeze until solid, then transfer to a freezer bag. Bake from frozen, adding 1-2 minutes to the baking time.
Flavor Development: Honestly, these cookies are at their peak on day one. The texture is softest right after baking. By day two, they’ll still be good, but the edges will be a bit firmer. If you want that fresh-from-the-oven experience, reheat a cookie in the microwave for 10 seconds. It’s not quite the same, but it’s close enough.
Nutritional Information & Benefits
Here’s a rough estimate per cookie (based on 6 cookies):
| Nutrient | Amount per Cookie |
|---|---|
| Calories | 245 |
| Total Fat | 14g |
| Saturated Fat | 8g |
| Cholesterol | 45mg |
| Sodium | 180mg |
| Total Carbohydrates | 30g |
| Dietary Fiber | 1g |
| Sugars | 18g |
| Protein | 3g |
These cookies use simple, recognizable ingredients. The bread flour provides a bit more protein than all-purpose flour, and the egg yolk is a good source of choline. While they’re certainly a treat, the small batch size helps with portion control—you’re not stuck with a giant container of cookies tempting you all week. If you’re watching your sugar intake, you can reduce the granulated sugar to 2 tablespoons, but the texture will be slightly less tender. For a lower-fat option, you can replace 2 tablespoons of the butter with unsweetened applesauce, but the cookies will be more cake-like.
Conclusion
These cozy soft chocolate chip cookies are the kind of recipe that feels like a hug in food form. They came from a mistake, but honestly, that mistake taught me that sometimes the best things happen when you stop overthinking and just bake. The texture is incredible—soft, puffy, and loaded with melty chocolate—and the small batch means you can satisfy a craving without a week’s worth of leftovers. I love making these on quiet evenings when I want something warm and comforting without a big production. They’re simple, forgiving, and absolutely delicious.
I’d love to hear how yours turn out! Did you try any of the variations? Did you add your own twist? Drop a comment below and let me know. And if you loved this recipe, share it with a friend who needs a little cozy baking in their life. Happy baking!
Frequently Asked Questions
Can I use all-purpose flour instead of bread flour?
Yes, you can. The cookies will be slightly flatter and less puffy, but they’ll still be soft and delicious. For a closer texture, add 1 teaspoon of cornstarch to the all-purpose flour.
Do I have to chill the dough?
No, this recipe doesn’t require chilling. However, if your kitchen is very warm, chilling the scooped dough balls for 10 minutes can help them hold their shape better.
Can I double this recipe?
Absolutely. Simply double all the ingredients. The baking time and temperature stay the same. You’ll need to bake in batches or use two baking sheets.
Why did my cookies turn out flat?
Flat cookies are usually caused by butter that’s too soft or overmixing the dough. Make sure your butter is cold and cubed, and mix just until the flour disappears. If your baking soda is old, it may not provide enough lift—check the expiration date.
How do I make these cookies dairy-free?
Use vegan butter sticks (not tub margarine) and dairy-free chocolate chips. Keep the vegan butter cold, just like regular butter. The texture will be very similar to the original.
Pin This Recipe!
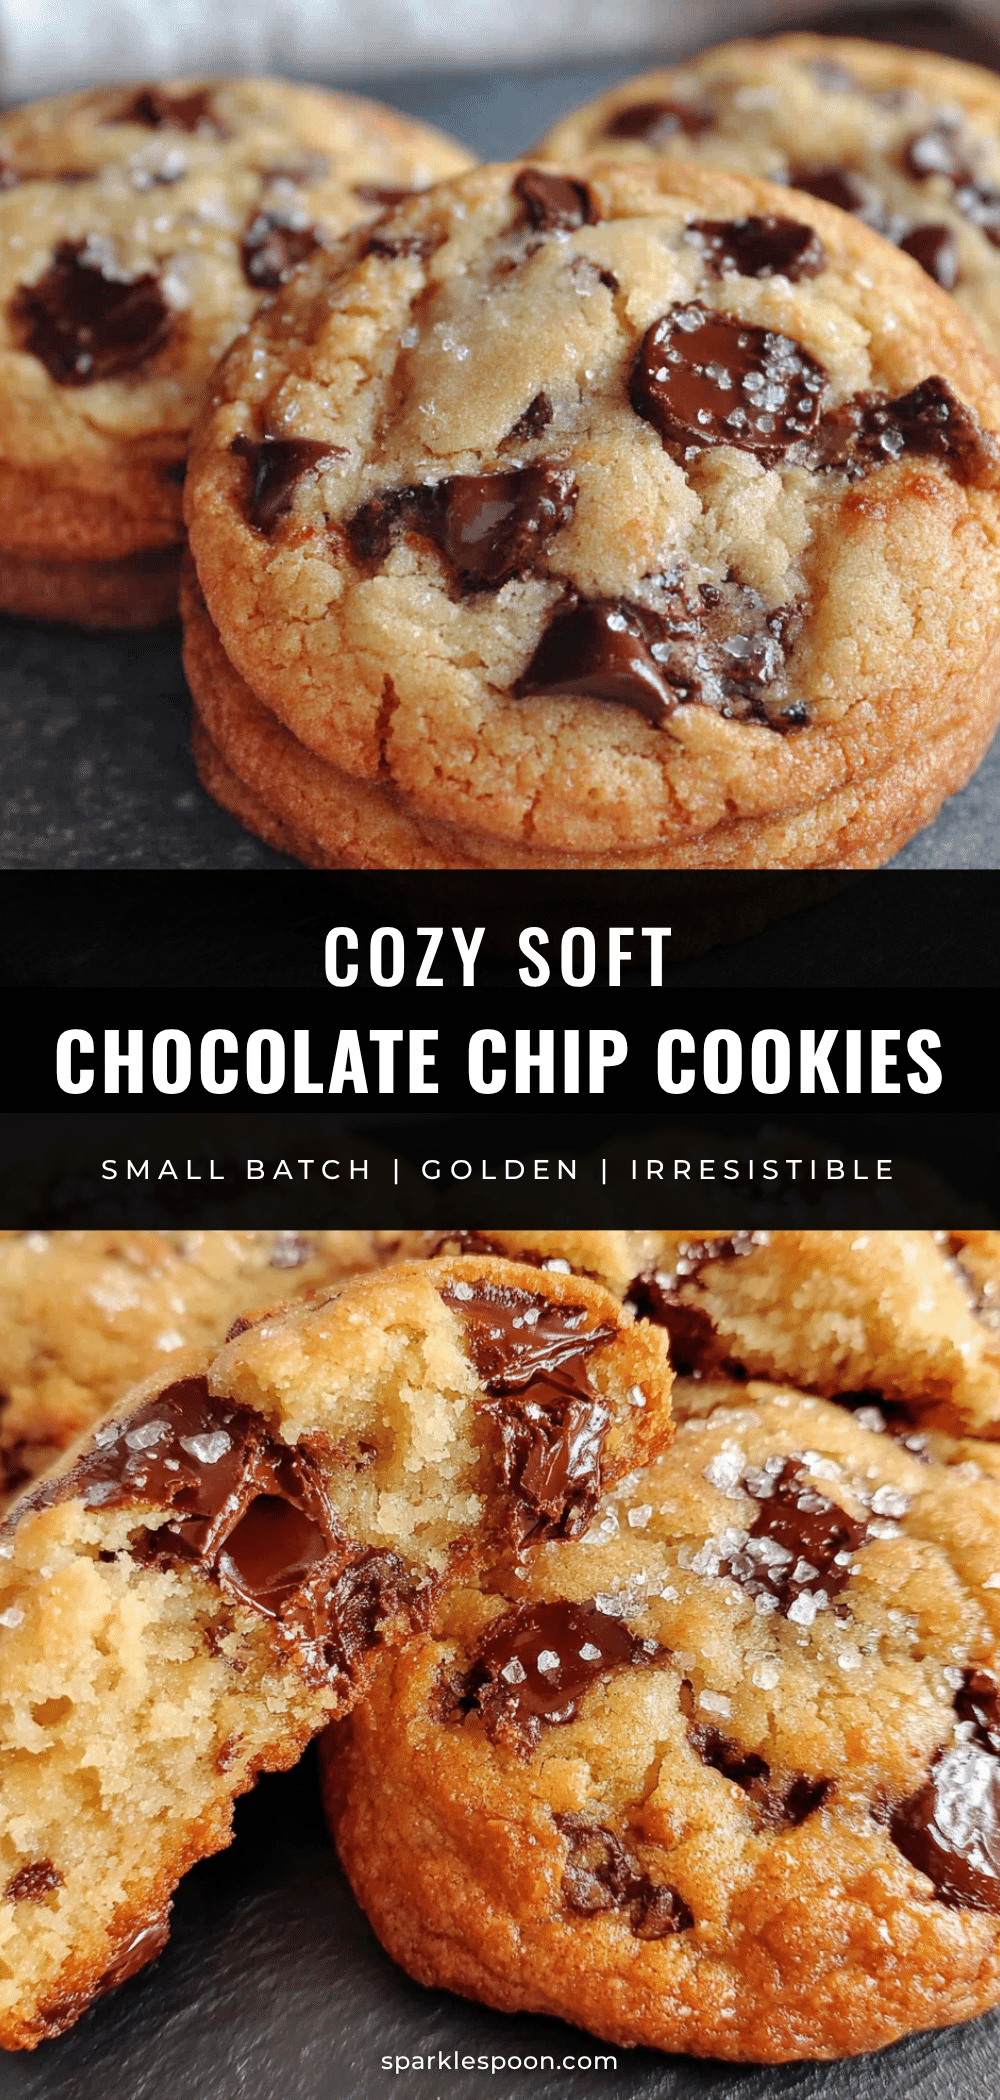
Cozy Soft Chocolate Chip Cookies – Easy Small Batch

These soft, puffy chocolate chip cookies are made with cold butter and bread flour for a pillowy center and slightly crisp edges. This small batch recipe makes exactly 6 cookies and comes together in about 25 minutes with no chilling required.
- Prep Time: 15 minutes
- Cook Time: 10-12 minutes
- Total Time: 25 minutes
- Yield: 6 cookies 1x
- Category: Dessert
- Cuisine: American
Ingredients
- 4 tablespoons (56g) unsalted butter, cold and cubed
- 3 tablespoons (38g) granulated sugar
- 3 tablespoons (38g) light brown sugar, packed
- 1 large egg yolk, room temperature
- 1/2 teaspoon vanilla extract
- 1/2 cup + 2 tablespoons (85g) bread flour
- 1/4 teaspoon baking soda
- 1/4 teaspoon salt
- 1/3 cup (60g) semi-sweet chocolate chips
Instructions
- Preheat your oven to 350°F (175°C). Line your baking sheet with parchment paper or a silicone mat.
- In a mixing bowl, combine the cold cubed butter, granulated sugar, and packed brown sugar. Beat with an electric mixer on medium speed for 2-3 minutes until the mixture looks grainy and clumpy like wet sand. Scrape down the sides of the bowl halfway through.
- Add the egg yolk and vanilla extract. Mix on low speed until just combined, about 15 seconds. The dough will look slightly curdled. Scrape the bowl again.
- In a small bowl, whisk together the bread flour, baking soda, and salt.
- Pour the flour mixture into the butter mixture. Mix on low speed until just a few streaks of flour remain, about 20-30 seconds. Do not overmix.
- Fold in the chocolate chips with a rubber spatula until evenly distributed. Optionally, reserve a few chips to press into the tops of the dough balls before baking.
- Use a cookie scoop (about 1.5 tablespoons) to portion the dough into 6 equal balls. Place them on the prepared baking sheet, spacing about 2 inches apart. Do not flatten the balls.
- Bake on the center rack for 10-12 minutes. At 10 minutes, the edges should be set and lightly golden, but the centers will still look soft and slightly underdone.
- Remove the sheet from the oven and let the cookies rest on the hot baking sheet for 3-4 minutes.
- Use a thin spatula to transfer the cookies to a cooling rack. Cool completely or enjoy warm.
Notes
For best results, use cold butter and bread flour. Do not overmix the dough. Let cookies rest on the baking sheet for 3-4 minutes after baking. For a dairy-free version, use vegan butter sticks and dairy-free chocolate chips. For a gluten-free version, use a 1:1 gluten-free baking flour blend with xanthan gum.
Nutrition
- Serving Size: 1 cookie
- Calories: 245
- Sugar: 18
- Sodium: 180
- Fat: 14
- Saturated Fat: 8
- Carbohydrates: 30
- Fiber: 1
- Protein: 3
Keywords: soft chocolate chip cookies, small batch cookies, easy cookie recipe, bread flour cookies, no chill cookies



