Love this? Save it for later!
Share the inspiration with your friends
I was standing in the middle of a hardware store last October, holding a bag of mulch I didn’t really need, when the smell hit me. Someone had walked past with one of those cinnamon-scented pinecones they sell in giant bins near the checkout, and just like that—I was seven years old, standing on a step stool in my neighbor Mrs. Kowalski’s kitchen, watching her brown butter on the stove for the first time. She wasn’t my grandmother or my aunt or anyone related to me, really. She was just the lady next door who let me hang around when my mom worked late. And she made this cake every single fall, the kind that filled her whole tiny house with the smell of apples and browned butter and something I couldn’t name until I got older, which was maple. I haven’t thought about her in years. She moved away when I was twelve, and I never got the recipe. Honestly, I’ve been chasing that exact cake for about two decades now, and I think I finally got close enough to stop trying. Maybe you’ve had that feeling—the one where you can almost taste a memory but not quite hold onto it. This brown butter apple cider cake with maple glaze is my best attempt at catching something that slipped away. It’s not her exact cake, but it’s mine now, and I think she’d be okay with that.
Why You’ll Love This Recipe
Let me tell you why this cake is worth every single dish you’ll dirty making it. I’ve tested this recipe six times over the past two months, and I’m not exaggerating when I say I finally stopped tweaking it because my family threatened to hide the mixing bowl. It’s that good.
- Deep, Nutty Flavor: The brown butter adds this rich, toasty depth that regular butter just can’t touch. It’s like the difference between a handshake and a hug.
- Perfect for Fall Gatherings: This is the cake you bring to a Friendsgiving, a cozy Sunday brunch, or a random Tuesday when you need the house to smell like happiness.
- Simple Ingredients: You probably have everything except maybe the apple cider and maple syrup. No weird specialty flours or obscure extracts.
- Surprisingly Easy: I know brown butter sounds fancy, but I promise it’s just butter that you watch on the stove for a few minutes. That’s it.
- Gets Better Overnight: Seriously, this cake tastes even better the next day. The glaze soaks in just a little, and the flavors meld together like they were meant to be.
What makes this different from every other apple cake out there? It’s the brown butter, honestly. Most recipes skip that step and you end up with a cake that’s fine but forgettable. This one? The brown butter brings out the apple cider’s natural sweetness and the maple glaze adds this almost caramel-like finish. It’s comfort food that actually comforts, you know? The kind of cake that makes you close your eyes after the first bite and forget about everything else for a minute.
What Ingredients You Will Need
This recipe uses simple, seasonal ingredients that come together to create something way more than the sum of their parts. Most of these are pantry staples or easy fall finds, and I’ve included a few notes from my testing to save you some trial and error.
- Unsalted butter, 1 cup (2 sticks): You’ll brown this whole amount, so don’t try to shortcut with salted butter. I use Land O’Lakes for consistent results.
- Apple cider, 1 cup: Not apple juice! Apple cider has that tangy, unfiltered depth that makes the cake taste like autumn. I like the refrigerated kind from the produce section.
- Granulated sugar, 1 cup: White sugar keeps the cake tender and lets the apple and brown butter flavors shine.
- Light brown sugar, ½ cup, packed: Adds moisture and a subtle molasses note that pairs beautifully with the maple glaze.
- Large eggs, 2, room temperature: Room temperature eggs emulsify better into the brown butter. If you forget to set them out, place them in a bowl of warm water for 5 minutes.
- Vanilla extract, 2 teaspoons: Pure vanilla, not imitation. Trust me on this one.
- All-purpose flour, 2 cups: Spoon and level your flour—don’t scoop straight from the bag or you’ll end up with a dry cake.
- Baking powder, 1½ teaspoons: Make sure it’s fresh. If you can’t remember when you bought it, get a new can.
- Baking soda, ½ teaspoon: Helps the cake rise and gives it a tender crumb.
- Salt, 1 teaspoon: I use fine sea salt. It balances the sweetness and makes everything taste more like itself.
- Ground cinnamon, 2 teaspoons: The backbone of the spice blend. I prefer McCormick for consistency.
- Ground nutmeg, ½ teaspoon: Freshly grated if you have it, but pre-ground works fine.
- Ground ginger, ½ teaspoon: Adds a little warmth without being spicy.
- Ground cloves, ¼ teaspoon: Just a pinch—these are potent.
- Apple, 1 medium, peeled and finely chopped: Use a firm, tart variety like Granny Smith or Honeycrisp. You want about 1 cup of chopped apple.
For the Maple Glaze:
- Powdered sugar, 1½ cups: Sift it if it’s lumpy. Nobody wants lumpy glaze.
- Pure maple syrup, 3 tablespoons: Not pancake syrup! Get the real stuff. Grade A dark amber works beautifully here.
- Milk, 2-3 tablespoons: Whole milk gives the richest texture, but any milk works. Start with 2 tablespoons and add more if needed.
- Vanilla extract, ½ teaspoon: Because everything is better with vanilla.
Equipment Needed
You don’t need a fancy kitchen for this cake, and I say that as someone who once tried to brown butter in a nonstick pan that definitely wasn’t meant for that. Learn from my mistakes.
- 9-inch round cake pan: A standard metal pan works great. Glass or ceramic will work but may need a few extra minutes of baking time.
- Light-colored saucepan: This is crucial for browning butter. A dark pan makes it hard to see when the butter solids turn that perfect golden brown.
- Mixing bowls: You’ll need at least two—one for dry ingredients and one for wet.
- Whisk: For combining the dry ingredients and smoothing the glaze.
- Rubber spatula: For folding in the apples without overmixing.
- Cooling rack: Lets air circulate around the cake so it cools evenly. I once used a wire trivet and it worked fine in a pinch.
- Parchment paper: Cut a circle for the bottom of the pan. This is non-negotiable unless you enjoy scraping cake off pan bottoms.
- Hand mixer or stand mixer: You can do this by hand with a whisk, but your arm will thank you for the mixer.
Preparation Method
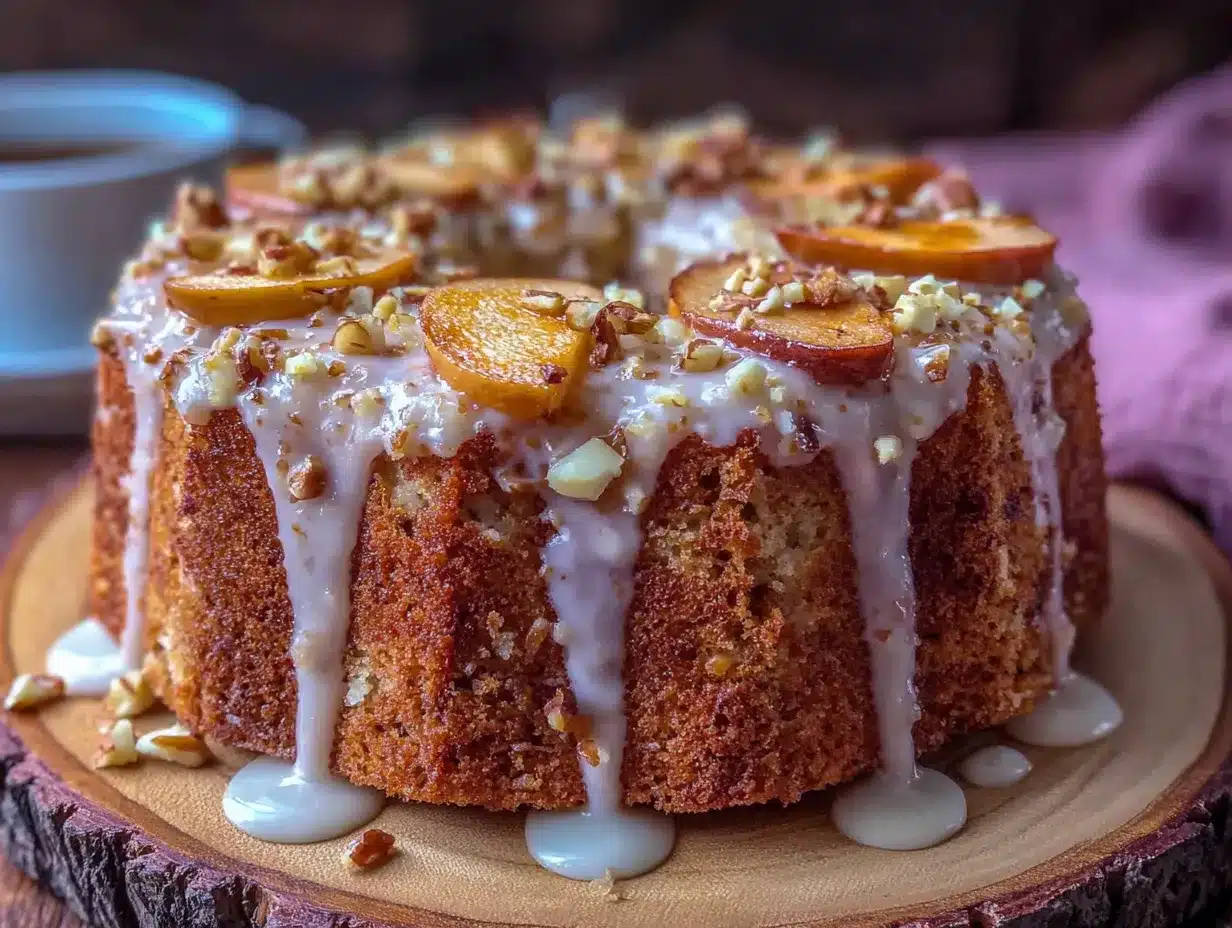
Let me walk you through this step by step. I’ve included all the little things I wish someone had told me the first time I made this.
- Brown the butter: Place the 1 cup of butter in your light-colored saucepan over medium heat. Let it melt completely, then keep cooking. Swirl the pan occasionally. After about 5-7 minutes, you’ll see golden brown specks forming at the bottom and the butter will smell nutty and amazing. The moment it turns amber and smells like toasted hazelnuts, pull it off the heat. Pour it into a heatproof bowl immediately to stop the cooking. Let it cool for about 15 minutes. Pro tip: don’t walk away during this step. I burned my first batch because I answered the phone. The line between brown butter and burnt butter is about 30 seconds.
- Reduce the apple cider: In a small saucepan, bring the 1 cup of apple cider to a boil over medium-high heat. Let it boil until it reduces to about ¼ cup, which takes about 10-12 minutes. You’ll notice it gets syrupy and smells intensely of apples. Set it aside to cool. This concentrates the flavor so you get that punch of apple without adding too much liquid to the batter.
- Preheat and prep: Preheat your oven to 350°F. Grease your 9-inch cake pan and line the bottom with a circle of parchment paper. This step feels fussy, but I promise it’s worth it when the cake slides out perfectly.
- Mix the dry ingredients: In a medium bowl, whisk together the 2 cups flour, 1½ teaspoons baking powder, ½ teaspoon baking soda, 1 teaspoon salt, 2 teaspoons cinnamon, ½ teaspoon nutmeg, ½ teaspoon ginger, and ¼ teaspoon cloves. Set this aside.
- Cream the butter and sugars: In a large bowl, combine the cooled brown butter with 1 cup granulated sugar and ½ cup packed brown sugar. Beat with your hand mixer on medium speed for about 2 minutes until it looks light and fluffy. It won’t get as fluffy as regular butter because the brown butter is softer, but that’s okay.
- Add the eggs and vanilla: Beat in the 2 room temperature eggs one at a time, mixing well after each. Add the 2 teaspoons vanilla extract and the reduced apple cider. Mix until combined. The batter might look a little separated here—don’t panic. That’s normal.
- Combine wet and dry: Add the dry ingredients to the wet mixture in two additions, mixing on low speed after each just until you don’t see any more flour streaks. Overmixing at this stage will make the cake tough, so stop as soon as it comes together.
- Fold in the apple: Using your rubber spatula, gently fold in the 1 cup of finely chopped apple. Fold just until the apple is distributed. You should see little chunks throughout the batter.
- Bake: Pour the batter into your prepared pan and spread it even. Bake for 45-50 minutes, or until a toothpick inserted in the center comes out clean or with just a few moist crumbs. The top should be golden brown and the edges should pull away from the pan slightly. My oven runs hot, so I start checking at 40 minutes.
- Cool: Let the cake cool in the pan on a wire rack for 15 minutes. Then run a knife around the edge, invert onto the rack, and remove the parchment paper. Let it cool completely before glazing. This takes about 1 hour. If you glaze it while it’s warm, the glaze will just soak in and disappear.
- Make the glaze: In a small bowl, whisk together the 1½ cups powdered sugar, 3 tablespoons maple syrup, ½ teaspoon vanilla, and 2 tablespoons milk. Whisk until smooth. If it’s too thick to drizzle, add the remaining tablespoon of milk. If it’s too thin, add a little more powdered sugar. The perfect consistency is thick enough to coat the back of a spoon but thin enough to drizzle.
- Glaze and serve: Drizzle the glaze over the cooled cake. Let it set for about 10 minutes before slicing. The glaze will form a thin, crackly shell that’s absolutely magical against the tender cake.
Cooking Tips & Techniques
I’ve made this cake enough times to have a few opinions about what works and what doesn’t. Let me save you some trouble.
On browning butter: Use a light-colored pan. I cannot stress this enough. The first time I tried this in my dark nonstick skillet, I couldn’t see the color change and ended up with butter that tasted more angry than nutty. Also, cut your butter into tablespoon-sized pieces so it melts evenly. And don’t stir it constantly—just swirl the pan every 30 seconds or so.
On the apple cider reduction: This step feels like an extra hassle, but it’s the secret to getting that intense apple flavor without making the batter too thin. If you skip it, your cake will be bland and gummy. I learned this the hard way when I was rushing one Tuesday and just added full-strength cider. The cake was fine, but it wasn’t this cake.
On room temperature ingredients: I know, I know—every recipe says this. But it actually matters here because cold eggs will seize up your brown butter and create a lumpy batter. If you forgot to take the eggs out, place them in a bowl of warm water for 5 minutes. Works every time.
On testing for doneness: The toothpick test is your friend, but also pay attention to how the cake smells. When it’s done, the whole kitchen will smell like browned butter and apples and cinnamon in a way that’s almost intoxicating. That’s your cue to start checking.
On the glaze: Let the cake cool completely. I once got impatient after 30 minutes and poured the glaze over a slightly warm cake. It all soaked in and I ended up with a cake that looked sad and naked. The wait is worth it.
Variations & Adaptations
This recipe is flexible, and I’ve tried a few different versions over the past few months. Here are my favorites.
Gluten-Free Version: Substitute the all-purpose flour with a 1:1 gluten-free baking flour blend. I’ve had good results with Bob’s Red Mill. Add an extra tablespoon of milk to the batter since gluten-free flours tend to absorb more liquid. The texture will be slightly more tender, but still delicious.
Dairy-Free Version: Use a high-quality vegan butter for the brown butter step. Miyoko’s works really well because it has a high fat content. Use oat milk or almond milk in the glaze. The brown butter flavor won’t be quite as deep, but it’s still really good.
Spice It Up: Add ¼ teaspoon of cardamom to the spice blend for a more complex flavor profile. I tried this for a holiday party and everyone asked what the secret ingredient was. Cardamom and apple are a surprisingly perfect match.
Bundt Pan Version: Grease a 10-cup bundt pan thoroughly and bake at 325°F for 55-65 minutes. You might need to double the glaze recipe to cover the whole cake. This version looks more impressive for company.
Apple Butter Swirl: Dollop ¼ cup of apple butter on top of the batter before baking and swirl it in with a knife. This adds another layer of apple flavor and creates a pretty marbled effect inside the cake.
Serving & Storage Suggestions
This cake is forgiving in all the right ways, including how you serve and store it.
Serving: Serve this cake at room temperature. The texture is at its best when it’s not straight from the fridge. A slice with a cup of hot coffee or a mug of spiced chai is basically a perfect fall moment. For extra indulgence, warm a slice in the microwave for 15 seconds and add a scoop of vanilla ice cream or a dollop of lightly sweetened whipped cream. I’ve also been known to eat a slice for breakfast, and I have zero regrets about that.
Storage: Store the cake in an airtight container at room temperature for up to 3 days. The glaze will stay crackly and beautiful for about 24 hours, then it will soften slightly. That’s okay—it still tastes amazing. If your kitchen is warm, you can store it in the fridge, but let slices come to room temperature before serving.
Freezing: This cake freezes beautifully. Wrap the unglazed cake tightly in plastic wrap, then in foil, and freeze for up to 3 months. Thaw overnight in the refrigerator, bring to room temperature, then glaze and serve. You can also freeze individual slices for quick treats.
Flavor Development: Honestly, this cake tastes even better on day two. The flavors meld together and the texture becomes even more tender. If you can resist eating it all the first day, you’re stronger than I am.
Nutritional Information & Benefits
Let’s be real—this is a cake, not a health food. But there are a few bright spots worth mentioning.
Per slice (based on 10 servings): approximately 380 calories, 18g fat, 52g carbohydrates, 4g protein, 2g fiber, 32g sugar. These are estimates and will vary based on your specific ingredients.
The apple provides a small amount of fiber and vitamin C, and the cinnamon has anti-inflammatory properties. The brown butter, while not exactly health food, does contain butyrate, which is a fatty acid that supports gut health. The maple syrup contains antioxidants and minerals like zinc and manganese.
This recipe contains gluten, dairy, and eggs. For gluten-free and dairy-free options, see the variations section above. If you’re watching your sugar intake, you can reduce the granulated sugar to ¾ cup, but the texture will be slightly less tender.
Conclusion
This brown butter apple cider cake with maple glaze is the kind of recipe that becomes a tradition. It’s the cake you make when the leaves start turning and the air gets that crisp bite that means fall is really here. It’s the cake you bring to gatherings and watch disappear in minutes. It’s the cake you make for yourself on a quiet Sunday afternoon, just because the house deserves to smell this good.
I hope you make this cake and make it your own. Add more cinnamon if that’s your thing. Use a different apple variety. Double the glaze—I won’t judge. The beauty of baking is that every time you make something, you leave a little bit of yourself in it. That’s what Mrs. Kowalski taught me, even if she never said it out loud. She just handed me a slice of cake and let me figure it out.
If you try this recipe, I’d love to hear about it. Leave a comment below and tell me how it turned out, or share a photo of your cake. And if you made any changes that worked beautifully, share those too. That’s how recipes live on, you know? One person at a time, one adaptation at a time, one perfect slice at a time.
Happy baking, friends. Go make something that smells like home.
Frequently Asked Questions
Can I use apple juice instead of apple cider?
You can, but the flavor won’t be as deep or tangy. Apple cider has a more complex, unfiltered taste that really shines in this cake. If you’re in a pinch, use apple juice and add an extra tablespoon of brown sugar to compensate for the missing flavor.
Do I have to reduce the apple cider?
Yes, this step is important. Reducing the cider concentrates the apple flavor and removes excess liquid that would make the batter too thin. Without this step, the cake would be gummy and less flavorful. It only takes about 10 minutes, I promise it’s worth it.
Can I make this cake ahead of time?
Absolutely. You can bake the cake a day ahead, wrap it tightly, and store it at room temperature. Glaze it the day you plan to serve it for the best presentation. The cake actually tastes better on day two, so this is a great option for entertaining.
Why did my brown butter burn?
Brown butter can go from perfect to burnt in about 30 seconds. Make sure you’re using a light-colored pan so you can see the color change, and pull it off the heat as soon as you see golden brown specks forming. Pour it into a cool bowl immediately to stop the cooking process.
Can I use a different pan size?
This recipe is designed for a 9-inch round pan. You can use an 8-inch square pan, but you’ll need to increase the baking time by 5-10 minutes. For a bundt pan, see the variations section above. Cupcake versions would need about 18-20 minutes at 350°F.
Pin This Recipe!
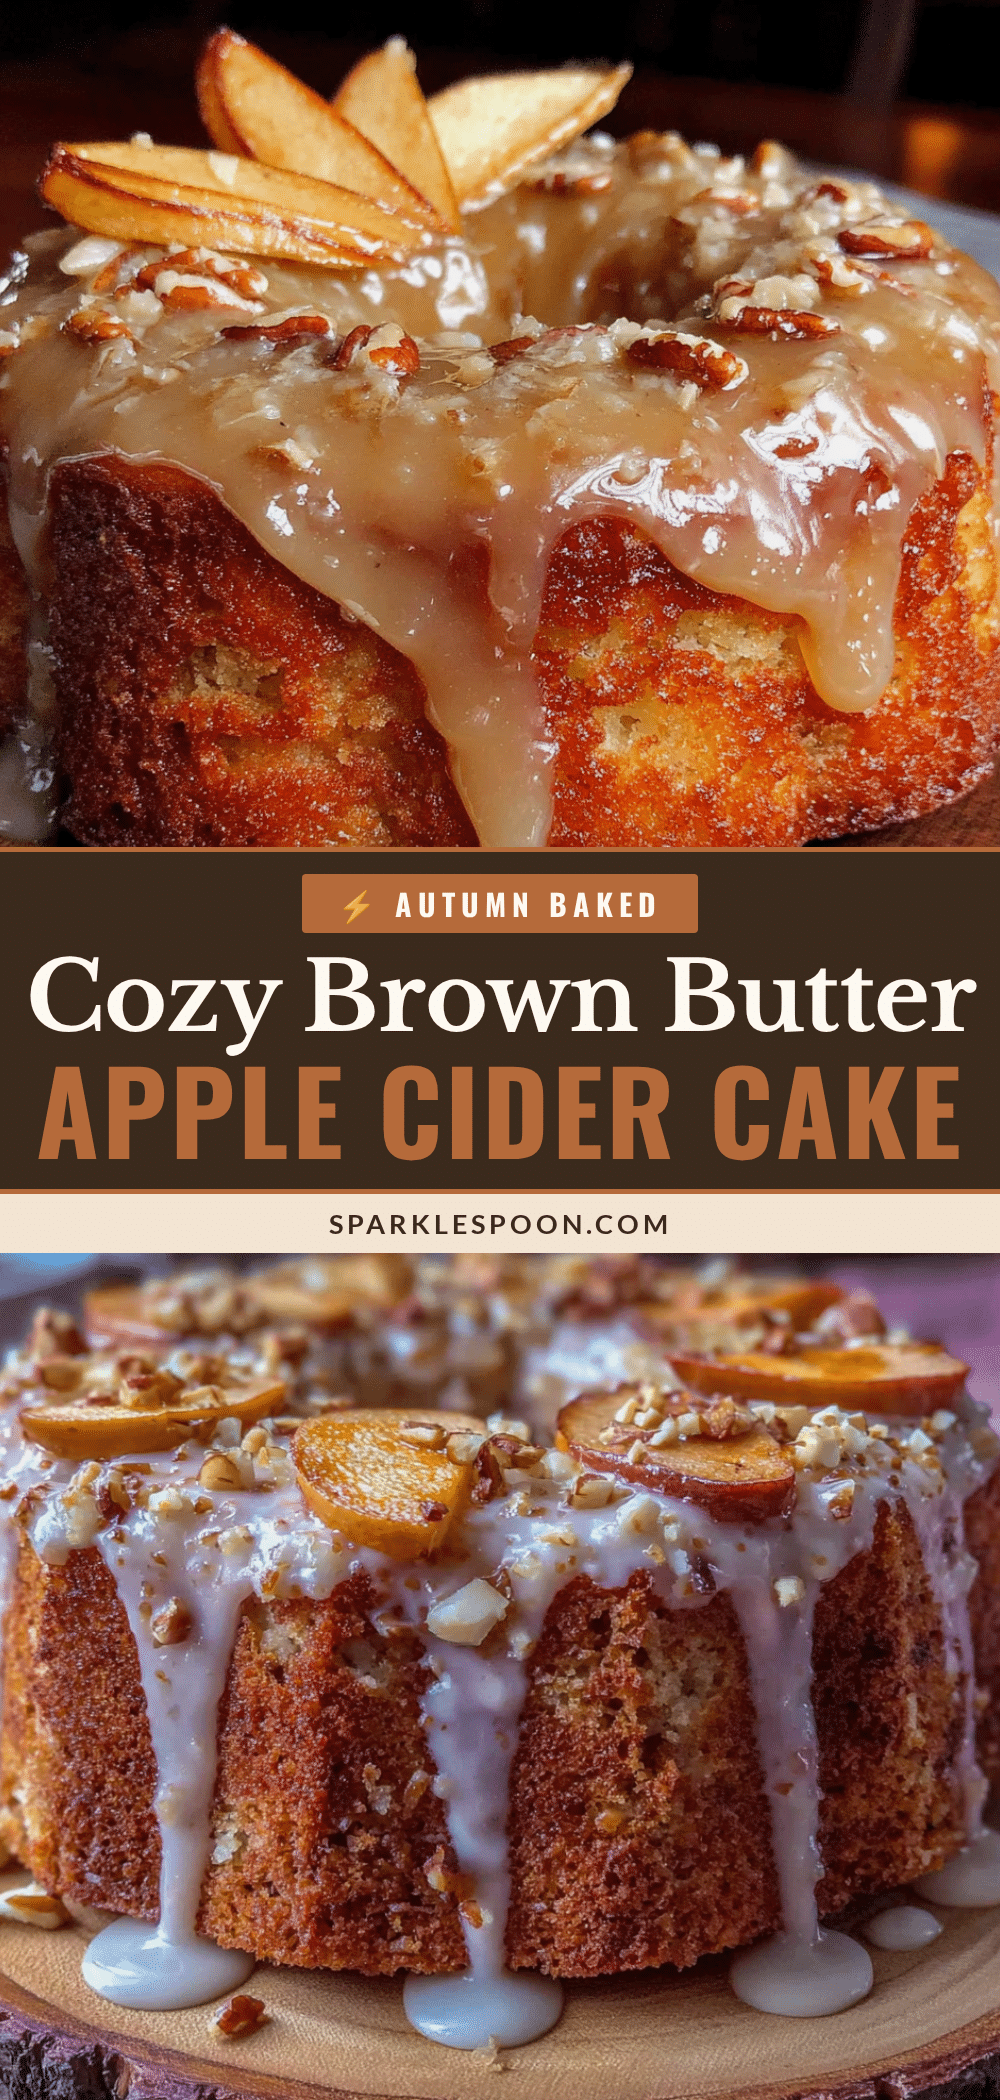
Cozy Brown Butter Apple Cider Cake with Maple Glaze
A moist, tender apple cider cake made with nutty brown butter and topped with a crackly maple glaze. This is the ultimate fall dessert that tastes even better the next day.
- Prep Time: 20 minutes
- Cook Time: 50 minutes
- Total Time: 1 hour 10 minutes (plus cooling time)
- Yield: 10 servings 1x
- Category: Dessert
- Cuisine: American
Ingredients
- 1 cup (2 sticks) unsalted butter
- 1 cup apple cider
- 1 cup granulated sugar
- ½ cup light brown sugar, packed
- 2 large eggs, room temperature
- 2 teaspoons vanilla extract
- 2 cups all-purpose flour
- 1½ teaspoons baking powder
- ½ teaspoon baking soda
- 1 teaspoon fine sea salt
- 2 teaspoons ground cinnamon
- ½ teaspoon ground nutmeg
- ½ teaspoon ground ginger
- ¼ teaspoon ground cloves
- 1 medium apple (Granny Smith or Honeycrisp), peeled and finely chopped (about 1 cup)
- 1½ cups powdered sugar
- 3 tablespoons pure maple syrup
- 2–3 tablespoons milk (whole milk preferred)
- ½ teaspoon vanilla extract
Instructions
- Brown the butter: Place 1 cup butter in a light-colored saucepan over medium heat. Melt completely, then continue cooking, swirling occasionally, until golden brown specks form and butter smells nutty (about 5-7 minutes). Immediately pour into a heatproof bowl and let cool for 15 minutes.
- Reduce the apple cider: In a small saucepan, bring 1 cup apple cider to a boil over medium-high heat. Boil until reduced to about ¼ cup (10-12 minutes). Set aside to cool.
- Preheat oven to 350°F. Grease a 9-inch round cake pan and line the bottom with parchment paper.
- Mix dry ingredients: In a medium bowl, whisk together 2 cups flour, 1½ teaspoons baking powder, ½ teaspoon baking soda, 1 teaspoon salt, 2 teaspoons cinnamon, ½ teaspoon nutmeg, ½ teaspoon ginger, and ¼ teaspoon cloves. Set aside.
- Cream butter and sugars: In a large bowl, beat cooled brown butter with 1 cup granulated sugar and ½ cup packed brown sugar on medium speed for about 2 minutes until light and fluffy.
- Add eggs and vanilla: Beat in eggs one at a time, then add 2 teaspoons vanilla extract and the reduced apple cider. Mix until combined (batter may look slightly separated).
- Combine wet and dry: Add dry ingredients to wet mixture in two additions, mixing on low speed just until no flour streaks remain. Do not overmix.
- Fold in apple: Gently fold in the chopped apple with a rubber spatula until evenly distributed.
- Bake: Pour batter into prepared pan and spread evenly. Bake for 45-50 minutes, or until a toothpick inserted in center comes out clean or with a few moist crumbs. Cool in pan on wire rack for 15 minutes, then invert onto rack, remove parchment, and cool completely (about 1 hour).
- Make the glaze: In a small bowl, whisk together 1½ cups powdered sugar, 3 tablespoons maple syrup, ½ teaspoon vanilla, and 2 tablespoons milk until smooth. Add remaining tablespoon milk if too thick.
- Glaze and serve: Drizzle glaze over cooled cake. Let set for 10 minutes before slicing.
Notes
Brown butter can burn quickly; watch carefully and remove from heat as soon as golden specks appear. The apple cider reduction is essential for flavor and texture. Let cake cool completely before glazing to prevent glaze from soaking in. Cake tastes even better on day two.
Nutrition
- Serving Size: 1 slice
- Calories: 380
- Sugar: 32
- Sodium: 320
- Fat: 18
- Saturated Fat: 11
- Carbohydrates: 52
- Fiber: 2
- Protein: 4
Keywords: brown butter apple cider cake, maple glaze, fall cake, apple cake, brown butter cake, apple cider dessert



