Love this? Save it for later!
Share the inspiration with your friends
Introduction
I was at the community garden last fall, knee-deep in a tangle of butternut squash vines, when Mrs. Chen from the plot next to mine handed me a warm cookie wrapped in a paper napkin. She watched me struggle with the stubborn vines and didn’t say anything at first. Then she just smiled and said, “For your girls. They’ll like these.” The cookie was thick, almost golden-brown around the edges, and when I bit into it, the center was so soft and chewy it practically melted. I asked her for the recipe, expecting a complicated list of bakery secrets. Instead, she shrugged and said, “It’s just an old cookie recipe. My kids loved it. Now my grandkids do too.” That was it. No fancy techniques, no expensive ingredients — just a simple, honest cookie that had been making kids happy for decades.
The thing is, I’ve tried dozens of chocolate chip cookie recipes over the years. Some were too flat, others too cakey. Some spread into one giant puddle on the baking sheet, and a few were so crisp they crumbled the moment you picked them up. My kids, Leo and Maya, are brutally honest taste-testers. If a cookie isn’t perfect, they’ll tell me — and they’ll leave it half-eaten on the counter. So when I made Mrs. Chen’s recipe that first Sunday afternoon, I held my breath as they grabbed one each. Leo took a bite, chewed slowly, and then looked at me with wide eyes. “Mom,” he said, his mouth still full, “these taste like the ones from the bakery.”
Honestly, I almost cried. I mean, I’d been chasing that bakery-style cookie for years, and it turns out the secret was just sitting in a neighbor’s recipe box the whole time. I’ve tweaked it a little over the months — added a bit more vanilla, swapped in some dark chocolate chips — but the heart of it is still Mrs. Chen’s. These are the cookies I make for school bake sales, for rainy afternoons, for those evenings when everyone needs a little something sweet. And every time I pull a batch out of the oven, I think about her standing there in the garden, sharing a recipe like it was nothing. But it wasn’t nothing. It was everything. Maybe you’ve been there too — searching for that one perfect recipe that finally makes everyone at the table smile. Well, let me tell you, this is it.
Why You’ll Love This Recipe
Let’s be honest — there are about a million chocolate chip cookie recipes on the internet. So why should you trust this one? Because I’ve tested it more times than I can count, and it works every single time. No fuss, no drama, just perfect cookies that taste like they came from a fancy bakery but cost a fraction of the price.
- Quick & Easy: From start to finish, these cookies are ready in about 30 minutes. No chilling required (though you can if you want), and no special techniques. Just mix, scoop, and bake.
- Simple Ingredients: You probably have everything in your pantry right now. Butter, sugar, eggs, flour, baking soda, vanilla, and chocolate chips. That’s it. No weird add-ins or expensive extracts.
- Perfect for Family Meals: These aren’t just for dessert. Pack them in lunchboxes, serve them after dinner, or stash a few in the freezer for those days when you need a quick treat. They’re kid-approved and parent-approved too.
- Crowd-Pleaser: I’ve brought these to potlucks, playdates, and holiday parties. They disappear fast. Adults love the bakery-style thickness, and kids love the gooey chocolate.
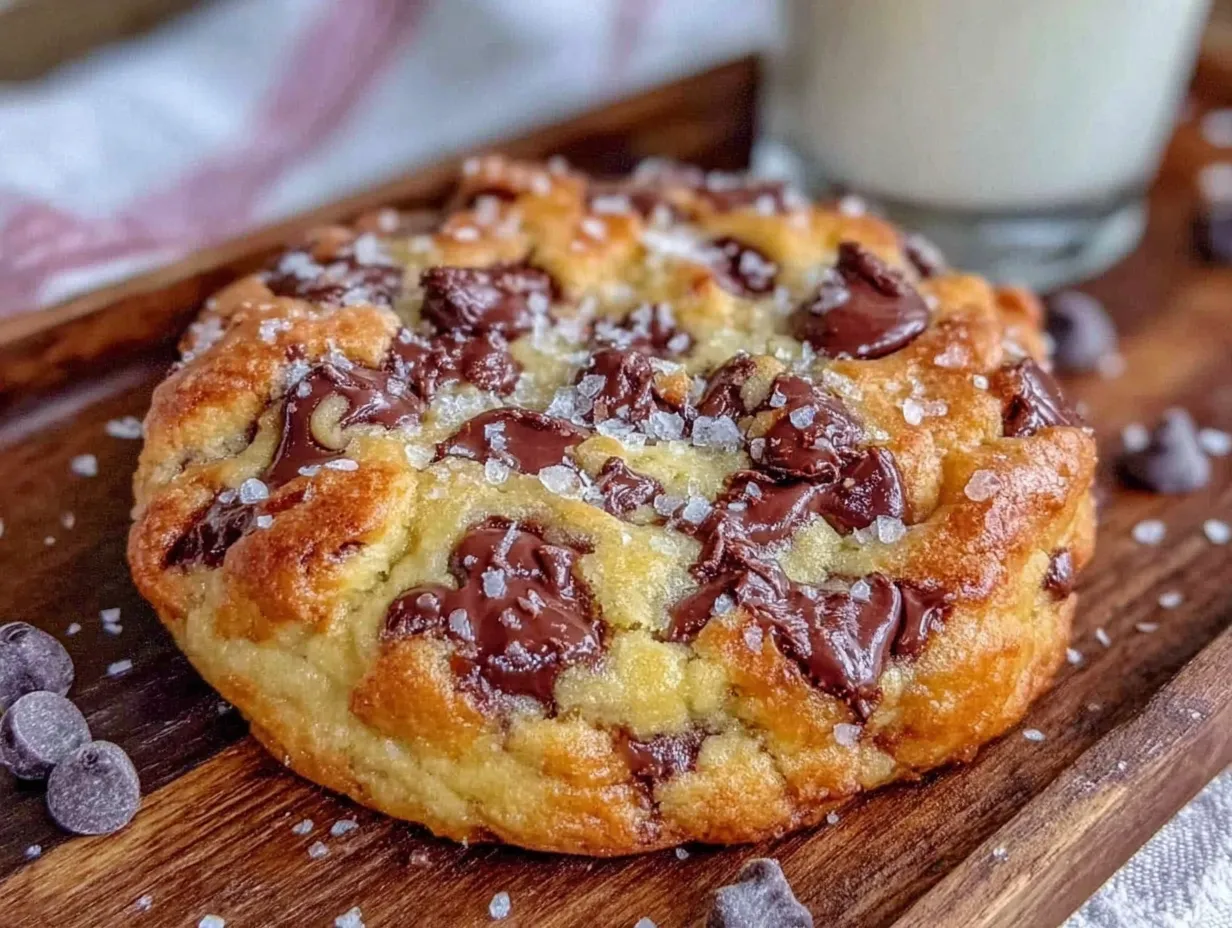
- Unbelievably Delicious: The texture is what sets these apart. The edges are slightly crisp, the centers are soft and chewy, and the chocolate is perfectly melted. It’s the kind of cookie that makes you close your eyes after the first bite.
What makes this recipe different from the rest? It’s the ratio of brown sugar to white sugar. Most recipes use equal amounts, but this one uses more brown sugar, which gives the cookies that deep, caramel-like flavor and that soft, chewy texture. Plus, I add a little extra vanilla — trust me, it makes a difference. This isn’t just another chocolate chip cookie recipe. It’s the one you’ll come back to again and again.
What Ingredients You Will Need
This recipe uses simple, everyday ingredients to create something truly special. Here’s what you’ll need, along with a few notes to help you get the best results.
- Unsalted butter, softened — 1 cup (2 sticks or 226 grams). I use unsalted so I can control the salt level. Let it sit at room temperature for about 30 minutes before you start. Don’t melt it — melted butter makes cookies spread too thin.
- Brown sugar, packed — 1 cup (200 grams). This is the secret to chewy cookies. Light or dark brown sugar both work, but dark brown sugar gives a richer flavor. I prefer Domino brand for consistent results.
- Granulated sugar — 1/2 cup (100 grams). Just regular white sugar. It helps with browning and adds a little crispness to the edges.
- Large eggs — 2, room temperature. Cold eggs can seize the butter, so let them sit out for a while. If you forget, place them in a bowl of warm water for 5 minutes.
- Vanilla extract — 2 teaspoons. Pure vanilla extract is best, but imitation works fine. I’ve used both, and honestly, the difference is subtle. Use what you have.
- All-purpose flour — 2 1/4 cups (280 grams). Spoon and level it — don’t scoop directly from the bag, or you’ll end up with too much flour and dry cookies.
- Baking soda — 1 teaspoon. This helps the cookies spread slightly and gives them a nice golden color.
- Salt — 1/2 teaspoon. I use fine sea salt. It balances the sweetness and brings out the chocolate flavor.
- Semi-sweet chocolate chips — 2 cups (about 340 grams). I use Ghirardelli brand because they’re high-quality and melt beautifully. You can also use milk chocolate or dark chocolate chips, or even chop up a chocolate bar for bigger chunks.
Ingredient Tips: For the best texture, use room temperature ingredients. Cold butter and eggs don’t cream together properly, which can affect how the cookies rise. If you’re in a hurry, you can microwave the butter for 10-15 seconds to soften it, but don’t let it melt. And if you want a slightly saltier cookie, sprinkle a little flaky sea salt on top right after they come out of the oven. It’s a game-changer!
Equipment Needed
You don’t need fancy equipment to make these cookies. Here’s what I use, along with some budget-friendly alternatives.
- Mixing bowls: One large bowl for the wet ingredients and one medium bowl for the dry ingredients. I use glass or stainless steel bowls, but any bowl works.
- Electric hand mixer or stand mixer: A hand mixer is fine, but you can also mix by hand with a wooden spoon. It just takes a little more elbow grease. I’ve done it both ways, and honestly, hand-mixing gives the cookies a slightly more rustic texture that I love.
- Baking sheets: Two large baking sheets. I use light-colored aluminum sheets because they distribute heat evenly. Dark sheets can cause the bottoms to brown too quickly.
- Parchment paper or silicone baking mats: Parchment paper is cheap and makes cleanup a breeze. Silicone mats are reusable and work great too. Avoid greasing the pan — it can cause the cookies to spread too much.
- Cookie scoop: A 1.5-tablespoon scoop is perfect for even-sized cookies. If you don’t have one, use two spoons to drop the dough. I bought my scoop at a kitchen supply store for about $8, and it’s one of the best investments I’ve made.
- Cooling rack: Let the cookies cool on the baking sheet for a few minutes, then transfer them to a wire rack. This prevents the bottoms from getting soggy.
- Measuring cups and spoons: Accurate measurements matter in baking, so use proper measuring tools. I have a set of stainless steel cups that I’ve had for years.
Maintenance Tip: If you use silicone baking mats, wash them with warm soapy water and let them air dry. Avoid putting them in the dishwasher, as the heat can warp them over time.
Preparation Method
Follow these steps carefully, and you’ll have perfect bakery-style cookies every time. I’ve included time estimates and sensory cues to help you know exactly what to look for.
- Preheat the oven to 375°F (190°C). Line two baking sheets with parchment paper or silicone mats. This ensures the cookies don’t stick and bake evenly. While the oven heats, gather all your ingredients.
- Cream the butter and sugars. In a large bowl, beat the softened butter, brown sugar, and granulated sugar together until light and fluffy. This takes about 2-3 minutes with an electric mixer on medium speed. You’ll know it’s ready when the mixture looks pale and feels smooth when you rub a bit between your fingers. Scrape down the sides of the bowl once or twice.
- Add the eggs and vanilla. Beat in the eggs one at a time, making sure each is fully incorporated before adding the next. Then add the vanilla and beat for another 30 seconds. The mixture should look creamy and slightly glossy. If it looks curdled, your eggs might have been too cold — don’t worry, it’ll come together once you add the flour.
- Mix the dry ingredients. In a separate medium bowl, whisk together the flour, baking soda, and salt. This ensures the baking soda and salt are evenly distributed. I like to use a fork for this — it’s quick and works just as well as a whisk.
- Combine wet and dry ingredients. Gradually add the flour mixture to the butter mixture, mixing on low speed or stirring by hand. Mix just until the flour disappears — overmixing can make the cookies tough. The dough will be thick and slightly sticky. That’s perfect.
- Fold in the chocolate chips. Use a spatula or wooden spoon to gently fold in the chocolate chips. Make sure they’re evenly distributed throughout the dough. If you want chocolate in every bite, don’t skimp here. I usually save a handful of chips to press into the tops of the cookies before baking — it makes them look extra bakery-style.
- Scoop the dough. Using a cookie scoop or two spoons, drop rounded tablespoons of dough onto the prepared baking sheets, spacing them about 2 inches apart. Each cookie should be about 1.5 tablespoons of dough. If you want bigger cookies, use 2 tablespoons of dough and bake for 1-2 minutes longer.
- Bake for 9-11 minutes. Bake one sheet at a time for the best results. The cookies are done when the edges are golden brown and the centers still look slightly soft and underdone. They’ll continue to set as they cool. For soft, chewy cookies, pull them out at the 9-minute mark. For slightly crispier edges, go to 11 minutes. The smell of baking cookies filling your kitchen is a sure sign they’re almost ready!
- Cool on the baking sheet. Let the cookies rest on the baking sheet for 5 minutes. This allows them to firm up without becoming hard. Then transfer them to a wire rack to cool completely. If you try to move them too soon, they’ll fall apart.
- Repeat with remaining dough. If you’re baking multiple batches, let the baking sheets cool completely before adding new dough. A hot pan will cause the cookies to spread too much. I usually run the pan under cold water and dry it off between batches.
Troubleshooting Tip: If your cookies spread too much, the butter might have been too soft or the dough wasn’t chilled. Next time, chill the dough for 30 minutes before baking. If they’re too thick, press them down slightly with the back of a spoon before baking.
Cooking Tips & Techniques
Over the years, I’ve learned a few tricks that make these cookies even better. Some came from Mrs. Chen, others from my own kitchen mishaps. Here’s what I wish someone had told me sooner.
The butter temperature matters more than you think. I once used butter that was almost melted because I was in a rush. The cookies spread into thin, crispy discs. Not terrible, but not what I wanted. Softened butter should give slightly when you press it, but still hold its shape. If you forget to take it out of the fridge, cut it into small cubes and let it sit for 15 minutes.
Chill the dough if you have time. I know the recipe says no chilling required, and that’s true — these cookies work fine without it. But if you chill the dough for 30 minutes to an hour, the cookies become even thicker and chewier. The flavors also meld together, giving you a more complex taste. I often make the dough the night before and bake it the next day.
Use a cookie scoop for even baking. When I first started baking, I used two spoons to drop the dough, and every cookie was a different size. Some burned, some were underdone. A cookie scoop gives you uniform cookies that bake at the same rate. It’s worth the few dollars.
Don’t overbake. This is the most common mistake I see. Cookies continue to cook on the hot baking sheet even after you take them out of the oven. If you wait until the centers look fully set, they’ll be overbaked and dry. Pull them out when the edges are golden and the centers are still soft and puffy. Trust me on this.
Press extra chocolate chips on top. Before baking, press a few chocolate chips into the tops of the dough balls. This makes the cookies look gorgeous and ensures every bite has chocolate. It’s a small step that makes a big difference.
Rotate the baking sheet halfway through. Ovens often have hot spots. Halfway through baking, rotate the sheet 180 degrees. This helps the cookies brown evenly. I learned this after burning the back row of cookies one too many times.
Variations & Adaptations
One of the best things about this recipe is how easy it is to adapt. Here are some variations I’ve tried, and they’ve all been hits.
Double Chocolate Chip Cookies: Replace 1/4 cup of the all-purpose flour with 1/4 cup of unsweetened cocoa powder. Use white chocolate chips or dark chocolate chips for a beautiful contrast. My daughter Maya loves these — she calls them “chocolate cookies with chocolate inside.”
Gluten-Free Version: Substitute the all-purpose flour with a 1:1 gluten-free baking flour blend. I’ve used Bob’s Red Mill and King Arthur brands with great results. The cookies might be slightly more delicate, but they’re still thick and chewy. Add an extra tablespoon of milk if the dough seems too dry.
Nutty Chocolate Chip Cookies: Fold in 1/2 cup of chopped walnuts or pecans along with the chocolate chips. Toast the nuts first for extra flavor — just spread them on a baking sheet and bake at 350°F for 5-7 minutes. My husband prefers this version, and it adds a nice crunch.
Kid-Friendly Mix-In Ideas: Let the kids choose their own add-ins. Mini M&M’s, crushed pretzels, or even a few sprinkles work great. I once let Leo add crushed graham crackers and mini marshmallows — we called them “s’mores cookies,” and they disappeared in a day.
Vegan Option: Use vegan butter (like Earth Balance) and replace each egg with a flax egg (1 tablespoon ground flaxseed + 3 tablespoons water, let sit for 5 minutes). The texture is slightly different — a bit more cakey — but still delicious. I’ve made these for a friend’s vegan birthday party, and nobody knew the difference.
Serving & Storage Suggestions
These cookies are best enjoyed warm, but they’re pretty amazing at room temperature too. Here’s how to serve and store them for maximum enjoyment.
Serving Temperature: Serve the cookies slightly warm or at room temperature. If you’re reheating them, pop them in a 300°F oven for 3-5 minutes. The microwave works too, but it can make them soggy. I prefer the oven method — it revives that crisp edge and gooey center.
Presentation: Stack the cookies on a pretty plate or arrange them in a mason jar for a rustic look. A glass of cold milk is the classic pairing, but they’re also great with coffee, tea, or hot chocolate. For a fun twist, use them to make ice cream sandwiches — just soften a scoop of vanilla ice cream between two cookies and freeze for an hour.
Storage: Store the cookies in an airtight container at room temperature for up to 5 days. Place a slice of bread in the container to keep them soft — the cookies will absorb the moisture from the bread. I learned this trick from my grandmother, and it works like magic.
Freezing Instructions: You can freeze the baked cookies for up to 3 months. Place them in a single layer in a freezer-safe bag or container. To thaw, let them sit at room temperature for about 15 minutes. You can also freeze the raw dough. Scoop it into balls, place them on a baking sheet, and freeze until solid. Then transfer the dough balls to a freezer bag. Bake from frozen, adding 1-2 minutes to the baking time. This is my go-to for last-minute treats.
Flavor Development: Here’s a little secret — these cookies actually taste better the next day. The flavors meld together, and the texture becomes even chewier. So if you can resist eating them all right away, you’re in for a treat.
Nutritional Information & Benefits
Let’s be real — these are cookies, not health food. But knowing what’s in them can help you enjoy them mindfully. Here’s the estimated nutritional breakdown per cookie (based on 36 cookies).
| Nutrient | Amount Per Cookie |
|---|---|
| Calories | 165 |
| Total Fat | 9g |
| Saturated Fat | 5g |
| Cholesterol | 25mg |
| Sodium | 95mg |
| Total Carbohydrates | 21g |
| Dietary Fiber | 1g |
| Sugars | 14g |
| Protein | 2g |
Health Benefits: Dark chocolate chips contain antioxidants called flavonoids, which can support heart health. The brown sugar provides a small amount of minerals like calcium and potassium. And hey, there’s something to be said for the mental health benefits of a warm, homemade cookie shared with loved ones. I’m not a nutritionist, but I firmly believe that food made with love is good for the soul.
Dietary Considerations: This recipe contains gluten, dairy, and eggs. For gluten-free and vegan options, see the variations section above. If you’re watching your sugar intake, you can reduce the sugar by 1/4 cup, but the texture will be slightly different.
Conclusion
I’ve made these cookies more times than I can count, and they never get old. Every time I pull a batch out of the oven, I remember Mrs. Chen standing in the garden, her hands dusty from the soil, sharing a recipe that had been passed down through her family. It’s funny how a simple cookie can carry so much — memories, traditions, and the simple joy of making something delicious for the people you love.
This recipe is forgiving, adaptable, and absolutely foolproof. Whether you’re a seasoned baker or someone who’s never made cookies from scratch, you can do this. The ingredients are simple, the steps are easy, and the results are nothing short of spectacular. I hope you’ll try it and make it your own. Add your favorite mix-ins, adjust the sweetness, or double the batch for a party. That’s the beauty of a good recipe — it’s a starting point, not a rulebook.
I’d love to hear how these turn out for you. Did your kids love them? Did you try a fun variation? Drop a comment below and let me know. And if you share them on social media, tag me — I love seeing your baking adventures. Until next time, happy baking!
Frequently Asked Questions
Can I use margarine instead of butter?
You can, but the cookies won’t be as flavorful or chewy. Butter adds richness and helps create that perfect texture. If you’re in a pinch, use margarine with at least 80% fat content.
Why did my cookies turn out flat?
Flat cookies usually mean the butter was too soft or melted. Make sure your butter is softened but still cool to the touch. Chilling the dough for 30 minutes before baking can also help.
Can I reduce the sugar?
Yes, but the texture will change. Sugar isn’t just for sweetness — it helps with browning, spreading, and moisture. If you reduce it by more than 1/4 cup, the cookies may be drier and less tender.
How do I make my cookies extra chewy?
Use more brown sugar than white sugar, don’t overbake, and consider chilling the dough. Adding an extra egg yolk can also boost chewiness. I’ve done this a few times, and it works beautifully.
Can I use whole wheat flour?
You can substitute up to half of the all-purpose flour with whole wheat flour. The cookies will be denser and have a nuttier flavor. For best results, use white whole wheat flour — it’s milder than regular whole wheat.
Pin This Recipe!
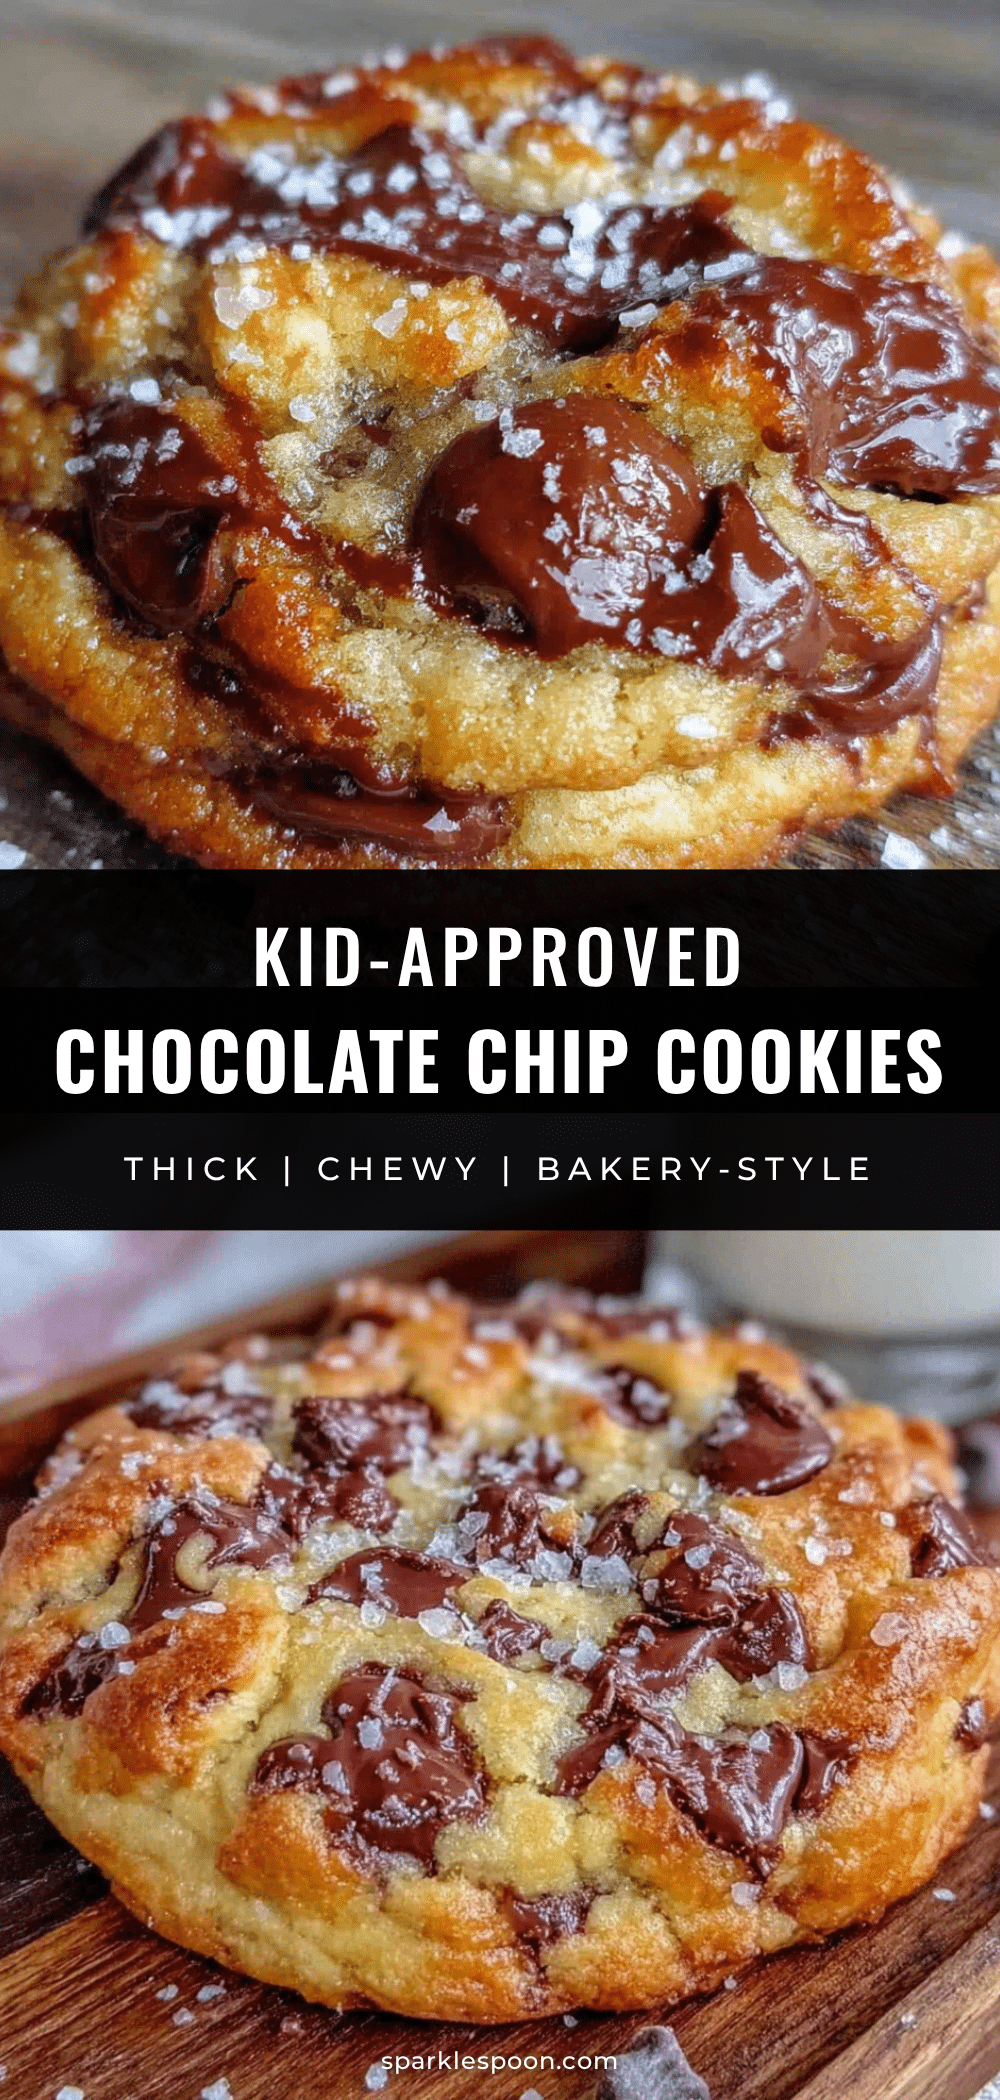
Best Easy Bakery-Style Chocolate Chip Cookies (Kid-Approved)

These thick, chewy, bakery-style chocolate chip cookies are made with simple ingredients and no chilling required. They’re quick, easy, and absolutely delicious—perfect for family meals, bake sales, or a cozy treat any time.
- Prep Time: 15 minutes
- Cook Time: 10 minutes
- Total Time: 25 minutes
- Yield: 36 cookies 1x
- Category: Dessert
- Cuisine: American
Ingredients
- 1 cup (2 sticks or 226 grams) unsalted butter, softened
- 1 cup (200 grams) brown sugar, packed
- 1/2 cup (100 grams) granulated sugar
- 2 large eggs, room temperature
- 2 teaspoons vanilla extract
- 2 1/4 cups (280 grams) all-purpose flour
- 1 teaspoon baking soda
- 1/2 teaspoon fine sea salt
- 2 cups (about 340 grams) semi-sweet chocolate chips
Instructions
- Preheat the oven to 375°F (190°C). Line two baking sheets with parchment paper or silicone mats.
- In a large bowl, beat the softened butter, brown sugar, and granulated sugar together until light and fluffy, about 2-3 minutes with an electric mixer on medium speed. Scrape down the sides as needed.
- Beat in the eggs one at a time, ensuring each is fully incorporated. Add the vanilla and beat for another 30 seconds until creamy and slightly glossy.
- In a separate medium bowl, whisk together the flour, baking soda, and salt.
- Gradually add the flour mixture to the butter mixture, mixing on low speed or stirring by hand just until combined. The dough will be thick and slightly sticky.
- Gently fold in the chocolate chips with a spatula or wooden spoon until evenly distributed. Optionally, reserve a handful to press into the tops of the cookies before baking.
- Using a cookie scoop or two spoons, drop rounded tablespoons of dough (about 1.5 tablespoons each) onto the prepared baking sheets, spacing them about 2 inches apart.
- Bake one sheet at a time for 9-11 minutes, until the edges are golden brown and the centers still look slightly soft and underdone. For softer cookies, bake 9 minutes; for crispier edges, bake 11 minutes.
- Let the cookies rest on the baking sheet for 5 minutes, then transfer to a wire rack to cool completely.
- Repeat with remaining dough, allowing baking sheets to cool completely between batches.
Notes
For extra thick and chewy cookies, chill the dough for 30 minutes to 1 hour before baking. The cookies taste even better the next day as flavors meld. To keep cookies soft, store with a slice of bread in an airtight container. For a saltier touch, sprinkle flaky sea salt on top after baking.
Nutrition
- Serving Size: 1 cookie
- Calories: 165
- Sugar: 14
- Sodium: 95
- Fat: 9
- Saturated Fat: 5
- Carbohydrates: 21
- Fiber: 1
- Protein: 2
Keywords: chocolate chip cookies, bakery-style cookies, easy cookies, kid-approved cookies, chewy cookies, homemade cookies



