Love this? Save it for later!
Share the inspiration with your friends
The neighborhood bake sale was in exactly forty-five minutes and I had completely forgotten. The community center gymnasium was already filling up with parents bringing elaborate, multi-layered cakes and professionally decorated cookies. I had nothing but a half-empty fridge and a bag of apples that looked slightly past their prime. I mean, honestly, how do you forget a bake sale? It’s on the calendar. It’s in my head. And yet, here I was, standing in my kitchen in my pajamas, staring at a pile of fruit and a box of graham crackers.
Everyone else would be bringing things that took days to prepare. I had time to make something that took minutes. I remember the panic rising in my chest as I heard the distant hum of car doors slamming outside. I didn’t have time to bake. I didn’t have time to cool. I just needed sugar, butter, and apples. So, I did the only thing I could think of. I grabbed a mixing bowl and started throwing things together. I didn’t measure anything carefully. I just felt my way through it.
The result was these caramel apple crumble bars. They were messy. They were sweet. And they were ready in the time it took to drive to the gym. I walked in with a plastic container that was already sweating from the condensation. I felt like an imposter among the serious bakers. But then, the first bite happened. The crunch of the crust, the soft tartness of the apples, and that gooey caramel layer in the middle. It was perfect. It was unexpected. And it won the crowd.
That moment stuck with me. I learned that sometimes the best recipes aren’t the ones you plan for months. They are the ones you throw together when you have no other choice. This Best Ever Caramel Apple Crumble Bars recipe has been my go-to ever since. It’s the kind of dish that saves you when you’re running late or just need a quick win. You know that feeling when you think you’ve failed, but then you surprise everyone? That’s this recipe. It’s simple, it’s delicious, and it’s always a hit.
Why You’ll Love This Recipe
There is a specific kind of magic that happens when you combine crisp apples with rich caramel and a buttery crumble topping. This recipe isn’t just another dessert; it’s a lesson in how simplicity can beat complexity every single time. I’ve tested dozens of variations over the years, from adding spices to swapping out sugars, but this version remains the gold standard. It hits all the right notes without requiring any advanced culinary skills or expensive ingredients.
- Quick & Easy: This comes together in under 30 minutes of active time, with no baking required. It is perfect for busy weeknights or last-minute cravings when you want something sweet but don’t want to turn your kitchen into a flour explosion zone.
- Simple Ingredients: No fancy grocery trips needed. You likely already have graham crackers, butter, sugar, and apples in your home. This makes it incredibly accessible for anyone, regardless of their cooking experience level.
- Perfect for Potlucks: Because these bars are no-bake and travel well, they are great for picnics, office parties, or holiday gatherings. They hold their shape better than many baked desserts, which is a huge plus for transport.
- Crowd-Pleaser: Always gets rave reviews from kids and adults alike. The texture contrast between the crunchy base and the soft filling is universally loved. Even people who claim they don’t like apples usually ask for seconds.
- Unbelievably Delicious: The flavor combo is next-level comfort food. The tartness of the apples cuts through the sweetness of the caramel, creating a balanced profile that isn’t overly sugary.
What makes this recipe different from the rest is the technique. By using a no-bake method, we preserve the fresh apple flavor and the distinct texture of the crust. Many baked crumbles turn soggy or mushy. These stay crisp and distinct. It’s comfort food reimagined—faster, easier, but with the same soul-soothing satisfaction. It’s perfect for impressing guests without stress, or turning a simple meal into something memorable.
What Ingredients You Will Need
This recipe uses simple, wholesome ingredients to deliver bold flavor and satisfying texture without the fuss. The beauty of this dish lies in its accessibility. Most of these items are pantry staples or basic produce found in any standard grocery store. You don’t need specialty shops or hard-to-find items to make this work.
For the Crust and Topping
- Graham Crackers: 1.5 cups of crumbs. I recommend using honey graham crackers for a deeper, more complex sweetness. You can crush them in a food processor or put them in a bag and smash them with a rolling pin.
- Unsalted Butter: 1/2 cup, melted. Using real butter is non-negotiable here. It provides the richness that holds the crust together. Margarine will make the texture greasy and the flavor flat.
- Granulated Sugar: 1/4 cup. This adds a bit of extra crunch and sweetness to the base layer. Brown sugar can also be used for a chewier texture.
For the Filling
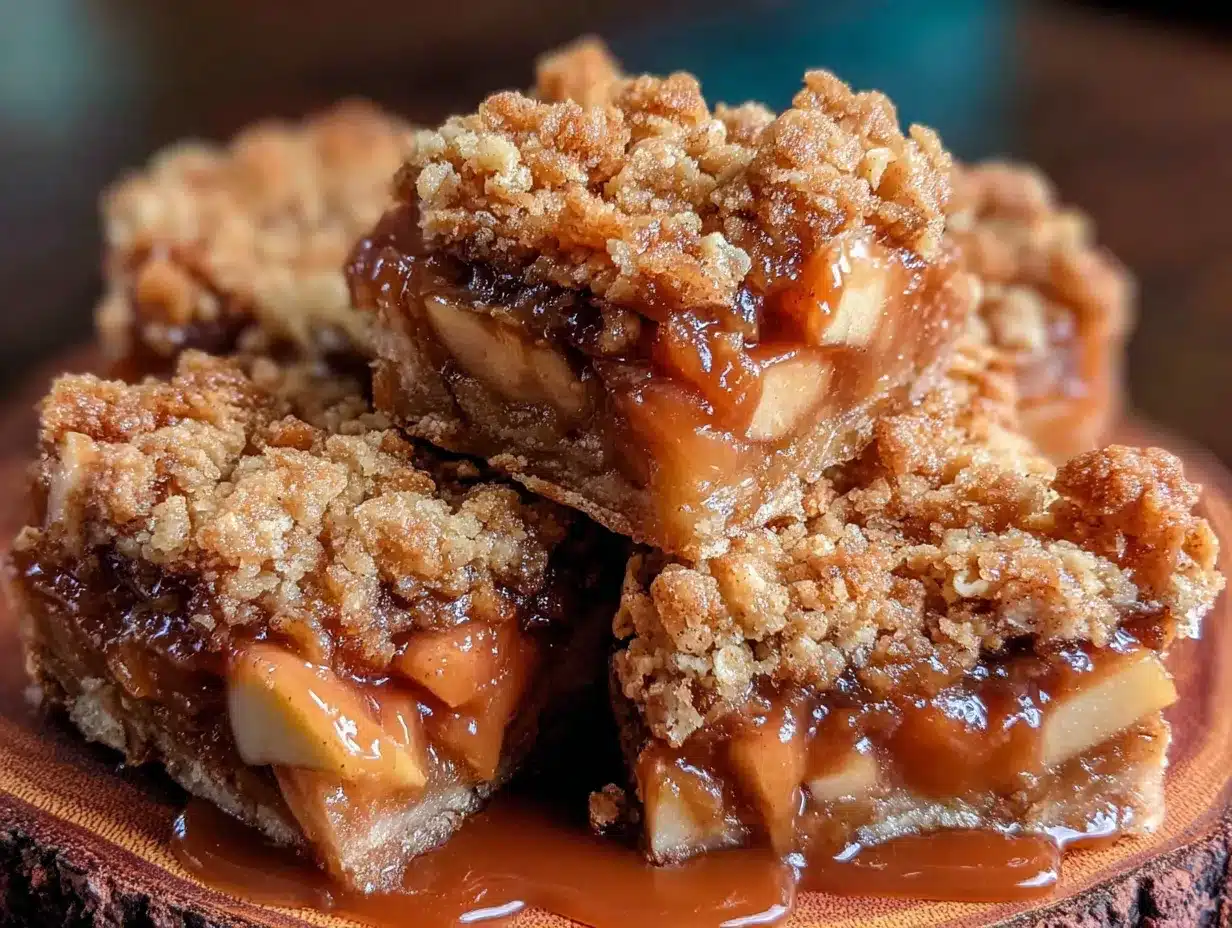
- Apples: 3 medium-sized Granny Smith apples. These are essential. Their tartness balances the sweet caramel, and their firm texture prevents them from turning into applesauce. Honeycrisp is a good alternative if you prefer sweeter apples.
- Apple Cider: 1/2 cup. Using real apple cider adds an intense apple flavor that juice lacks. Look for clear, unfiltered cider for the best result. If you can’t find it, apple juice works in a pinch.
- Cornstarch: 2 tablespoons. This is the thickening agent. It turns the cider into a glossy, sticky sauce that coats the apples. Arrowroot powder can be used for a gluten-free option.
- Caramel Sauce: 1 cup. I suggest using a high-quality store-bought sauce like Torani or a homemade version. Avoid the thin drizzle sauces; you want something thick and chewy.
Note: If you are nut-sensitive, ensure your graham crackers and caramel sauce are certified nut-free. Always check labels carefully.
Equipment Needed
You don’t need a fancy kitchen to make these bars. A few basic tools will get the job done efficiently. The most important piece of equipment is an 8×8 inch baking pan. Glass pans are preferred because they allow you to see the bottom of the crust and ensure it is fully set. However, metal or ceramic pans work just fine.
A medium-sized saucepan is needed for cooking the apple filling. Non-stick is helpful here to prevent the sugar from burning, though you need to stir constantly anyway. A food processor or a ziplock bag and rolling pin will be used to create the graham cracker crumbs. If you use a bag, be prepared for a little mess, but it’s satisfying to crush them.
A spatula is essential for mixing the filling and spreading the caramel. Silicone spatulas are best because they scrape the sides of the pan effectively. Finally, a sharp knife or a pizza cutter is useful for slicing the finished bars. A pizza cutter makes clean cuts through the sticky caramel without squishing the bars, which is a huge time-saver. Keep your tools simple and you’ll be fine.
Preparation Method
Getting started is the easiest part. First, line your 8×8 inch baking pan with parchment paper, leaving an overhang on the sides. This acts as a sling, making it super easy to lift the finished bars out of the pan later. It saves you from having to dig them out with a spoon, which is never a good look.
- Prepare the Crust: Place your graham crackers in a food processor and pulse until you have fine crumbs. If you don’t have a processor, put them in a heavy-duty ziplock bag and crush them with a rolling pin until they are sandy. Transfer the crumbs to a medium bowl. Pour in the melted butter and sprinkle the sugar over the top. Stir until the mixture looks like wet sand. Press this mixture firmly into the bottom of your prepared pan. Use the bottom of a measuring cup to pack it down tightly. This step is crucial for structural integrity. Set it aside.
- Cook the Apple Filling: In your saucepan, combine the apple cider and cornstarch. Whisk them together until there are no lumps. Add the peeled and diced apples to the pan. Place the pan over medium heat. Cook this mixture, stirring frequently, for about 5 to 7 minutes. The apples will soften and the liquid will thicken into a glossy sauce. You want the apples to be tender but still hold their shape. Do not overcook them into mush. Once thickened, remove the pan from the heat. Let it cool for just a minute.
- Assemble the Layers: Spoon the warm apple mixture over the prepared crust. Spread it out evenly with your spatula. You want a flat, uniform layer. This ensures every bite has the right ratio of crust to filling. Next, take your caramel sauce. If it’s too thick, warm it slightly in the microwave for 10 seconds to make it pourable. Drizzle the caramel over the apple layer. Use a knife to swirl it into the apples for a marbled effect, or leave it in distinct stripes. Both look beautiful and taste great.
- Chill and Set: This is the hardest part: waiting. Place the pan in the refrigerator for at least 2 hours. The bars need time to set so the caramel hardens and the crust firms up. If you try to cut them while warm, they will be a sticky mess. Patience pays off here. Once chilled, lift the bars out of the pan using the parchment sling. Slice them into squares or rectangles. Serve immediately or store for later.
Warning: Be careful when handling the hot apple mixture. It retains heat longer than it looks. Let it cool slightly before spreading to avoid burning your fingers.
Cooking Tips & Techniques
There are a few small tricks that can make the difference between good bars and great bars. First, apple selection matters more than you think. If you use Red Delicious apples, they will turn to mush and lack flavor. Stick to tart, firm apples like Granny Smith, Pink Lady, or Honeycrisp. These hold their structure when cooked and provide a nice textural contrast to the soft caramel.
Another common mistake is not packing the crust down hard enough. If the crust is loose, the bars will fall apart when you slice them. Take the time to press it firmly. It should feel like a solid disk. Also, when cooking the apples, do not skip the whisking step with the cornstarch and cider. If you add cornstarch directly to the hot liquid, it will clump instantly. Mixing it cold first ensures a smooth, glossy sauce.
Multitasking is key here. While the crust is chilling, you can start prepping the apples. Peel, core, and dice them while the crust sets. This saves time and keeps your workflow smooth. If you find the caramel is too sweet for your taste, add a pinch of sea salt on top before chilling. The salt enhances the apple flavor and cuts the sweetness. It’s a simple change that elevates the entire dish. Finally, always use a sharp knife for cutting. A dull knife will crush the bars and make the layers slide apart. Clean cuts make for better presentation and easier eating.
Variations & Adaptations
While the classic version is hard to beat, there are plenty of ways to tweak this recipe to suit your needs. For a gluten-free option, simply use gluten-free graham crackers. Many brands now make excellent versions that taste just like the original. You can also swap the cornstarch for tapioca starch if you prefer. The texture will be slightly chewier, but still delicious.
If you want to add a nutty element, stir 1/2 cup of chopped pecans or walnuts into the apple mixture before cooking. The toasty flavor pairs beautifully with the caramel and apple. For a dairy-free version, use vegan butter in the crust and a dairy-free caramel sauce. Many brands offer vegan options that melt and spread just like regular butter. This recipe is very adaptable to dietary restrictions without losing its soul.
For a seasonal twist, try adding a pinch of cinnamon or nutmeg to the apple filling in the fall. It adds warmth and depth. In the spring, you could swap the apples for fresh berries and use a lemon-curd filling instead of caramel. The structure of the recipe remains the same, but the flavor profile changes completely. I once tried adding a layer of white chocolate chips between the apples and caramel. It was rich and decadent, though perhaps a bit too sweet for some. Adjust sweetness to your preference. These variations keep the recipe fresh and exciting.
Serving & Storage Suggestions
These bars are best served chilled. The cold temperature helps the caramel set and gives the crust a satisfying crunch. You can serve them with a dollop of whipped cream or a scoop of vanilla ice cream for an extra indulgent treat. They also pair well with a hot cup of coffee or tea, making them a perfect afternoon snack. Presentation-wise, dusting the top with powdered sugar just before serving adds a nice visual touch. It makes them look like a bakery dessert.
For storage, keep the bars in an airtight container in the refrigerator. They will stay fresh for up to 5 days. If you need to freeze them, place parchment paper between layers to prevent sticking. They can be frozen for up to 3 months. Thaw them in the refrigerator overnight before serving. Do not try to thaw them at room temperature, as the caramel may become too soft. Reheating is not recommended, as it will melt the caramel and soften the crust. These bars are meant to be eaten cold.
Over time, the flavors meld together. The apples become softer and the caramel penetrates the crust slightly. Some people prefer them on day one, while others love the intensified flavor on day three. It’s a matter of personal preference. Just make sure to keep them covered to prevent them from absorbing other odors from your fridge.
Nutritional Information & Benefits
While this is definitely a dessert, it does have some redeeming qualities. Apples are a good source of fiber and vitamin C. They provide a natural sweetness that reduces the need for excessive added sugar. The graham cracker crust offers carbohydrates for energy, though it is refined. The caramel adds fat and sugar, so portion control is key.
Each bar contains approximately 250-300 calories, depending on the size of the slice. It is not a low-calorie treat, but it is satisfying enough that you might not want to eat many. The fiber from the apples helps with digestion. For those with gluten sensitivities, the gluten-free adaptation makes this a viable option for parties. Always check labels for allergens. This recipe is nut-free by default, but cross-contamination can occur in manufacturing. Enjoy in moderation as part of a balanced diet.
Conclusion
There is something special about a recipe that saves the day. The Best Ever Caramel Apple Crumble Bars are more than just a dessert; they are a testament to the power of simplicity. They require no baking, minimal equipment, and just a few ingredients you likely already have. Yet, the result is a sophisticated, delicious treat that rivals anything from a bakery. I love this recipe because it takes the stress out of dessert making. It allows you to be spontaneous without sacrificing quality.
I encourage you to try this recipe and make it your own. Add nuts, swap apples, or change the caramel. Experiment until you find your perfect version. Once you’ve made it, I’d love to hear about it. Leave a comment below with your favorite variation or tell me how it turned out. Share your photos on social media and tag me. Let’s build a community of home cooks who enjoy making simple, delicious food. Thanks for reading, and happy baking!
Frequently Asked Questions
Can I use canned apples for this recipe?
Yes, you can use canned apple slices, but you must drain them very well. Excess liquid can make the filling runny. Pat them dry with paper towels before adding them to the saucepan. Fresh apples are preferred for their texture, but canned works in a pinch.
How do I prevent the caramel from being too sticky?
The stickiness is inherent to caramel, but chilling the bars thoroughly helps. Make sure to refrigerate for at least 2 hours. Also, using a sharp knife or pizza cutter for slicing will prevent the bars from sticking to the blade. Wiping the knife with a damp cloth between cuts can also help.
Can I make this recipe ahead of time?
Absolutely. These bars actually taste better after sitting in the fridge for a day. You can make them up to 3 days in advance. Just keep them covered in the refrigerator. They are perfect for meal prep or preparing for events.
What is the best type of apple to use?
Granny Smith apples are the best choice because they are tart and firm. They hold their shape during cooking and provide a nice contrast to the sweet caramel. Honeycrisp and Pink Lady are also good options if you prefer a sweeter flavor.
Can I freeze these bars?
Yes, you can freeze them for up to 3 months. Wrap the pan tightly in plastic wrap and then aluminum foil, or place individual bars in freezer-safe containers. Thaw them in the refrigerator overnight before serving. The texture may change slightly, but they will still taste great.
Pin This Recipe!
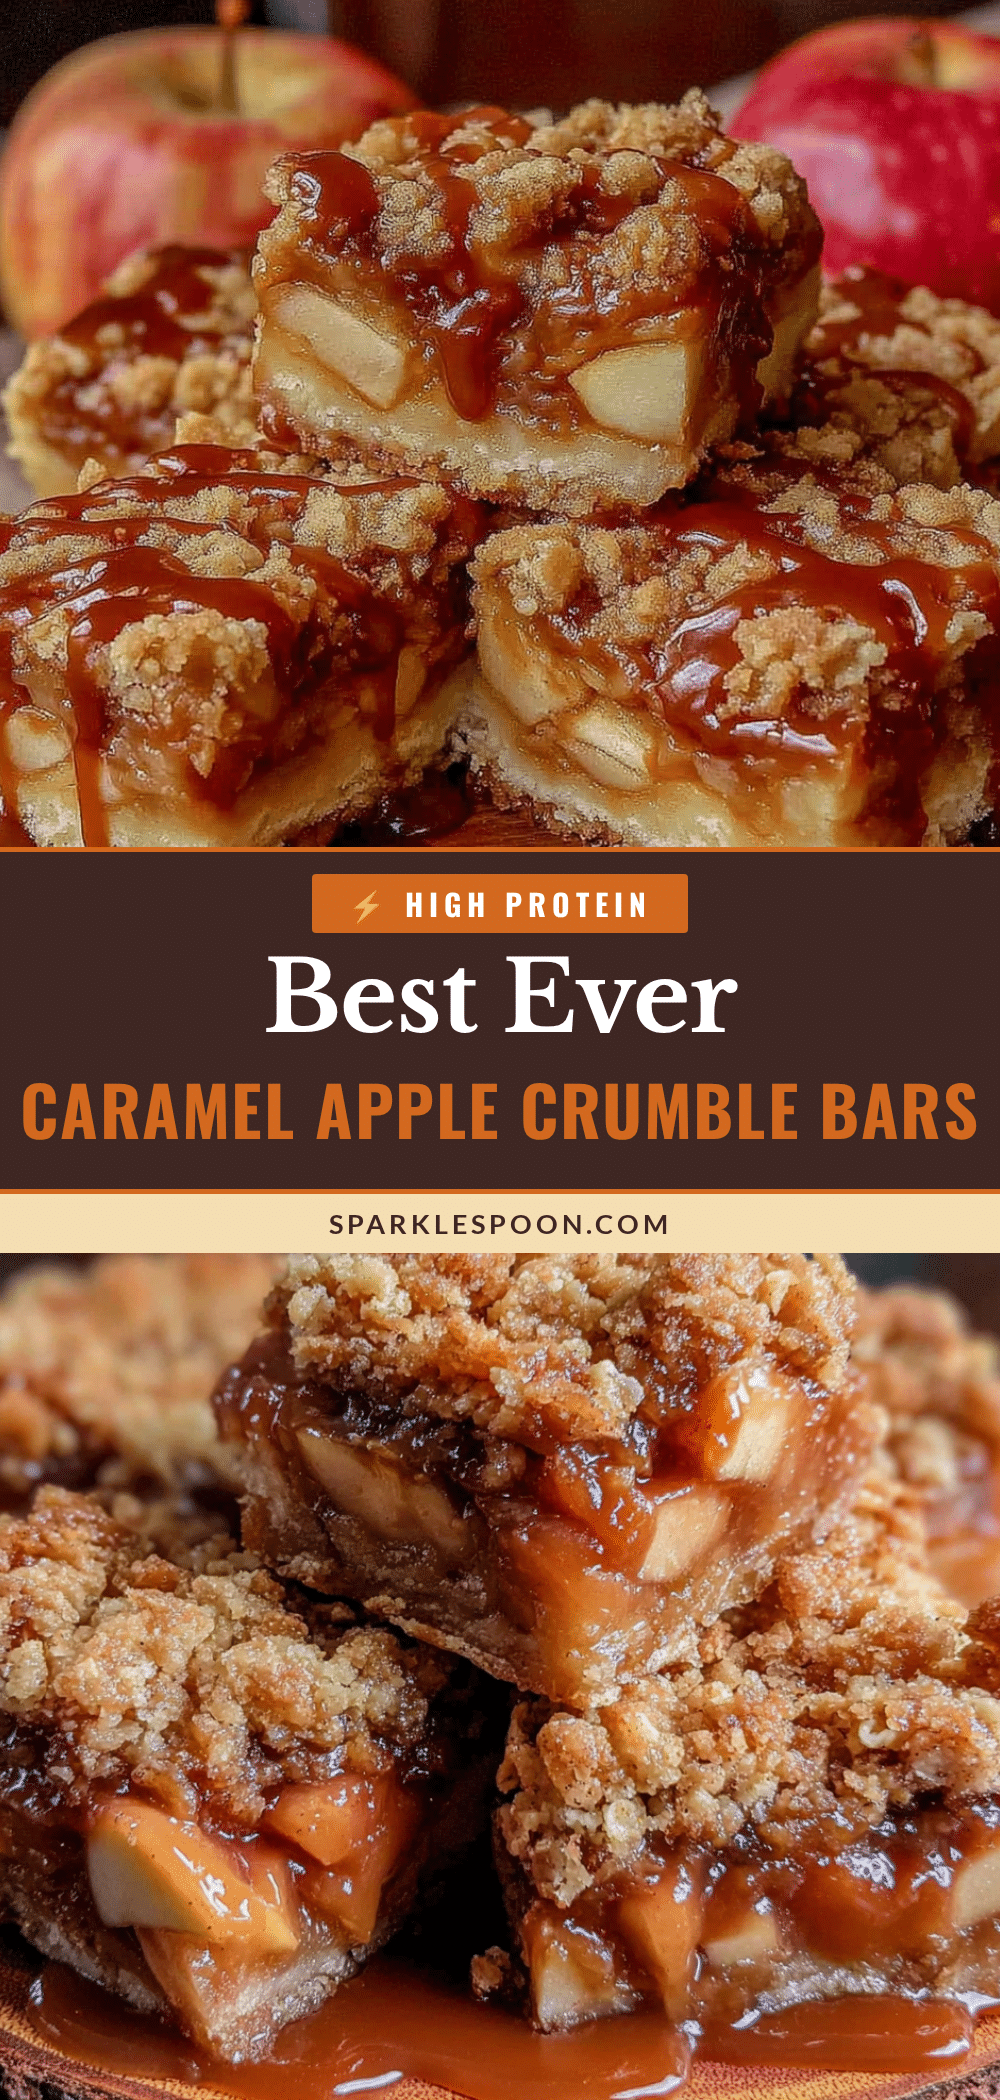
Best Ever Caramel Apple Crumble Bars

A quick, no-bake dessert featuring a buttery graham cracker crust, tart Granny Smith apples, and a rich caramel layer. Perfect for last-minute bake sales or busy weeknights.
- Prep Time: 15 minutes
- Cook Time: 10 minutes
- Total Time: 25 minutes
- Yield: 9 servings 1x
- Category: Dessert
- Cuisine: American
Ingredients
- 1.5 cups graham cracker crumbs (honey graham crackers recommended)
- 1/2 cup unsalted butter, melted
- 1/4 cup granulated sugar
- 3 medium Granny Smith apples, peeled and diced
- 1/2 cup apple cider
- 2 tablespoons cornstarch
- 1 cup caramel sauce
Instructions
- Line an 8×8 inch baking pan with parchment paper, leaving an overhang on the sides.
- Crush graham crackers into fine crumbs using a food processor or a ziplock bag and rolling pin.
- In a medium bowl, mix the graham cracker crumbs, melted butter, and granulated sugar until it resembles wet sand.
- Press the crust mixture firmly into the bottom of the prepared pan using the bottom of a measuring cup. Set aside.
- In a medium saucepan, whisk together apple cider and cornstarch until no lumps remain.
- Add the diced apples to the saucepan and place over medium heat.
- Cook for 5-7 minutes, stirring frequently, until apples are tender and the liquid thickens into a glossy sauce.
- Remove from heat and let cool slightly.
- Spoon the warm apple mixture over the crust and spread evenly.
- Drizzle caramel sauce over the apple layer. Swirl with a knife for a marbled effect or leave in stripes.
- Refrigerate for at least 2 hours until the caramel hardens and the crust firms up.
- Lift bars out of the pan using the parchment sling and slice into squares or rectangles.
Notes
Use tart, firm apples like Granny Smith to prevent mushiness. Ensure the crust is packed down tightly for structural integrity. Whisk cornstarch with cold cider before heating to prevent clumping. Chill thoroughly before cutting to avoid a sticky mess. For a gluten-free version, use gluten-free graham crackers and cornstarch. For a dairy-free version, use vegan butter and caramel sauce.
Nutrition
- Serving Size: 1 bar
- Calories: 275
- Sugar: 30
- Sodium: 150
- Fat: 12
- Saturated Fat: 7
- Carbohydrates: 42
- Fiber: 2
- Protein: 2
Keywords: no-bake, caramel apple, crumble bars, graham cracker crust, quick dessert, bake sale, fall recipe, easy dessert



