Love this? Save it for later!
Share the inspiration with your friends
“Why can’t we just use red velvet mix and add black food coloring?” my ten-year-old niece, Maya, asked me last Tuesday while we stood in my kitchen, surrounded by a scattered array of Halloween decorations and empty candy wrappers.
I started to explain why that wouldn’t work — then stopped. I looked at the bright red box on the counter, then at her hopeful, messy-faced expression, and decided to let her try it. She was wrong, but in the most delightful way possible.
It turns out that black food coloring turns red velvet into a muddy, bitter mess that tastes like chemical dye and regret. Maya’s instinct to simplify the process was cute, but it completely ignored the chemistry that makes a true black velvet cake work. I felt a little sheepish for not correcting her sooner, but honestly, it was a good lesson for both of us.
This experience led me to finally perfect the best black velvet Halloween cupcakes recipe I’ve ever made. It’s not about shortcuts; it’s about understanding that the “black” comes from the richness of the cocoa and the depth of the coffee, not just a splash of dye. I mean, let me tell you, the first time I tried to force the color, I nearly ruined the whole batch.
Maybe you’ve been there too, trying to hack a classic recipe only to end up with something that looks spooky but tastes sad. That’s why I stick to this specific method. It uses real cocoa powder and a touch of espresso to create that deep, midnight hue without sacrificing the tender crumb.
I keep making it because it’s the only way to get that authentic, professional look that actually tastes as good as it looks. Plus, watching Maya’s eyes light up when she sees the deep black frosting is worth every bit of effort. It’s a treat that feels magical, not just manufactured.
Why You’ll Love This Recipe
Let’s face it, baking for Halloween can feel like a lot of pressure. You want something that looks impressive on the table but doesn’t require a degree in culinary arts to pull off. This black velvet cupcake hits that sweet spot perfectly, combining ease with undeniable flavor. I’ve tested this recipe dozens of times, tweaking the ratios until it was just right, and I can promise you it’s foolproof.
- Quick & Easy: Comes together in under 45 minutes, perfect for busy weeknights or last-minute party prep when you realize you forgot to buy treats.
- Simple Ingredients: No fancy grocery trips needed; you likely already have cocoa, flour, sugar, and coffee in your kitchen.
- Perfect for Halloween: Great for spooky gatherings, school parties, or just treating yourself to something dark and delicious.
- Crowd-Pleaser: Always gets rave reviews from kids who love the color and adults who love the rich chocolate flavor.
- Unbelievably Delicious: The texture is incredibly moist, and the cream cheese frosting adds a tangy contrast that keeps you coming back for more.
What makes this recipe different from the rest is the balance. Many black cakes end up dry or overly sweet. This one uses buttermilk and oil to keep the crumb soft, while the espresso powder amplifies the chocolate flavor without making it taste like coffee. It’s comfort food reimagined for the spookiest night of the year.
This isn’t just good—it’s the kind of cupcake that makes you close your eyes after the first bite. It’s perfect for impressing guests without stress, or turning a simple afternoon snack into something memorable. Honestly, the smell alone will have everyone wondering what you’re up to.
What Ingredients You Will Need
This recipe uses simple, wholesome ingredients to deliver bold flavor and satisfying texture without the fuss. The key to a successful black velvet cake is quality cocoa and the right balance of wet and dry components. Here is everything you need to gather before you start mixing.
For the Cake Batter
- All-purpose flour: 2 cups (sifted to remove lumps for a smoother batter)
- Baking soda: 1 teaspoon (helps the cake rise and react with the acidic buttermilk)
- Salt: 1 teaspoon (balances the sweetness and enhances the chocolate flavor)
- Cocoa powder: ½ cup (unsweetened, high-quality cocoa is crucial for the dark color)
- Granulated sugar: 1 ½ cups (provides sweetness and helps with browning)
- Unsalted butter: ½ cup (softened to room temperature for easy creaming)
- Vegetable oil: ½ cup (keeps the cake moist longer than butter alone)
- Eggs: 2 large eggs (room temperature, helps bind the ingredients)
- Vanilla extract: 2 teaspoons (adds warmth and depth to the chocolate)
- Buttermilk: 1 cup (adds tang and tenderness; use full-fat for best results)
- Black food coloring: Gel paste (concentrated color without adding too much liquid)
- Brewed espresso: ½ cup (strong coffee enhances the chocolate flavor)
For the Cream Cheese Frosting
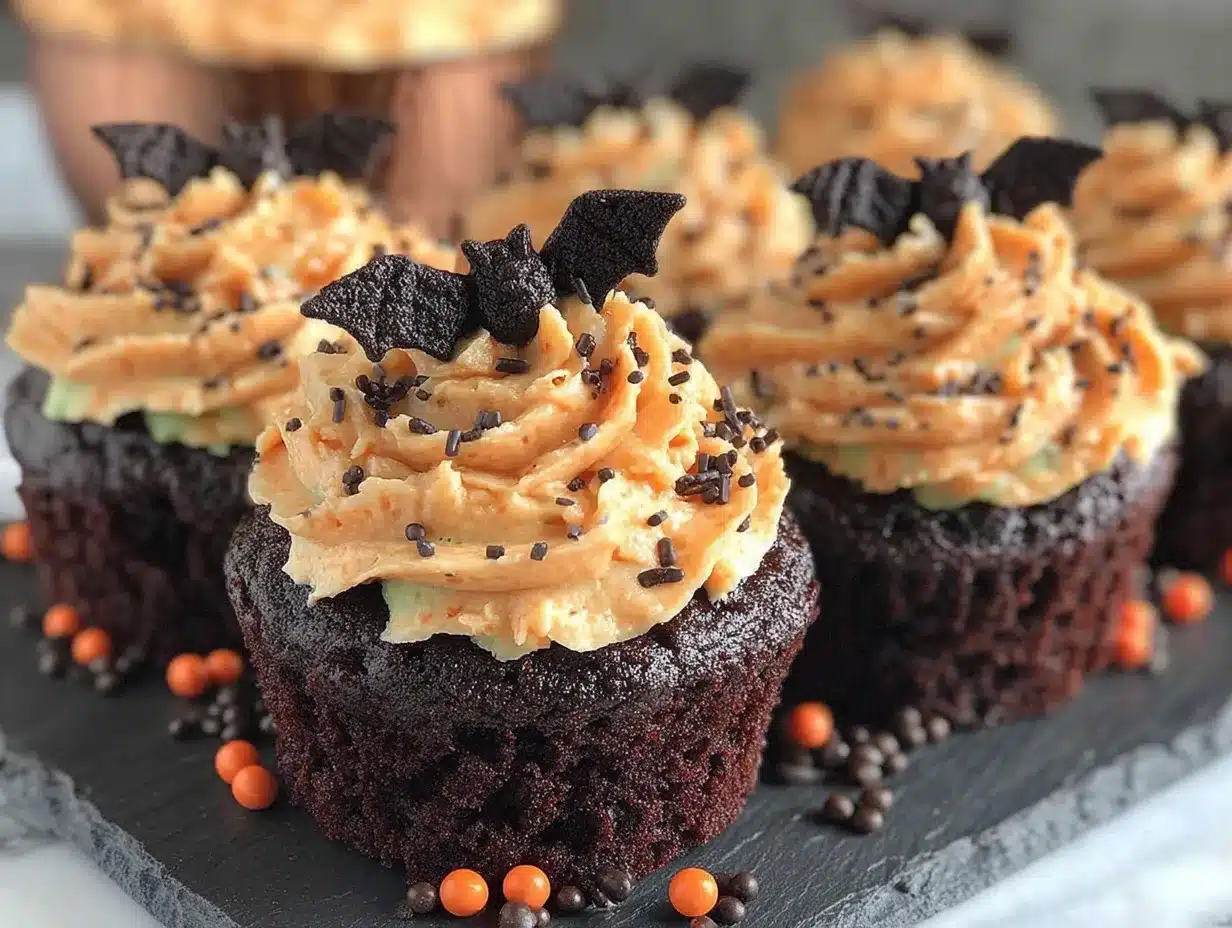
- Cream cheese: 8 oz (full-fat, softened; I recommend Philadelphia for consistency)
- Unsalted butter: ½ cup (softened)
- Powdered sugar: 3-4 cups (sifted to avoid lumps in the frosting)
- Vanilla extract: 1 teaspoon
- Salt: A pinch (to cut the sweetness)
If you can’t find buttermilk, you can make a quick substitute by adding 1 tablespoon of lemon juice or vinegar to 1 cup of milk and letting it sit for 5 minutes. For the cocoa, avoid Dutch-processed if you want the baking soda to react properly, though both can work with slight adjustments. I personally prefer unsweetened natural cocoa for its sharper chocolate punch.
Equipment Needed
You don’t need a fancy kitchen to make these cupcakes, but having the right tools makes a huge difference. A standard 12-cup muffin tin is essential, and I recommend using non-stick liners to prevent sticking. A large mixing bowl is needed for the dry ingredients, and another for the wet ones.
An electric hand mixer or stand mixer will save your arms and ensure the batter is smooth. A whisk is useful for combining the dry ingredients evenly. For the frosting, you’ll need a separate bowl and your mixer again. A spatula is helpful for scraping down the sides of the bowl to ensure everything is mixed.
If you want professional-looking cupcakes, an offset spatula is great for spreading frosting smoothly. A piping bag with a large tip can add a spooky swirl. I’ve found that silicone liners are easier to clean, though paper ones are convenient. Just make sure your muffin tin is clean and dry for the best rise.
Budget-friendly options include using a fork to mix if you don’t have a mixer, though it takes more effort. A simple spoon can work for frosting if you’re in a pinch. Keep your tools clean and organized to make the process smoother.
Preparation Method
- Preheat and Prep: Preheat your oven to 350°F (175°C). Line your muffin tin with paper liners. This takes about 2 minutes and ensures your cupcakes don’t stick.
- Mix Dry Ingredients: In a large bowl, whisk together the flour, baking soda, salt, and cocoa powder. Make sure there are no lumps of cocoa. This step takes about 3 minutes.
- Cream Butter and Sugar: In another bowl, beat the softened butter and oil with the granulated sugar until light and fluffy. Add the eggs one at a time, beating well after each addition. Mix in the vanilla extract. This takes about 5 minutes.
- Combine Wet and Dry: Alternately add the dry ingredients and buttermilk to the butter mixture, beginning and ending with the dry ingredients. Mix on low speed until just combined. Do not overmix. This takes about 3 minutes.
- Add Espresso and Color: Stir in the brewed espresso and black food coloring gel. The batter will turn a deep, dark color. Mix until uniform. This takes about 2 minutes.
- Fill Liners: Divide the batter evenly among the 12 cupcake liners, filling each about 2/3 full. This takes about 3 minutes.
- Bake: Bake for 18-20 minutes, or until a toothpick inserted into the center comes out clean. Avoid opening the oven door too early. This takes 20 minutes.
- Cool: Let the cupcakes cool in the pan for 5 minutes, then transfer to a wire rack to cool completely. This takes about 30 minutes.
- Make Frosting: Beat the cream cheese and butter until smooth. Gradually add powdered sugar, vanilla, and salt. Beat until fluffy. This takes about 5 minutes.
- Frost: Once cupcakes are cool, frost each one generously. You can pipe or spread the frosting. This takes about 10 minutes.
Keep an eye on the cupcakes around the 18-minute mark. Overbaking can dry them out. The toothpick test is your best friend here. If it comes out with wet batter, give it 2 more minutes.
Cooking Tips & Techniques
One common mistake is using cold eggs, which can cause the batter to curdle. Always bring your eggs and butter to room temperature before starting. This ensures a smooth, emulsified batter.
Another tip is to not overmix the batter once you add the flour. Overmixing develops gluten, which can make the cupcakes tough. Mix until you no longer see streaks of flour.
For the black color, gel food coloring is superior to liquid. Liquid coloring adds too much water, which can throw off the batter consistency. Gel gives a vibrant black without changing the texture.
If your kitchen is hot, keep your frosting ingredients cool. Warm frosting can melt and slide off the cupcakes. If it gets too soft, pop it in the fridge for 10 minutes.
Use a cookie scoop to portion the batter. This ensures all cupcakes are the same size and bake evenly. It also speeds up the process.
Let the cupcakes cool completely before frosting. Warm cupcakes will melt the frosting, making a mess. Patience is key here.
For a spooky look, add edible glitter or black sprinkles on top of the frosting. It adds a nice touch without extra effort.
If you’re making these ahead, store them in an airtight container. They stay fresh for up to 3 days at room temperature.
Don’t skip the espresso. Even if you don’t taste coffee, it deepens the chocolate flavor. It’s a secret ingredient that makes a big difference.
Variations & Adaptations
You can easily adapt this recipe to fit different dietary needs or flavor preferences. Here are a few ideas to try.
Gluten-Free Option: Use a 1-to-1 gluten-free flour blend. The texture may be slightly denser, but it still works well. Check that your baking soda is certified gluten-free.
Dairy-Free Option: Substitute the butter with vegan butter and the buttermilk with almond milk mixed with lemon juice. Use dairy-free cream cheese for the frosting.
Red Velvet Twist: Skip the black food coloring and espresso. Add a tablespoon of red food coloring and keep the vanilla. This creates a classic red velvet cupcake.
Chocolate Chip Addition: Fold in ½ cup of chocolate chips into the batter before baking. It adds pockets of melted chocolate and extra sweetness.
Spicy Kick: Add a pinch of cayenne pepper to the batter. It adds a subtle heat that pairs well with the sweet frosting.
I once tried adding orange zest to the batter, and it was surprisingly good. It added a citrusy note that complemented the chocolate. It’s worth experimenting with.
For a healthier version, reduce the sugar by ¼ cup and use applesauce to replace half the oil. The cupcakes will be slightly less rich but still moist.
You can also use different extracts, like almond or coconut, to change the flavor profile. Just be sure to adjust the amount to taste.
These variations allow you to keep the recipe fresh and exciting. Don’t be afraid to try new combinations.
Serving & Storage Suggestions
Serve these cupcakes at room temperature for the best flavor and texture. They look great on a dessert table with other Halloween treats. Pair them with a cold glass of milk or a hot cup of coffee.
For storage, keep the cupcakes in an airtight container at room temperature for up to 3 days. If your kitchen is very warm, store them in the refrigerator.
To freeze, place unfrosted cupcakes in a freezer-safe container. They can be frozen for up to 2 months. Thaw them at room temperature before frosting.
If you freeze frosted cupcakes, they may lose some texture. It’s better to freeze the baked cakes and frost them fresh.
When reheating, avoid the microwave. It can make the cupcakes soggy. Let them come to room temperature naturally.
The flavors meld together over time, so they often taste better the next day. Plan to make them a day ahead if possible.
For presentation, use black cupcake liners or place them on a black cake stand. It enhances the spooky theme.
Add a dusting of powdered sugar for a ghostly effect. It contrasts nicely with the black frosting.
These tips ensure your cupcakes stay delicious and look amazing. Enjoy the process of creating something special.
Nutritional Information & Benefits
Each cupcake contains approximately 350 calories. The recipe provides carbohydrates from the flour and sugar, and fats from the butter and oil. It also offers protein from the eggs and cream cheese.
The cocoa powder contains antioxidants, which can be beneficial in moderation. The espresso adds a small amount of caffeine, which can boost energy.
This recipe is not gluten-free or dairy-free by default. Adjustments can be made for specific dietary needs, as mentioned earlier.
It is high in sugar, so enjoy in moderation. Pairing it with a protein-rich snack can help balance the meal.
From a wellness perspective, baking can be a stress-relieving activity. Sharing these treats with loved ones promotes social connection.
The rich flavor satisfies sweet cravings, which can help prevent overeating later. It’s a mindful indulgence.
Remember that nutritional values are estimates. They can vary based on specific ingredients used.
Listen to your body and enjoy the cupcakes as a special treat. Balance is key to a healthy lifestyle.
Conclusion
These best black velvet Halloween cupcakes are a must-try for any baking enthusiast. They are easy to make, delicious, and look stunning. I hope you enjoy making them as much as I do.
Feel free to customize the recipe to suit your taste. Add sprinkles, change the frosting, or try new variations. The possibilities are endless.
I love this recipe because it brings joy to the table. It’s a treat that everyone loves, from kids to adults. It’s a staple in my Halloween baking rotation.
Please share your creations with me on social media. I’d love to see how you decorate them. Leave a comment below with your thoughts.
Happy Halloween! Enjoy your spooky baking adventure. It’s a fun way to celebrate the season.
FAQs
Can I use liquid food coloring instead of gel?
Yes, but you will need to use a lot more to get the same dark color. This can make the batter too wet. Gel is recommended for the best results.
How do I make the cupcakes extra moist?
Using buttermilk and oil helps keep the cupcakes moist. Do not overbake them, and let them cool completely before frosting.
Can I freeze the cupcakes?
Yes, you can freeze unfrosted cupcakes for up to 2 months. Thaw them at room temperature before frosting.
What if I don’t have espresso?
You can use hot water instead. The espresso enhances the chocolate flavor, but it’s not strictly necessary.
How long do the cupcakes last?
They last up to 3 days at room temperature in an airtight container. They can last up to 5 days in the refrigerator.
Pin This Recipe!
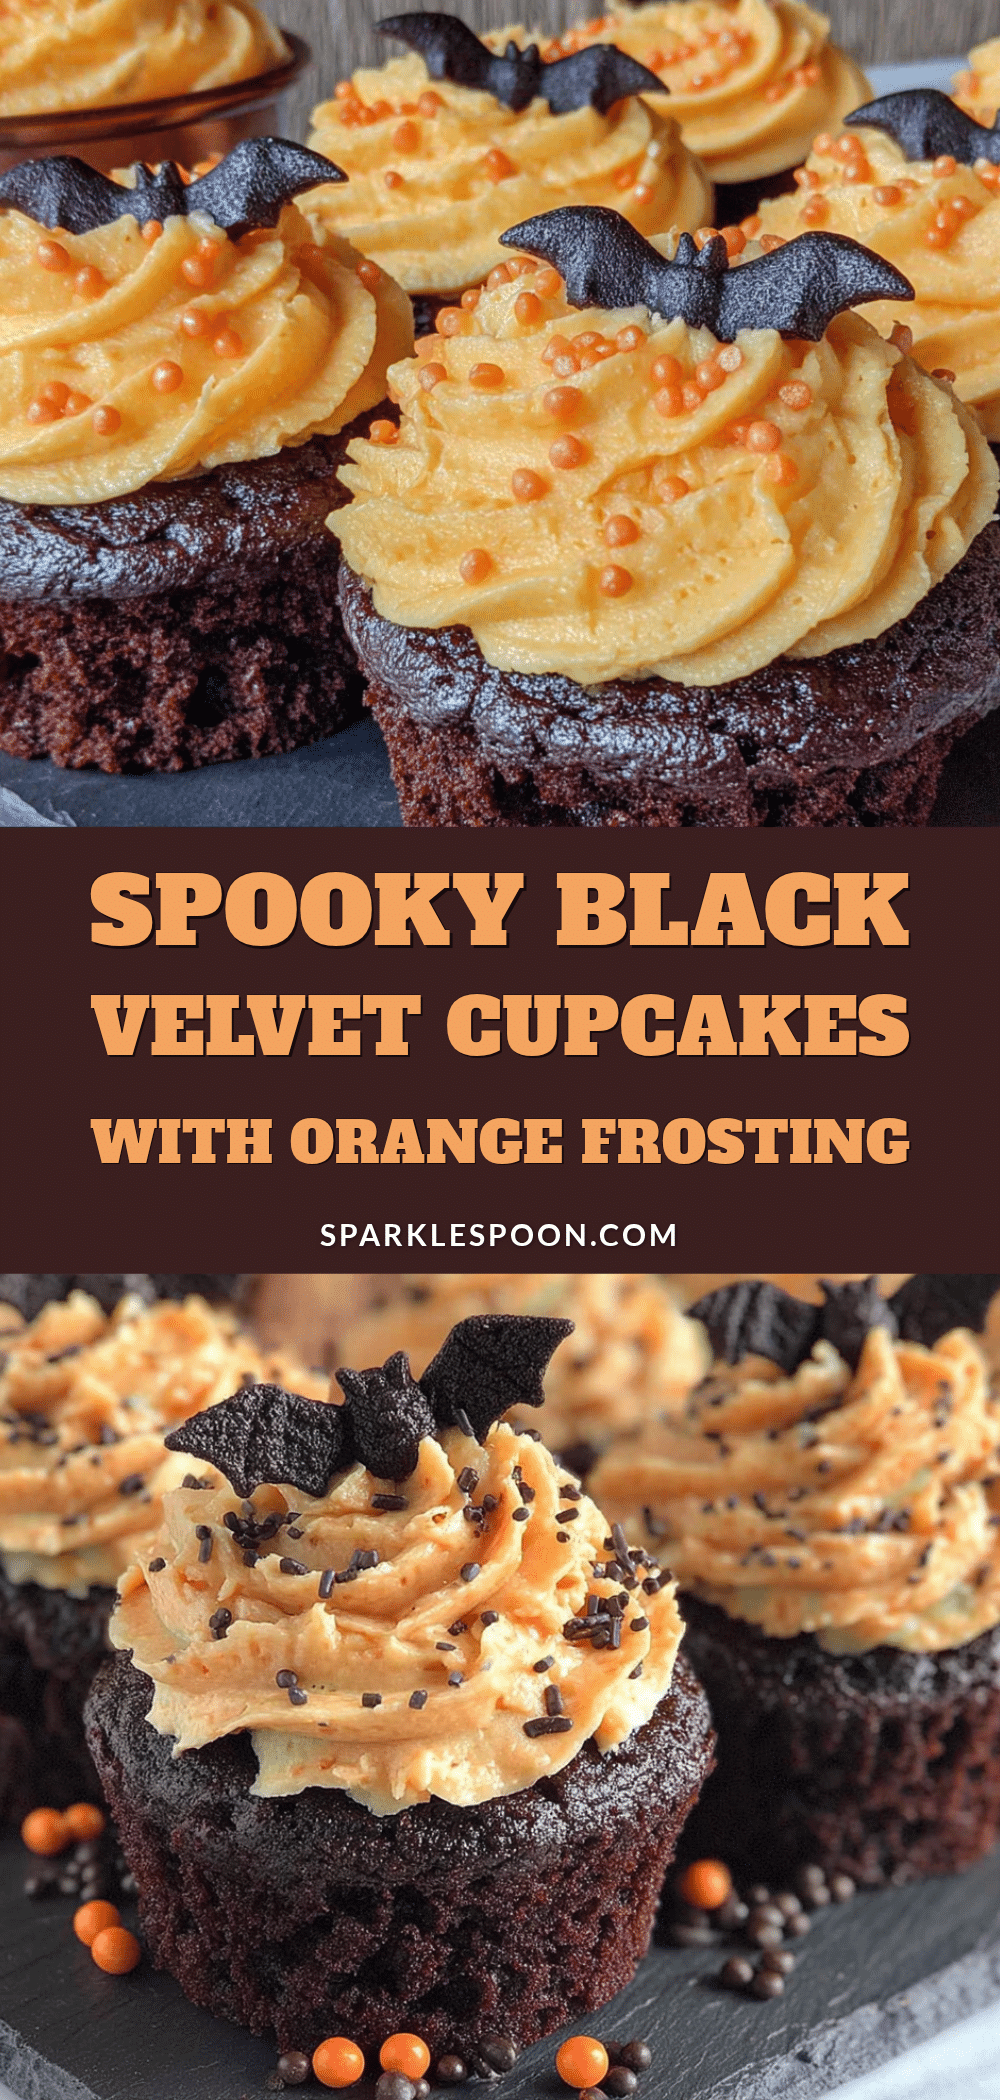
Best Black Velvet Halloween Cupcakes: 5 Easy Spooky Treats
These black velvet cupcakes feature a deep, midnight hue achieved through rich cocoa and espresso, topped with tangy cream cheese frosting for a spooky yet delicious Halloween treat.
- Prep Time: 20 minutes
- Cook Time: 20 minutes
- Total Time: 45 minutes
- Yield: 12 servings 1x
- Category: Dessert
- Cuisine: American
Ingredients
- 2 cups all-purpose flour (sifted)
- 1 teaspoon baking soda
- 1 teaspoon salt
- ½ cup unsweetened cocoa powder
- 1 ½ cups granulated sugar
- ½ cup unsalted butter (softened)
- ½ cup vegetable oil
- 2 large eggs (room temperature)
- 2 teaspoons vanilla extract
- 1 cup buttermilk
- Black gel paste food coloring
- ½ cup brewed espresso
- 8 oz cream cheese (full-fat, softened)
- ½ cup unsalted butter (softened)
- 3–4 cups powdered sugar (sifted)
- 1 teaspoon vanilla extract
- A pinch of salt
Instructions
- Preheat oven to 350°F (175°C) and line a 12-cup muffin tin with paper liners.
- In a large bowl, whisk together flour, baking soda, salt, and cocoa powder until no lumps remain.
- In a separate bowl, beat softened butter, oil, and granulated sugar until light and fluffy.
- Add eggs one at a time to the butter mixture, beating well after each addition, then mix in vanilla extract.
- Alternately add the dry ingredients and buttermilk to the butter mixture, beginning and ending with dry ingredients; mix on low speed until just combined.
- Stir in brewed espresso and black gel food coloring until the batter is a uniform deep dark color.
- Divide batter evenly among liners, filling each about 2/3 full.
- Bake for 18-20 minutes or until a toothpick inserted into the center comes out clean.
- Cool cupcakes in the pan for 5 minutes, then transfer to a wire rack to cool completely.
- Beat cream cheese and butter until smooth, then gradually add powdered sugar, vanilla, and salt; beat until fluffy.
- Frost cooled cupcakes generously using a spatula or piping bag.
Notes
Use gel food coloring instead of liquid to prevent altering batter consistency. Ensure eggs and butter are at room temperature for a smooth emulsion. Do not overmix the batter to avoid tough cupcakes. Cool cupcakes completely before frosting to prevent melting. Espresso enhances chocolate flavor but can be substituted with hot water.
Nutrition
- Serving Size: 1 cupcake
- Calories: 350
- Sugar: 35
- Sodium: 250
- Fat: 18
- Saturated Fat: 9
- Carbohydrates: 45
- Fiber: 2
- Protein: 4
Keywords: black velvet cupcakes, halloween baking, spooky treats, cream cheese frosting, chocolate cupcakes, easy halloween recipes



