Love this? Save it for later!
Share the inspiration with your friends
My husband swore he hated pumpkin seeds. For years, he claimed they were the worst part of a Halloween jack-o-lantern, describing them as slimy, bitter, and utterly pointless. He would meticulously pluck every single one out of the fibrous orange guts and toss them into the compost bin without a second thought. I tried to convince him otherwise, but he was firm in his disdain. He said they tasted like dirt and chewed like rubber.
Then came last Tuesday evening. The power went out halfway through making dinner, so I decided to roast them in the oven while we waited for the electricity to come back on. I seasoned them with cinnamon and sugar, just a little bit of salt, and tossed them in the oven. I made them “just for myself,” thinking I’d enjoy a crunchy snack while he read by candlelight.
I caught him three minutes later. He was standing over the cooling rack, picking at a seed with his thumb, looking suspiciously satisfied. I asked him what he was doing, and he didn’t even look up. He just mumbled that they weren’t *that* bad. Then he grabbed another handful. The skepticism-to-obsession arc was complete in under ten minutes.
Honestly, it was kind of funny to watch him try to play it cool while secretly devouring my snack. But here is the thing—you know that feeling when you’re eating something that’s just perfect? That’s what happened. The crunch was loud, the cinnamon was warm, and the sugar wasn’t too sweet. It was the kind of snack that makes you forget you’re eating something healthy.
This recipe stayed with me because it turned a “waste product” into a treasure. I keep making it because it’s easy, it’s cheap, and it converts people who think they hate seeds. Maybe you’ve been there, staring at a pile of pumpkin guts wondering what to do with them. Well, let me tell you, these are the answer. They are the ultimate crispy cinnamon sugar roasted pumpkin seeds, and once you try them, you’ll never toss the guts again.
Why You’ll Love This Recipe
There are a million ways to cook pumpkin seeds, but this specific method is the one that actually works. I’ve tried boiling them, I’ve tried just dry roasting them, and I’ve tried drowning them in too much salt. This version is different. It’s the result of a few failed attempts and a lot of tasting. Here is why this recipe earns its spot in your kitchen routine:
- Quick & Easy: You can have these ready in about 30 minutes. That’s it. No long marinating times, no complicated techniques. It’s perfect for busy weeknights or when you need a snack fast.
- Simple Ingredients: You likely already have everything in your kitchen. Pumpkin seeds, butter or oil, cinnamon, sugar, and salt. No fancy grocery trips needed. This is pantry-friendly cooking at its best.
- Perfect for Movie Nights: These are the ultimate snack for fall. They are crunchy enough to satisfy that chewing urge but light enough that you won’t feel too full before dinner. Great for cozy dinners or holiday mornings.
- Crowd-Pleaser: Kids love the sweetness, and adults appreciate the nutty flavor. I’ve served these at parties and they disappear faster than any other snack. It’s always getting rave reviews from everyone alike.
- Unbelievably Delicious: The texture is next-level. They aren’t soft or chewy; they are shatteringly crisp. The flavor combo of warm spice and sweet crunch is comfort food reimagined.
What makes this recipe different from the rest is the prep work. Most people skip cleaning the seeds properly, which leads to clumps. This recipe ensures every seed is clean and coated evenly. Whether it is the specific ratio of sugar to cinnamon or the low-and-slow roast, this isn’t just another version—it’s your best version. It’s the kind that makes you close your eyes after the first bite. It’s healthier than chips, faster than cereal, and has the same soul-soothing satisfaction. Perfect for impressing guests without stress, or turning a simple meal into something memorable.
What Ingredients You Will Need
This recipe uses simple, wholesome ingredients to deliver bold flavor and satisfying texture without the fuss. The beauty of this dish is that it relies on high-quality basics rather than complex spices. You want the natural nuttiness of the seed to shine through the cinnamon and sugar. Here is what you will need to make these crispy cinnamon sugar roasted pumpkin seeds.
- Pumpkin Seeds (Pepitas): About 1 to 2 cups, raw and still in the shell or shelled. If you are using seeds straight from a fresh pumpkin, you will need about 3 to 4 cups of wet seeds to get this amount. I recommend buying organic raw seeds if you can find them, as they often have a fresher taste. Look for firm, small-curd seeds if you are buying them pre-packaged.
- Unsalted Butter: 2 tablespoons, melted. Butter adds a rich, creamy mouthfeel that oil sometimes lacks. It helps the sugar stick better too. You can use olive oil if you prefer, but butter gives that classic bakery smell.
- Coconut Oil: 1 tablespoon. I use a mix of butter and oil because butter burns easily at high heat. The coconut oil raises the smoke point slightly and adds a subtle sweetness. Melt it together with the butter.
- Granulated White Sugar: 2 tablespoons. This is the main sweetener. It caramelizes slightly in the oven, creating that crispy shell. Brown sugar works too, but it makes them chewier. For crispiness, stick with white.
- Ground Cinnamon: 1 teaspoon. This is the star spice. Use a good quality cinnamon, like Ceylon if you can find it, for a sweeter, more floral note. Cassia is stronger and more pungent, which is also good if you like it bold.
- Kosher Salt: ½ teaspoon. Salt balances the sweetness. Do not skip this. It makes the cinnamon flavor pop. If you use table salt, use less, as it is more concentrated.
- Vanilla Extract: ½ teaspoon. This is my secret weapon. It adds depth and makes the snack taste like a dessert. It’s subtle, but you will miss it if it’s gone.
For substitutions, you can use maple syrup instead of sugar for a more natural sweetener, though it will make them less crispy. Use almond flour for a gluten-free option if you want to add bulk, but it’s not necessary. If you are dairy-free, swap the butter for coconut oil or vegan butter.
Equipment Needed
You don’t need much fancy gear to make this recipe. In fact, the simpler the equipment, the better. Here is what you will need to get started.
- Large Bowl: A medium-sized mixing bowl is essential for tossing the seeds in the butter and spice mixture. Make sure it is large enough so the seeds don’t spill out when you are stirring.
- Baking Sheet: A standard half-sheet pan works perfectly. Line it with parchment paper. This is non-negotiable if you want easy cleanup. The sugar will melt and stick to the pan if you don’t use parchment, and you will be scrubbing for ages.
- Paper Towels: You need these for the initial cleaning step. Patting the seeds dry is crucial for crispiness. Wet seeds steam instead of roast.
- Spatula: A silicone spatula is best for stirring the seeds on the baking sheet. It scrapes the bottom well and doesn’t scratch the pan.
If you don’t have a baking sheet, you can use a glass baking dish, but you may need to stir more frequently. A wire rack over the baking sheet is an alternative for even more airflow, but it’s not necessary for this recipe. I’ve used both and the results are similar. For budget-friendly options, any old baking tray will do. Just make sure it’s clean and flat.
Preparation Method
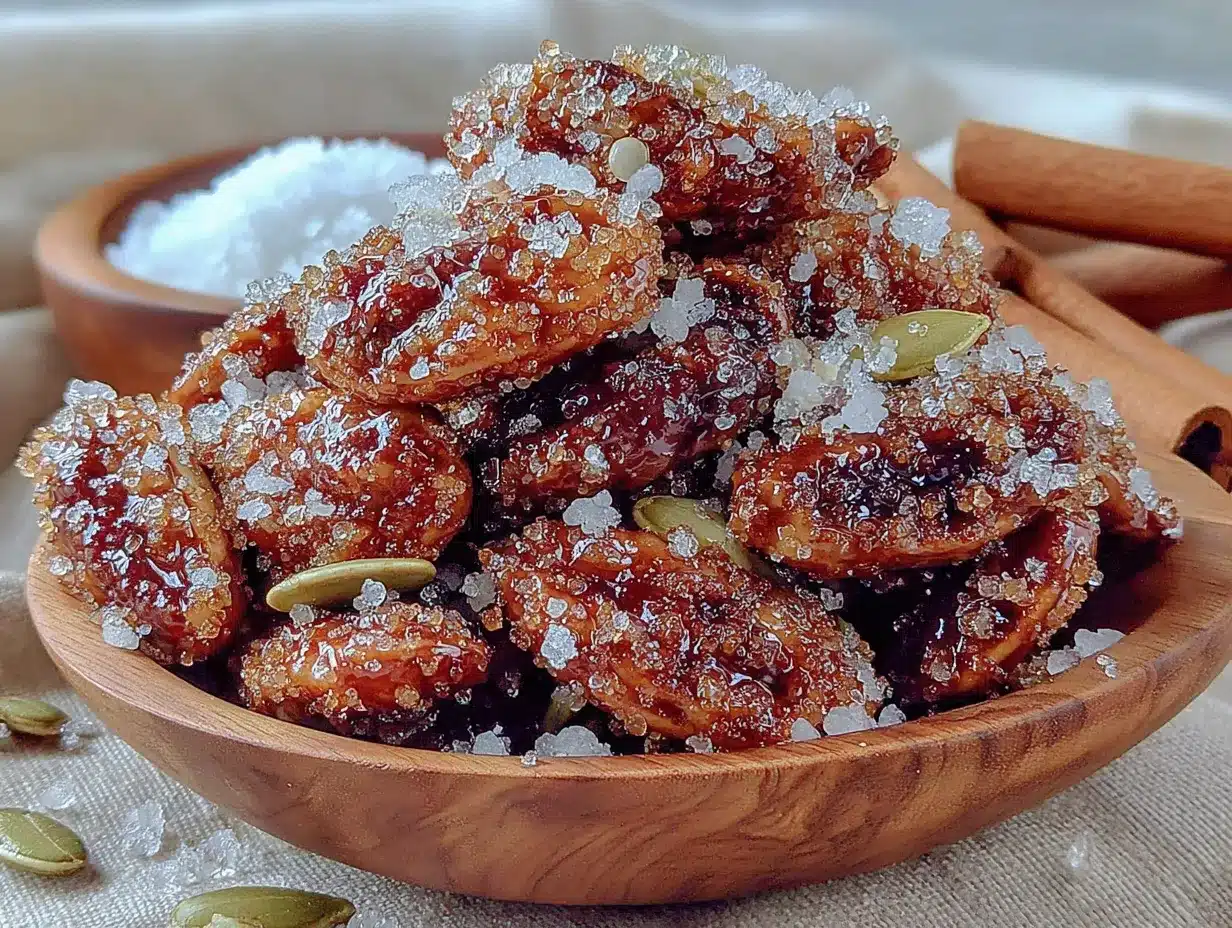
Making these crispy cinnamon sugar roasted pumpkin seeds is straightforward, but the prep is key. Here is how to do it right.
- Extract the Seeds (5 minutes): Cut your pumpkin open and scoop out the insides. Use a spoon to separate the seeds from the stringy pulp. It’s a bit messy, but that’s part of the fun. Put the seeds in a large bowl.
- Clean the Seeds (10 minutes): This is the most important step. Fill the bowl with cold water. The good seeds sink, and the bad ones float. Pick out the floating debris. Then, rub the seeds between your hands under running water to remove any remaining strings. This takes patience, but it’s worth it. If you skip this, they will be clumpy.
- Dry the Seeds (15-20 minutes): Spread the cleaned seeds on paper towels. Pat them dry thoroughly. They should not be wet to the touch. If they are wet, they won’t get crispy. Let them air dry for a bit if you are in a rush.
- Preheat the Oven (5 minutes): Set your oven to 325°F (165°C). Do not go higher, or the sugar will burn before the seeds are cooked. Low and slow is the way to go.
- Mix the Coating (2 minutes): In a small bowl, mix the melted butter, coconut oil, sugar, cinnamon, salt, and vanilla. Whisk it until it looks like wet sand.
- Toss the Seeds (2 minutes): Pour the coating over the dried seeds in your large bowl. Toss them until every single seed is coated. You want a thin layer, not a thick paste. Add more butter if needed.
- Spread on Pan (1 minute): Pour the seeds onto the parchment-lined baking sheet. Spread them out in a single layer. Do not overcrowd the pan. If they are piled on top of each other, they will steam.
- Roast (20-25 minutes): Put them in the oven. Stir them every 5 minutes. This ensures even browning. After 10 minutes, you should start to smell the cinnamon. After 20 minutes, check for color. They should be golden brown, not dark brown.
- Cool Completely (30 minutes): This is the hardest part. Let them cool on the pan. They will crisp up as they cool. If you eat them hot, they will be soft. Be patient.
Troubleshooting Tip: If the sugar burns, your oven was too hot or you didn’t stir enough. Next time, lower the temp by 25 degrees.
Cooking Tips & Techniques
I’ve made these seeds so many times that I’ve learned a few tricks along the way. Here is how to ensure success.
- Dry is Right: The biggest mistake people make is using wet seeds. Moisture is the enemy of crispiness. If your seeds are damp, spread them on a towel and let them sit for an hour. I once rushed this step and ended up with chewy seeds. Never again.
- Stir Frequently: Sugar burns fast. Stirring every 5 minutes prevents hot spots. Use a silicone spatula to scrape the bottom of the pan. This moves the seeds that are cooking faster to the edges.
- Watch the Color: Seeds continue to cook after they come out of the oven. Remove them when they look slightly underdone. They will darken as they cool. If they look perfectly brown in the oven, they will be burnt when cool.
- Single Layer: Overcrowding is a common error. Give each seed space. Air needs to circulate to dry them out. If you have too many seeds, roast them in two batches.
- Add Salt After: Some people prefer to sprinkle a little extra salt after roasting. This gives a nice contrast to the sweet coating. I usually do this once they are cooled.
Personal Failures: I once tried to make these in an air fryer. They worked, but they burned in half the time. If you use an air fryer, cut the time in half and check often. I also tried using honey instead of sugar, which made them sticky and gummy. Stick to granulated sugar for the best crunch.
Variations & Adaptations
This recipe is a great base for experimentation. Here are a few ways to change it up.
- Spicy Version: Add a pinch of cayenne pepper or chili powder to the sugar mix. It creates a sweet-heat combo that is addictive. Great for game day.
- Maple Glazed: Swap the white sugar for maple sugar or mix maple syrup with a little flour to keep it dry. It gives a deeper, autumnal flavor.
- Savory Twist: Skip the sugar and vanilla. Use garlic powder, onion powder, and smoked paprika. These are great with beer or wine.
- Gluten-Free: This recipe is naturally gluten-free. Just ensure your cinnamon and sugar are certified gluten-free if you have celiac disease.
- My Personal Variation: I sometimes add a teaspoon of orange zest to the butter mixture. The citrus cuts through the richness and adds a bright note. It’s subtle but effective.
You can also adjust the sweetness. If you are watching your sugar intake, use a zero-calorie sweetener like erythritol. It doesn’t caramelize the same way, so the texture will be different, but the flavor is similar.
Serving & Storage Suggestions
These seeds are best served at room temperature. Hot seeds are soft, and cold seeds can be hard to chew. Room temp is the sweet spot.
- Presentation: Serve them in a small bowl or a mason jar. They look great alongside a glass of apple cider or hot chocolate. They are also perfect for trail mixes.
- Pairings: They go well with cheese boards. The sweetness contrasts nicely with sharp cheddar or brie. They are also great on top of oatmeal or yogurt.
- Storage: Store them in an airtight container at room temperature. They will stay crisp for up to 5 days. If they go soft, pop them in the oven for 5 minutes to re-crisp.
- Freezing: You can freeze them for up to 3 months. Thaw them at room temperature. They may lose a little crunch, but they are still good.
- Reheating: Reheat in a toaster oven or regular oven at 300°F for 5 minutes. Avoid the microwave, as it will make them chewy.
The flavors develop over time. The cinnamon and sugar meld together, making them taste better on day 2 than day 1. I usually make a big batch so I have them ready for the week.
Nutritional Information & Benefits
These seeds are a nutritious snack. They are high in protein, fiber, and healthy fats.
- Protein: Pumpkin seeds are a good source of plant-based protein, which helps with satiety.
- Minerals: They are rich in magnesium, zinc, and iron. These are essential for immune health and energy.
- Fiber: The fiber content aids digestion. Just be sure to eat them in moderation if you are not used to high-fiber foods.
- Dietary Considerations: They are gluten-free, dairy-free (if you use oil), and can be made low-sugar. They are also vegan.
- Allergens: Pumpkin seeds are generally hypoallergenic. However, cross-contamination is possible if processed in facilities with nuts.
From a wellness perspective, I love these because they satisfy a sweet tooth without a sugar crash. The fat and protein keep your blood sugar stable. It’s a snack that feels indulgent but is actually good for you.
Conclusion
These crispy cinnamon sugar roasted pumpkin seeds are a game-changer. They turn a messy, often discarded part of the pumpkin into a delicious, crunchy treat. I hope you try this recipe and convert someone you know, just like I did with my husband.
Feel free to customize the spices and sweetness to your liking. It’s a versatile recipe that fits into many diets. I love making these because they are simple, cheap, and always a hit.
Please leave a comment below if you try this recipe. I’d love to hear how it turned out for you. Share your variations and tips with the community. And if you make them, tag me on social media so I can see your creations. Happy roasting!
FAQs
Can I use store-bought pumpkin seeds?
Yes, you can. Just make sure they are raw and unsalted. If they are already roasted, you can still coat them, but reduce the cooking time to avoid burning.
Why are my seeds soft?
They are likely not dry enough before roasting, or they weren’t cooled completely. Moisture prevents crispiness. Make sure to pat them dry thoroughly and let them cool on the pan.
Can I make these in an air fryer?
Yes, but cook them at 300°F for 10-12 minutes, shaking the basket every 3 minutes. Watch them closely, as they burn faster in an air fryer.
How do I store them to keep them crispy?
Store them in an airtight container at room temperature. If they absorb moisture from the air, reheat them in the oven for 5 minutes to restore crunch.
Can I use brown sugar instead of white sugar?
You can, but brown sugar contains molasses, which makes the seeds chewier rather than crispy. For the best texture, stick with white granulated sugar.
Pin This Recipe!
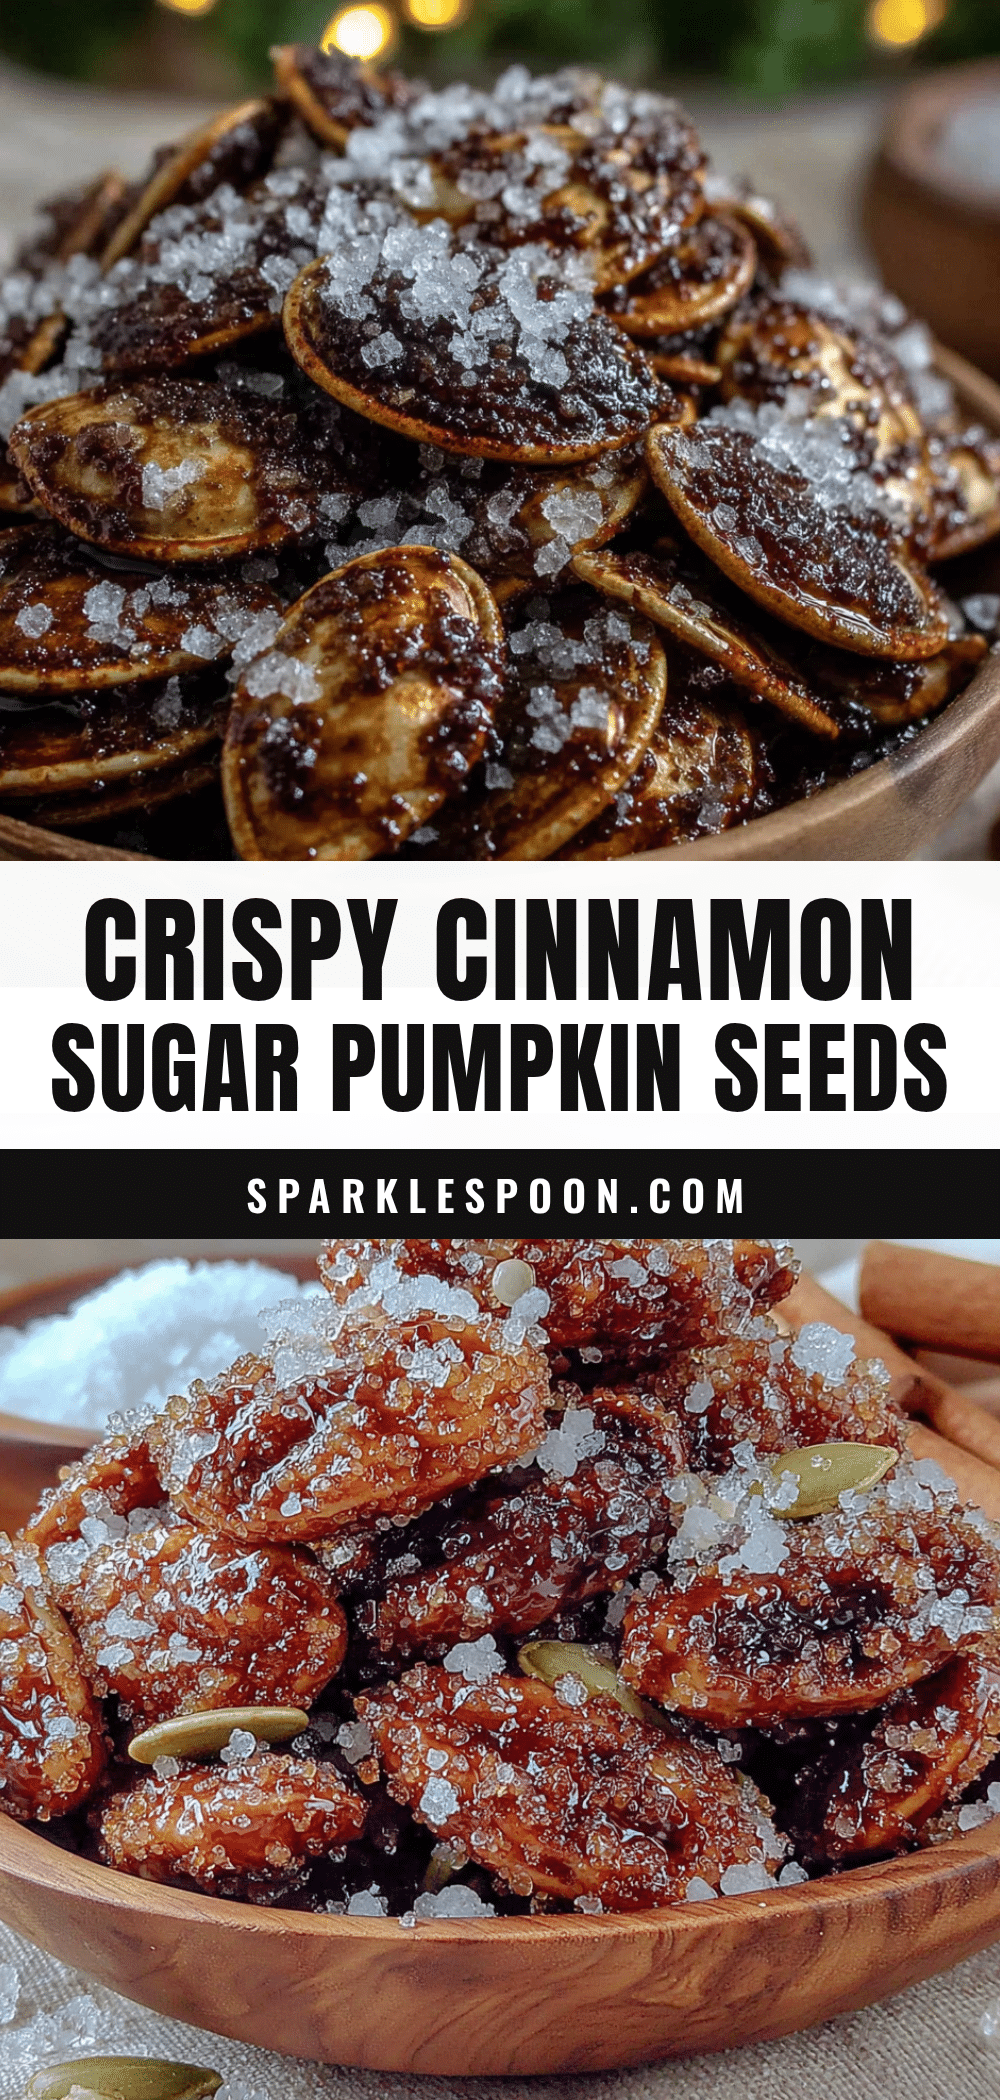
Crispy Cinnamon Sugar Roasted Pumpkin Seeds

A simple, crunchy snack made by roasting pumpkin seeds with butter, coconut oil, cinnamon, and sugar. These seeds are easy to make, gluten-free, and perfect for converting skeptics.
- Prep Time: 30 minutes
- Cook Time: 25 minutes
- Total Time: 55 minutes
- Yield: 4 servings 1x
- Category: Snack
- Cuisine: American
Ingredients
- 1 to 2 cups raw pumpkin seeds (pepitas)
- 2 tablespoons unsalted butter, melted
- 1 tablespoon coconut oil
- 2 tablespoons granulated white sugar
- 1 teaspoon ground cinnamon
- 1/2 teaspoon kosher salt
- 1/2 teaspoon vanilla extract
Instructions
- Extract seeds from the pumpkin and separate them from the stringy pulp.
- Clean the seeds by soaking them in cold water, removing floating debris, and rubbing them under running water to remove remaining strings.
- Pat the seeds dry thoroughly with paper towels and let them air dry until no moisture remains.
- Preheat the oven to 325°F (165°C).
- In a small bowl, whisk together the melted butter, coconut oil, sugar, cinnamon, salt, and vanilla until it resembles wet sand.
- Pour the coating mixture over the dried seeds in a large bowl and toss until every seed is evenly coated.
- Spread the seeds in a single layer on a parchment-lined baking sheet.
- Roast for 20-25 minutes, stirring every 5 minutes to ensure even browning.
- Remove from the oven when golden brown (they will darken slightly as they cool).
- Let the seeds cool completely on the pan to achieve maximum crispiness.
Notes
Ensure seeds are completely dry before roasting to prevent steaming. Stir frequently to prevent sugar from burning. Seeds continue to cook after being removed from the oven, so remove them when they look slightly underdone. Store in an airtight container at room temperature for up to 5 days.
Nutrition
- Serving Size: 1/4 cup
- Calories: 180
- Sugar: 10
- Sodium: 150
- Fat: 12
- Saturated Fat: 5
- Carbohydrates: 15
- Fiber: 3
- Protein: 6
Keywords: pumpkin seeds, pepitas, cinnamon sugar, roasted seeds, healthy snack, gluten-free, fall recipe, easy snack



