Love this? Save it for later!
Share the inspiration with your friends
This was supposed to be a simple roasted chicken with vegetables. I had the whole thing planned out—a perfectly seasoned bird, a colorful medley of carrots and potatoes, and a quiet Tuesday evening to enjoy it all. But somewhere between the grocery store and my kitchen, I grabbed a whole chicken that was still partially frozen. And I mean, rock-solid in the middle. My oven was preheated, my vegetables were chopped, and I was already running late for a phone call with my sister. The panic was real, let me tell you.
I stood there staring at this block of ice, and then at my trusty cast iron skillet, and then back at the chicken. In a moment of pure desperation, I decided to just cut the thing into pieces (which, honestly, took some elbow grease) and throw it in the pan with some butter and garlic. I figured I’d at least salvage something edible. I tossed in some rice, poured in some broth, covered it, and prayed. What came out was nothing like the plan—and so much better. The rice soaked up all that garlicky, buttery goodness, and the chicken got this gorgeous golden crust while staying tender underneath.
I remember sitting down to eat, fully expecting a mediocre meal, and instead finding myself scraping the pan clean. That was three years ago, and this one-pan garlic butter chicken and rice has become my go-to for busy nights, lazy Sundays, and everything in between. Maybe you’ve been there—standing in your kitchen, realizing your plan just isn’t going to work, and needing to pivot fast. This recipe was born from that exact moment, and honestly, I think it tastes better because of it. It’s the kind of meal that proves sometimes the best things happen when you stop trying so hard.
Why You’ll Love This Recipe
Let me tell you why this easy one-pan garlic butter chicken and rice has earned a permanent spot in my weekly rotation. I’ve tested this recipe more times than I can count, tweaking the liquid ratio, the cooking time, and even the type of rice to get it just right. What I landed on is a dish that delivers on every single promise.
- Quick & Easy: From start to finish, this meal comes together in about 45 minutes. Most of that time is hands-off, letting the oven do the work while you handle other things. Perfect for those nights when you need dinner on the table without a lot of fuss.
- Simple Ingredients: You probably have most of these in your kitchen right now. Chicken thighs, rice, garlic, butter, chicken broth, and a few pantry seasonings—that’s it. No fancy grocery trips or specialty items required.
- Perfect for Busy Weeknights: This is the definition of a set-it-and-forget-it meal. You do a little prep on the stovetop, then transfer everything to the oven and walk away. It’s great for when you have kids to wrangle or a work deadline to meet.
- Crowd-Pleaser: I’ve served this to picky eaters, dinner guests, and my own family, and it gets rave reviews every single time. The garlic butter flavor is universally loved, and the rice turns out perfectly fluffy and flavorful.
- Unbelievably Delicious: The magic here is in the layering of flavors. You sear the chicken first to develop that rich, golden crust, then let it finish cooking on top of the rice, so all those savory drippings infuse every grain. The result is comfort food that feels both indulgent and effortless.
What makes this version different from the countless other chicken and rice recipes out there? It’s the technique. By searing the chicken first and then baking it on top of the rice, you get the best of both worlds—crispy skin and tender meat, plus perfectly cooked rice that’s been soaking up all those buttery, garlicky juices. It’s not just another recipe; it’s the one you’ll come back to again and again.
What Ingredients You Will Need
This recipe uses simple, wholesome ingredients to deliver bold flavor and satisfying texture without the fuss. Everything here is easy to find and probably already in your pantry or fridge. Here’s what you’ll need and why each ingredient matters.
- Chicken thighs (bone-in, skin-on) – About 1.5 to 2 pounds (680 to 900 grams). I prefer thighs over breasts here because they stay juicy and tender during the longer cooking time. The skin gets beautifully crispy in the oven. If you want to use boneless thighs, just reduce the cooking time by about 10 minutes.
- Unsalted butter – 4 tablespoons (56 grams). I use unsalted so I can control the salt level. The butter is what makes this dish so rich and luscious. I recommend a good-quality brand like Kerrygold for the best flavor.
- Garlic – 6 cloves, minced. Fresh garlic is non-negotiable here. The pre-minced stuff in a jar just doesn’t have the same punch. You want that aromatic, slightly sweet flavor that only fresh garlic can provide.
- Long-grain white rice – 1.5 cups (300 grams). Basmati or jasmine work beautifully. Avoid short-grain or sticky rice, as they can turn gummy. Rinse the rice in a fine-mesh strainer until the water runs clear—this removes excess starch and prevents clumping.
- Chicken broth – 2.5 cups (590 ml). Use low-sodium broth so you can adjust the seasoning yourself. I like Swanson or Kitchen Basics for consistent flavor. Homemade broth works great too if you have it on hand.
- Onion – 1 medium yellow onion, finely diced. It adds a savory base that complements the garlic and butter perfectly. You could use a shallot instead for a milder flavor.
- Dried thyme – 1 teaspoon. Earthy and slightly floral, thyme pairs beautifully with chicken and garlic. If you have fresh thyme, use about 1 tablespoon of leaves.
- Paprika – 1 teaspoon. I use sweet paprika for a subtle warmth and a beautiful color on the chicken. Smoked paprika would add a nice depth if you want to experiment.
- Salt and black pepper – To taste. I use about 1 teaspoon of salt and 1/2 teaspoon of pepper for the chicken, plus additional seasoning for the rice.
- Fresh parsley – For garnish (optional but recommended). It adds a pop of color and a fresh, bright finish to the dish.
For the best texture, look for chicken thighs that are similar in size so they cook evenly. If you’re using a different cut like drumsticks or breasts, just adjust the cooking time accordingly. And if you’re dairy-free, you can substitute the butter with a good-quality olive oil or vegan butter—just know the flavor will shift slightly.
Equipment Needed
You don’t need a lot of fancy equipment for this one-pan wonder. Here’s what I use every time I make it.
- Large oven-safe skillet or Dutch oven – A 12-inch cast iron skillet is my go-to. It heats evenly, goes from stovetop to oven without a problem, and gives the chicken a gorgeous crust. If you don’t have cast iron, any heavy-bottomed oven-safe pan will work. Just make sure it has a lid.
- Cutting board and sharp knife – For mincing garlic and dicing the onion. A good chef’s knife makes prep so much faster.
- Fine-mesh strainer – For rinsing the rice. This step is crucial for fluffy rice, so don’t skip it.
- Measuring cups and spoons – For accurate ingredient portions. I’ve learned the hard way that eyeballing the liquid can lead to soggy rice.
- Tongs – For flipping the chicken without piercing the skin. They give you better control than a fork.
- Aluminum foil – For covering the pan if your skillet doesn’t have a tight-fitting lid. You want to trap the steam so the rice cooks properly.
If you don’t have an oven-safe skillet, you can sear the chicken in a regular pan, then transfer everything to a baking dish before adding the rice and broth. It’s one extra step, but it works perfectly. I’ve done it in a 9×13-inch baking dish with great results.
Preparation Method
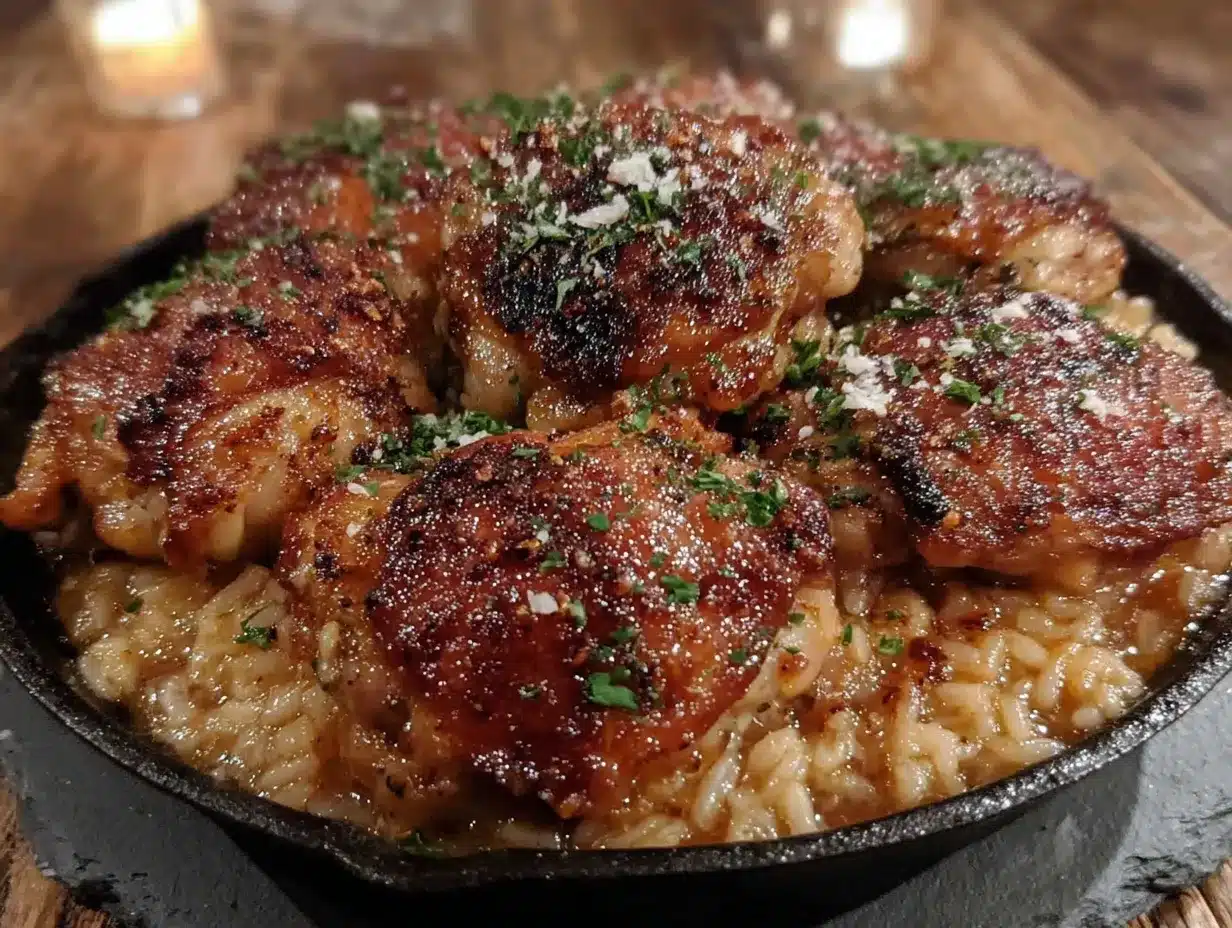
Let’s get cooking! Follow these steps carefully, and you’ll have a beautiful, flavorful one-pan meal that looks like you spent hours on it.
- Preheat your oven to 375°F (190°C). Position the rack in the center of the oven. This gives you even heat distribution for perfectly cooked chicken and rice.
- Pat the chicken thighs dry with paper towels. This is a non-negotiable step for crispy skin. Season both sides generously with salt, pepper, and the paprika. Let them sit at room temperature for about 10 minutes while you prep the other ingredients.
- Heat your oven-safe skillet over medium-high heat. Add 2 tablespoons of the butter and let it melt until it’s foamy but not browned. The skillet should be hot enough that the butter sizzles immediately when you add it.
- Sear the chicken thighs, skin-side down first. Place them in the skillet in a single layer—don’t crowd the pan. Cook for 4-5 minutes until the skin is deep golden brown and crispy. Flip and cook for another 3 minutes on the other side. The chicken won’t be fully cooked yet, and that’s fine. Transfer the chicken to a plate and set it aside.
- Reduce the heat to medium. Add the remaining 2 tablespoons of butter to the same skillet. Once melted, add the diced onion and cook for 3-4 minutes until it’s softened and translucent. The browned bits on the bottom of the pan (called fond) are packed with flavor, so don’t clean them off.
- Add the minced garlic. Stir it into the onions and cook for just 30-60 seconds until fragrant. Garlic burns quickly, so keep an eye on it. You want it to smell aromatic, not bitter.
- Stir in the rinsed rice and dried thyme. Cook for about 2 minutes, stirring constantly, until the rice is lightly toasted and coated in the butter. This step adds a nutty flavor and helps the rice stay separate as it cooks.
- Pour in the chicken broth. Stir everything together, scraping up any browned bits from the bottom of the pan. Bring the liquid to a gentle simmer. Taste the broth and adjust the seasoning if needed—I usually add another 1/2 teaspoon of salt here.
- Return the chicken to the skillet. Place the thighs skin-side up on top of the rice, nestling them in slightly. The rice should be mostly submerged in the liquid. If it looks too dry, add a splash more broth.
- Cover the skillet with a lid or aluminum foil. Transfer it to the preheated oven. Bake for 30-35 minutes, or until the rice is tender and has absorbed most of the liquid, and the chicken reaches an internal temperature of 165°F (74°C).
- Remove the lid for the last 5 minutes. This helps the chicken skin crisp up even more. If you want extra crispy skin, you can broil it for 1-2 minutes, but watch it closely so it doesn’t burn.
- Let it rest for 5 minutes. Remove the skillet from the oven and let it sit, uncovered, for 5 minutes. This allows the rice to finish absorbing any remaining liquid and makes it easier to serve. Garnish with fresh parsley before serving.
Pro tip: If your rice is still a bit crunchy after the cooking time, sprinkle a few tablespoons of hot broth over the top, cover it again, and let it sit in the turned-off oven for 5-10 minutes. The residual heat will finish the job without overcooking the chicken.
Cooking Tips & Techniques
Over the years, I’ve made this easy one-pan garlic butter chicken and rice more times than I can count, and I’ve learned a few things the hard way. Here are my best tips for getting it perfect every time.
Don’t skip the rice rinsing. I know it’s an extra step, but it makes a huge difference. Rinsing removes the surface starch that can make your rice gummy and clumpy. Run it under cold water in a fine-mesh strainer until the water runs clear—usually about 30 seconds of rinsing.
Get the sear right. That golden-brown crust on the chicken is where so much flavor lives. Make sure your pan is hot enough before you add the chicken. If the skin sticks when you try to flip it, give it another minute—it will release when it’s properly seared. I’ve definitely torn the skin off a few thighs by rushing this step.
Watch your liquid ratio. Different types of rice absorb different amounts of liquid. For long-grain white rice, the standard ratio is about 1.5 cups of liquid per 1 cup of rice. But since you’re baking it with the chicken, which releases its own juices, you might need a little less. Start with 2.5 cups of broth for 1.5 cups of rice, and adjust from there based on your pan and oven.
Use a thermometer. The safest way to know your chicken is done is to use an instant-read thermometer. Insert it into the thickest part of the thigh without touching the bone. You’re looking for 165°F (74°C). I’ve overcooked more chicken than I care to admit by relying on timing alone.
Let it rest. I know it’s tempting to dig in right away, but that 5-minute rest is crucial. The rice continues to absorb liquid, and the chicken’s juices redistribute, making everything more tender and flavorful. Trust me on this one.
Variations & Adaptations
One of the best things about this recipe is how adaptable it is. Here are some of my favorite variations that I’ve tried over the years.
Vegetable-loaded version: Add 1 cup of diced carrots and 1 cup of frozen peas to the rice before baking. The carrots add sweetness, and the peas bring a pop of color. Just stir them in when you add the broth, and they’ll cook perfectly in the oven.
Creamy garlic butter version: Stir in 1/4 cup of heavy cream or half-and-half with the broth for a richer, creamier rice. It’s a decadent twist that’s perfect for special occasions or when you need a serious comfort food fix.
Spicy kick: Add 1/2 teaspoon of red pepper flakes or a diced jalapeño along with the garlic. The heat cuts through the richness of the butter and adds a nice layer of complexity. I’ve also used a teaspoon of harissa paste for a North African-inspired version.
Herb swap: Instead of thyme, try rosemary, oregano, or a blend of Italian herbs. Each brings a different personality to the dish. Rosemary gives it a more rustic, almost Thanksgiving-like flavor, while oregano leans Mediterranean.
Dietary adaptations: For a gluten-free version, this recipe is naturally gluten-free as long as you check your chicken broth. For a dairy-free option, use olive oil or a good vegan butter instead of regular butter. If you’re watching your carb intake, you can substitute the rice with cauliflower rice—just reduce the broth to 1 cup and bake for only 15-20 minutes.
Serving & Storage Suggestions
This one-pan meal is incredibly versatile when it comes to serving. Here’s how I like to enjoy it and how to store any leftovers.
Serving: Serve the chicken and rice straight from the skillet for a rustic, family-style presentation. I like to garnish with fresh parsley and a squeeze of lemon juice for brightness. A simple green salad with a lemon vinaigrette is the perfect side—it balances the richness of the dish. Steamed green beans or roasted asparagus also work beautifully.
Storage: Let any leftovers cool completely, then transfer them to an airtight container. The chicken and rice can be stored together or separately. They’ll keep in the refrigerator for up to 4 days. The flavors actually meld and deepen overnight, so leftovers are often even better the next day.
Reheating: The best way to reheat this is in a covered skillet over medium-low heat with a splash of broth or water to add moisture. Microwave reheating works in a pinch, but it can dry out the chicken. If using the microwave, cover the dish with a damp paper towel and heat in 30-second intervals.
Freezing: This dish freezes well for up to 3 months. I recommend freezing the chicken and rice separately for best texture. Thaw overnight in the refrigerator before reheating. The rice might be slightly softer after freezing, but the flavor will still be excellent.
Nutritional Information & Benefits
Here’s a rough estimate of the nutritional content per serving (based on 4 servings). Keep in mind that exact values will vary based on the specific ingredients and portion sizes you use.
| Nutrient | Amount per Serving |
|---|---|
| Calories | 520-580 |
| Protein | 35-40g |
| Fat | 22-28g |
| Carbohydrates | 45-50g |
| Fiber | 1-2g |
| Sodium | 600-800mg |
This dish offers a good balance of protein from the chicken and energy from the rice. Chicken thighs are rich in B vitamins, particularly niacin and B6, which support energy metabolism. Garlic is known for its immune-boosting properties, and butter provides fat-soluble vitamins like A, D, and E. If you’re watching your sodium intake, use low-sodium broth and go easy on the added salt.
This recipe is naturally gluten-free and can be made dairy-free with a simple swap. It’s not low-carb due to the rice, but it’s a satisfying, balanced meal that will keep you full and energized.
Conclusion
This easy one-pan garlic butter chicken and rice is more than just a recipe—it’s a solution for those nights when you need dinner to be effortless but still deeply satisfying. It’s the kind of meal that makes you look forward to leftovers, the kind that proves you don’t need complicated techniques or exotic ingredients to create something truly memorable.
I hope you give this recipe a try and make it your own. Maybe you’ll add extra vegetables, or swap in different herbs, or turn up the heat with some red pepper flakes. That’s the beauty of a simple, well-built recipe—it’s a starting point for your own creativity. I’d love to hear how it turns out for you. Leave a comment below and share your version, or tag me in your photos on social media. Happy cooking!
Frequently Asked Questions
Can I use chicken breasts instead of thighs?
Yes, you can. Boneless, skinless chicken breasts will work, but they cook faster and can dry out more easily. Reduce the baking time to 20-25 minutes, and check the internal temperature early. For best results, use bone-in, skin-on chicken breasts if you can find them.
Why is my rice still crunchy after baking?
This usually means there wasn’t enough liquid or the cooking time was too short. Add a few tablespoons of hot broth, cover the pan, and let it sit in the turned-off oven for 5-10 minutes. If the rice is still undercooked, return it to the oven for another 5 minutes with the lid on.
Can I make this in a slow cooker or Instant Pot?
This recipe is designed for the oven, but you can adapt it. For a slow cooker, sear the chicken first, then add everything to the slow cooker and cook on low for 4-5 hours. For an Instant Pot, use the sauté function for the searing and aromatics, then pressure cook on high for 8 minutes with a natural release.
How do I prevent the rice from becoming mushy?
Rinse your rice thoroughly before cooking to remove excess starch. Also, make sure you’re using the right liquid ratio—too much liquid leads to mushy rice. And don’t stir the rice once it’s in the oven. Stirring can break the grains and release more starch, making the texture gummy.
Can I double this recipe?
Absolutely. If you have a large enough skillet (14 inches or bigger), you can double everything. You’ll need to increase the baking time by about 10-15 minutes. If your skillet isn’t big enough, split the recipe between two pans or use a large roasting pan.
Pin This Recipe!
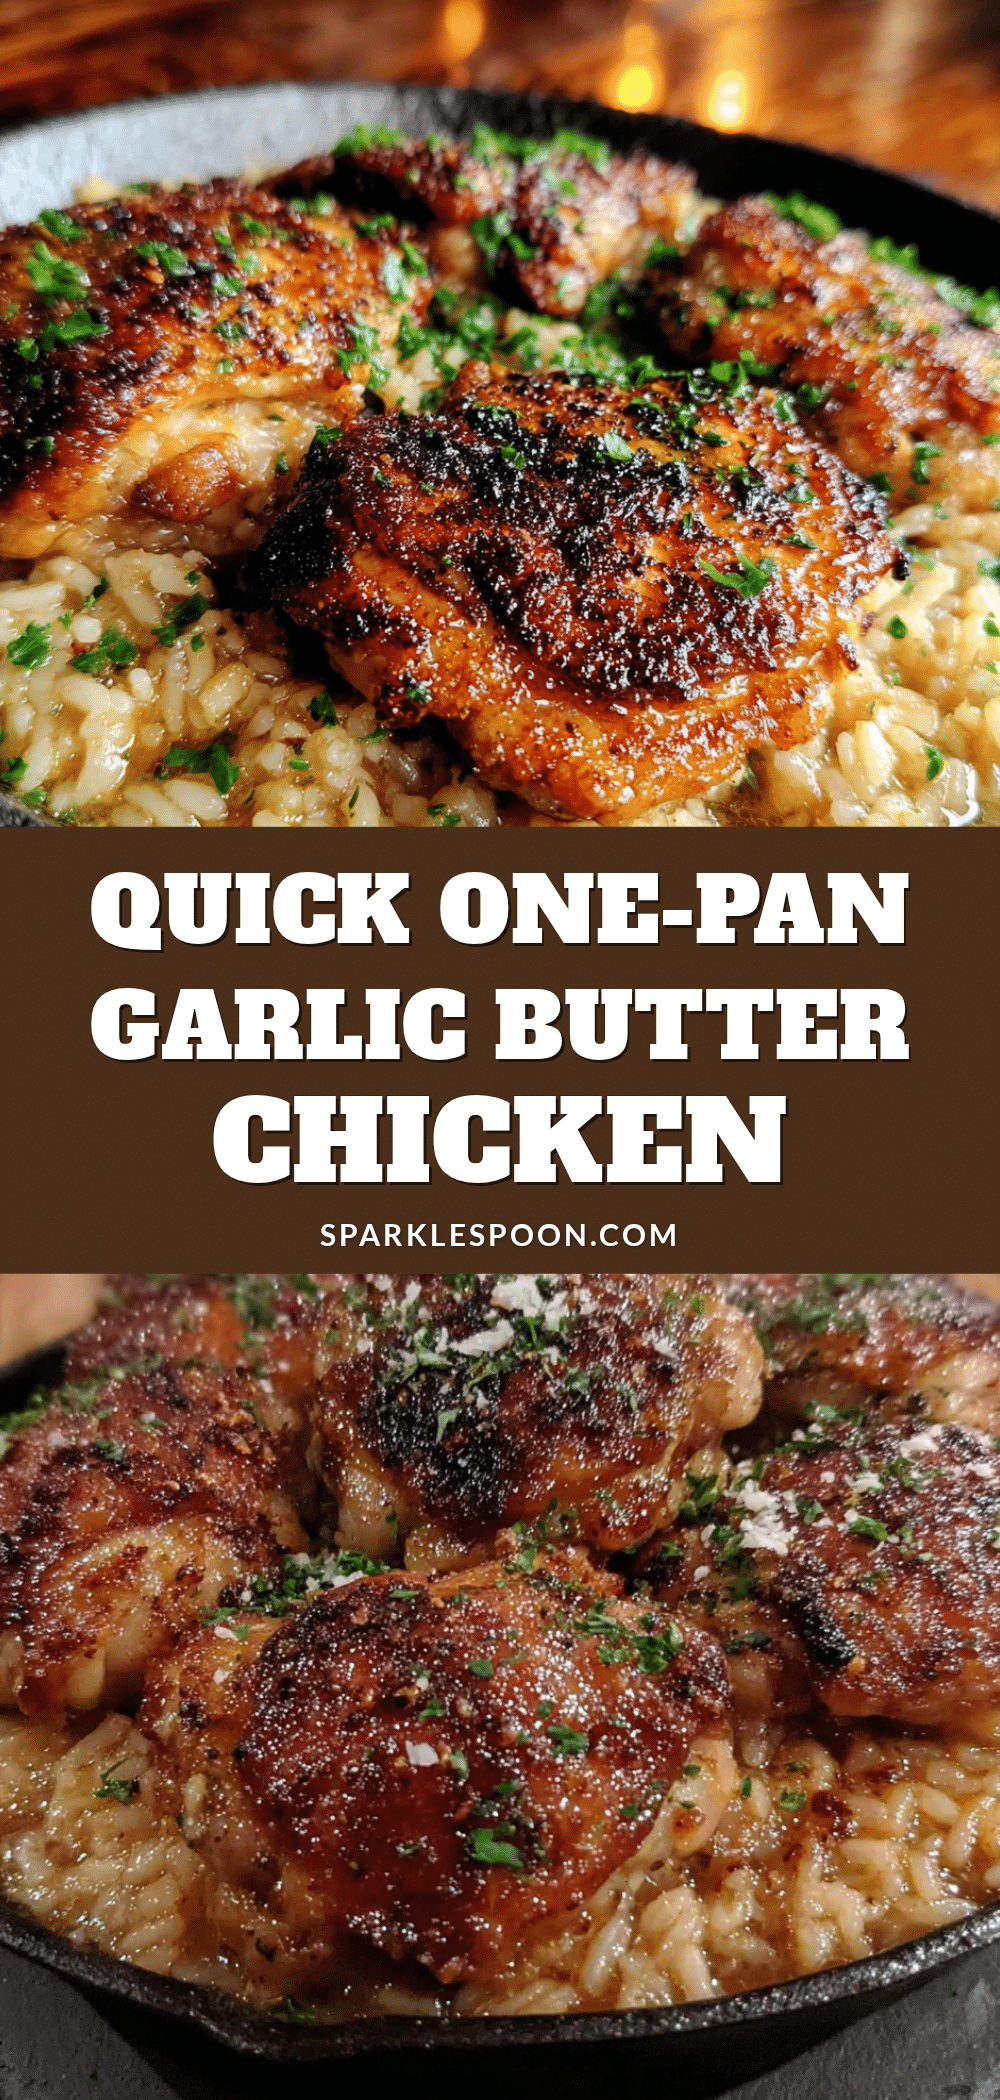
Easy One-Pan Garlic Butter Chicken and Rice

A simple, flavorful one-pan meal featuring juicy seared chicken thighs and perfectly cooked rice infused with garlic butter. Perfect for busy weeknights, this recipe delivers crispy skin and tender meat with minimal cleanup.
- Prep Time: 15 minutes
- Cook Time: 35 minutes
- Total Time: 50 minutes
- Yield: 4 servings 1x
- Category: Main Course
- Cuisine: American
Ingredients
- 1.5 to 2 pounds (680 to 900 grams) bone-in, skin-on chicken thighs
- 4 tablespoons (56 grams) unsalted butter
- 6 cloves garlic, minced
- 1.5 cups (300 grams) long-grain white rice (basmati or jasmine), rinsed
- 2.5 cups (590 ml) low-sodium chicken broth
- 1 medium yellow onion, finely diced
- 1 teaspoon dried thyme
- 1 teaspoon sweet paprika
- Salt and black pepper to taste (about 1 teaspoon salt and 1/2 teaspoon pepper for chicken)
- Fresh parsley for garnish (optional)
Instructions
- Preheat your oven to 375°F (190°C). Position the rack in the center of the oven.
- Pat the chicken thighs dry with paper towels. Season both sides generously with salt, pepper, and paprika. Let them sit at room temperature for about 10 minutes.
- Heat an oven-safe skillet over medium-high heat. Add 2 tablespoons of butter and let it melt until foamy but not browned.
- Sear the chicken thighs, skin-side down first, in a single layer. Cook for 4-5 minutes until the skin is deep golden brown and crispy. Flip and cook for another 3 minutes. Transfer chicken to a plate and set aside.
- Reduce heat to medium. Add remaining 2 tablespoons of butter to the same skillet. Once melted, add diced onion and cook for 3-4 minutes until softened and translucent.
- Add minced garlic and stir for 30-60 seconds until fragrant.
- Stir in rinsed rice and dried thyme. Cook for about 2 minutes, stirring constantly, until rice is lightly toasted.
- Pour in chicken broth, scraping up any browned bits from the bottom of the pan. Bring to a gentle simmer. Taste and adjust seasoning if needed.
- Return chicken to the skillet, placing thighs skin-side up on top of the rice.
- Cover the skillet with a lid or aluminum foil. Transfer to the preheated oven and bake for 30-35 minutes, until rice is tender and chicken reaches an internal temperature of 165°F (74°C).
- Remove the lid for the last 5 minutes to crisp the skin. Optionally broil for 1-2 minutes for extra crispiness.
- Let rest for 5 minutes. Garnish with fresh parsley before serving.
Notes
For best results, rinse rice thoroughly to remove excess starch. If rice is still crunchy after baking, add a few tablespoons of hot broth, cover, and let sit in turned-off oven for 5-10 minutes. For dairy-free, substitute butter with olive oil or vegan butter.
Nutrition
- Serving Size: 1 serving (about 1 c
- Calories: 550
- Sugar: 2
- Sodium: 700
- Fat: 25
- Saturated Fat: 10
- Carbohydrates: 48
- Fiber: 1.5
- Protein: 38
Keywords: one-pan chicken and rice, garlic butter chicken, easy weeknight dinner, baked chicken thighs, one skillet meal



