Love this? Save it for later!
Share the inspiration with your friends
My friend Jenna asked why I couldn’t just press the cookie dough into a pan instead of scooping it. We were standing in her kitchen last October, a bag of candy corn between us and a sugar cookie recipe I’d made a hundred times spread across the counter. I started to explain why that wouldn’t work — something about spreading, something about texture — then stopped. I honestly had no good reason. I just always did it the other way.
The thing is, I’ve been making sugar cookies since I was tall enough to reach the mixer. I had my method down, my little rituals. Scoop, chill, bake, repeat. It felt reliable. But Jenna, who bakes maybe twice a year and doesn’t own a cookie scoop, looked at me like I was overcomplicating things. She grabbed my bag of flour and said, “Just dump it in the pan. What’s the worst that happens?”
I let her do it. I mean, I stood there with my arms crossed for the first few minutes, ready to say “I told you so.” But what came out of that pan was so much better than what I’d been doing. The edges got this perfect golden chewiness, the middle stayed soft and thick, and the candy corn didn’t burn or melt into weird puddles — it stayed right where we put it, little orange and yellow jewels across the top.
So yeah, I was wrong. Completely wrong. And honestly? I love being wrong about this. These Easy Candy Corn Sugar Cookie Bars have become my go-to fall dessert, and they only exist because I finally shut up and listened to someone who didn’t know any better. Maybe you’ve been there too — so stuck in your way of doing things that you forget to ask if there’s an easier way. These bars are that easier way. Let me show you.
Why You’ll Love This Recipe
I’ve tested this recipe six times since that day in Jenna’s kitchen. Six times, because I wanted to make sure it wasn’t a fluke. It wasn’t. These bars are consistently soft, buttery, and packed with that nostalgic candy corn sweetness that just screams October.
- Quick & Easy: From start to finish, these are ready in about 30 minutes. No chilling dough, no rolling, no cutting individual cookies. Press, bake, cool, slice.
- Simple Ingredients: You probably have everything except the candy corn in your pantry right now. Butter, sugar, eggs, flour — the basics.
- Perfect for Fall Gatherings: Halloween parties, Thanksgiving dessert tables, or just a Tuesday when you need something bright and fun. These bars disappear fast.
- Crowd-Pleaser: Kids love the candy corn on top. Adults love that they taste like a soft sugar cookie with none of the fuss. Everyone wins.
- Unbelievably Delicious: The texture is what gets me every time. That soft, almost cake-like center with slightly crisp edges — it’s comfort food in bar form.
What makes this different from every other sugar cookie recipe? It’s the method. Pressing the dough into a pan changes everything. You get a more uniform bake, less risk of overbaking, and that perfect ratio of soft interior to golden edge. I’ve tried this with both salted and unsalted butter, different brands of candy corn, and even homemade versions. This method wins every single time.
This is the kind of dessert that makes you close your eyes after the first bite. I’m not exaggerating. It’s familiar but somehow better — like the sugar cookie you grew up with got a glow-up. And because it’s a bar, you can serve it warm with ice cream, pack it for a bake sale, or sneak a piece for breakfast. No judgment here.
What Ingredients You Will Need
This recipe uses simple, pantry-friendly ingredients to create something that tastes far more complicated than it is. Most of these are staples you likely already have, which makes this perfect for those “I need dessert now” moments.
For the Cookie Base
- Unsalted butter, softened (1 cup / 2 sticks) — I prefer Land O’Lakes for consistent results. Let it sit out for about 30 minutes before starting. If you only have salted butter, just reduce the added salt to ¼ teaspoon.
- Granulated sugar (1 cup / 200g) — Regular white sugar works perfectly here. Don’t substitute brown sugar; it changes the texture and color too much.
- Large egg (1, room temperature) — Cold eggs can cause the butter to seize. Let yours sit out with the butter or place it in warm water for 5 minutes.
- Vanilla extract (2 teaspoons) — Pure vanilla makes a difference here. I use Nielsen-Massey, but any good brand works. Avoid imitation if you can.
- All-purpose flour (2 cups / 240g) — Spoon and level your flour for the best texture. Scooping directly from the bag packs in too much flour and makes the bars dry.
- Baking powder (½ teaspoon) — This gives the bars a slight lift without making them cakey. Make sure yours isn’t expired.
- Salt (½ teaspoon) — Fine sea salt is my go-to. It balances the sweetness of the candy corn perfectly.
For the Topping
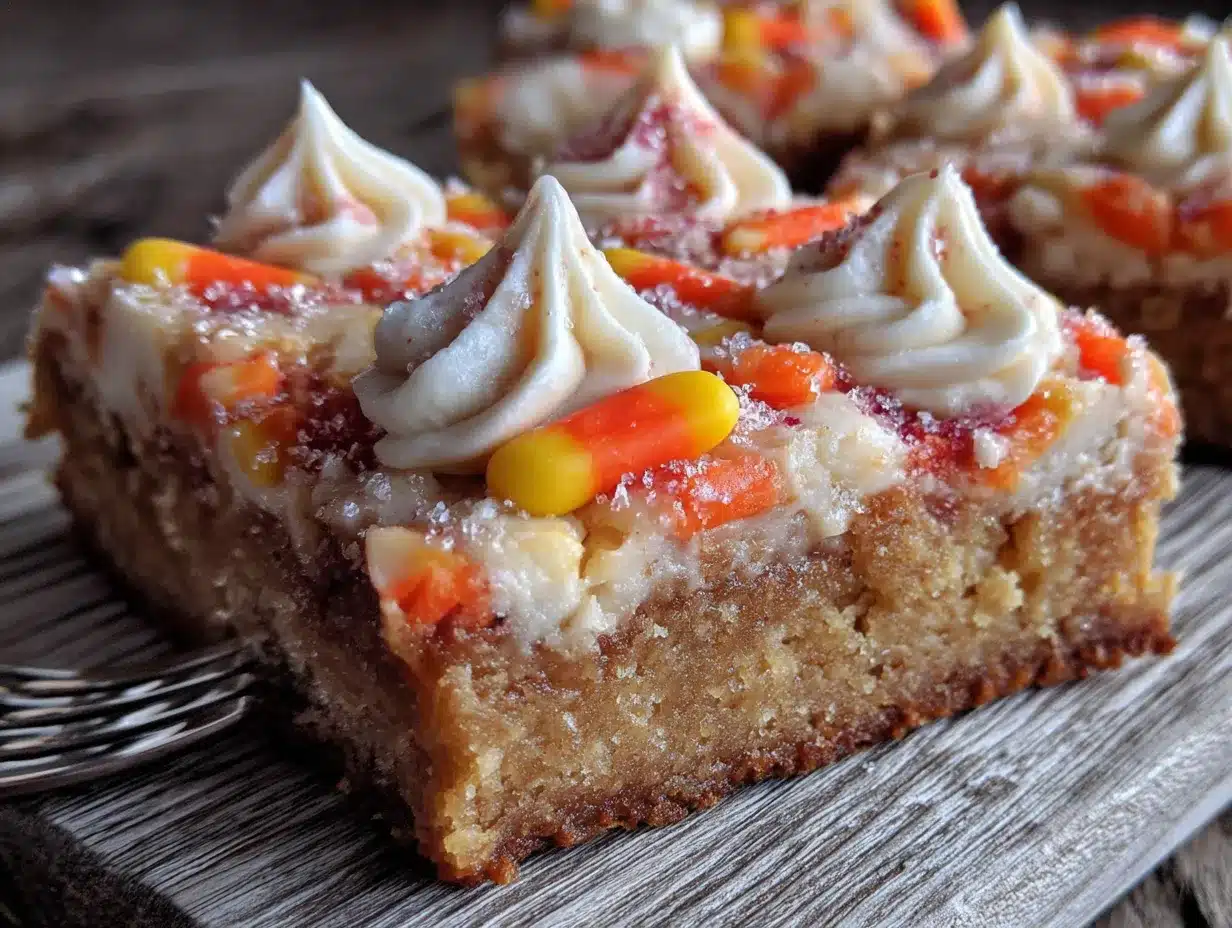
- Candy corn (1 cup / about 150g) — You can use any brand. Brach’s is the classic, but store brands work fine too. For best results, pick out the really misshapen pieces — they tend to melt oddly.
- Optional: Flaky sea salt (a pinch) — This is my little trick. A sprinkle of Maldon salt right before serving makes the sweet and salty thing sing.
Ingredient Selection Tip: Look for candy corn that’s fresh and not rock hard. Stale candy corn can get weirdly crunchy in the oven. If your bag has been sitting in the pantry since last Halloween, buy a new one. Trust me on this.
Substitution Guidance: For a dairy-free version, use plant-based butter sticks (not margarine) and ensure your candy corn is dairy-free — most are, but check the label. For a gluten-free option, swap the all-purpose flour with a 1:1 gluten-free baking blend. I’ve tested this with Bob’s Red Mill and it worked beautifully.
Equipment Needed
You don’t need fancy tools for this recipe. That’s part of the beauty. Here’s what you’ll actually use:
- 9×13-inch baking pan — This is non-negotiable. An 8×8 pan will give you bars that are too thick and won’t bake evenly. A half-sheet pan will make them too thin and crispy.
- Electric mixer (stand or hand-held) — You can cream the butter and sugar by hand, but your arm will thank you for using a mixer. I’ve done both; the mixer gives a fluffier texture.
- Mixing bowls — One medium, one small. Nothing fancy.
- Spatula — For pressing the dough into the pan. A rubber spatula works better than a spoon for getting into corners.
- Parchment paper — This is your best friend. Line the pan with it, leaving overhang on two sides. You’ll thank me when you lift the whole slab out cleanly.
- Cooling rack — Helps the bars cool evenly so the center doesn’t get soggy.
- Sharp knife — For clean cuts. A serrated knife works too, but a chef’s knife gives the cleanest edges.
Budget-Friendly Tip: If you don’t have a 9×13 pan, check thrift stores. I found my favorite one for three dollars. Also, parchment paper is worth the small investment — it saves so much cleanup time.
Preparation Method
Let’s get to it. This is straightforward, but I’ve included every little detail I wish someone had told me the first time.
- Preheat your oven to 350°F (175°C). Line your 9×13 pan with parchment paper, leaving about 2 inches of overhang on the long sides. This creates handles for lifting the bars out later. Lightly grease the parchment with butter or non-stick spray.
- Cream the butter and sugar. In your mixing bowl, beat the softened butter and granulated sugar together on medium speed until light and fluffy. This takes about 2-3 minutes. You’ll know it’s ready when it looks pale and almost doubled in volume. Scrape down the sides of the bowl once during this process.
- Add the egg and vanilla. Crack your room-temperature egg into the butter mixture, add the vanilla, and beat on low until just combined. Don’t overmix here — you don’t want to incorporate too much air. The mixture might look slightly separated; that’s fine.
- Whisk the dry ingredients separately. In a small bowl, whisk together the flour, baking powder, and salt. This ensures the baking powder is evenly distributed. If you skip this step, you might end up with a pocket of baking powder in one bar — trust me, that’s not a bite you want.
- Combine dry and wet ingredients. Add the flour mixture to the butter mixture in two additions, mixing on low speed after each. Stop as soon as the flour disappears. Overmixing develops gluten and makes the bars tough. The dough will be thick and slightly sticky — that’s exactly what you want.
- Press the dough into the pan. Transfer the dough to your prepared pan. Use a spatula (or your lightly floured hands) to press it into an even layer. Take your time here — uneven thickness means uneven baking. The dough should reach all four corners and be relatively flat on top.
- Add the candy corn. Sprinkle the candy corn evenly over the top of the dough. Gently press each piece in just slightly — about ¼ inch deep. Don’t push them all the way down or they’ll sink and melt into the dough. You want them visible on top, little bright flags of fall.
- Bake for 18-22 minutes. Place the pan on the middle rack. Start checking at 18 minutes. The edges should be golden brown and the center should look set but still soft. A toothpick inserted in the center should come out with a few moist crumbs, not wet batter. The candy corn will puff slightly but shouldn’t brown.
- Cool completely in the pan. This step requires patience, I know. Set the pan on a cooling rack and let it sit for at least 1 hour. The bars continue to set as they cool. If you cut them too early, they’ll crumble and fall apart. I learned this the hard way — my first batch looked like a delicious disaster.
- Lift and slice. Once completely cool, use the parchment overhang to lift the entire slab out of the pan. Place it on a cutting board. Use a sharp knife to cut into squares — 12 large bars or 24 smaller ones. Wipe the knife clean between cuts for the neatest edges.
Time Estimate: Prep takes about 10 minutes, baking takes 18-22 minutes, and cooling takes at least 1 hour. Total hands-on time is under 30 minutes, but plan for the cooling period.
Cooking Tips & Techniques
I’ve made this recipe enough times to learn what works and what doesn’t. Here are the things I wish I’d known from the start.
Don’t overbake. This is the number one mistake. These bars continue to cook from residual heat after they come out of the oven. If the center looks fully set when you pull them out, they’re already overbaked. Pull them when the center still has a slight jiggle. They’ll firm up as they cool.
Room temperature ingredients matter. I know it’s tempting to use cold butter straight from the fridge. Don’t. Cold butter doesn’t cream properly, which means less air in your dough and denser bars. If you forget to take the butter out, cut it into small cubes and microwave for 5-7 seconds. Not melted, just softened.
Press the candy corn in gently. I mentioned this in the method, but it’s worth repeating. If you press the candy corn all the way into the dough, it melts and disappears. If you leave it sitting completely on top, it burns. The sweet spot is about ¼ inch deep — enough to anchor it, but not enough to swallow it.
Let them cool fully. I know you want to eat them warm. I do too. But warm candy corn is soft and sticky, and warm bars fall apart. If you absolutely must have a warm version, bake them the night before, let them cool completely, then reheat individual bars in the microwave for 10 seconds. Best of both worlds.
My biggest failure: The first time I made these, I used stale candy corn from the back of my pantry. It was from the previous Halloween. The candy corn got rock hard in the oven and made the bars almost impossible to cut. Fresh candy corn is not optional — it’s essential.
Variations & Adaptations
One of the best things about this recipe is how flexible it is. Here are some ways I’ve adapted it for different occasions and diets.
Chocolate Drizzle Version: After the bars cool, melt ½ cup of semi-sweet chocolate chips with 1 teaspoon of coconut oil. Drizzle it over the top in zigzags. The chocolate and candy corn combo is surprisingly good — the bitterness of the chocolate cuts the sweetness perfectly.
Autumn Spice Twist: Add 1 teaspoon of cinnamon and ¼ teaspoon of nutmeg to the flour mixture. It gives the bars a warm, cozy flavor that pairs beautifully with the candy corn. I made this version for Thanksgiving last year and it was gone before dinner.
Gluten-Free Adaptation: Substitute the all-purpose flour with a 1:1 gluten-free baking blend. I’ve tested this with Bob’s Red Mill and King Arthur Measure for Measure. Both worked well, though the texture was slightly more cake-like. Add an extra tablespoon of butter to compensate for the drier gluten-free flour.
Dairy-Free Version: Use plant-based butter sticks (I like Miyoko’s or Country Crock Plant Butter) and ensure your candy corn is dairy-free. Most candy corn is, but some brands add milk derivatives. The texture will be slightly less tender, but still delicious.
Candy Corn Alternatives: If you’re not a candy corn fan (I know, controversial), try using M&Ms, chopped Reese’s cups, or even chopped pecans. The base recipe is versatile enough to handle almost any mix-in you throw at it.
Serving & Storage Suggestions
These bars are good in so many ways. Here’s how I like to serve them and how to keep them fresh.
Serving Temperature: Room temperature is ideal. The bars are softest and the candy corn has the best texture at room temp. If you’ve refrigerated them, let them sit out for 15-20 minutes before serving.
Presentation Ideas: Cut them into squares and arrange on a white platter for maximum color contrast. The orange and yellow candy corn pops against white. For Halloween parties, I sometimes cut them into small triangles to look like candy corn pieces themselves — just cut each square diagonally.
What to Serve With: A glass of cold milk is the classic pairing. For adults, they’re amazing with a hot cup of coffee or a spiced chai latte. If you’re serving them as dessert, a scoop of vanilla ice cream makes them feel extra special.
Storage Instructions: Store in an airtight container at room temperature for up to 4 days. Layer them between sheets of parchment paper so the candy corn doesn’t stick together. Do not refrigerate — the fridge dries them out and makes the candy corn hard.
Freezing: These freeze beautifully. Wrap individual bars in plastic wrap, then place them in a freezer-safe bag. They’ll keep for up to 3 months. To thaw, let them sit at room temperature for about 30 minutes. The candy corn might be slightly softer after freezing, but the flavor is still perfect.
Flavor Development: Honestly, these bars taste even better the next day. The flavors meld together overnight, and the texture evens out. If you can resist eating them right away, bake them a day ahead. You’ll thank me.
Nutritional Information & Benefits
Let’s be real — these are a treat. But here’s what you’re working with, based on 12 servings.
| Nutrient | Per Serving (1 bar) |
|---|---|
| Calories | 285 |
| Total Fat | 14g |
| Saturated Fat | 8g |
| Cholesterol | 45mg |
| Sodium | 195mg |
| Total Carbohydrates | 38g |
| Sugars | 24g |
| Protein | 3g |
Health Considerations: Candy corn is mostly sugar and corn syrup, so these bars are definitely on the sweeter side. If you’re watching your sugar intake, this is a “sometimes food” — perfect for special occasions. The butter and egg do provide some protein and fat, which helps balance the sugar rush a bit.
Allergen Note: This recipe contains wheat, dairy, and eggs. Most candy corn is gluten-free and dairy-free, but always check the label if you’re serving someone with allergies.
My Perspective: I believe in balance. These bars aren’t health food, and they don’t pretend to be. But they’re made with real ingredients, from scratch, with love. That counts for something. One bar with a glass of milk is a perfectly reasonable way to enjoy fall.
Conclusion
These Easy Candy Corn Sugar Cookie Bars have become my fall signature for a reason. They’re simple enough for a beginner baker, quick enough for a last-minute craving, and impressive enough to bring to any gathering. Every time I make them, someone asks for the recipe — and I love telling them the story of how Jenna proved me wrong.
What I love most about this recipe is how approachable it is. You don’t need special skills or fancy equipment. You just need a pan, some butter, a bag of candy corn, and the willingness to try something a little different. The bars come out soft, buttery, and studded with those little orange and yellow triangles that just make you smile.
I’d love to hear how yours turn out. Did you add chocolate? Try a spice twist? Serve them warm with ice cream? Drop a comment below and let me know — I read every single one. And if you make these for a Halloween party or fall gathering, tag me in your photos. Nothing makes me happier than seeing these bars bring joy to someone else’s kitchen.
Go ahead, grab that bag of candy corn and give these a try. You might just surprise yourself with how easy — and how good — they really are.
Frequently Asked Questions
Can I use salted butter instead of unsalted?
Yes, you can. Just reduce the added salt in the recipe to ¼ teaspoon. The bars will have a slightly saltier flavor, which actually pairs nicely with the sweet candy corn.
Why did my candy corn melt into the dough?
This usually happens if you pressed the candy corn too deep into the dough before baking. You want to gently press them in just about ¼ inch — enough to anchor them, but not so much that they sink. Also, make sure your candy corn is fresh; stale pieces behave differently.
Can I make these ahead of time?
Absolutely. These bars actually taste better the next day. Bake them, cool them completely, and store them in an airtight container at room temperature. They stay fresh for up to 4 days. You can also freeze them for up to 3 months.
My bars came out dry. What went wrong?
The most common cause is overbaking. These bars should be pulled from the oven when the center still has a slight jiggle. They continue to cook from residual heat as they cool. Overmixing the dough can also make them tough — mix just until the flour disappears.
Can I use a different candy for the topping?
Definitely. M&Ms, chopped Reese’s cups, chopped pecans, or even white chocolate chips all work beautifully. Just keep in mind that different candies melt at different rates, so you might need to adjust the bake time slightly. Check for doneness at 18 minutes regardless of what topping you use.
Pin This Recipe!
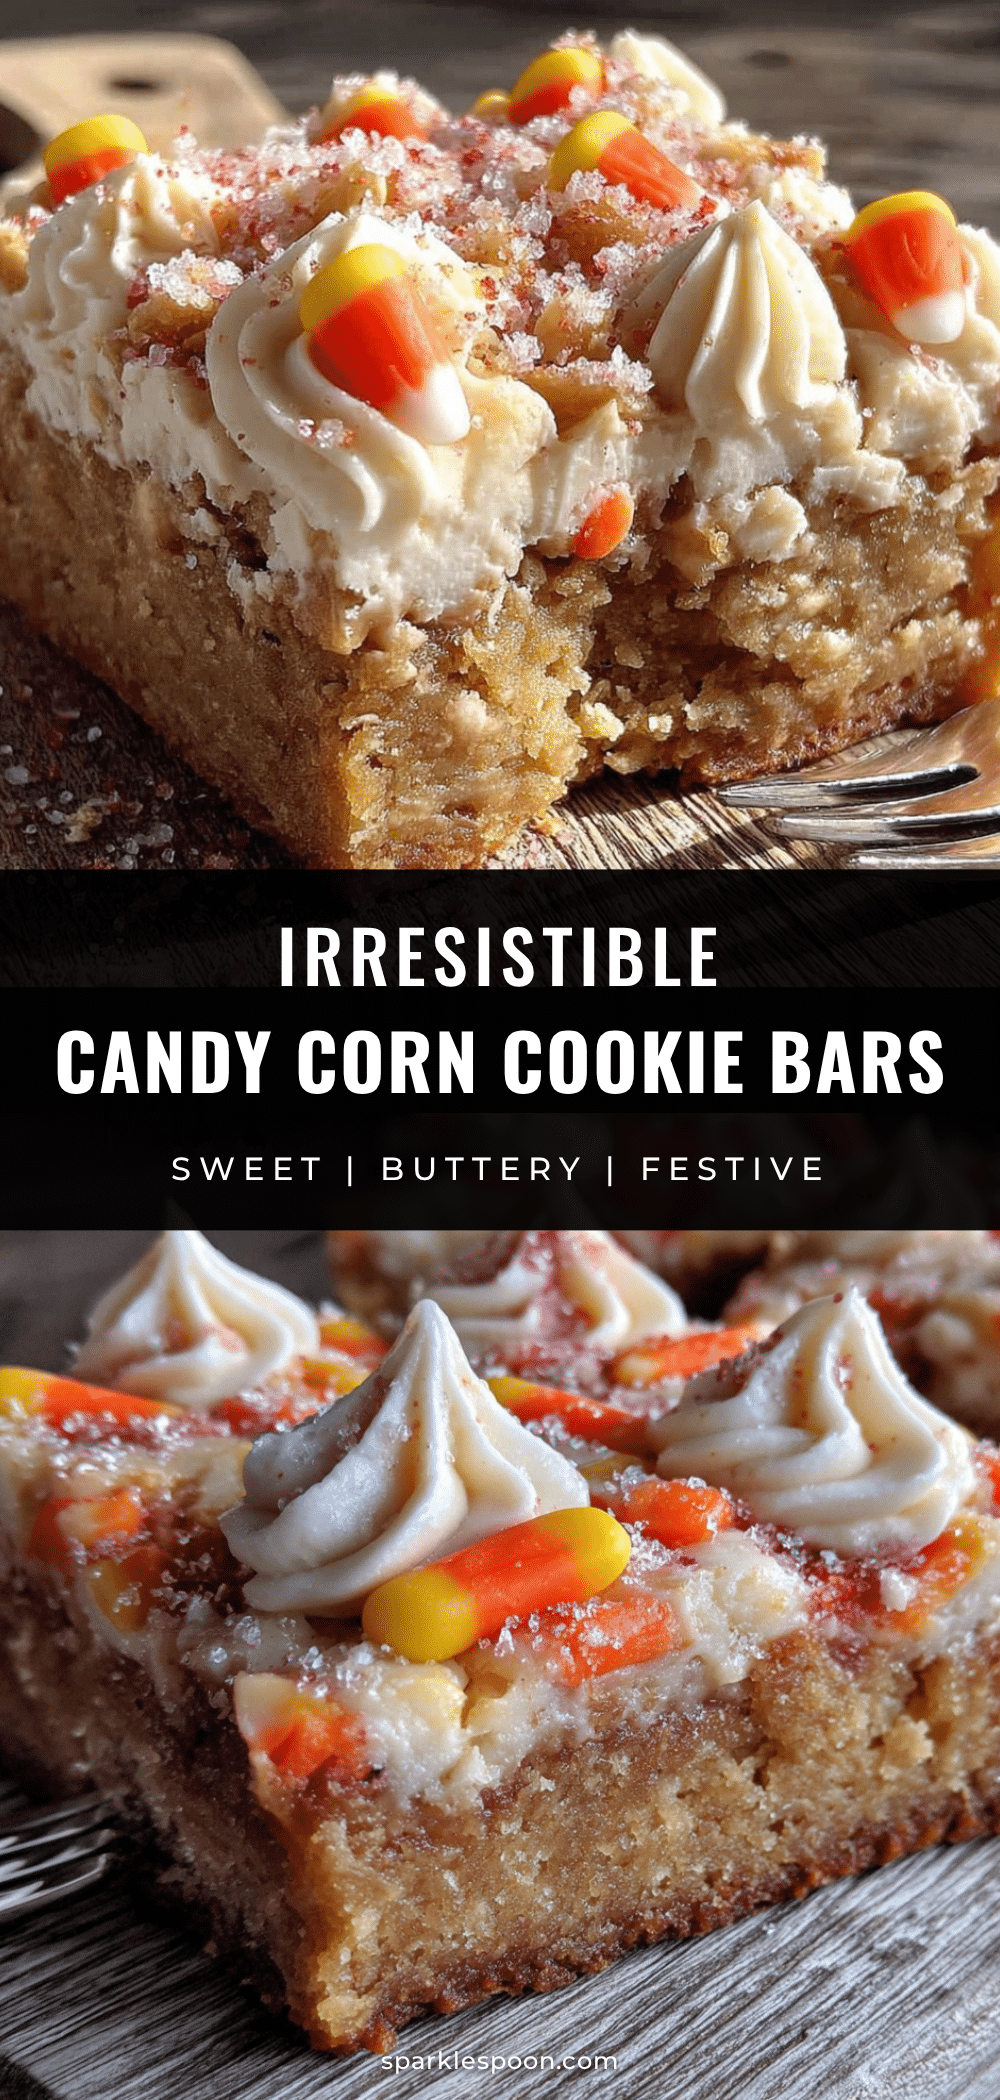
Easy Candy Corn Sugar Cookie Bars: Best Fall Dessert

These Easy Candy Corn Sugar Cookie Bars are soft, buttery, and packed with nostalgic candy corn sweetness. Press the dough into a pan for a perfectly uniform bake with golden edges and a thick, soft center—ready in about 30 minutes with no chilling or rolling required.
- Prep Time: 10 minutes
- Cook Time: 20 minutes
- Total Time: 1 hour 30 minutes (including cooling)
- Yield: 12 servings 1x
- Category: Dessert
- Cuisine: American
Ingredients
- 1 cup (2 sticks) unsalted butter, softened
- 1 cup (200g) granulated sugar
- 1 large egg, room temperature
- 2 teaspoons vanilla extract
- 2 cups (240g) all-purpose flour, spooned and leveled
- ½ teaspoon baking powder
- ½ teaspoon fine sea salt
- 1 cup (about 150g) candy corn
- Optional: a pinch of flaky sea salt (e.g., Maldon) for serving
Instructions
- Preheat your oven to 350°F (175°C). Line a 9×13-inch baking pan with parchment paper, leaving about 2 inches of overhang on the long sides. Lightly grease the parchment with butter or non-stick spray.
- In a mixing bowl, beat the softened butter and granulated sugar together on medium speed until light and fluffy, about 2-3 minutes. Scrape down the sides of the bowl once during this process.
- Add the room-temperature egg and vanilla extract to the butter mixture. Beat on low until just combined. The mixture might look slightly separated; that’s fine.
- In a small bowl, whisk together the flour, baking powder, and salt.
- Add the flour mixture to the butter mixture in two additions, mixing on low speed after each. Stop as soon as the flour disappears. The dough will be thick and slightly sticky.
- Transfer the dough to the prepared pan. Use a spatula or lightly floured hands to press it into an even layer, reaching all four corners.
- Sprinkle the candy corn evenly over the top of the dough. Gently press each piece in about ¼ inch deep—do not push them all the way down.
- Bake on the middle rack for 18-22 minutes. The edges should be golden brown and the center should look set but still soft. A toothpick inserted in the center should come out with a few moist crumbs, not wet batter.
- Cool the pan completely on a cooling rack for at least 1 hour. The bars continue to set as they cool.
- Once completely cool, use the parchment overhang to lift the entire slab out of the pan. Place on a cutting board and cut into squares with a sharp knife—12 large bars or 24 smaller ones. Wipe the knife clean between cuts for neat edges.
Notes
Don’t overbake—pull the bars when the center still has a slight jiggle. Use fresh candy corn; stale candy corn can become rock hard. For best results, let the bars cool completely before cutting. These taste even better the next day. For a dairy-free version, use plant-based butter sticks and check candy corn labels. For gluten-free, use a 1:1 gluten-free baking blend.
Nutrition
- Serving Size: 1 bar (based on 12 s
- Calories: 285
- Sugar: 24
- Sodium: 195
- Fat: 14
- Saturated Fat: 8
- Carbohydrates: 38
- Protein: 3
Keywords: candy corn, sugar cookie bars, fall dessert, Halloween dessert, easy cookie bars, soft sugar cookies, candy corn recipe



