Love this? Save it for later!
Share the inspiration with your friends
My neighbor, Carol, wasn’t trying to impress me. I’d stopped by to borrow a ladder on a crisp Saturday last October, and the smell of butter, brown sugar, and cinnamon hit me before I even got to her screen door. She was standing at her kitchen island, completely unfazed, wiping a smear of something off her cheek with the back of her hand. A 9×13 pan sat on the counter, looking like it had just been through a delicious war.
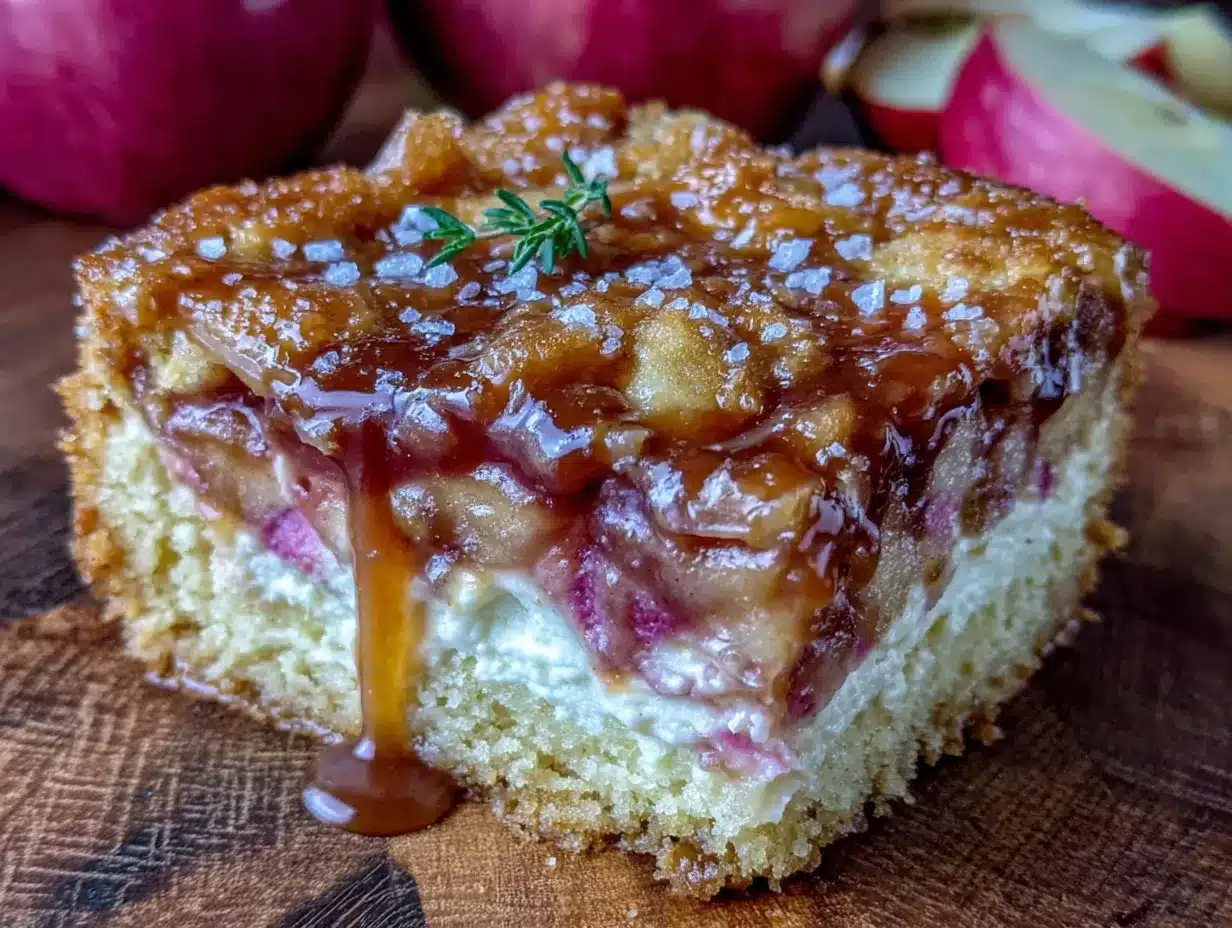
“Oh, those are just some bars I’m messing around with,” she said when I asked what that incredible smell was. “It’s nothing fancy.” Let me tell you, looking at that pan, “nothing fancy” was the last thing on my mind. It was a gorgeous, layered thing—a thick, buttery crust, a creamy layer that I later learned was cheesecake, a generous blanket of tender apples, and a caramel sauce that had pooled into all the right places. A final sprinkle of sea salt caught the afternoon light. I think I might have actually drooled a little.
She cut me a piece, still warm, and handed it over on a paper towel. That first bite? The crunch of the shortbread crust, the tangy-sweet cream cheese, the soft, spiced apples, and that deep, salty caramel all came together in a way that made me close my eyes. It was the kind of dessert that makes you forget your own name for a second. Maybe you’ve been there—where a dessert is so good it’s almost embarrassing. Carol just shrugged and said it was her first try. First try! Honestly, some people just have a gift. I practically begged for the recipe, and after a few tweaks in my own kitchen, I’m so excited to share my version of these best salted caramel apple cheesecake bars. They’ve become my go-to fall dessert, and I know they’ll become yours too.
Why You’ll Love This Recipe
I’ve tested this recipe more times than I care to count, tweaking the crust, adjusting the apple layer, and perfecting that salted caramel drizzle. It’s been taste-tested by my family, my book club, and even my picky father-in-law, who asked for a second piece. This isn’t just another apple dessert; it’s a carefully crafted experience.
- Incredible Texture & Flavor: You get a buttery, crunchy shortbread crust, a silky-smooth cheesecake layer, tender cinnamon-spiced apples, and a rich, homemade salted caramel. Every bite is a perfect balance of sweet, tangy, and salty.
- Surprisingly Simple: While it looks like something from a fancy bakery, the recipe is broken down into easy, manageable steps. No complicated techniques or hard-to-find ingredients.
- Perfect for Fall Gatherings: This is the ultimate dessert for Thanksgiving, Friendsgiving, Halloween parties, or any cozy autumn get-together. It feeds a crowd and always gets the most compliments.
- Make-Ahead Friendly: These bars taste even better the next day, making them perfect for prepping ahead of time. The flavors meld together beautifully overnight.
- Better Than a Slice of Pie: It has all the best parts of apple pie and cheesecake, but in a much easier, more portable bar form. No rolling out dough or worrying about a water bath for the cheesecake.
This recipe is the kind that makes you close your eyes after the first bite. It’s comfort food reimagined—a little bit fancy, a whole lot of cozy, and guaranteed to be the star of your dessert table.
What Ingredients You Will Need
This recipe uses simple, wholesome ingredients to create something truly spectacular. Most of these are pantry staples, which makes this dessert even more appealing when that fall craving hits.
For the Shortbread Crust
- 2 cups all-purpose flour (spooned and leveled)
- ½ cup granulated sugar
- ¾ cup unsalted butter, cold and cubed (Using cold butter is key for a flaky, not greasy, crust. I prefer Land O’Lakes for its consistent flavor and fat content.)
- ¼ teaspoon salt
For the Cheesecake Layer
- 16 oz (two 8-oz blocks) cream cheese, softened (Full-fat is best for a rich, creamy texture. Let it sit out for at least an hour to come to room temperature.)
- ½ cup granulated sugar
- 2 large eggs, room temperature
- 1 teaspoon vanilla extract
For the Apple Layer
- 4 cups peeled and thinly sliced apples (about 4 medium apples. I recommend Granny Smith for tartness or Honeycrisp for a sweet-tart balance. They hold their shape well during baking.)
- 3 tablespoons all-purpose flour
- 3 tablespoons granulated sugar
- 1 teaspoon ground cinnamon
- ¼ teaspoon ground nutmeg
For the Salted Caramel Sauce
- 1 cup granulated sugar
- 6 tablespoons unsalted butter, cut into pieces
- ½ cup heavy cream, at room temperature (This is important to prevent the caramel from seizing up.)
- 1 teaspoon flaky sea salt (like Maldon), plus more for finishing
Ingredient Tips: For the best salted caramel, resist the urge to stir the sugar while it melts. Just swirl the pan gently. If you don’t have heavy cream, you can use full-fat coconut cream for a dairy-free version, though the flavor will be slightly different. You can also use a high-quality store-bought caramel sauce in a pinch, but the homemade stuff is truly worth the extra ten minutes.
Equipment Needed
You don’t need any fancy gadgets for this recipe, which is part of its charm.
- 9×13-inch baking pan (Metal or glass works fine. I prefer a light-colored metal pan for even baking.)
- Parchment paper (For easy lifting and clean-up)
- Electric hand mixer or stand mixer (For the cheesecake layer. A whisk and some elbow grease will work too, but a mixer makes it much easier to get that smooth texture.)
- Large mixing bowls (one for crust, one for cheesecake, one for apples)
- Medium saucepan (For the caramel sauce. A heavy-bottomed saucepan is best to prevent burning.)
- Sharp knife and cutting board (For slicing the apples)
- Measuring cups and spoons
- Whisk (for the caramel)
- Rubber spatula
Budget-Friendly Tip: A simple Pyrex 9×13 baking dish is perfect and costs about $15. You don’t need a professional-grade mixer; a $20 hand mixer from a big box store will do the job beautifully. I’ve been using the same one for years.
Preparation Method
Let’s get baking! This recipe has a few steps, but I’ll walk you through each one so you feel confident.
-
Preheat and Prep: Preheat your oven to 350°F (175°C). Line your 9×13-inch baking pan with a long sheet of parchment paper, leaving some overhang on the two long sides. This will be your “handle” to lift the bars out later. Lightly spray the parchment with non-stick spray.
-
Make the Shortbread Crust: In a large bowl, whisk together the 2 cups of flour, ½ cup of sugar, and ¼ teaspoon of salt. Add the cold, cubed butter. Using a pastry blender or your fingertips, work the butter into the flour mixture until it looks like coarse meal with some pea-sized butter lumps remaining. Don’t overwork it; those little butter pockets create a flaky crust.
-
Bake the Crust: Press the crust mixture evenly into the bottom of your prepared pan. I find using the bottom of a measuring cup works perfectly for this. Bake for 15-18 minutes, or until the edges are just lightly golden. The center might still look a little pale—that’s fine. Let it cool on a wire rack for 15 minutes while you make the filling.
-
Make the Cheesecake Layer: In a large mixing bowl, beat the softened cream cheese and ½ cup of sugar with an electric mixer on medium speed until smooth and creamy, about 2 minutes. Scrape down the sides of the bowl. Add the eggs one at a time, beating well after each addition. Mix in the vanilla extract until just combined. Be careful not to overmix, as that can incorporate too much air and cause the cheesecake to crack.
-
Prepare the Apple Layer: In a separate bowl, toss the sliced apples with 3 tablespoons of flour, 3 tablespoons of sugar, 1 teaspoon of cinnamon, and ¼ teaspoon of nutmeg until every slice is well coated. The flour helps thicken the apple juices as they bake.
-
Assemble the Bars: Pour the cheesecake mixture over the pre-baked crust and spread it into an even layer. Arrange the cinnamon-sugar apple slices evenly over the top of the cheesecake. Don’t worry if they overlap a bit—they’ll shrink as they bake.
-
Bake the Bars: Bake for 35-40 minutes, or until the edges of the cheesecake are set and the center is just slightly jiggly when you gently shake the pan. The apples should be tender and the cheesecake should look matte, not glossy. A toothpick inserted into the center (not into an apple slice) should come out mostly clean.
-
Cool Completely: This is the hardest part! Let the bars cool completely on a wire rack at room temperature. Then, cover the pan with plastic wrap and refrigerate for at least 4 hours, or preferably overnight. This step is crucial for clean slices and the best texture.
-
Make the Salted Caramel Sauce: While the bars are chilling, make your caramel. In a medium, heavy-bottomed saucepan over medium heat, melt the 1 cup of sugar. Do not stir! Just swirl the pan occasionally until the sugar dissolves and turns a deep amber color, about 5-7 minutes. Watch it carefully—it can go from perfect to burnt in seconds.
-
Finish the Caramel: Once the sugar is amber, remove the pan from the heat and immediately whisk in the 6 tablespoons of butter. It will bubble up vigorously, so be careful. Whisk until the butter is completely melted. Slowly pour in the ½ cup of heavy cream while whisking constantly. The mixture will bubble up again. Whisk until smooth. Stir in the 1 teaspoon of flaky sea salt. Let the caramel cool in the pan for 15 minutes, then pour it into a jar or bowl to cool completely. It will thicken as it cools.
-
Slice and Serve: Once the bars are fully chilled and set, use the parchment paper overhang to lift the entire block out of the pan. Place it on a cutting board. Using a sharp knife, cut into 12-16 squares. For clean cuts, wipe the knife clean between each slice. Drizzle generously with the salted caramel sauce and sprinkle with a little extra flaky sea salt.
Cooking Tips & Techniques
I’ve made these salted caramel apple cheesecake bars more times than I can count, and I’ve definitely learned a few things the hard way. Here are my best tips to make sure yours turn out perfect every time.
- Room Temperature Ingredients are Non-Negotiable: I cannot stress this enough. Cold cream cheese will give you a lumpy cheesecake batter. Cold eggs will cause the batter to curdle. Set your cream cheese and eggs out on the counter at least an hour before you start baking. Trust me on this one.
- The “Don’t Overmix” Rule: When making the cheesecake filling, mix just until the ingredients are combined. Overmixing incorporates too much air, which can cause the cheesecake to puff up and then crack as it cools. We want it dense and creamy, not fluffy.
- Patience is a Virtue: The hardest part of this recipe is waiting for the bars to chill. I once tried to cut them after only two hours in the fridge, and it was a complete mess. The cheesecake was still soft, the apples slid around, and the slices looked terrible. Give them the full 4 hours, or even better, overnight. The flavors meld and the texture becomes perfect.
- Caramel Troubleshooting: If your caramel seizes up and turns into a hard, sugary lump, don’t panic! It usually means your cream was too cold or you added it too quickly. You can gently reheat it over low heat, whisking constantly, until it smooths out. If it’s too thick, whisk in a tablespoon of warm water or more cream.
- Apple Choice Matters: Avoid using Red Delicious or McIntosh apples, as they break down into mush when baked. Stick with firm, tart apples like Granny Smith, or a sweet-tart variety like Honeycrisp or Braeburn. They hold their shape beautifully and provide a nice contrast to the sweet cheesecake and caramel.
Variations & Adaptations
One of the best things about this recipe is how easy it is to adapt to your own tastes or dietary needs.
- Gluten-Free Version: Simply substitute the all-purpose flour in the crust and the apple layer with a good quality 1-to-1 gluten-free baking flour blend. I’ve had great results with Bob’s Red Mill 1-to-1 Baking Flour. The texture of the crust will be slightly more crumbly, but just as delicious.
- Nutty Twist: Add ½ cup of chopped pecans or walnuts to the shortbread crust for a wonderful crunch. Just press them into the crust before baking. You can also sprinkle some on top of the apples before baking, or on top of the finished bars for extra texture.
- Spice It Up: Feel free to play with the spices. Add a pinch of ground ginger or cardamom to the apple mixture. A little bit of apple pie spice can be used in place of the cinnamon and nutmeg.
- Caramel Apple Crumb: For a more traditional apple crisp feel, combine ½ cup of flour, ½ cup of brown sugar, ¼ cup of cold cubed butter, and ½ cup of rolled oats. Sprinkle this streusel over the apples before baking instead of the caramel sauce (or in addition to it after baking!).
- Individual Servings: This recipe can be made in a standard 12-cup muffin tin. Line the tin with paper liners and press a heaping tablespoon of crust into the bottom of each cup. Add a tablespoon of cheesecake filling, a spoonful of apples, and bake for about 18-20 minutes. Top with caramel after cooling. Perfect for parties!
Serving & Storage Suggestions
These bars are incredibly versatile when it comes to serving.
- Serving Temperature: They are best served cold, straight from the fridge. The cheesecake layer is firm and creamy, and the crust is perfectly set. However, if you prefer a softer texture, let them sit at room temperature for 15-20 minutes before serving.
- Presentation: For a gorgeous presentation, drizzle the salted caramel over the top in a zig-zag pattern and finish with a generous sprinkle of flaky sea salt. A dollop of freshly whipped cream on the side is never a bad idea.
- Storage: Store any leftovers in an airtight container in the refrigerator. They will keep well for up to 5 days. In fact, I think they taste even better on day two or three, as the flavors have more time to meld together.
- Freezing: These bars freeze beautifully! Once they are fully chilled and cut, place the individual bars on a baking sheet lined with parchment paper and freeze for 1-2 hours, or until solid. Then, transfer the frozen bars to a freezer-safe bag or container. They will keep for up to 3 months. To thaw, simply transfer them to the refrigerator overnight. I do not recommend freezing the bars with the caramel sauce already on top; it’s best to add the caramel fresh after thawing.
- Reheating: If you want a warm, gooey dessert, you can microwave an individual bar for about 15-20 seconds. This will soften the cheesecake and warm the apples, making it feel like a fresh-baked apple crisp.
Nutritional Information & Benefits
While this is definitely a “treat yourself” dessert, there are a few silver linings.
- Estimated Nutritional Values (per bar, based on 16 servings): Approximately 380 calories, 22g fat (13g saturated), 44g carbohydrates, 5g protein, 2g fiber, 28g sugar. Please note this is an estimate and can vary based on specific ingredients used.
- Calcium from Cream Cheese: The cream cheese provides a good source of calcium, which is essential for strong bones and teeth.
- Vitamin C from Apples: Apples are a good source of Vitamin C and dietary fiber, particularly if you leave the peel on (though we peel them for this recipe for a better texture).
- Dietary Considerations: This recipe contains gluten, dairy, and eggs. For a gluten-free option, see the variations section. I haven’t tested a vegan version, but I imagine a vegan cream cheese and butter substitute could work.
- My Take: Look, this isn’t health food. It’s a celebration dessert. But knowing it’s made from scratch with real, whole ingredients (no preservatives or artificial flavors) makes me feel a whole lot better about enjoying a slice (or two). It’s about balance, right?
Conclusion
These best salted caramel apple cheesecake bars are more than just a recipe; they are a feeling. They are the smell of autumn, the warmth of a cozy kitchen, and the joy of sharing something truly special with the people you love. They are the dessert that will make you the hero of your next potluck, the star of your Thanksgiving table, and the go-to baker in your family.
I hope you give them a try and make them your own. Maybe you’ll add more cinnamon, or use a different type of apple, or go crazy with the caramel drizzle. That’s the beauty of baking—it’s a place for creativity and a little bit of delicious chaos. Please, when you make them, drop a comment below and let me know how they turned out. Did you make any changes? Did your family love them as much as mine does? I can’t wait to hear all about it.
Happy baking, friends. Here’s to messy counters, sticky fingers, and the best darn apple bars you’ve ever had.
Frequently Asked Questions
Can I use a store-bought caramel sauce instead of making my own?
Absolutely, you can use a high-quality store-bought caramel sauce to save time. Just look for one that is thick and rich, not the thin, runny kind used for ice cream sundaes. However, I really encourage you to try making the homemade salted caramel. It’s surprisingly simple and the flavor is incomparable—deep, buttery, and perfectly salty.
Why did my cheesecake layer crack on top?
This is a common issue, but easily avoidable! The most common causes are overmixing the batter (which incorporates too much air) or overbaking. Make sure you mix the cheesecake filling just until combined, and pull the bars out of the oven when the center is still slightly jiggly. It will continue to set as it cools. A sudden change in temperature can also cause cracking, so let the bars cool gradually on the counter before moving them to the fridge.
Can I make these bars with a different fruit?
Yes! This recipe is a fantastic base for other fruit cheesecake bars. Pears would be a wonderful substitute for apples. You could also try fresh or frozen (thawed and drained) berries like blueberries, raspberries, or blackberries. For a peach version, use sliced fresh or canned (drained) peaches. Just adjust the sugar and spices to complement your chosen fruit.
How do I get clean, perfect slices?
The most important step is to chill the bars completely, for at least 4 hours or overnight. Use a long, sharp knife and run it under hot water, wiping it dry between each cut. The hot knife will glide through the cold cheesecake and apples without dragging. For the cleanest cuts, you can even chill the knife in the freezer for a few minutes before slicing.
My caramel turned into a hard, sugary rock. What went wrong?
Don’t worry, it happens to the best of us! This usually happens if the cream is too cold when added, it’s added too quickly, or the sugar wasn’t fully dissolved before it started to brown. Here’s how to fix it: Return the pan to low heat and gently warm the mixture while whisking constantly. The heat should help melt the sugar lumps back into the cream. If it’s still too thick, whisk in a tablespoon of warm water or heavy cream until it smooths out.
Pin This Recipe!
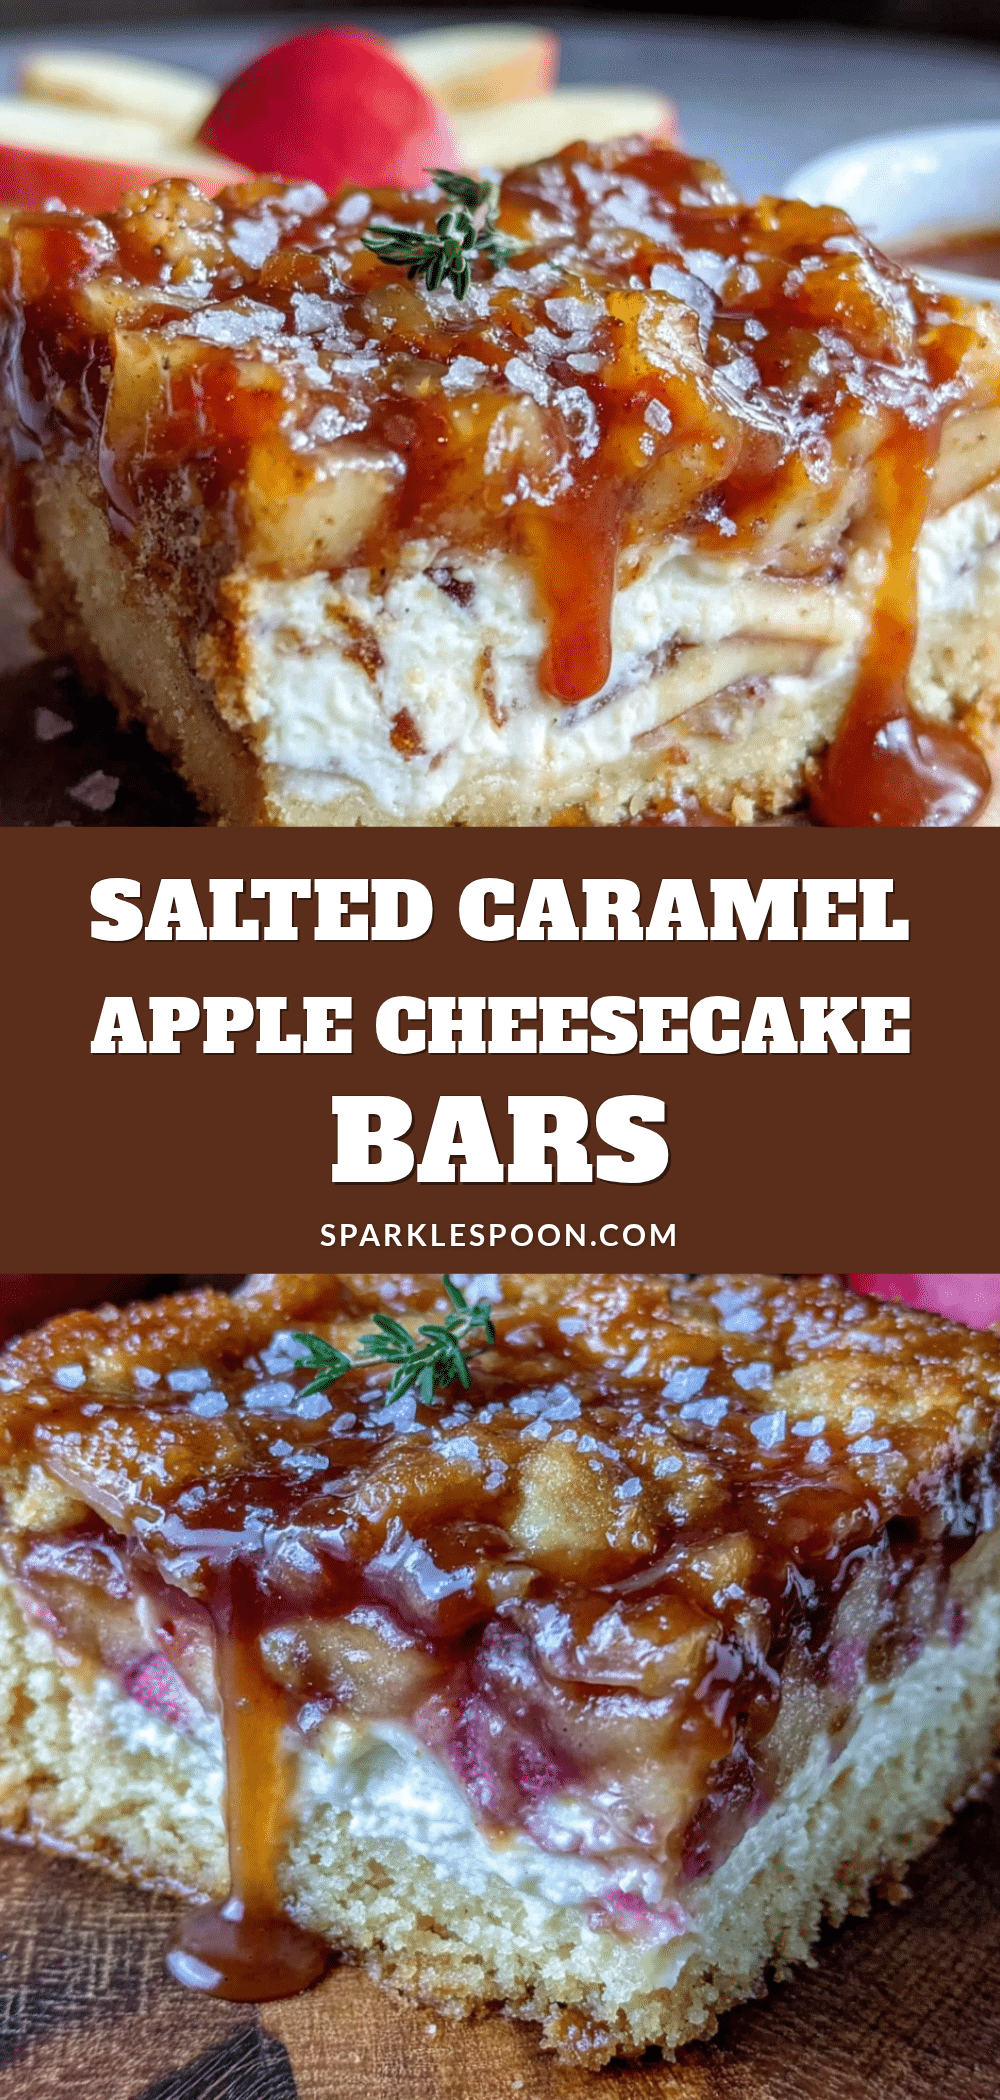
Best Salted Caramel Apple Cheesecake Bars Easy Recipe
These salted caramel apple cheesecake bars feature a buttery shortbread crust, a silky cheesecake layer, tender cinnamon-spiced apples, and a rich homemade salted caramel drizzle. They are the ultimate fall dessert, perfect for gatherings and make-ahead friendly.
- Prep Time: 30 minutes
- Cook Time: 55 minutes
- Total Time: 5 hours 25 minutes (includes chilling)
- Yield: 16 servings 1x
- Category: Dessert
- Cuisine: American
Ingredients
- 2 cups all-purpose flour (spooned and leveled)
- ½ cup granulated sugar
- ¾ cup unsalted butter, cold and cubed
- ¼ teaspoon salt
- 16 oz (two 8-oz blocks) cream cheese, softened
- ½ cup granulated sugar
- 2 large eggs, room temperature
- 1 teaspoon vanilla extract
- 4 cups peeled and thinly sliced apples (about 4 medium apples, such as Granny Smith or Honeycrisp)
- 3 tablespoons all-purpose flour
- 3 tablespoons granulated sugar
- 1 teaspoon ground cinnamon
- ¼ teaspoon ground nutmeg
- 1 cup granulated sugar
- 6 tablespoons unsalted butter, cut into pieces
- ½ cup heavy cream, at room temperature
- 1 teaspoon flaky sea salt (like Maldon), plus more for finishing
Instructions
- Preheat your oven to 350°F (175°C). Line a 9×13-inch baking pan with parchment paper, leaving overhang on the two long sides. Lightly spray the parchment with non-stick spray.
- Make the shortbread crust: In a large bowl, whisk together 2 cups flour, ½ cup sugar, and ¼ teaspoon salt. Add cold, cubed butter. Using a pastry blender or your fingertips, work the butter into the flour mixture until it looks like coarse meal with some pea-sized butter lumps remaining.
- Press the crust mixture evenly into the bottom of the prepared pan. Bake for 15-18 minutes, until edges are lightly golden. Let cool on a wire rack for 15 minutes.
- Make the cheesecake layer: In a large mixing bowl, beat softened cream cheese and ½ cup sugar with an electric mixer on medium speed until smooth and creamy, about 2 minutes. Scrape down the sides. Add eggs one at a time, beating well after each addition. Mix in vanilla extract until just combined.
- Prepare the apple layer: In a separate bowl, toss sliced apples with 3 tablespoons flour, 3 tablespoons sugar, 1 teaspoon cinnamon, and ¼ teaspoon nutmeg until well coated.
- Assemble the bars: Pour the cheesecake mixture over the pre-baked crust and spread evenly. Arrange the apple slices evenly over the cheesecake.
- Bake for 35-40 minutes, until edges are set and center is slightly jiggly. The apples should be tender and the cheesecake should look matte.
- Cool completely on a wire rack at room temperature. Then cover and refrigerate for at least 4 hours, or preferably overnight.
- Make the salted caramel sauce: In a medium, heavy-bottomed saucepan over medium heat, melt 1 cup sugar. Do not stir; swirl the pan occasionally until the sugar dissolves and turns a deep amber color, about 5-7 minutes.
- Remove from heat and immediately whisk in 6 tablespoons butter. It will bubble vigorously. Whisk until melted. Slowly pour in ½ cup heavy cream while whisking constantly. Whisk until smooth. Stir in 1 teaspoon flaky sea salt. Let cool in the pan for 15 minutes, then pour into a jar or bowl to cool completely.
- Once bars are fully chilled and set, use parchment overhang to lift the block out of the pan. Place on a cutting board. Cut into 12-16 squares, wiping the knife clean between slices. Drizzle with salted caramel sauce and sprinkle with extra flaky sea salt.
Notes
Room temperature ingredients are crucial for a smooth cheesecake layer. Do not overmix the cheesecake batter. Chill the bars completely before slicing for clean cuts. If caramel seizes, gently reheat with a tablespoon of warm water or cream.
Nutrition
- Serving Size: 1 bar
- Calories: 380
- Sugar: 28
- Sodium: 220
- Fat: 22
- Saturated Fat: 13
- Carbohydrates: 44
- Fiber: 2
- Protein: 5
Keywords: salted caramel, apple cheesecake bars, fall dessert, apple bars, cheesecake bars, salted caramel apple



