Love this? Save it for later!
Share the inspiration with your friends
I was standing in the middle of the spice aisle at my local grocery store last January when it hit me — that sharp, almost medicinal sting of fresh garlic mixed with the heavy sweetness of honey. Someone had dropped a jar nearby, and the smell cracked open a memory I didn’t even know I was holding. I was six years old, sitting on my neighbor Mrs. Kowalski’s linoleum kitchen floor, watching her crush garlic cloves with the side of her knife while a pot of honey warmed on the stove. She wasn’t my grandmother, not even a relative — just this wonderful Polish woman who lived three doors down and somehow decided I needed to learn her cold remedies. I remember the way the honey caught the afternoon light, all golden and slow-moving, and how she’d dip a spoon in and make me swallow it before I could protest. Honestly, I hated it at first. The texture, the burn, the way it coated my throat like a warm blanket you didn’t ask for but couldn’t push away.
But here’s the thing about that memory — it stayed. Even after Mrs. Kowalski moved away to live with her daughter in Florida, I’d find myself thinking about that jar on her counter, the one with the garlic cloves floating like little ivory boats in a sea of amber. I tried to recreate it a few times over the years, but I always got it wrong. Too much garlic, not enough time, or I’d use honey that was too thin and runny. Last winter, when everyone around me was dropping like flies with colds and flu, I decided I was done guessing. I called my mom, who somehow still had Mrs. Kowalski’s phone number, and I got the real method — the one that doesn’t involve any cooking at all. You might have been there too, you know? That moment when you realize the thing you need most isn’t at the pharmacy but sitting right there in your pantry, waiting for you to remember.
So I started making this cozy garlic honey ferment, and let me tell you — it’s become a staple in my kitchen every cold season. It’s not fancy, and it’s not pretty in that polished-blog way, but it works. And every time I take a spoonful, I feel like I’m six again, sitting on that cold linoleum floor, learning something from someone who knew exactly what she was doing.
Why You’ll Love This Recipe
This cozy garlic honey ferment isn’t just another wellness trend — it’s a time-tested remedy that I’ve personally relied on through three cold seasons now. After testing different honey varieties, garlic types, and fermentation times, I can tell you with confidence that this simple combination is the real deal. Here’s why this recipe stands out from the rest:
- Simple Ingredients : You only need two main ingredients — fresh garlic and raw honey. No fancy grocery trips, no obscure superfood powders, no complicated steps. If you’ve got a head of garlic and a jar of honey, you’re already halfway there.
- Quick Prep, Long-Term Reward : The active prep time is about five minutes. Seriously. You’ll spend more time deciding what to watch on Netflix than you will making this. The real magic happens over the next few weeks as it ferments on your counter.
- Perfect for Cold Season : When that first tickle hits your throat or you feel that familiar heaviness settling in your chest, this is what you reach for. It’s become my go-to for sore throats, coughs, and that general “I’m about to get sick” feeling.
- Crowd-Pleaser : I know fermented garlic honey sounds intense, but I’ve given jars to friends and family who were skeptical at first, and every single one came back asking for more. It’s surprisingly mild and almost candy-like once it ferments.
- Unbelievably Versatile : Beyond the medicinal uses, this stuff is incredible in cooking. Drizzle it over roasted vegetables, stir it into tea, glaze chicken with it, or spread it on toast. It’s like having a secret weapon in your fridge.
What makes this different from other garlic honey recipes you’ll find online? Most of them skip the fermentation step or rush the process. This version lets time do the work, allowing the garlic to mellow and the honey to thin out naturally while developing those beneficial compounds that make it so effective. It’s not just another version — it’s the version that actually works because it respects the process.
Honestly, this recipe is the kind that makes you close your eyes after that first spoonful. Not because it tastes like medicine, but because it tastes like someone cared enough to make it for you. Even if that someone is just you, standing in your own kitchen.
What Ingredients You Will Need
This recipe uses simple, wholesome ingredients to deliver powerful immune support and surprising flavor. The beauty of this ferment is that it relies on quality over quantity — get these two ingredients right, and you’re golden.
- Fresh Garlic (3-4 heads) : You want firm, plump bulbs with tight, papery skins. Avoid garlic that’s sprouting green shoots or feels soft and spongy. I prefer organic garlic when I can find it, especially since we’re fermenting it raw — you don’t want any chemical residues interfering with the natural fermentation process. Look for garlic that smells pungent and fresh, not musty. (Pro tip: farmers’ market garlic is often more flavorful than grocery store varieties.)
- Raw Honey (1 ½ to 2 cups) : This is non-negotiable — you need raw, unfiltered honey for fermentation to happen. Pasteurized honey has been heated to kill bacteria, including the beneficial ones that make fermentation possible. The honey should be thick and cloudy, not clear and runny. I recommend local raw honey if you can get it, as it may contain local pollen that can help with seasonal allergies too. My personal favorite for this recipe is a darker honey like buckwheat or wildflower — they have a stronger flavor that stands up to the garlic beautifully.
- Optional: Fresh Ginger (2-inch piece) : I add this about half the time, depending on what I have on hand. It adds a warming kick and extra immune support. If you’re using it, peel and slice it into thin coins before adding to the jar.
- Optional: Lemon (1 medium) : A few thin slices of lemon add brightness and vitamin C. Wash it thoroughly before slicing, and remove any seeds. I sometimes add this when I feel a cold coming on specifically.
- Optional: Red Pepper Flakes (½ teaspoon) : For those who like a little heat and extra circulation boost. This is entirely optional and can be skipped if you prefer a milder ferment.
For substitutions, you can use any variety of raw honey — just don’t use pasteurized or processed honey. If you’re concerned about botulism (which is extremely rare in acidic environments like honey), know that the natural acidity of honey and the antimicrobial properties of garlic make this a very safe ferment when done correctly. I’ve been making this for years without a single issue.
Equipment Needed
One of the best things about this recipe is that you don’t need any special equipment. Here’s what you’ll need:
- A Clean Glass Jar (16-ounce size works perfectly) : Mason jars, Weck jars, or any recycled glass jar with a tight-fitting lid will work. Avoid plastic, as it can harbor odors and may not create the right environment for fermentation. I’ve used the same mason jar for my last three batches — it’s got a permanent spot on my counter now.
- A Sharp Knife : For peeling and slicing the garlic. A paring knife is ideal for getting into those tight crevices around the cloves.
- Cutting Board : Wood or plastic, doesn’t matter. Just make sure it’s clean.
- Optional: Garlic Peeler : Those little silicone tubes are actually amazing. I used to think they were gimmicks until a friend bought me one, and now I can’t go back. It takes about three seconds to peel a clove.
- Optional: Small Funnel : Helps get the honey into the jar without making a sticky mess. I usually skip this and just go slow, but if you’re particular about cleanliness, it’s worth having.
Budget-friendly tip: I’ve made this using a repurposed pickle jar that I washed thoroughly. No need to buy anything fancy. The fermentation happens just as well in an old pasta sauce jar as it does in a $12 Weck jar.
Preparation Method
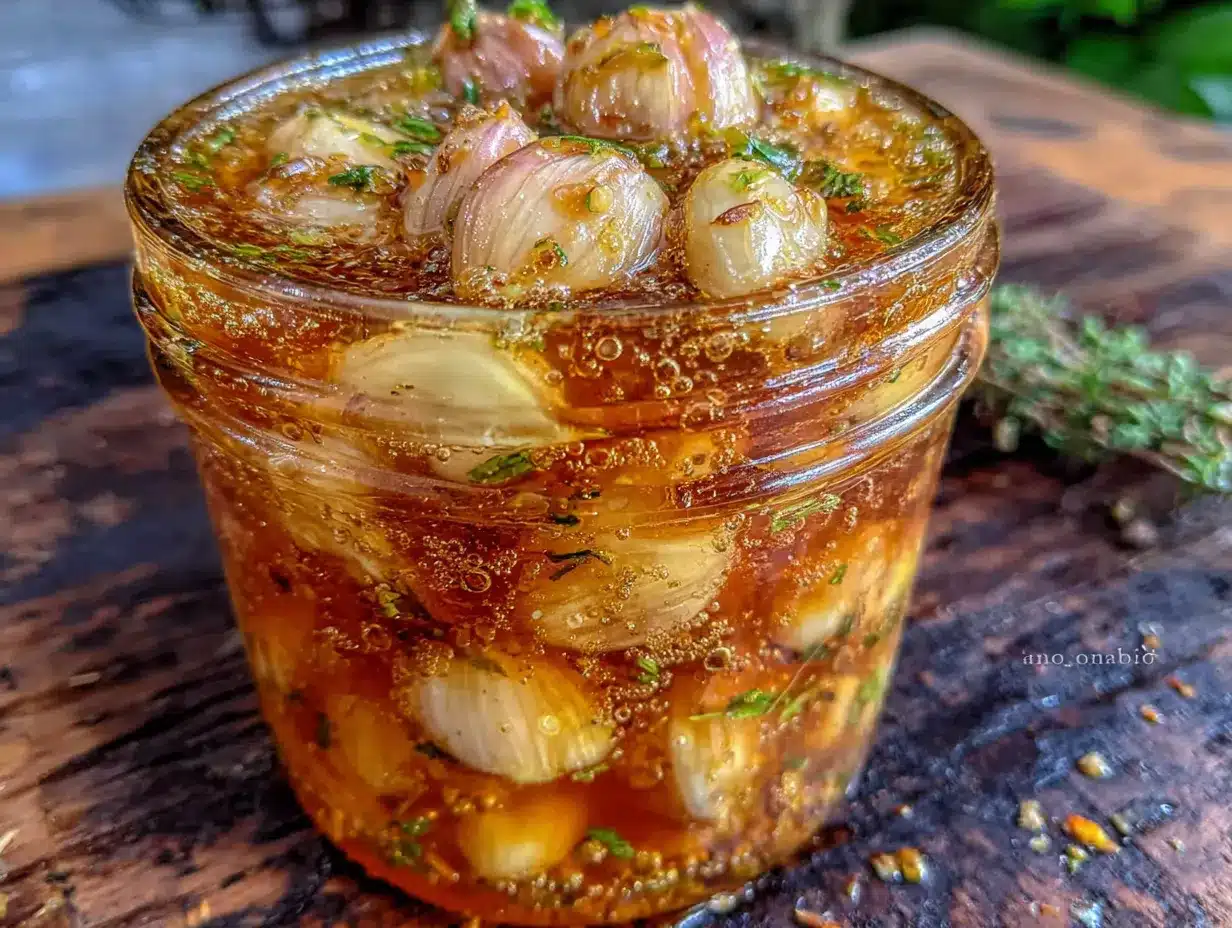
- Prepare Your Garlic (5 minutes) : Separate the garlic heads into individual cloves. You don’t need to peel them all perfectly — a little papery skin left on is fine and actually adds a subtle flavor. However, I find that peeling them completely gives a better texture in the final product. To peel quickly, place a clove on your cutting board, lay the flat side of your knife on top, and give it a gentle whack with your palm. The skin will loosen right up. If you’re using the silicone peeler, just roll the clove inside and the skin comes off like magic.
- Slice or Leave Whole (2 minutes) : Here’s where you have a choice. If you slice the garlic cloves in half or into thick slices, the honey will infuse faster — usually within 3-4 days. If you leave them whole, it takes closer to 2-3 weeks for the fermentation to really develop. I usually do a mix: slice about half the cloves and leave the rest whole. That way I get some quick-infused honey for immediate use while the whole cloves keep fermenting for long-term storage. (I learned this trick after impatiently opening a jar too early and being disappointed with the mild flavor.)
- Pack the Jar (3 minutes) : Place your prepared garlic cloves into the clean glass jar. Don’t pack them too tightly — you want the honey to be able to flow around each clove. Fill the jar about halfway to two-thirds full with garlic. If you’re adding ginger, lemon, or red pepper flakes, layer them in with the garlic now.
- Cover with Honey (2 minutes) : Pour the raw honey over the garlic until every clove is completely submerged. This is crucial — any garlic exposed to air can mold. Use a spoon or chopstick to gently stir and release any air bubbles. You’ll see tiny bubbles rising to the surface; that’s a good sign that fermentation is starting.
- Seal and Shake (1 minute) : Screw the lid on tightly, then give the jar a good shake to distribute the honey. I like to label my jar with the date so I can track how long it’s been fermenting.
- The Waiting Game (2-4 weeks) : Place the jar in a cool, dark place — your pantry or a kitchen cabinet works perfectly. Do not refrigerate it yet. Once a day, open the lid slightly to “burp” the jar and release any built-up pressure. You’ll see bubbles forming and the honey becoming thinner and more liquid over time. This is normal and exactly what you want. The garlic cloves will also start to turn darker, almost translucent, and they’ll soften significantly.
- Check for Readiness (30 seconds) : After about two weeks, start tasting a small amount. The honey should have a noticeable garlic flavor with a pleasant sweetness, and the garlic cloves should be soft and almost spreadable. When it reaches this point, you can move it to the refrigerator to slow down the fermentation. I usually let mine go a full month before refrigerating — the flavor just gets better with time.
A few notes from my own experience: If you see any mold forming on the surface, that’s a sign that something went wrong — usually garlic wasn’t fully submerged. Scoop out the moldy portion and at least an inch of honey around it, then make sure the remaining garlic is covered. If the mold returns or smells off, toss it and start over. I’ve only had this happen once, and it was because I got lazy about burping the jar and pressure pushed some garlic above the honey line.
Cooking Tips & Techniques
After making this ferment more times than I can count, I’ve picked up a few tricks that make the process smoother and the results better. Here’s what I wish someone had told me from the start:
Temperature matters more than you think. I made my first batch in the middle of summer, and it fermented way too fast — the honey turned thin and almost watery within a week, and the garlic developed a slightly boozy flavor that wasn’t unpleasant but wasn’t what I wanted. Now I aim for a consistent temperature around 65-70°F. Too hot and it ferments too quickly; too cold and it barely moves. My pantry stays at about 68°F year-round, so that’s where my jar lives.
Don’t skip the daily burping. I know it’s easy to forget, especially after the first week when nothing seems to be happening. But fermentation produces gas, and if you don’t release it, you might come home to a sticky mess. I keep my jar on the counter next to my coffee maker so I see it every morning. That visual cue has saved me at least three potential explosions.
The honey will crystallize in the fridge. This is completely normal and doesn’t mean anything went wrong. If your fermented honey becomes thick and grainy after refrigeration, just let it sit at room temperature for 15-20 minutes before using, or place the jar in a bowl of warm water for a few minutes. Don’t microwave it — that would kill the beneficial enzymes you worked so hard to develop.
Use the garlic cloves too. Don’t throw them away once the honey is gone. Those fermented garlic cloves are incredible — spread them on crusty bread, chop them into salad dressings, or eat them straight for an immune boost. They lose that sharp raw garlic bite and become almost sweet and jammy. I actually look forward to the garlic as much as the honey.
Start small. If you’re new to fermentation, make a half-batch first. A 8-ounce jar with 1-2 heads of garlic and about a cup of honey is plenty to test the waters. You can always scale up once you know you like it.
Variations & Adaptations
One of the things I love about this recipe is how customizable it is. Here are some variations I’ve tried and loved:
- Spicy Garlic Honey : Add 1-2 dried chili peppers or ½ teaspoon red pepper flakes along with the garlic. The heat mellows during fermentation, leaving a warm, subtle kick that’s amazing in tea or on roasted veggies. I made this version last fall and ended up giving away three jars to friends who couldn’t get enough.
- Turmeric-Ginger Boost : Add a 2-inch piece of fresh ginger (sliced) and a 1-inch piece of fresh turmeric (sliced) to the jar along with the garlic. This creates a triple-threat immune booster that’s especially good at the first sign of a cold. The turmeric will stain everything it touches a beautiful golden yellow, so be careful with your cutting board.
- Herbal Infusion : Add a few sprigs of fresh thyme, rosemary, or sage to the jar. These herbs have their own antimicrobial properties and add a lovely savory note to the honey. I use this version when I plan to use the honey in cooking rather than as a straight remedy.
- Citrus Burst : Add thin slices of lemon, orange, or even grapefruit along with the garlic. The citrus adds brightness and extra vitamin C. Just make sure to remove any seeds and wash the fruit thoroughly. This is my go-to summer version when I want something lighter.
- Milder Version for Kids : Use only half the amount of garlic and slice it very thin so it infuses quickly. You can also add a cinnamon stick or vanilla bean to make it more palatable for little ones. My niece actually asks for this on toast — she has no idea it’s “medicine.”
For dietary adaptations, this recipe is naturally gluten-free, dairy-free, and vegan-friendly (though some strict vegans avoid honey, so agave or maple syrup can be used instead — just note that the fermentation process will be different).
Serving & Storage Suggestions
How to Use It : For immune support, take 1 tablespoon of the honey straight (let it coat your throat slowly) or stir it into warm water or tea. Don’t use boiling water, as high heat can destroy the beneficial enzymes — let your tea cool slightly first. You can also eat a fermented garlic clove directly, which I do when I feel something coming on. For cooking, use it as a glaze for roasted chicken or salmon, drizzle it over roasted vegetables, stir it into salad dressings, or spread it on toast with butter.
Storage : Once the honey has fermented to your liking (usually 2-4 weeks), transfer the jar to the refrigerator. It will keep for up to 6 months refrigerated, though I’ve kept jars for over a year with no issues. The honey may crystallize in the cold — just let it sit at room temperature for 15 minutes before using. If you prefer a thinner consistency, place the jar in a bowl of warm water (not hot) for a few minutes.
Flavor Development : The flavor continues to evolve over time. In the first week, the honey is still quite sweet with just a whisper of garlic. By week two, the garlic flavor is more pronounced and the honey has thinned noticeably. By week four, the garlic cloves are soft and almost spreadable, and the honey has a complex, almost balsamic-like depth. I actually prefer it after it’s been in the fridge for a month — the flavors mellow and meld together beautifully.
Gifting Idea : This makes a wonderful homemade gift for cold season. Package it in a pretty jar with a tag that includes usage instructions and the date it was made. I’ve given these to coworkers, neighbors, and family members, and they’re always appreciated — especially when everyone around is getting sick.
Nutritional Information & Benefits
While I’m not a doctor or nutritionist, I can share what I’ve learned about the benefits of this combination through my own research and experience. Raw honey contains natural enzymes, antioxidants, and antimicrobial compounds that can help soothe sore throats and support immune function. Garlic is rich in allicin, a compound with powerful antimicrobial and anti-inflammatory properties. When combined and fermented, these two ingredients create a synergistic effect that may enhance their individual benefits.
Per 1 tablespoon serving (approximate):
- Calories: 60-70 (from honey)
- Carbohydrates: 16-18g
- Sugar: 15-17g (natural)
- Garlic: negligible calories but rich in antioxidants
This recipe is naturally gluten-free, dairy-free, and free from artificial additives. It’s suitable for most dietary patterns, though individuals with diabetes should monitor portions due to the honey content. If you’re allergic to garlic or bee products, this obviously isn’t for you. As with any home remedy, consult your healthcare provider before using it as a treatment for any medical condition.
From a wellness perspective, I love that this recipe connects me to traditional food practices. There’s something grounding about making something with just two ingredients and letting time do its work. It’s a reminder that we don’t always need complicated solutions — sometimes the simplest things are the most effective.
Conclusion
This cozy garlic honey ferment has become more than just a cold remedy in my kitchen — it’s a ritual, a connection to that memory of Mrs. Kowalski’s kitchen, and a reminder that the best things in life are often the simplest. I’ve made it through three cold seasons now, and every time I open that jar and smell that sweet-garlic aroma, I feel a little bit more prepared for whatever winter throws my way.
I encourage you to make this your own. Adjust the garlic-to-honey ratio, add your favorite spices, experiment with different honey varieties. The beauty of fermentation is that it’s forgiving — as long as you keep the garlic submerged and burp the jar regularly, you’ll end up with something delicious and useful. And honestly, even if you make a mistake, you’ll learn something for next time. That’s the whole point of cooking, isn’t it?
I’d love to hear how your batch turns out! Drop a comment below and let me know what variations you tried, or share a photo of your jar on social media. And if you have a cold remedy story of your own — the kind handed down from a neighbor, a grandparent, or a friend — I’d love to hear that too. After all, these are the recipes that keep us connected, even when we’re far apart.
Stay warm, stay well, and keep fermenting!
Frequently Asked Questions
How long does garlic honey ferment need to sit before it’s ready?
Most batches are ready to use after about 2-4 weeks at room temperature. You’ll know it’s ready when the honey has thinned noticeably, the garlic cloves have darkened and softened, and the flavor has mellowed. That said, you can start using it after just a few days if you want a milder flavor — just keep in mind that the full benefits develop over time.
Can I use pasteurized honey instead of raw honey?
Technically yes, but it won’t ferment the same way. Pasteurized honey has been heated to kill bacteria, including the beneficial ones needed for fermentation. You’ll still get a garlic-infused honey, but it won’t develop the same complexity or potential health benefits. If raw honey isn’t available, look for “unfiltered” honey as a close second.
What should I do if I see mold on top of my garlic honey?
Don’t panic! If you see a small spot of mold on the surface, scoop it out along with at least an inch of honey around it. Make sure the remaining garlic is still fully submerged. If the mold returns or the honey smells off (like alcohol or rot), it’s best to toss the batch and start over. To prevent mold, always keep the garlic fully covered with honey and burp the jar daily.
Can I eat the fermented garlic cloves, or should I just use the honey?
Absolutely eat the cloves! They’re one of the best parts. After fermenting, the garlic loses its sharp, spicy bite and becomes soft, sweet, and almost jammy. I eat them straight for an immune boost, spread them on toast, or chop them into salad dressings and sauces. Don’t waste them — they’re a delicious bonus.
How do I know if my garlic honey has gone bad?
Trust your senses. If the honey smells yeasty, alcoholic, or just “off” in a way that doesn’t seem right, it’s better to be safe. Visible mold on the surface is also a red flag. However, some separation, bubbling, and thinning of the honey is completely normal and expected during fermentation. If it smells pleasant — sweet, garlicky, and slightly tangy — you’re good to go.
Pin This Recipe!
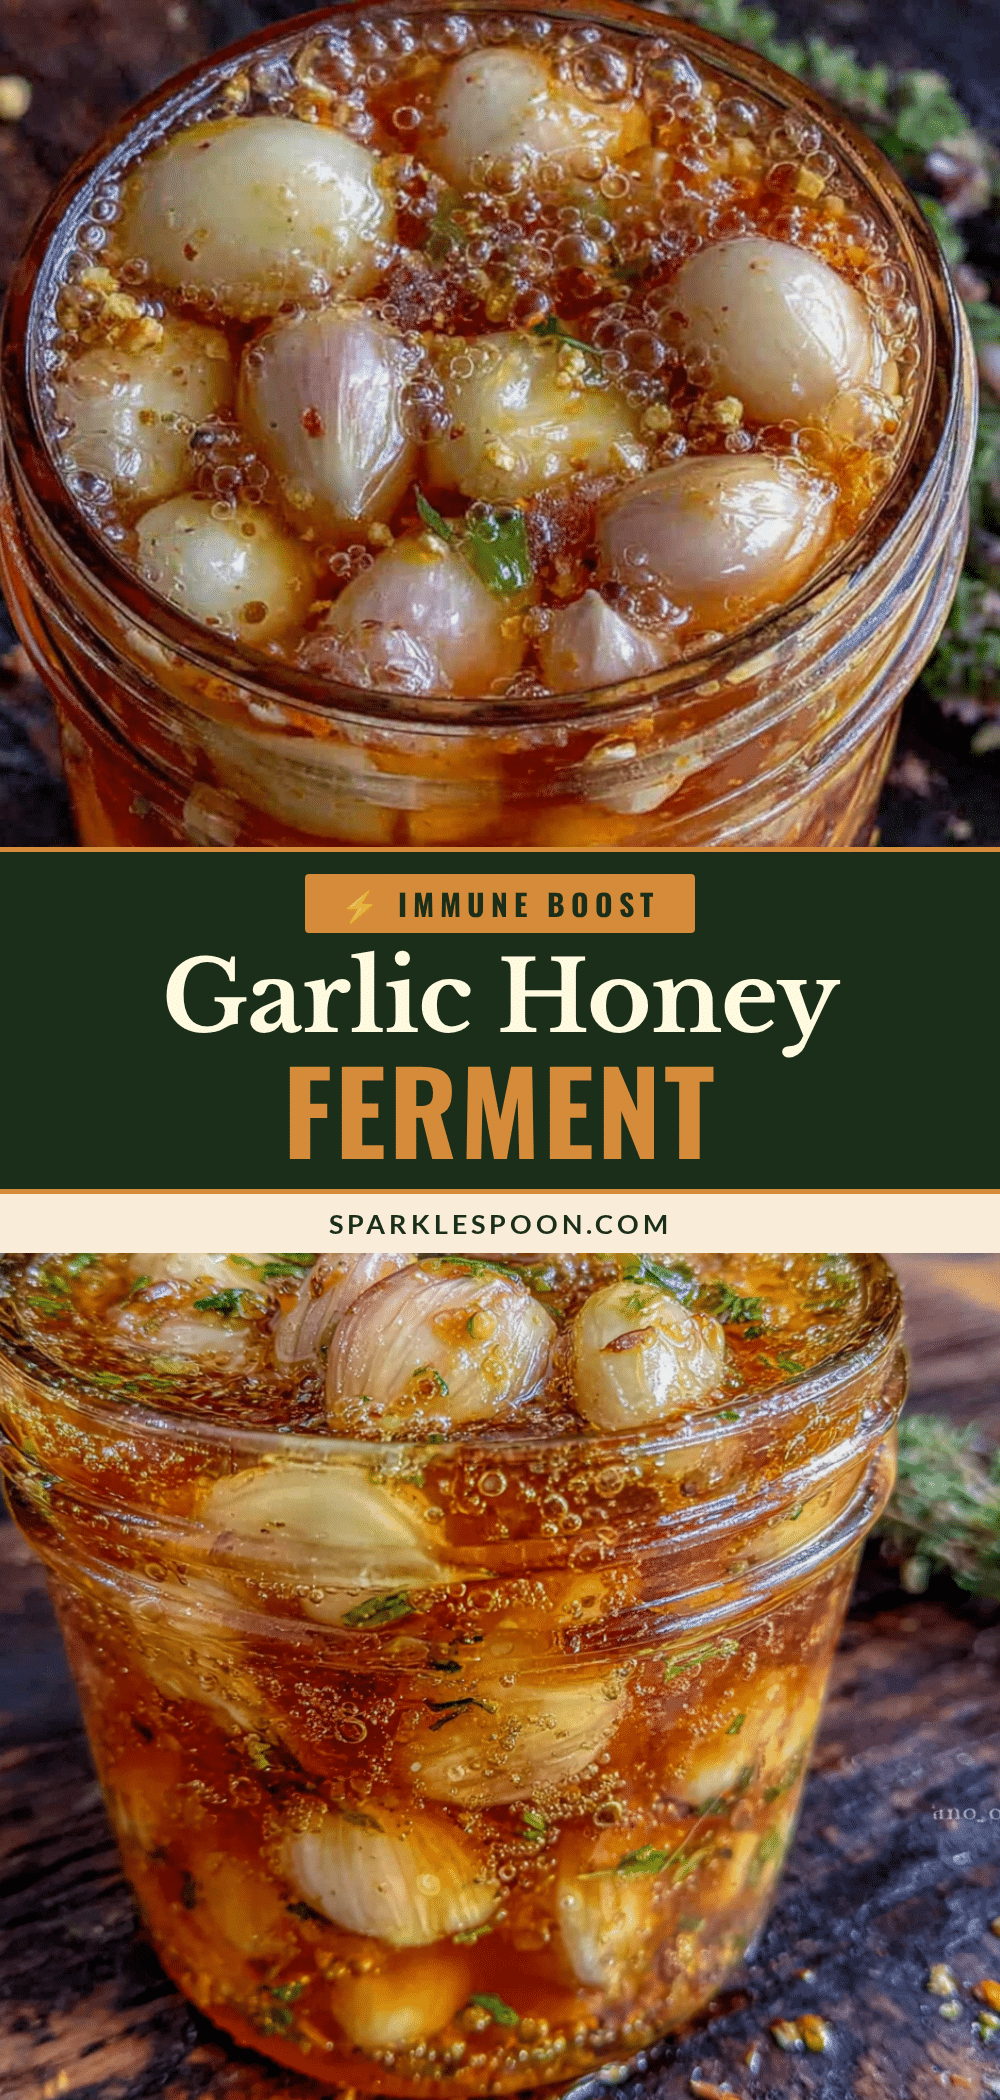
Cozy Garlic Honey Ferment: The Best Cold Season Remedy
This cozy garlic honey ferment is a time-tested cold season remedy made with just fresh garlic and raw honey. It’s simple to prepare, requires only five minutes of active prep, and develops beneficial compounds over a few weeks of fermentation.
- Prep Time: 5 minutes
- Cook Time: 0 minutes
- Total Time: 5 minutes (plus 2-4 weeks fermentation)
- Yield: 1 jar (16 ounces) 1x
- Category: Condiment, Remedy
- Cuisine: Polish-inspired
Ingredients
- 3–4 heads fresh garlic
- 1 ½ to 2 cups raw honey
- Optional: 2-inch piece fresh ginger, peeled and sliced into thin coins
- Optional: 1 medium lemon, washed and thinly sliced, seeds removed
- Optional: ½ teaspoon red pepper flakes
Instructions
- Prepare your garlic: Separate the heads into individual cloves. Peel them completely (or leave a little papery skin on if preferred). To peel quickly, place a clove on a cutting board, lay the flat side of a knife on top, and give it a gentle whack with your palm to loosen the skin.
- Slice or leave whole: For faster infusion (3-4 days), slice cloves in half or into thick slices. For longer fermentation (2-3 weeks), leave them whole. A mix of both works well.
- Pack the jar: Place the prepared garlic cloves into a clean 16-ounce glass jar, filling it about halfway to two-thirds full. If using ginger, lemon, or red pepper flakes, layer them in with the garlic now.
- Cover with honey: Pour the raw honey over the garlic until every clove is completely submerged. Use a spoon or chopstick to gently stir and release any air bubbles.
- Seal and shake: Screw the lid on tightly, then give the jar a good shake to distribute the honey. Label the jar with the date.
- Ferment: Place the jar in a cool, dark place (around 65-70°F). Once a day, open the lid slightly to ‘burp’ the jar and release built-up pressure. Bubbles will form and the honey will thin over time.
- Check for readiness: After about 2 weeks, start tasting. The honey should have a noticeable garlic flavor and the cloves should be soft and almost spreadable. When ready, move the jar to the refrigerator to slow fermentation. For best flavor, let it ferment a full month before refrigerating.
Notes
Keep garlic fully submerged in honey to prevent mold. Burp the jar daily to release pressure. If mold appears, scoop it out along with at least an inch of honey around it; if it returns or smells off, discard. The honey will crystallize in the fridge; let it sit at room temperature for 15-20 minutes or place the jar in warm water to liquefy. Do not microwave. Fermented garlic cloves can be eaten straight or used in cooking.
Nutrition
- Serving Size: 1 tablespoon
- Calories: 6070
- Sugar: 1517
- Carbohydrates: 1618
Keywords: garlic honey, fermented garlic honey, cold remedy, immune booster, homemade remedy, garlic honey ferment, raw honey, garlic



