Love this? Save it for later!
Share the inspiration with your friends
I wasn’t expecting canning advice from my plumber, but there I was, standing in my kitchen with a leaky pipe, listening to Frank describe exactly how to make cinnamon vanilla pears. He’d been fixing my garbage disposal when he spotted the bushel of Bosc pears I’d impulsively bought at the farmers’ market. “You’re not gonna eat all those before they turn,” he said, wiping his hands on his coveralls. “My grandma used to put ’em up with vanilla bean. Changed my whole life.” Frank is not a man you’d expect to wax poetic about fruit preservation—he’s more of a “meat and potatoes, hold the garnish” kind of guy. But something about the way he talked about those pears, his voice softening just a little, made me grab a notepad. I scribbled his grandmother’s method on the back of an old receipt while he tightened a pipe fitting. Honestly, I thought I’d forget about it. But those pears sat on my counter for three days, staring at me, and I kept hearing Frank say, “Trust me on this one.” So I tried it. And let me tell you—I’ve been making these homemade cinnamon vanilla canned pears every single fall since. Maybe you’ve been there, staring down a pile of fruit that’s about to go bad, wishing you had a plan. This is that plan.
Why You’ll Love This Recipe
Let’s be real—canning can sound like a huge project. It feels like something your grandmother did with a special club of women who all owned matching aprons. But this recipe flips that script. These 10-minute homemade cinnamon vanilla canned pears are almost embarrassingly easy. I’ve tested this method about a dozen times over three different canning seasons, tweaking the vanilla-to-cinnamon ratio until it hit that sweet spot where neither flavor dominates. Here’s why this one’s a keeper:
- Quick & Easy: From start to finish, you’re looking at about 10 minutes of active prep. The water bath does the heavy lifting. Perfect for a Tuesday night when you suddenly realize you have too many pears.
- Simple Ingredients: You need pears, sugar, water, cinnamon sticks, and vanilla extract or beans. That’s it. No weird preservatives, no specialty canning blends from a catalog.
- Perfect for Gifting: These jars are gorgeous. The pears turn a beautiful golden-amber color, and the cinnamon sticks floating inside look like edible art. Tie a ribbon around the lid and you’ve got a hostess gift that beats a bottle of wine.
- Crowd-Pleaser: I’ve served these over ice cream at dinner parties, alongside pork chops for Sunday supper, and straight out of the jar at 10 PM when nobody was watching. They disappear fast.
- Unbelievably Delicious: The texture is the real star. The pears stay firm but tender, soaking up that cinnamon-vanilla syrup until every bite tastes like fall in a jar. It’s next-level comfort food that feels fancy without the fuss.
What makes this recipe different from all the other canned pear recipes out there? It’s the double dose of vanilla. Most recipes use a single vanilla bean or extract. I use both—a split vanilla bean simmered in the syrup plus a splash of pure vanilla extract right before sealing. That extra step gives the pears a depth that’s hard to describe but impossible to miss. It’s the kind of detail that makes people close their eyes after the first bite and ask, “What did you do differently?”
What Ingredients You Will Need
This recipe uses simple, wholesome ingredients to deliver bold flavor and satisfying texture without any fuss. Most of these items are probably already in your pantry, which makes this a perfect last-minute project when you find yourself with a surplus of pears.
For the Syrup
- 4 cups water (filtered if possible—tap water with strong chlorine can affect the taste)
- 2 cups granulated sugar (regular white sugar works perfectly; don’t substitute brown sugar here as it will darken the syrup too much)
- 4 cinnamon sticks (I prefer Ceylon cinnamon for its milder, more floral flavor, but Cassia works fine too)
- 2 vanilla beans, split lengthwise (look for plump, moist beans—dry ones have less flavor)
- 1 tablespoon pure vanilla extract (add this off the heat to preserve the alcohol-based flavors; I like Nielsen-Massey for its clean taste)
For the Pears
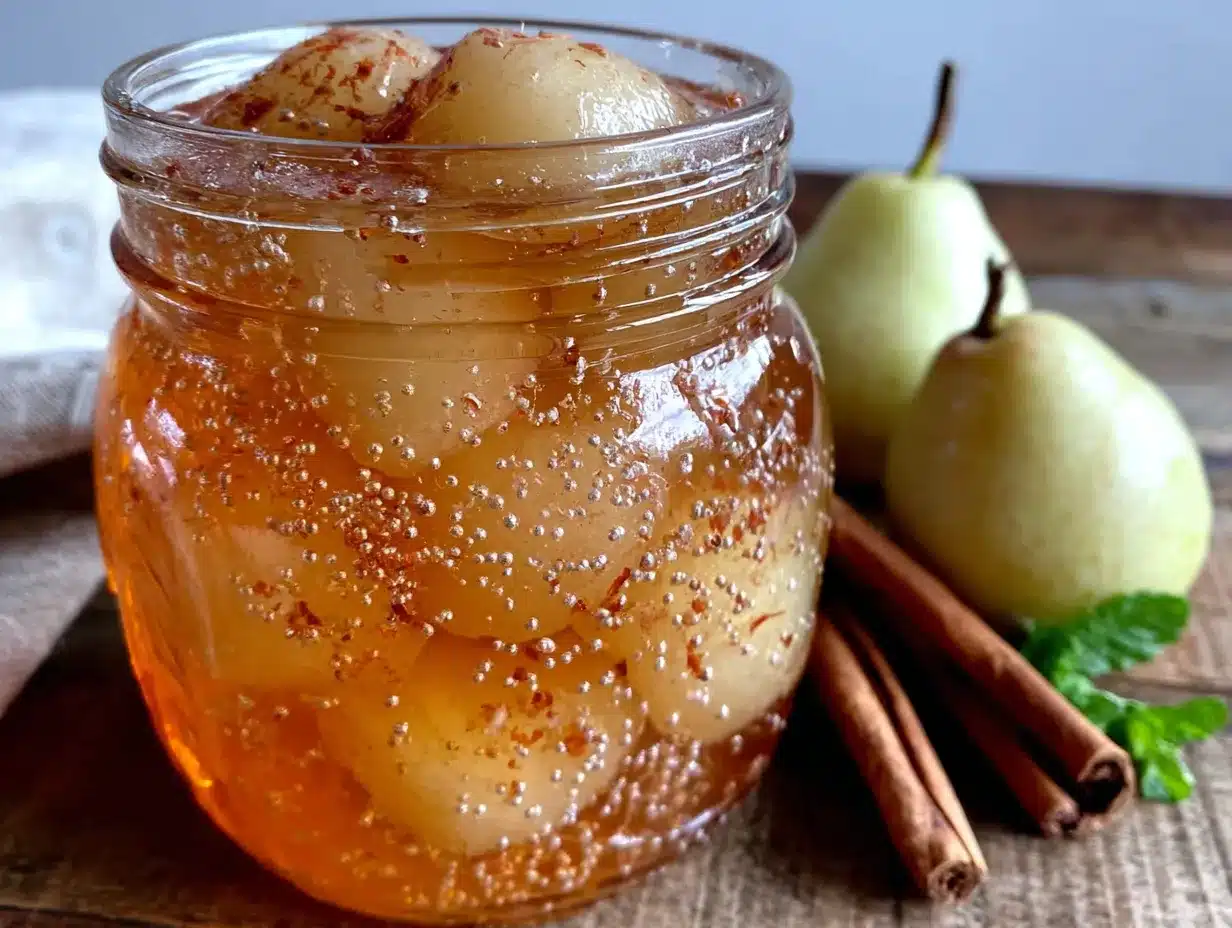
- 6 pounds firm-ripe pears (about 12 medium pears; Bosc or Anjou hold their shape best, but Bartlett works if they’re not too soft)
- 1/4 cup fresh lemon juice (about 2 lemons; this prevents browning and adds a subtle brightness)
- Large bowl of cold water (for the lemon water bath)
Ingredient Selection Tips: The most important thing here is choosing the right pears. You want them ripe but still firm—think “gives slightly when pressed near the stem” but not “mushy at the grocery store.” If your pears are too soft, they’ll turn into pear soup in the jar. Too hard, and they won’t absorb enough syrup. I’ve learned this the hard way, trust me. Also, if you can’t find vanilla beans, you can use 2 tablespoons of vanilla extract total, but the visual of those tiny black vanilla seeds suspended in the syrup is half the magic.
Substitution Guidance: For a lower-sugar version, you can reduce the sugar to 1 1/2 cups. The syrup will be thinner, and the pears won’t keep quite as long, but the flavor will still be lovely. If you’re avoiding refined sugar, coconut sugar works but will turn the syrup a darker, more caramel color. For a truly sugar-free version, this recipe doesn’t adapt well—the sugar is essential for preservation and texture. Save that experiment for a different recipe.
Equipment Needed
You don’t need a fancy canning setup for this. I started with a stockpot and a prayer, and it worked fine. But a few key tools make the process smoother and safer.
- Water bath canner or large stockpot (must be deep enough to cover jars by at least 1 inch of water; I use my grandmother’s old blue enamel pot that’s seen better days)
- 6 pint-sized canning jars with new lids and bands (Mason or Ball brand; never reuse lids from previous canning sessions)
- Jar lifter (this is non-negotiable—trying to grab hot jars with tongs is a recipe for disaster, and I have the burn scars to prove it)
- Canning funnel (wide-mouth is best; makes filling jars without spilling syrup everywhere actually possible)
- Large pot for syrup (non-reactive like stainless steel or enamel; avoid aluminum which can discolor the pears)
- Sharp paring knife and vegetable peeler
- Clean kitchen towels (for drying jars and wiping rims)
- Magnetic lid lifter (optional but nice; keeps your fingers out of hot water when grabbing lids)
If you don’t have a water bath canner, any deep pot with a lid and a rack in the bottom will work. I’ve used a pasta pot with a steamer basket in a pinch. Just make sure the jars don’t sit directly on the bottom of the pot—they need that air gap to prevent thermal shock and cracking.
Preparation Method
Okay, let’s get to the actual making part. I’ve broken this down step-by-step with all the little details I wish someone had told me the first time I tried canning pears. Take your time, and remember—the first batch is always the most stressful, and it gets easier every single time.
- Prepare your water bath canner. Fill it about halfway with water and bring it to a gentle simmer. You want it hot but not boiling when the jars go in—boiling water around cold jars can cause them to crack. Place your clean jars in the water to warm them up. This step takes about 10 minutes and prevents thermal shock later.
- Make the lemon water bath. While the canner heats, fill a large bowl with cold water and stir in the lemon juice. This is where your peeled pears will hang out to prevent browning. Don’t skip this—pears oxidize faster than you think, and nobody wants gray pears in a pretty jar.
- Prepare the pears. Wash your pears well. Peel them with a vegetable peeler—I find a Y-shaped peeler gives me the most control. Cut each pear in half lengthwise and use a melon baller or small spoon to scoop out the core and seeds. If you’re feeling fancy, you can leave the stems on one half for presentation, but I usually remove them because they take up space in the jar. Drop each pear half into the lemon water as you go.
- Make the cinnamon vanilla syrup. In your large non-reactive pot, combine the 4 cups of water and 2 cups of sugar. Add the cinnamon sticks and the split vanilla beans (scrape the seeds into the pot too—don’t waste those precious little specks). Bring to a boil over medium-high heat, stirring occasionally until the sugar dissolves completely. Once it’s boiling, reduce the heat and let it simmer for 5 minutes. The kitchen will smell like a holiday candle, and you’ll be tempted to drink the syrup straight. I won’t judge if you do.
- Pack the jars. This is the moment of truth. Using tongs, carefully remove your warm jars from the canner and place them on a clean kitchen towel. Drain the pear halves and pack them tightly into the jars, cut side down. I fit about 4-5 pear halves per pint jar, depending on size. Don’t smush them—they need a little room for the syrup to circulate. Slide a cinnamon stick and a piece of vanilla bean into each jar for visual drama and extra flavor.
- Add the syrup. Remove the syrup from heat and stir in the vanilla extract. Using your canning funnel, ladle the hot syrup over the pears, leaving 1/2 inch of headspace at the top of each jar. Run a clean butter knife or bubble remover tool around the inside of each jar to release any trapped air bubbles. Trust me, those bubbles will mess with your seal if you don’t chase them out.
- Wipe and seal. Wipe the rims of the jars with a clean, damp paper towel. Any syrup residue on the rim can prevent a proper seal, and that’s how you end up with spoiled pears months later. Place the lids on the jars and screw on the bands until fingertip-tight—don’t crank them down like you’re trying to prove something.
- Process the jars. Using your jar lifter, carefully lower the filled jars into the simmering water bath. Make sure they’re covered by at least 1 inch of water. Put the lid on the canner and bring the water to a full rolling boil. Process pint jars for 20 minutes (adjust for altitude if you’re above 1,000 feet—add 5 minutes for every 1,000 feet above sea level).
- Cool and check seals. After 20 minutes, turn off the heat and let the jars sit in the water for 5 minutes. Then remove them with your jar lifter and place them on a clean towel, leaving at least 1 inch of space between jars for air circulation. Don’t touch them for 12-24 hours. You’ll hear the satisfying “pop” of the lids sealing as they cool—that sound never gets old. After they’re completely cool, press the center of each lid. If it doesn’t flex up and down, you’ve got a good seal. If it pops, refrigerate that jar and eat it within a week.
Cooking Tips & Techniques
I’ve made this recipe enough times to have a few spectacular failures, and I’m sharing them so you don’t have to repeat my mistakes. The first time I canned pears, I used overripe fruit because I didn’t want to waste them. Big mistake. They came out mushy and sad, floating in a cloudy syrup that looked nothing like the golden jars I’d imagined. Lesson learned: firm pears are non-negotiable.
Timing and multitasking: Start your canner water heating before you even touch the pears. By the time you’ve peeled and packed everything, the water will be at the perfect temperature. I also prep my lemon water bath and have my jars warming in the canner while I make the syrup. This cuts the active time down significantly.
Common mistake—skipping the lemon water: I once got distracted by a phone call and left peeled pears sitting on the counter for 15 minutes. They turned an unappealing brown color that didn’t improve with canning. The lemon water bath isn’t optional—it’s your insurance policy against sad-looking pears.
Consistency tip: If you want perfectly uniform pears, cut them all to roughly the same size. I aim for wedges that are about 1-inch thick at the widest point. This ensures they all cook at the same rate during processing. Nobody wants a jar where half the pears are falling apart and the other half are still crunchy.
Vanilla bean hack: After you split your vanilla beans and scrape the seeds into the syrup, don’t throw away the empty pods. Rinse them, dry them, and bury them in a jar of sugar. In a week, you’ll have vanilla sugar for baking. It’s the gift that keeps on giving.
Variations & Adaptations
One of the best things about this recipe is how adaptable it is. I’ve played around with different flavor combinations over the years, and here are a few that actually worked (and one that definitely didn’t—cardamom and pear is not the vibe I thought it would be).
- Spiced Chai Pears: Add 4 cardamom pods, 2 star anise, and a 1-inch piece of fresh ginger (sliced) to the syrup along with the cinnamon. This gives the pears a warm, aromatic complexity that’s incredible over vanilla ice cream. I made this version for a holiday party and got three requests for the recipe.
- Honey-Vanilla Pears: Replace half the granulated sugar with honey. Use a mild honey like clover or orange blossom—strong buckwheat honey will overpower the delicate pear flavor. The syrup will be slightly thicker and have a more complex sweetness. This is my go-to for gifting because the flavor feels more sophisticated.
- Low-Sugar Version: Reduce the sugar to 1 cup and add 1/2 cup of apple juice concentrate. The pears won’t be as firm and will keep for about 6 months instead of a year, but they’re still delicious. I make this version when I’m canning for myself instead of giving jars away.
- Bourbon-Vanilla Pears: Add 1/4 cup of good bourbon to the syrup after removing it from the heat. The alcohol cooks off slightly during processing, leaving behind a warm, oaky note that pairs beautifully with the vanilla. These are dangerous over pound cake.
Dietary adaptations: This recipe is naturally gluten-free, dairy-free, and vegan. If you’re watching your sugar intake, the low-sugar version works well, but I wouldn’t recommend artificial sweeteners—they don’t provide the necessary preservation properties and can leave a weird aftertaste in canned fruit.
Serving & Storage Suggestions
These pears are incredibly versatile, and I love finding new ways to use them throughout the year. Here’s how I serve and store mine.
Serving temperature and presentation: These pears are best served chilled or at room temperature. I love spooning them straight from the jar into a pretty glass bowl, letting that gorgeous syrup pool around them. For a more elevated presentation, fan the pear halves out on a plate and drizzle with a little of the syrup. A sprinkle of chopped pistachios or a dollop of whipped cream takes them from simple to stunning.
Complementary dishes: These pears are a natural match for roasted pork or chicken—the sweetness cuts through the savory meat beautifully. I’ve also served them alongside a sharp cheddar cheese board, and the combination is chef’s kiss. For breakfast, try them over Greek yogurt with granola. For dessert, warm them slightly and spoon over vanilla ice cream or angel food cake. The syrup is also amazing drizzled over pancakes or stirred into oatmeal.
Storage instructions: Properly sealed jars will keep in a cool, dark place for up to 12 months. I store mine in the basement pantry, away from direct sunlight and heat sources. Once opened, refrigerate the jar and use within 2 weeks. The pears will continue to soften slightly in the fridge, so don’t wait too long to enjoy them.
Reheating tips: If you want to serve these warm, simply spoon the pears and syrup into a small saucepan and heat gently over low heat for 3-5 minutes. Don’t boil them—they’ll break apart. You can also microwave individual servings in 30-second bursts, stirring in between.
How flavors develop over time: These pears actually get better after about a month in the jar. The flavors meld and deepen, with the cinnamon and vanilla infusing every bite. I always try to save at least one jar for at least 6 months to see how the flavor evolves. The oldest jar I’ve ever opened was 11 months old, and it was transcendent.
Nutritional Information & Benefits
While these pears aren’t exactly health food (there’s sugar involved, let’s be honest), they’re still a better choice than most store-bought desserts. Here’s the breakdown for a 1/2 cup serving (about 2 pear halves with syrup).
- Calories: Approximately 180-200
- Carbohydrates: 48g
- Fiber: 4g
- Sugar: 40g (includes natural and added)
- Fat: 0g
- Protein: 1g
- Vitamin C: 10% of daily value
- Potassium: 6% of daily value
Health benefits of key ingredients: Pears are an excellent source of dietary fiber, which supports digestive health and helps keep you feeling full. They also contain antioxidants like vitamin C and copper, which support immune function. Cinnamon has anti-inflammatory properties and may help regulate blood sugar levels. Vanilla, while used in small amounts, contains vanillin, a compound with antioxidant properties.
Dietary considerations: This recipe is naturally gluten-free, dairy-free, egg-free, and vegan. The main allergen concern is the pears themselves, which are not common allergens. The sugar content is the primary consideration for those watching their carbohydrate intake or managing diabetes. The low-sugar variation mentioned earlier reduces the sugar content by about 40%.
Personal wellness perspective: I think of these pears as a way to enjoy fruit in a more indulgent form. They’re a treat, not a daily staple, but they’re made with real ingredients and none of the artificial preservatives or high-fructose corn syrup you’d find in commercial canned fruit. That counts for something in my book.
Conclusion
These homemade cinnamon vanilla canned pears are the kind of recipe that makes you feel like you’ve discovered a secret. They’re simple enough for a beginner canner but impressive enough to gift to someone who thinks they’ve tasted everything. The combination of tender pears, warm cinnamon, and rich vanilla is timeless—it’s comfort in a jar, ready whenever you need it.
I encourage you to make this recipe your own. Swap the cinnamon for star anise if that’s your thing. Add a strip of orange zest to the syrup. Use different varieties of pears and see which you like best. The beauty of canning is that every batch is a little different, and that’s part of the charm. If Frank’s grandmother could see me now, writing about her recipe, I think she’d be pleased—and maybe a little surprised that her grandson actually paid attention in the kitchen.
I’d love to hear how your batch turns out. Did you try a variation? Give jars as gifts? Eat them all yourself in a week? No judgment here. Drop a comment below and let me know—your story might inspire someone else to give canning a try. And if you have a recipe that came from an unexpected source, I want to hear that too. Some of the best recipes in the world started with someone saying, “You’re not gonna believe who taught me this.”
Frequently Asked Questions
Can I use bottled lemon juice instead of fresh?
Yes, you can use bottled lemon juice in a pinch. Use 3 tablespoons of bottled juice instead of the 1/4 cup fresh. Bottled juice is more acidic and consistent, which some canners actually prefer for safety reasons. But fresh lemon juice gives a brighter, cleaner flavor that I personally think is worth the extra squeeze.
Do I have to use vanilla beans, or can I use extract only?
You can absolutely use only vanilla extract. Use 2 tablespoons of pure vanilla extract total—add 1 tablespoon to the syrup while it simmers and 1 tablespoon after removing from heat. The flavor won’t be quite as complex, and you’ll miss those beautiful vanilla bean specks, but it will still be delicious. I’ve done it when vanilla beans were out of season or too expensive.
Why did my pears float to the top of the jar?
Floating pears are usually a sign that you packed them too loosely or the pears were too ripe. When fruit is very ripe, it contains more air, which makes it buoyant. Next time, pack the jars more tightly (without crushing the pears) and make sure your fruit is firm. Floating doesn’t affect safety or flavor—it’s purely cosmetic. Your pears will still taste amazing.
How long do these pears actually last?
Properly sealed and stored in a cool, dark place, these pears will maintain their best quality for 12-18 months. I’ve opened jars at the 2-year mark that were still perfectly fine, though the texture was softer and the color had darkened slightly. For the best flavor and texture, aim to use them within the first year. Always check for signs of spoilage before eating—bulging lids, leaking, off smells, or mold mean toss the jar.
Can I use this recipe for other fruits?
Yes, with adjustments. The cinnamon-vanilla syrup works beautifully with apples, peaches, nectarines, and firm plums. For apples, use the same method but peel and core them. For peaches, you’ll need to blanch them first to remove the skins—dip them in boiling water for 30 seconds, then plunge into ice water, and the skins will slip right off. The processing time remains the same for all these fruits at 20 minutes for pint jars.
Pin This Recipe!
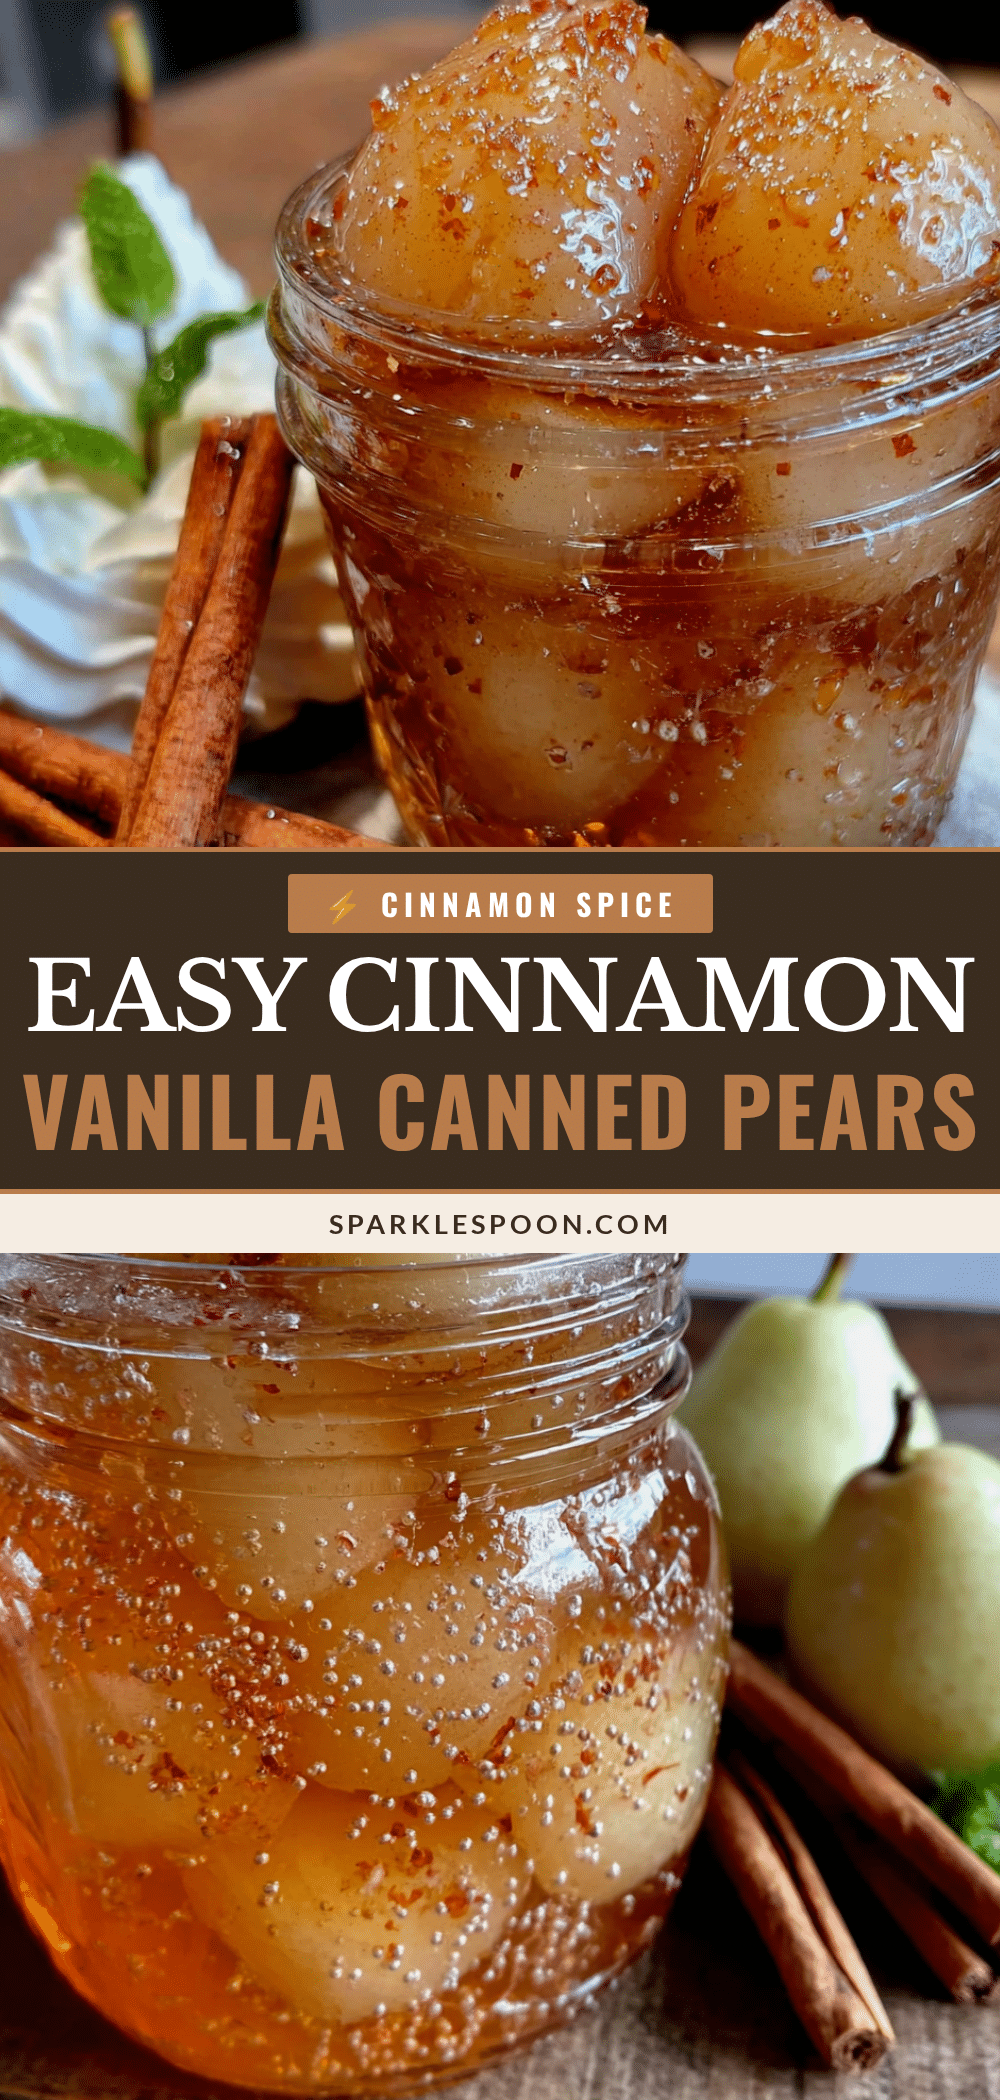
10-Minute Homemade Cinnamon Vanilla Canned Pears
These 10-minute homemade cinnamon vanilla canned pears are almost embarrassingly easy. The pears stay firm but tender, soaking up that cinnamon-vanilla syrup until every bite tastes like fall in a jar.
- Prep Time: 10 minutes
- Cook Time: 20 minutes
- Total Time: 30 minutes
- Yield: 6 pint jars 1x
- Category: Preserves
- Cuisine: American
Ingredients
- 4 cups water (filtered if possible)
- 2 cups granulated sugar
- 4 cinnamon sticks (Ceylon or Cassia)
- 2 vanilla beans, split lengthwise
- 1 tablespoon pure vanilla extract
- 6 pounds firm-ripe pears (about 12 medium pears; Bosc or Anjou preferred)
- 1/4 cup fresh lemon juice (about 2 lemons)
- Large bowl of cold water
Instructions
- Prepare your water bath canner. Fill it about halfway with water and bring it to a gentle simmer. Place your clean jars in the water to warm them up.
- Make the lemon water bath. Fill a large bowl with cold water and stir in the lemon juice.
- Prepare the pears. Wash, peel, cut in half lengthwise, and core. Drop each pear half into the lemon water as you go.
- Make the cinnamon vanilla syrup. In a large non-reactive pot, combine 4 cups water and 2 cups sugar. Add cinnamon sticks and split vanilla beans (scrape seeds into pot). Bring to a boil, then simmer for 5 minutes.
- Pack the jars. Remove warm jars from canner. Drain pear halves and pack tightly into jars, cut side down. Add a cinnamon stick and vanilla bean piece to each jar.
- Add the syrup. Remove syrup from heat, stir in vanilla extract. Ladle hot syrup over pears, leaving 1/2 inch headspace. Remove air bubbles.
- Wipe and seal. Wipe jar rims with a damp paper towel. Place lids on jars and screw on bands until fingertip-tight.
- Process the jars. Lower jars into simmering water bath, cover with at least 1 inch of water. Bring to a full rolling boil. Process pint jars for 20 minutes (adjust for altitude).
- Cool and check seals. After 20 minutes, turn off heat, let jars sit in water for 5 minutes. Remove and cool for 12-24 hours. Check seals by pressing center of each lid.
Notes
Choose firm-ripe pears; overripe pears will turn mushy. Don’t skip the lemon water bath to prevent browning. For a lower-sugar version, reduce sugar to 1 1/2 cups. Properly sealed jars keep for 12-18 months in a cool, dark place. Once opened, refrigerate and use within 2 weeks.
Nutrition
- Serving Size: 1/2 cup (about 2 pea
- Calories: 180200
- Sugar: 40
- Carbohydrates: 48
- Fiber: 4
- Protein: 1
Keywords: canned pears, cinnamon vanilla pears, homemade canned pears, easy canning recipe, pear preserves, vanilla bean pears, fall canning



