Love this? Save it for later!
Share the inspiration with your friends
“I wasn’t expecting much when I grabbed a handful of mismatched ingredients from my pantry late one Sunday afternoon. Honestly, I was just trying to avoid another sad, store-bought snack bar that tasted like cardboard. But as I mixed together those five simple ingredients, something clicked. The texture was just right, and the flavor? Surprisingly satisfying. This recipe for healthy clean label protein bars with 5 simple ingredients came to me almost by accident—no fancy additives, no mystery chemicals, just straightforward goodness you can trust.”
Let me tell you, this all started on a particularly hectic Monday morning when I realized I had zero healthy snacks ready to fuel me through back-to-back meetings. I raced to the kitchen, grabbed whatever looked promising, and improvised. Maybe you’ve been there—scrambling for a quick energy boost without wanting to compromise your clean eating goals. That’s exactly why I keep making these protein bars. They’re my go-to when life speeds up, and my body needs something honest and nourishing. Plus, the best part? You don’t have to be a kitchen whiz to whip them up.
There was this one chaotic afternoon when I forgot to pack lunch and had a crumbly, homemade protein bar in my bag—saved the day! I’m excited to share how simple a healthy clean label protein bar can be. You’ll appreciate how the flavors meld, and the ingredients list won’t overwhelm you. Trust me, once you try these, you’ll wonder why store-bought bars ever seemed like a good idea.
Why You’ll Love This Recipe
Having tested countless protein bar recipes (some more successful than others!), this one stands out because it balances simplicity with real, wholesome nourishment. Here’s why it’s a keeper:
- Quick & Easy: Ready in under 20 minutes, perfect when you need fast energy without fuss.
- Simple Ingredients: No weird preservatives or artificial flavors—just five clean, recognizable items you likely already have.
- Perfect for Busy Days: Great for on-the-go snacks, post-workout refueling, or midday pick-me-ups.
- Crowd-Pleaser: Even the pickiest eaters in my circle keep asking for more—kids, friends, and coworkers alike.
- Unbelievably Delicious: The chewy texture with subtle sweetness feels indulgent but is genuinely nourishing.
What makes this recipe truly different? It’s the intentional focus on keeping the ingredient list clean and minimal without sacrificing flavor or texture. The bars come together with a natural nutty richness, a hint of honey for sweetness, and chewy oats that satisfy without weighing you down.
Honestly, this isn’t just a protein bar recipe—it’s the kind of snack that makes you pause and savor that first bite, knowing you’re doing something good for your body. Whether you’re prepping for a busy week or need a quick boost during your afternoon slump, these bars have become my personal favorite for reliable, clean energy.
What Ingredients You Will Need
This recipe uses simple, wholesome ingredients to deliver bold flavor and satisfying texture without the fuss. You won’t need to hunt down specialty items—these are staples that are easy to find and easy to trust.
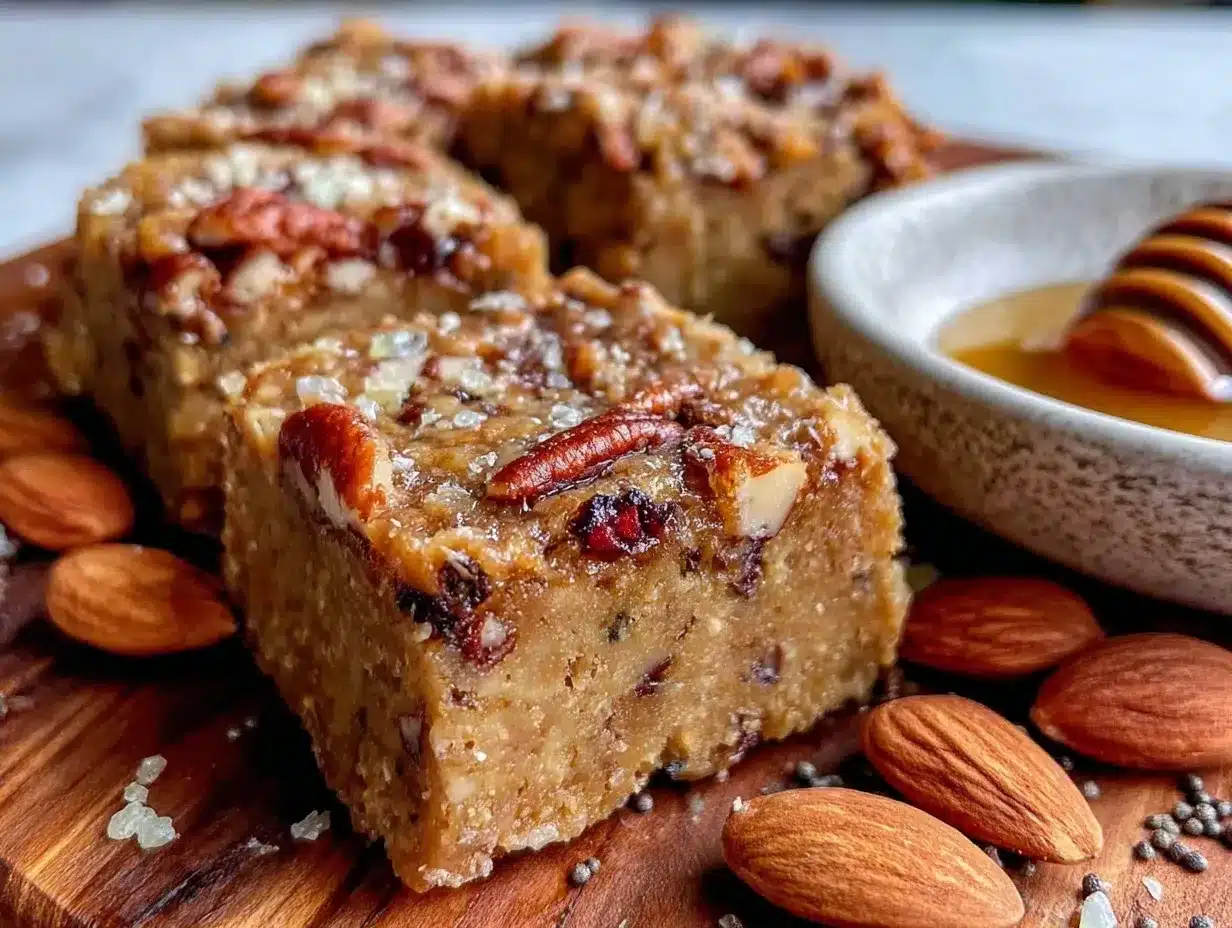
- Rolled Oats (1 ½ cups / 135g): The base of the bars, providing chewy texture and slow-release energy. I prefer old-fashioned rolled oats for their hearty bite.
- Natural Peanut Butter (¾ cup / 190g): Use creamy or chunky based on your preference. This adds healthy fats and protein. I recommend a no-stir, all-natural brand like Smucker’s Natural for best consistency.
- Honey (⅓ cup / 113g): Acts as a natural sweetener and binder. Manuka honey adds a nice depth but regular raw honey works just fine.
- Vanilla Extract (1 teaspoon): Adds subtle warmth and aroma. Pure vanilla is a game-changer here.
- Plant-Based Protein Powder (½ cup / 50g): Choose your favorite clean protein powder—pea, brown rice, or a blend. I like using Orgain Organic for its mild taste that doesn’t overpower.
If you want, you can toss in a pinch of salt (about ¼ teaspoon) to balance sweetness. For gluten-free needs, make sure your oats are certified gluten-free. For a nut-free option, sunflower seed butter can replace peanut butter with good results.
Equipment Needed
- Mixing Bowl: A medium to large bowl to combine all ingredients comfortably. Glass or stainless steel both work well.
- Spoon or Spatula: For mixing; I like using a silicone spatula because it scrapes the sides clean.
- 8×8-inch Baking Pan: Line it with parchment paper for easy removal. If you don’t have one, a similar-sized glass dish or square cake pan will do.
- Measuring Cups and Spoons: Accuracy is key to consistent texture.
- Refrigerator: For chilling the bars so they set properly.
Optional but handy: a food processor can be used if you want a finer oat texture, but honestly, stirring by hand works just fine. Parchment paper lining is a lifesaver—it prevents the bars from sticking and makes cleanup quick.
Preparation Method
- Prepare your pan: Line an 8×8-inch (20×20 cm) baking pan with parchment paper, leaving some overhang on the sides. This helps lift the bars out easily later. Time: 2 minutes.
- Mix the wet ingredients: In your mixing bowl, combine ¾ cup (190g) natural peanut butter, ⅓ cup (113g) honey, and 1 teaspoon vanilla extract. Stir until smooth and well blended. You might notice the honey thickens the peanut butter—this is the glue holding everything together.
- Add dry ingredients: Gradually add 1 ½ cups (135g) rolled oats and ½ cup (50g) plant-based protein powder to the wet mixture. Stir until fully incorporated. The mixture should be thick but sticky enough to hold shape. If it’s too dry, add a teaspoon of water or more honey; if too wet, add a bit more oats.
- Press into pan: Transfer the mixture into the lined pan. Use the back of a spoon or your hands to press it evenly and firmly, ensuring it’s compacted for chewy bars. This step is key—too loose, and the bars will crumble later.
- Chill and set: Place the pan in the refrigerator for at least 1 hour to allow the bars to firm up. You’ll know they’re ready when the edges feel solid and the bars hold together when you press them.
- Slice into bars: Use the parchment overhang to lift the set mixture out of the pan. Place on a cutting board and slice into 10-12 bars, depending on your preferred size. Keep them refrigerated in an airtight container.
If the bars start to crumble when cutting, pop them back into the fridge for 10-15 minutes and try again. The chilling step is crucial for that perfect texture. I learned this the hard way—cutting too soon led to a crumbly mess that tasted great but looked like a disaster!
Cooking Tips & Techniques
Here are some tips that make these healthy clean label protein bars turn out great every time:
- Room Temperature Ingredients: Make sure your peanut butter and honey are at room temperature. Cold peanut butter can be tough to mix, and honey gets sticky faster when chilled.
- Mix Thoroughly: Don’t rush the mixing. Ensuring the protein powder and oats are fully blended prevents dry pockets and uneven texture.
- Press Firmly: Compact the mixture well in the pan. This step helps your bars hold together and avoids crumbly bites.
- Experiment with Protein Powders: Some powders are drier or more chalky. If your mixture feels dry, add a splash of almond milk or a bit more honey to get the right consistency.
- Storage Matters: Keep the bars refrigerated. They soften at room temperature and can become sticky, especially in warm weather.
One time I tried to speed things up by skipping the chilling step—big mistake. The bars fell apart, and I had to eat most of the crumbs because, well, waste not! So patience is a virtue here. Also, if you want to multitask, you can prep these the night before for next-day snacking.
Variations & Adaptations
Feel free to customize this basic formula to suit your taste or dietary needs. Here are some ideas I’ve tried or thought about:
- Nut-Free Version: Swap peanut butter with sunflower seed butter or tahini for a different but equally delicious nut-free bar.
- Added Texture: Toss in ¼ cup chopped nuts, seeds, or dried berries for extra crunch and flavor. Just fold them in with the oats and protein powder.
- Chocolate Twist: Add 2 tablespoons of unsweetened cocoa powder or a handful of dark chocolate chips to the mixture before pressing into the pan.
- Seasonal Boost: In cooler months, sprinkle cinnamon or pumpkin pie spice into the mix for a cozy vibe.
- Vegan Option: Use maple syrup or agave nectar instead of honey. I’ve done this often when cooking for friends with strict vegan diets, and it works great.
One favorite variation I keep coming back to is adding shredded coconut and a sprinkle of chia seeds for a tropical flair. It’s a subtle change but adds interesting texture and nutrition without complicating the recipe.
Serving & Storage Suggestions
These healthy clean label protein bars are best served chilled or at cool room temperature. They make a fantastic on-the-go snack or a quick breakfast with a side of fresh fruit.
Pairing them with a cup of herbal tea or your favorite cold brew coffee is a simple way to round out a quick snack break. For a heartier treat, a dollop of Greek yogurt along with a drizzle of honey complements the bars nicely.
Store the bars in an airtight container in the refrigerator for up to one week. You can also freeze them for up to three months—just thaw in the fridge overnight before enjoying. If reheating, a few seconds in the microwave softens them without melting the bars into a sticky mess.
Flavors tend to meld beautifully after a day or two, so making them ahead of time actually improves the taste. Just don’t forget where you stashed them—trust me, I’ve lost more than one batch in the back of the fridge!
Nutritional Information & Benefits
Each bar (assuming 10 bars per batch) roughly contains:
| Calories | 190-210 kcal |
|---|---|
| Protein | 8-10g |
| Fat | 10-12g (mostly healthy fats) |
| Carbohydrates | 15-18g (includes fiber) |
| Sugar | 7-9g (natural from honey) |
The combination of oats and peanut butter offers sustained energy release, fiber, and plant-based protein to keep hunger at bay. Using a clean protein powder boosts the protein content without additives or fillers, supporting muscle recovery and general wellness.
This recipe is gluten-free when you use certified oats and is suitable for many dietary preferences including vegetarian and (with substitutions) vegan. Just watch peanuts if you have allergies, and swap accordingly.
Conclusion
These healthy clean label protein bars with 5 simple ingredients have become a staple in my kitchen because they hit the sweet spot between wholesome nutrition and real convenience. They’re simple to make, taste great, and give you that reliable boost when you need it most. Plus, no complicated shopping or weird ingredients to worry about.
Feel free to tweak the recipe to match your taste buds or dietary needs—sometimes adding a few mix-ins or swapping the nut butter can make it feel brand new. I love how these bars fit into my busy days, and I hope you find the same comfort and energy in them.
If you try this recipe, I’d be thrilled to hear how it goes for you, or if you’ve come up with your own twist. Don’t hesitate to share your thoughts or adaptations in the comments below—let’s keep the conversation going!
Here’s to simple, honest, and delicious snacks that keep us fueled and feeling good.
FAQs
Can I use almond butter instead of peanut butter?
Absolutely! Almond butter works great and will give a slightly different flavor but the same creamy texture.
How long do these protein bars last?
Stored in an airtight container in the fridge, they stay fresh for up to one week. For longer storage, freezing is a good option.
Can I bake these bars instead of chilling them?
This recipe is designed to be no-bake, so chilling helps them set properly. Baking might dry them out or change the texture.
What protein powder do you recommend?
I prefer a mild-tasting plant-based protein like pea or brown rice powder. Brands like Orgain or Vega are reliable and clean.
Are these bars suitable for kids?
Yes! They’re naturally sweetened and made with clean ingredients, making them a great snack for kids and adults alike.
For a tasty variation that’s also quick and satisfying, you might enjoy a crispy garlic chicken recipe or try my easy banana oatmeal muffins for breakfast on the go.
Pin This Recipe!
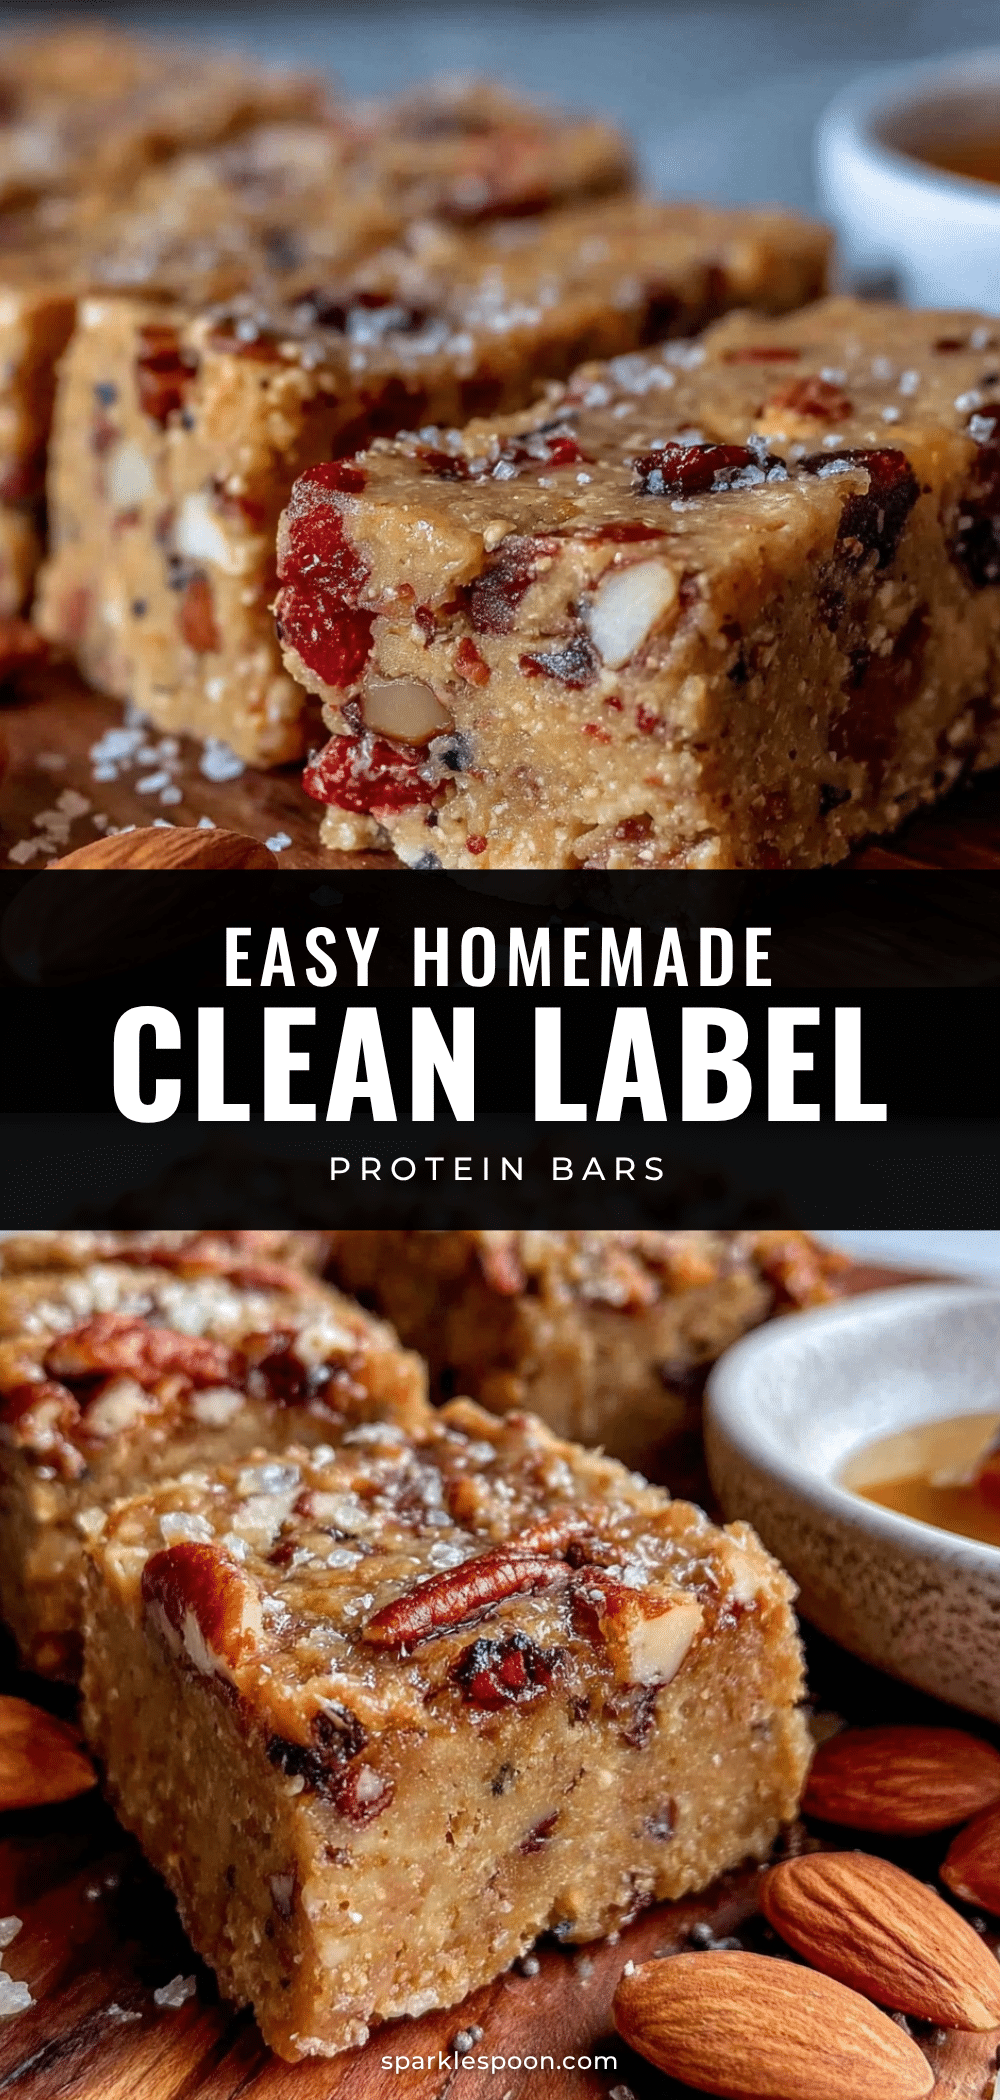
Healthy Clean Label Protein Bars Recipe With 5 Easy Ingredients for Quick Energy
A simple, no-bake protein bar recipe using five clean ingredients that deliver quick energy and wholesome nourishment. Perfect for busy days and on-the-go snacking.
- Prep Time: 10 minutes
- Cook Time: 0 minutes
- Total Time: 1 hour 10 minutes
- Yield: 10-12 bars 1x
- Category: Snack
- Cuisine: American
Ingredients
- 1 ½ cups (135g) rolled oats (old-fashioned, gluten-free if needed)
- ¾ cup (190g) natural peanut butter (creamy or chunky)
- ⅓ cup (113g) honey (raw or Manuka honey)
- 1 teaspoon vanilla extract (pure)
- ½ cup (50g) plant-based protein powder (pea, brown rice, or blend)
- Optional: ¼ teaspoon salt
- Optional variations: sunflower seed butter (nut-free), ¼ cup chopped nuts/seeds/dried berries, 2 tablespoons unsweetened cocoa powder or dark chocolate chips, cinnamon or pumpkin pie spice, maple syru…
Instructions
- Line an 8×8-inch (20×20 cm) baking pan with parchment paper, leaving some overhang on the sides.
- In a mixing bowl, combine ¾ cup (190g) natural peanut butter, ⅓ cup (113g) honey, and 1 teaspoon vanilla extract. Stir until smooth and well blended.
- Gradually add 1 ½ cups (135g) rolled oats and ½ cup (50g) plant-based protein powder to the wet mixture. Stir until fully incorporated. Adjust consistency with a teaspoon of water or more honey if too dry, or more oats if too wet.
- Transfer the mixture into the lined pan and press evenly and firmly to compact the mixture.
- Place the pan in the refrigerator for at least 1 hour to allow the bars to firm up.
- Lift the set mixture out of the pan using the parchment overhang and slice into 10-12 bars. Keep refrigerated in an airtight container.
Notes
Use room temperature peanut butter and honey for easier mixing. Press mixture firmly into pan to avoid crumbly bars. Chill bars for at least 1 hour before slicing. Store refrigerated up to one week or freeze up to three months. Variations include nut-free options, added textures like nuts or seeds, and flavor twists like cocoa or spices.
Nutrition
- Serving Size: 1 bar (assuming 10 b
- Calories: 190210
- Sugar: 79
- Sodium: 50100
- Fat: 1012
- Saturated Fat: 1.52
- Carbohydrates: 1518
- Fiber: 23
- Protein: 810
Keywords: protein bars, healthy snacks, clean label, no-bake, quick energy, plant-based protein, gluten-free, vegetarian, vegan option