Love this? Save it for later!
Share the inspiration with your friends
I was sitting in the waiting room of a car repair shop—not exactly where you expect to find life-changing dessert advice. The mechanic, a guy named Dave with grease under his fingernails and a surprisingly gentle voice, was telling me about the banana pudding his grandmother made every single Sunday. “She never used a stove,” he said, wiping his hands on a rag. “Just layers of cookies and cream and bananas, and somehow it turned into magic in the fridge.” I nodded politely, but honestly, I was skeptical. I mean, no-bake desserts can be hit or miss, right? Some end up soupy, some are too dense, and some just taste like a sad pile of whipped topping.
But Dave was insistent. He even scribbled the instructions on the back of a receipt while I waited for my oil change. “You gotta let it sit overnight,” he said. “That’s the secret.” So I went home, grabbed a bag of vanilla wafers and some ripe bananas, and decided to give it a shot. Let me tell you—I was not prepared for how good this turned out. The layers softened into this creamy, almost cake-like texture, and the banana flavor just melted into everything. My family stood around the kitchen island eating it straight from the dish with spoons. No plates. No shame.
That was three years ago, and I haven’t stopped making it since. This Creamy No-Bake Banana Pudding Icebox Cake has become my go-to for potlucks, summer barbecues, and honestly, random Tuesdays when I need a little comfort. Maybe you’ve been there—craving something sweet but not wanting to turn on the oven or spend hours in the kitchen. This recipe is for those moments. It’s simple, it’s forgiving, and it tastes like something you’d pay good money for at a bakery. Let me show you how it’s done.
Why You’ll Love This Recipe
I’ve tested this recipe more times than I care to admit—through humid summers, chilly winters, and even that one time my fridge decided to stop working overnight (don’t ask). Every single batch came out perfect. Here’s why this version stands out from the dozens of banana pudding recipes floating around the internet.
- No-Bake & Effortless : You don’t need an oven, a mixer, or any fancy gadgets. Just layer, chill, and serve. It’s that simple.
- Simple Ingredients : Vanilla wafers, bananas, pudding mix, cream cheese, and whipped topping. You probably have most of these in your pantry right now.
- Perfect for Crowds : This recipe feeds a ton of people. I’ve taken it to church potlucks, birthday parties, and family reunions, and the dish always comes back empty.
- Crowd-Pleaser : Kids devour it. Adults ask for the recipe. Even my picky uncle—who claims he doesn’t like bananas—went back for seconds.
- Unbelievably Creamy : The texture is what sets this apart. The cookies soften into a tender, cake-like layer while the pudding stays rich and luscious. It’s comfort food at its finest.
What makes this recipe different? It’s the technique. Instead of just layering pudding and wafers, I add a cream cheese layer that gives the whole thing structure and a tangy richness. It’s not just another banana pudding—it’s the one that makes you close your eyes after the first bite. Honestly, it’s the kind of dessert that turns a regular evening into something memorable.
What Ingredients You Will Need
This recipe uses simple, everyday ingredients to create something truly special. Most of these are pantry staples, so you probably won’t need a special trip to the grocery store. Here’s what you’ll need, grouped by function for easy prep.
For the Pudding Layer
- 2 boxes (3.4 ounces each) instant vanilla pudding mix (I prefer Jell-O brand for consistent texture)
- 3 cups cold whole milk (don’t use skim—it won’t set up properly)
- 1 teaspoon vanilla extract (adds depth to the flavor)
For the Cream Cheese Layer
- 8 ounces cream cheese, softened to room temperature (Philadelphia is my go-to)
- 1/2 cup granulated sugar
- 1 teaspoon vanilla extract
- 2 cups heavy whipping cream (or one 8-ounce tub of Cool Whip if you’re short on time)
For the Layers
- 1 box (11 ounces) vanilla wafers (Nilla Wafers work best—they hold their shape without getting mushy)
- 4-5 ripe but firm bananas, sliced into 1/4-inch rounds (look for bananas with a few brown spots—they’re sweeter and more flavorful)
For the Topping
- 1 cup heavy whipping cream
- 2 tablespoons powdered sugar
- 1/2 teaspoon vanilla extract
- Crushed vanilla wafers for garnish (optional, but pretty)
Ingredient Tips: If you want to go dairy-free, use full-fat coconut milk in the pudding and dairy-free cream cheese. For a lighter version, swap the heavy cream for a light whipped topping. But honestly, this is a dessert—go all out. You won’t regret it.
Equipment Needed
You don’t need a professional kitchen to make this icebox cake. Here’s what you’ll need, along with some budget-friendly alternatives.
- 9×13-inch baking dish : This is the standard size for this recipe. A glass dish works beautifully because you can see the layers. If you don’t have one, a metal or ceramic dish works just fine.
- Electric mixer : A hand mixer or stand mixer makes whipping the cream and cream cheese a breeze. But honestly, you can do it by hand with a whisk if you’re feeling ambitious—just give your arm a good workout.
- Large mixing bowls : You’ll need at least two—one for the pudding and one for the cream cheese layer.
- Rubber spatula : For folding the whipped cream into the cream cheese mixture without deflating it.
- Sharp knife and cutting board : For slicing the bananas evenly.
- Plastic wrap or aluminum foil : To cover the dish while it chills.
Budget-Friendly Tip: If you don’t have an electric mixer, a sturdy whisk and some elbow grease work perfectly. The texture might be slightly different, but the flavor will be just as good.
Preparation Method
This recipe comes together in about 20 minutes of active prep time, then the fridge does the rest of the work. Here’s how to do it, step by step.
Step 1: Make the Pudding
In a large mixing bowl, whisk together the instant vanilla pudding mix and 3 cups of cold whole milk. Whisk for about 2 minutes until the pudding thickens. It should be smooth and slightly glossy. Set it aside to set while you work on the cream cheese layer. If you notice any lumps, give it a few more whisks—nobody wants lumpy pudding.
Step 2: Make the Cream Cheese Layer
In another large bowl, beat the softened cream cheese with an electric mixer until it’s smooth and fluffy—about 2 minutes. Add the sugar and vanilla extract, and beat for another minute until everything is well combined. In a separate bowl, whip the heavy cream until stiff peaks form. (If you’re using Cool Whip, just fold it in directly.) Gently fold the whipped cream into the cream cheese mixture using a rubber spatula. Be gentle here—you want to keep it light and airy.
Step 3: Combine the Layers
Take the prepared pudding and fold it into the cream cheese mixture until just combined. Don’t overmix, or the texture will become too dense. You want a smooth, creamy consistency that’s easy to spread.
Step 4: Start Layering
Spread a thin layer of the pudding-cream cheese mixture on the bottom of your 9×13-inch dish. This helps the wafers stay in place. Then, arrange a single layer of vanilla wafers on top—don’t overlap them too much, but it’s okay if they touch. Next, add a layer of sliced bananas, covering the wafers evenly. Spoon about one-third of the remaining pudding mixture over the bananas and spread it gently with a spatula.
Step 5: Repeat the Layers
Add another layer of vanilla wafers, followed by bananas, and then another third of the pudding mixture. Repeat one more time until you’ve used all the ingredients. You should end with a final layer of pudding mixture on top. Spread it evenly to cover the entire surface.
Step 6: Make the Whipped Topping
In a clean bowl, whip the heavy cream with powdered sugar and vanilla extract until soft peaks form. Spread this over the top of the icebox cake. Garnish with crushed vanilla wafers if you like. Cover the dish tightly with plastic wrap or foil.
Step 7: Chill Overnight
This is the most important step. Refrigerate the icebox cake for at least 8 hours—overnight is best. The wafers need time to soften and absorb the moisture from the pudding. If you try to rush this, you’ll end up with crunchy cookies instead of a tender, cake-like texture. Trust me on this one.
Pro Tip: Place the dish on a flat shelf in the fridge, not on the door where temperatures fluctuate. This ensures even chilling and consistent texture.
Cooking Tips & Techniques
I’ve made this recipe more times than I can count, and I’ve learned a few things along the way. Here are my best tips to ensure success every time.
- Use room temperature cream cheese : Cold cream cheese creates lumps that are nearly impossible to smooth out. Let it sit on the counter for about 30 minutes before you start.
- Don’t overmix the whipped cream : Stop as soon as you see stiff peaks. Overwhipping turns cream into butter, and that’s not what we want here.
- Slice bananas evenly : Uniform slices ensure every bite has the same ratio of banana to pudding. I aim for about 1/4-inch thick.
- Let it rest overnight : I know it’s tempting to dig in after a few hours, but the texture really develops after 8-10 hours. The wafers become soft and almost cake-like, and the flavors meld together beautifully.
- Keep it cold : This dessert doesn’t do well at room temperature. If you’re serving it at a party, keep it in the fridge until the last minute.
One time, I was in a hurry and only chilled the cake for about 4 hours. The result? Crunchy wafers and a slightly soupy texture. It was still edible, but it wasn’t the creamy masterpiece I was aiming for. Learn from my mistakes—patience pays off here.
Variations & Adaptations
This recipe is incredibly versatile. Here are some ways to make it your own.
- Chocolate Lover’s Version : Swap the vanilla pudding for chocolate pudding and use chocolate wafers instead of vanilla. Add a layer of chocolate shavings on top for extra decadence.
- Berry Banana Twist : Add a layer of fresh strawberries or blueberries between the banana layers. The tartness of the berries balances the sweetness of the pudding beautifully.
- Peanut Butter Dream : Swirl 1/2 cup of creamy peanut butter into the cream cheese layer before folding in the whipped cream. It adds a nutty richness that pairs perfectly with bananas.
- Vegan Version : Use coconut cream instead of heavy cream, dairy-free cream cheese, and a plant-based milk for the pudding. Check the pudding box to ensure it’s vegan-friendly.
- Gluten-Free Option : Use gluten-free vanilla wafers or shortbread cookies. The texture will be slightly different, but the flavor is still amazing.
I once tried a version with crushed pineapple layered in—total accident, but it turned out surprisingly good. Don’t be afraid to experiment. That’s half the fun of cooking.
Serving & Storage Suggestions
This icebox cake is best served cold, straight from the fridge. Here’s how to make it shine.
Serving: Use a sharp knife to cut clean slices. Wipe the knife between cuts for neat edges. Serve on chilled plates if you want to be extra fancy. A dollop of fresh whipped cream and a sprinkle of crushed wafers makes a beautiful presentation.
Complementary Dishes: This dessert pairs wonderfully with a cup of hot coffee or a cold glass of milk. If you’re serving it after a meal, try it alongside a light fruit salad or a scoop of vanilla ice cream.
Storage: Cover the dish tightly with plastic wrap or foil and store it in the refrigerator. It will keep for up to 3 days. The flavors actually deepen after the first day, so leftovers might taste even better. I wouldn’t recommend freezing this dessert—the texture becomes watery and grainy when thawed.
Reheating: This is a no-bake dessert, so there’s no need to reheat it. If you’ve stored it for a day or two and the top looks a little dry, just add a fresh layer of whipped cream before serving.
Nutritional Information & Benefits
Let’s be real—this is a dessert, so it’s not exactly health food. But it does have some redeeming qualities, especially if you use the lighter substitutions.
| Nutrient | Per Serving (1/12 of recipe) |
|---|---|
| Calories | 385 |
| Total Fat | 22g |
| Saturated Fat | 13g |
| Cholesterol | 68mg |
| Sodium | 320mg |
| Total Carbohydrates | 44g |
| Dietary Fiber | 2g |
| Sugars | 28g |
| Protein | 5g |
Bananas are a good source of potassium and vitamin B6, which support heart health and energy levels. The dairy in this recipe provides calcium and protein. If you’re watching your sugar intake, you can use sugar-free pudding mix and reduce the sugar in the cream cheese layer. For a lower-fat version, swap the heavy cream for a light whipped topping.
FAQs
Can I make this recipe ahead of time?
Absolutely! In fact, I recommend it. This icebox cake needs at least 8 hours to set, so making it the day before is perfect. The flavors meld together beautifully overnight.
Why did my icebox cake turn out watery?
This usually happens if the bananas are too ripe or if the pudding didn’t set properly. Use firm bananas with just a few brown spots, and make sure your milk is cold when you mix the pudding. Also, don’t skip the chilling time—it’s crucial for the texture.
Can I use low-fat milk or skim milk?
I don’t recommend it. The pudding needs the fat from whole milk to set properly. Skim milk will result in a thinner, runnier pudding that won’t hold the layers together.
How long does this dessert last in the fridge?
It will keep for up to 3 days in an airtight container. After that, the bananas start to brown and the texture becomes mushy. I doubt it will last that long, though—my family usually finishes it within 24 hours.
Can I freeze banana pudding icebox cake?
I wouldn’t suggest it. Freezing changes the texture of the pudding and the bananas, making it watery and grainy when thawed. If you absolutely must freeze it, do so without the banana slices and add fresh bananas after thawing.
Conclusion
This Creamy No-Bake Banana Pudding Icebox Cake is more than just a dessert—it’s a memory in the making. Every time I make it, I think about Dave the mechanic and his grandmother’s Sunday tradition. It’s amazing how a simple recipe can connect us to people and moments we’d otherwise forget. The best part? You don’t need to be a professional baker to pull this off. It’s forgiving, it’s delicious, and it always gets compliments.
I’d love to hear how yours turns out. Did you add a twist? Did your family devour it as fast as mine does? Drop a comment below and let me know. And if you’re looking for more no-bake desserts, you might enjoy my creamy lemon icebox cake or my no-bake chocolate peanut butter pie. Trust me, your fridge is about to become your best friend in the kitchen.
Happy layering, friends!
Pin This Recipe!
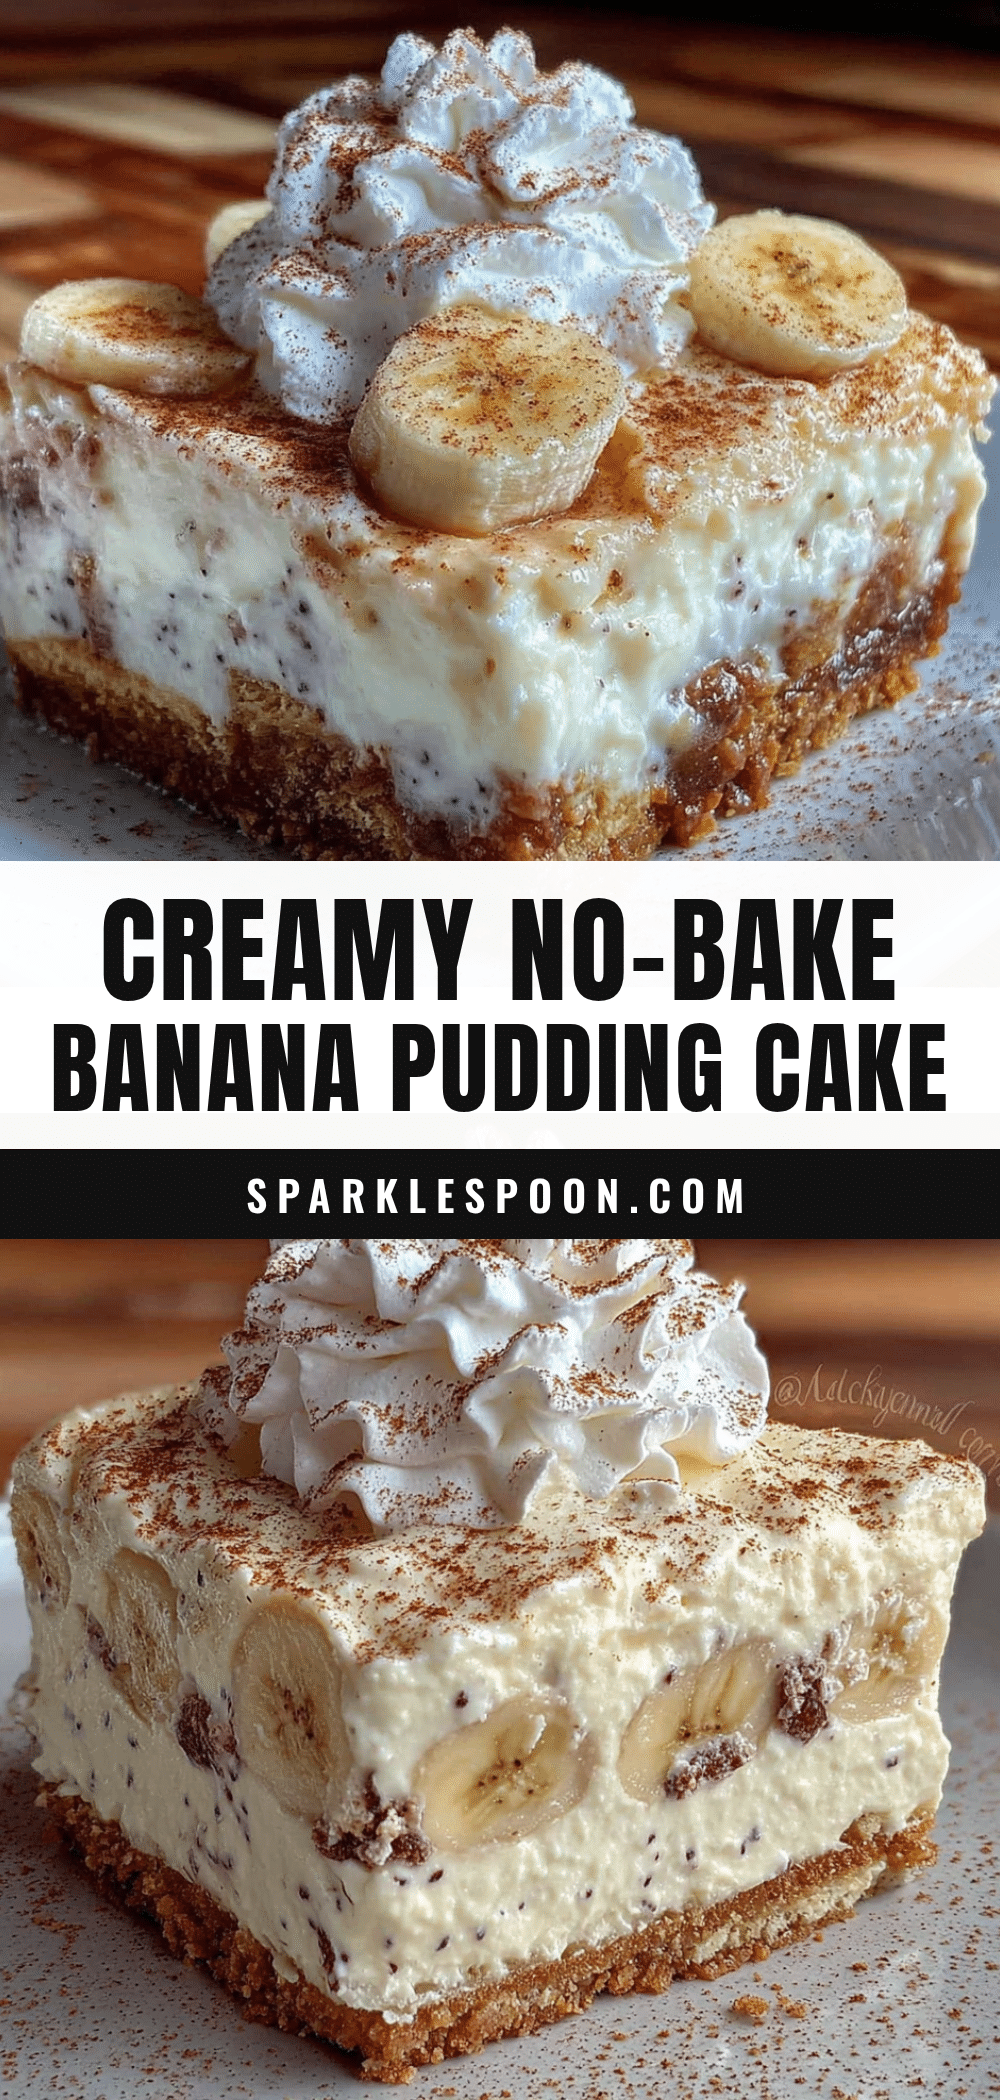
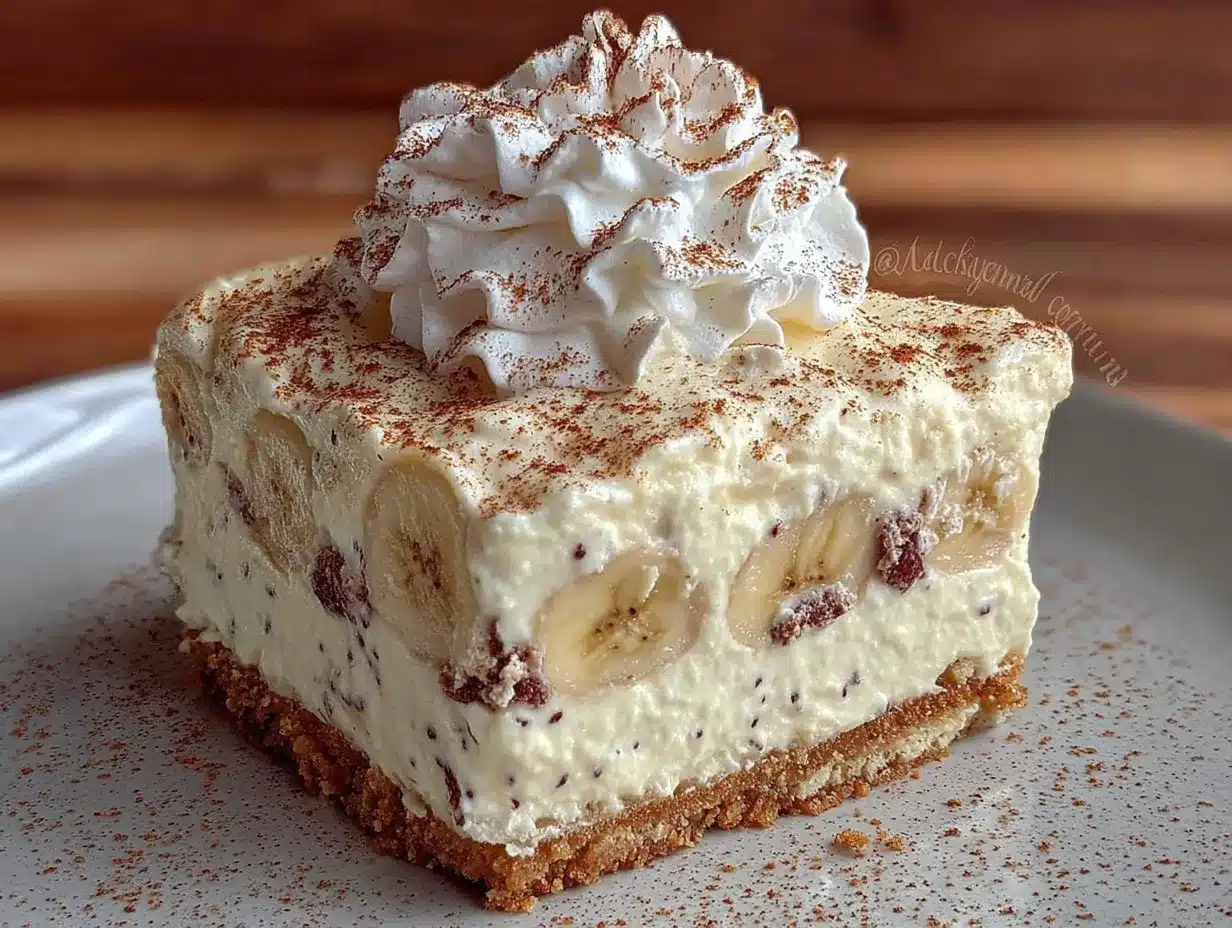
Creamy No-Bake Banana Pudding Icebox Cake
A no-bake dessert with layers of vanilla wafers, fresh bananas, and a creamy pudding-cream cheese mixture, chilled to perfection. It’s a crowd-pleasing treat that requires no oven and minimal effort.
- Prep Time: 20 minutes
- Cook Time: 0 minutes
- Total Time: 8 hours 20 minutes (includes chilling)
- Yield: 12 servings 1x
- Category: Dessert
- Cuisine: American
Ingredients
- 2 boxes (3.4 ounces each) instant vanilla pudding mix
- 3 cups cold whole milk
- 1 teaspoon vanilla extract
- 8 ounces cream cheese, softened
- 1/2 cup granulated sugar
- 1 teaspoon vanilla extract
- 2 cups heavy whipping cream
- 1 box (11 ounces) vanilla wafers
- 4–5 ripe but firm bananas, sliced into 1/4-inch rounds
- 1 cup heavy whipping cream (for topping)
- 2 tablespoons powdered sugar
- 1/2 teaspoon vanilla extract
- Crushed vanilla wafers for garnish (optional)
Instructions
- In a large mixing bowl, whisk together the instant vanilla pudding mix and 3 cups of cold whole milk for about 2 minutes until thickened. Set aside.
- In another large bowl, beat the softened cream cheese with an electric mixer until smooth and fluffy, about 2 minutes. Add 1/2 cup sugar and 1 teaspoon vanilla extract, beat for another minute.
- In a separate bowl, whip 2 cups heavy whipping cream until stiff peaks form. Gently fold the whipped cream into the cream cheese mixture using a rubber spatula.
- Fold the prepared pudding into the cream cheese mixture until just combined.
- Spread a thin layer of the pudding-cream cheese mixture on the bottom of a 9×13-inch dish.
- Arrange a single layer of vanilla wafers on top, then add a layer of sliced bananas. Spoon about one-third of the remaining pudding mixture over the bananas and spread gently.
- Repeat layers: wafers, bananas, pudding mixture, two more times, ending with a final layer of pudding mixture on top.
- In a clean bowl, whip 1 cup heavy whipping cream with 2 tablespoons powdered sugar and 1/2 teaspoon vanilla extract until soft peaks form. Spread over the top of the icebox cake. Garnish with crushed vanilla wafers if desired.
- Cover tightly with plastic wrap or foil and refrigerate for at least 8 hours, preferably overnight, before serving.
Notes
Use room temperature cream cheese to avoid lumps. Slice bananas evenly for consistent texture. Chill overnight for best results—the wafers soften into a cake-like texture. Keep refrigerated until serving. For a lighter version, use light whipped topping and sugar-free pudding mix.
Nutrition
- Serving Size: 1/12 of recipe
- Calories: 385
- Sugar: 28
- Sodium: 320
- Fat: 22
- Saturated Fat: 13
- Carbohydrates: 44
- Fiber: 2
- Protein: 5
Keywords: no-bake dessert, banana pudding, icebox cake, vanilla wafers, creamy dessert, summer dessert, potluck dessert