Love this? Save it for later!
Share the inspiration with your friends
There used to be this tiny bakery tucked into a corner of a sleepy Seattle neighborhood that made the most unforgettable artisan bread. When they closed their doors unexpectedly on a rainy Thursday morning, I was honestly crushed. That bread — with its impossibly crispy golden crust and soft, airy crumb — was my go-to comfort food for months. You know that feeling when you bite into something that just feels like home? Yeah, that.
I spent countless weekends trying to recreate that magic in my own kitchen. After about a dozen batches — some too dense, others with a crust that refused to crisp — I finally nailed it. The secret? No kneading, just time and a bit of patience. I mean, who has hours to spend folding dough anyway? This Easy No-Knead Artisan Bread recipe was born out of both frustration and determination, and honestly, it’s stuck with me ever since. Maybe you’ve been there — chasing a taste memory that just won’t quit.
Let me tell you, this bread isn’t just about the crust or crumb. It’s about the ritual of mixing simple ingredients, letting the dough slowly come alive overnight, and waking up to the smell of something truly special. That cracked bowl I used (which I nearly dropped one morning) now feels like a lucky charm. This recipe has that old bakery spirit, but it’s all yours to make at home — no fancy mixers or hours of elbow grease required.
Why You’ll Love This Recipe
Honestly, this Easy No-Knead Artisan Bread with Crispy Golden Crust checks all the boxes when it comes to homemade bread that’s both satisfying and simple. Here’s why it’s a winner in my book:
- Quick & Easy: The hands-on time is under 15 minutes, making it perfect for busy nights when you crave fresh bread but don’t want to slave away in the kitchen.
- Simple Ingredients: Flour, water, salt, and yeast—nothing fancy, nothing complicated. You probably already have these basics stocked.
- Perfect for Every Occasion: Whether it’s a cozy weekend brunch, a casual dinner with friends, or a no-fuss holiday side, this bread fits right in.
- Crowd-Pleaser: Kids and adults alike can’t get enough of its crunchy crust and tender inside. It’s the kind of bread that disappears fast at the table.
- Unbelievably Delicious: The crust really steals the show here — golden, crackling, with that satisfying snap you want in artisan bread.
What makes this recipe stand out? It’s the slow fermentation that develops deep flavor and the baking technique—using a covered Dutch oven or heavy pot—that creates steam and that perfect crust. No fancy gadgets, no intimidating steps. It’s approachable yet authentic, making you feel like you’ve got a little bakery magic in your kitchen.
Plus, there’s something undeniably comforting about the process. You mix it, forget it overnight, and wake up to a dough that’s ready to become a masterpiece. Honestly, after a long day, this bread makes me close my eyes and savor the moment. It’s simple, soulful, and just right every time.
What Ingredients You Will Need
This Easy No-Knead Artisan Bread recipe uses straightforward, wholesome ingredients that come together to create bold flavor and that perfect texture. Most are pantry staples, and substitutions are easy if needed.
- All-purpose flour: 3 cups (360g) – I prefer King Arthur flour for consistent results and great texture.
- Warm water: 1 ½ cups (360ml) – lukewarm, about 100°F (38°C), to help activate the yeast.
- Active dry yeast: 1/4 teaspoon – a small amount goes a long way with the slow fermentation.
- Salt: 1 teaspoon – fine sea salt works best for even seasoning.
Optional tweaks and substitutions:
- Use bread flour if you want a chewier crumb.
- Swap all-purpose flour with gluten-free flour blends for a gluten-free version, though texture may vary.
- For a richer flavor, replace 1/4 cup of water with buttermilk or add a tablespoon of olive oil.
- Fresh yeast can be used instead of active dry yeast, but adjust quantity accordingly.
- In colder months, I sometimes add a teaspoon of honey to give the yeast a little extra kick.
This recipe is pretty forgiving, so feel free to experiment within these guidelines. The magic really happens in the technique, not in complex ingredients.
Equipment Needed
- Large mixing bowl: For combining the dough. A glass or ceramic bowl works great and retains warmth well.
- Wooden spoon or spatula: To mix the sticky dough — no kneading tools needed here.
- Kitchen scale: Optional but recommended for precise measurements, especially of flour.
- Dutch oven or heavy oven-safe pot with lid: This is key for baking the bread to get that crispy crust. If you don’t have one, a deep baking dish covered tightly with foil can work.
- Parchment paper: Makes transferring the dough easier and keeps the pot clean.
- Cooling rack: To cool the bread evenly and prevent sogginess on the bottom.
Personally, I started with a budget-friendly cast iron pot I found at a thrift store, and it’s held up beautifully over the years. Maintaining your Dutch oven by seasoning it occasionally will keep it non-stick and ready for many loaves.
Preparation Method
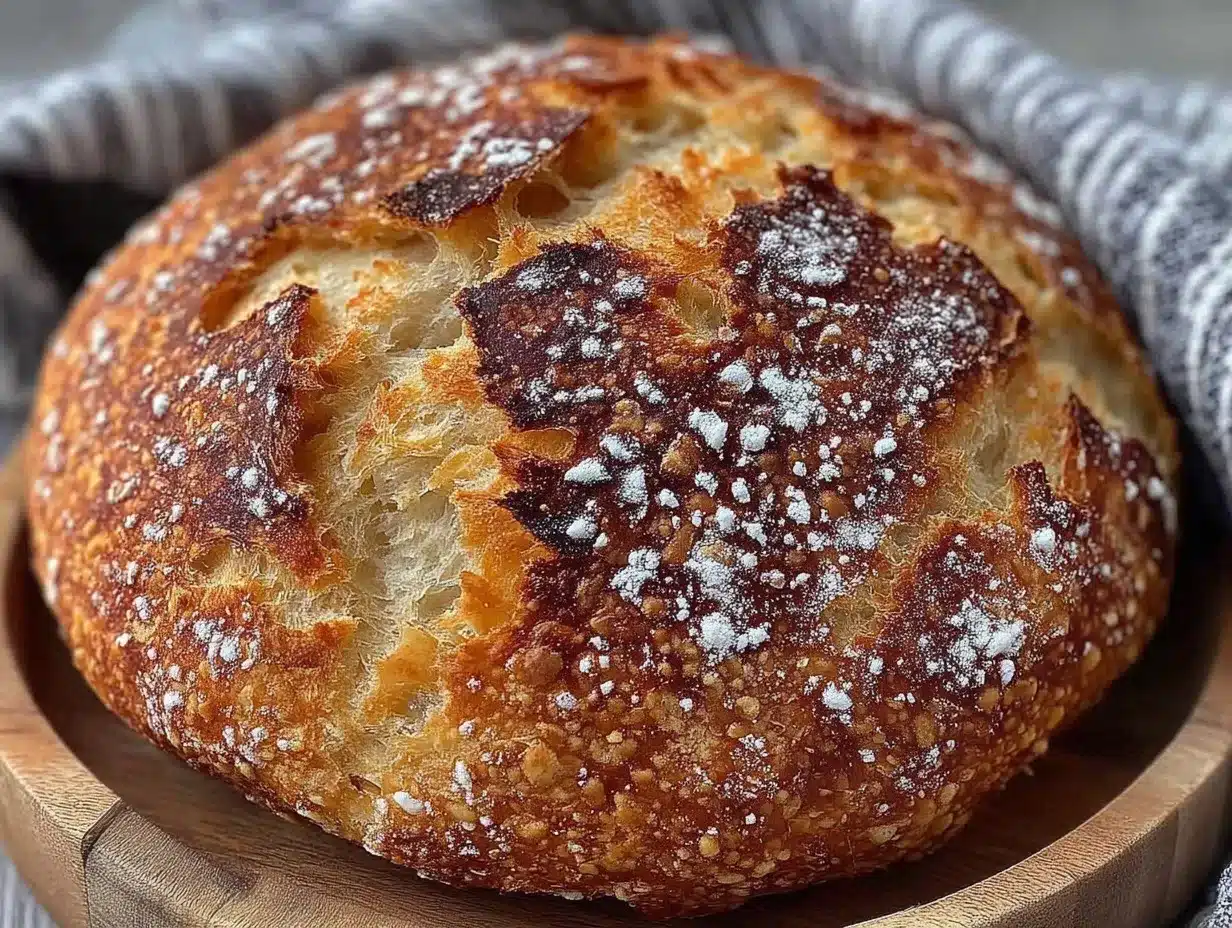
- Mix the dough (10 minutes): In your large mixing bowl, combine 3 cups (360g) of all-purpose flour, 1/4 teaspoon active dry yeast, and 1 teaspoon salt. Stir to blend evenly. Add 1 ½ cups (360ml) warm water and mix with a wooden spoon or spatula until a shaggy, sticky dough forms. Don’t worry if it looks messy — it’s supposed to!
- First rise (12-18 hours): Cover the bowl loosely with plastic wrap or a clean kitchen towel. Leave it at room temperature (around 70°F/21°C) overnight or for 12-18 hours. The dough will expand and bubble, smelling pleasantly yeasty. If it looks flat, it might need a bit more time.
- Shape the dough (5 minutes): Generously flour a clean surface and your hands. Turn out the dough carefully — it will be sticky and soft. Fold it over on itself a couple of times to form a rough ball. Let it rest uncovered for 15 minutes.
- Second rise (1-2 hours): Place the dough seam side down on a piece of parchment paper. Cover with a towel and let it rise until it’s puffy and almost doubled, about 1 to 2 hours depending on room temperature.
- Preheat your oven (30 minutes): About 30 minutes before baking, preheat your oven to 450°F (230°C). Place your Dutch oven with the lid inside the oven to heat.
- Bake the bread (45 minutes): When the oven and pot are hot, carefully remove the pot and lift the dough with the parchment paper into it. Cover with the lid and bake for 30 minutes. Then, remove the lid and bake for an additional 15 minutes uncovered to develop that golden, crispy crust.
- Cool completely (at least 1 hour): Transfer the bread to a cooling rack and let it cool before slicing. This step is crucial for the crumb to set properly.
Pro tip: If your dough is too sticky to handle, flour your hands and surface liberally, but avoid adding too much flour which can make the bread dense. Also, I accidentally spilled some flour on the floor during mixing once — hey, it happens!
Cooking Tips & Techniques
Making artisan bread at home can feel intimidating, but I’ve learned a few tricks that make this Easy No-Knead Artisan Bread recipe foolproof.
- Patience is your best friend: The long, slow rise develops flavor and texture. Don’t rush it—overnight fermentation is what transforms this dough.
- Use a hot Dutch oven: Preheating the pot creates steam that gives you the signature crust. I’ve tried baking without it, and honestly, the crust just isn’t the same.
- Don’t skip the cooling step: Slicing too soon makes the crumb gummy. Waiting at least an hour is tough but worth it.
- Keep the dough sticky: It looks strange at first, but that tackiness means your bread will have an open crumb and airy texture.
- Experiment with flour types: Mixing bread flour and all-purpose can yield a chewier bite. I’ve found a 50/50 blend works great.
- Watch the oven temperature: Every oven is different. Use an oven thermometer to keep it steady at 450°F (230°C).
Once, I forgot to cover the dough during the second rise and ended up with a dry crust on top — lesson learned! Covering keeps moisture in and helps the dough rise properly.
Variations & Adaptations
This no-knead bread recipe is a great canvas for creativity. Here are some ways to make it your own:
- Herb-infused: Add fresh rosemary, thyme, or oregano to the dough for a fragrant twist perfect for pairing with soups.
- Whole wheat blend: Replace half of the all-purpose flour with whole wheat for a nuttier flavor and more fiber.
- Seeded topping: Sprinkle sesame, poppy, or sunflower seeds on top before baking for extra crunch and visual appeal.
- Garlic and cheese: Fold in minced garlic and shredded Parmesan into the dough for a savory, indulgent loaf.
- Gluten-free: Use a gluten-free flour blend and xanthan gum, but expect a denser texture. Adding a tablespoon of psyllium husk powder can help mimic elasticity.
I once tried adding caramelized onions and it was a revelation—sweet, savory, and perfect with a smear of butter. Feel free to play around; this recipe is forgiving and fun.
Serving & Storage Suggestions
This Easy No-Knead Artisan Bread is best served warm, fresh from the oven, but it also holds up well for leftovers.
- Serving ideas: Slice thick for toast with jam, or thin for sandwiches. It pairs beautifully with olive oil and balsamic vinegar, soups, and hearty stews.
- Storage: Keep bread at room temperature in a paper bag or bread box for up to 2 days. Avoid plastic bags which trap moisture and soften the crust.
- Freezing: Slice and freeze in an airtight bag for up to 3 months. Toast slices directly from the freezer for a fresh-baked feel.
- Reheating: Warm the whole loaf in a 350°F (175°C) oven for 10 minutes to refresh the crust.
Over time, the flavor deepens slightly, making leftover bread even more delicious toasted or used in recipes like bread pudding or croutons.
Nutritional Information & Benefits
This bread is a straightforward, wholesome option with around 150 calories per slice (about 1/12th of the loaf). It provides a modest amount of protein and carbohydrates, making it a satisfying energy source.
The simplicity of ingredients means no hidden additives, and using high-quality flour can increase nutrient density. Opting for whole wheat flour boosts fiber and mineral content.
While not low-carb, this bread fits well into balanced diets and is free from common allergens like nuts and dairy. For gluten-free eaters, using appropriate flour blends keeps it inclusive.
From a wellness perspective, making bread at home gives you control over ingredients, avoids preservatives, and connects you with the satisfying rhythm of baking. I find it’s a small act of self-care.
Conclusion
This Easy No-Knead Artisan Bread with Crispy Golden Crust is more than a recipe — it’s a way to bring a bit of that unforgettable bakery magic into your own kitchen without stress or fuss. The slow rise, the crackling crust, and the tender crumb all come together to make a loaf you’ll want to bake again and again.
Feel free to tweak it based on your tastes—add herbs, whole grains, or seeds to make it yours. I keep coming back to this recipe because it’s reliable, delicious, and reminds me of that little Seattle bakery I miss so much.
If you give it a try, I’d love to hear how your bread turns out or any fun variations you’ve discovered. Share your story in the comments below, and happy baking!
FAQs
Can I use instant yeast instead of active dry yeast?
Yes! You can swap active dry yeast for instant yeast using the same amount. Instant yeast can be mixed directly into the flour without proofing.
What if I don’t have a Dutch oven?
You can use any heavy oven-safe pot with a lid or cover a baking dish tightly with aluminum foil to trap steam for the crust.
How do I know when the bread is fully baked?
The crust should be deep golden brown and crisp. You can also tap the bottom of the loaf—it should sound hollow.
Can I speed up the rising time?
While possible by warming the dough, rushing the rise sacrifices flavor. The long fermentation is what creates that wonderful taste and texture.
Is this bread suitable for sandwich making?
Absolutely! The crumb is airy but sturdy enough to hold sandwich fillings without falling apart.
Pin This Recipe!
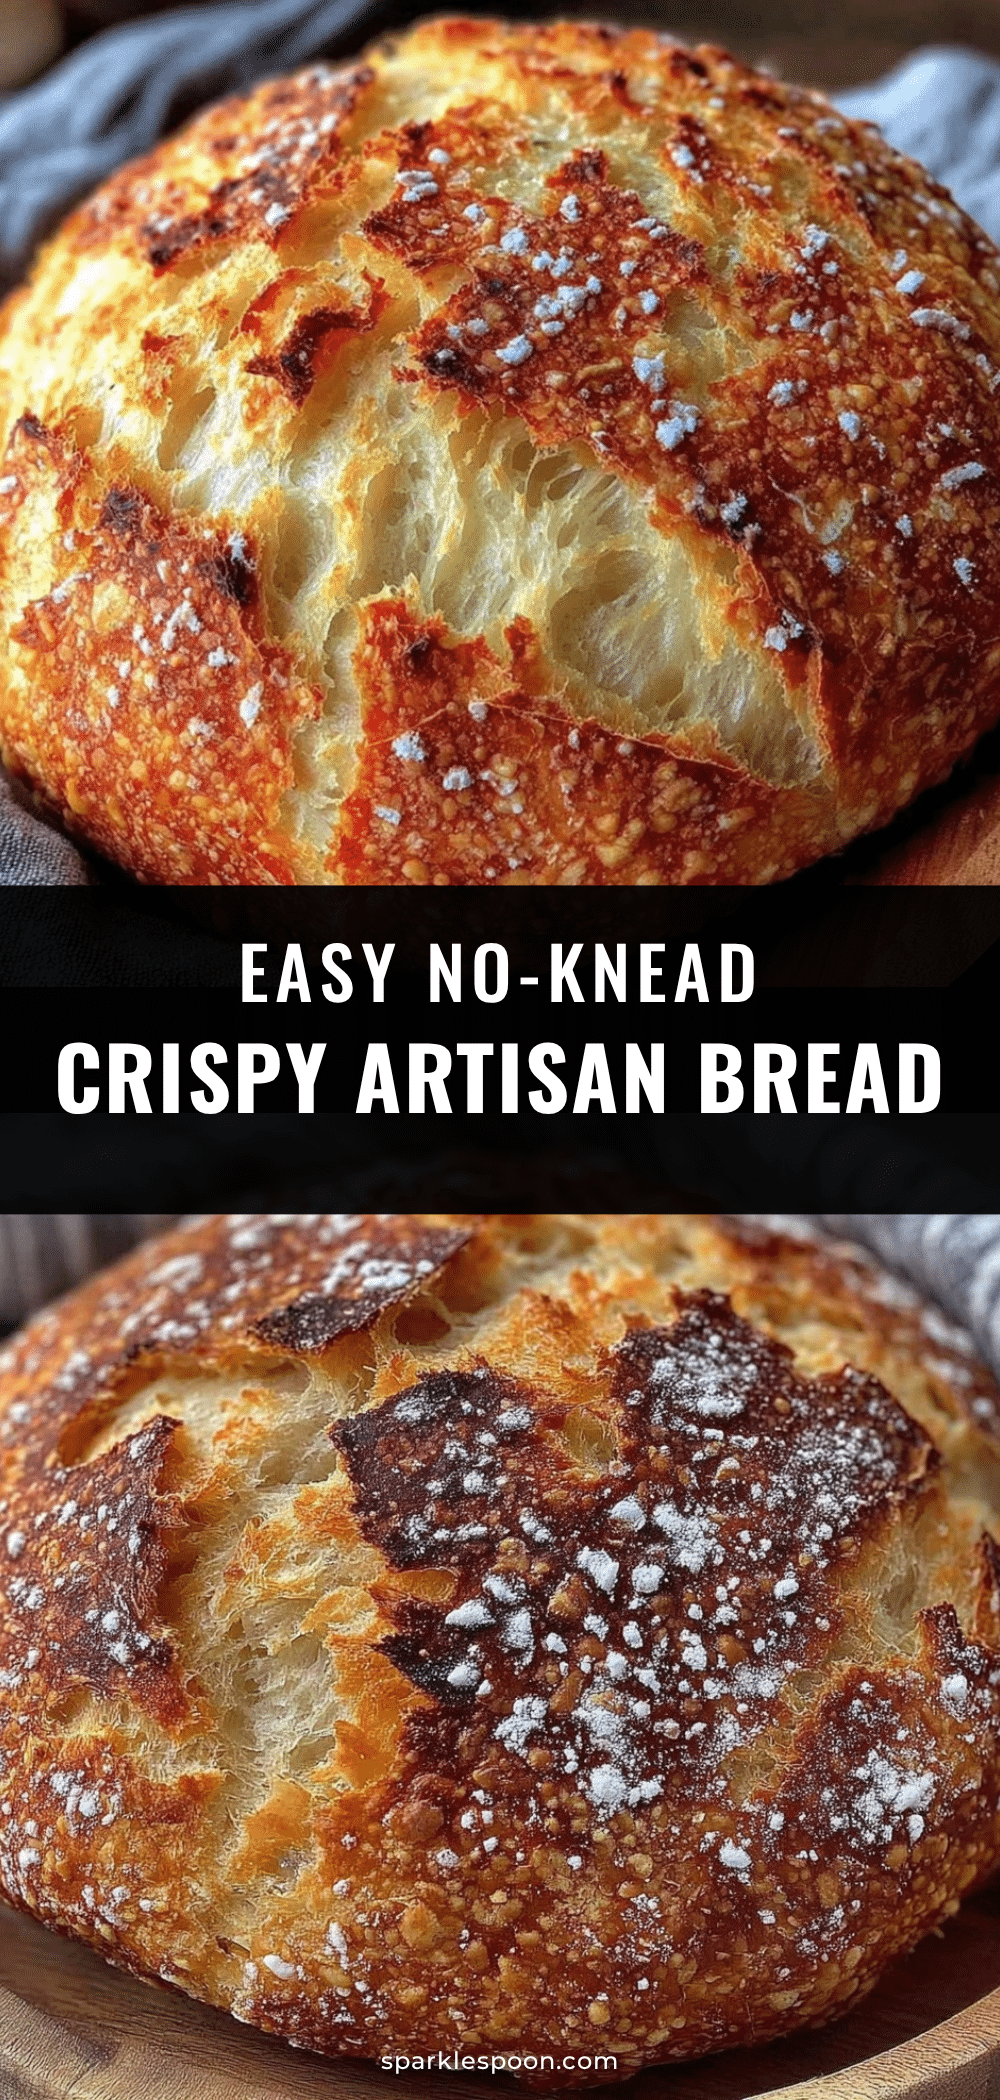
Easy No-Knead Artisan Bread Recipe with Crispy Golden Crust Perfect for Beginners
This easy no-knead artisan bread features a crispy golden crust and soft, airy crumb, perfect for beginners seeking homemade bakery-quality bread with minimal effort.
- Prep Time: 15 minutes
- Cook Time: 45 minutes
- Total Time: 13 hours
- Yield: 1 loaf (about 12 slices) 1x
- Category: Bread
- Cuisine: American
Ingredients
- 3 cups (360g) all-purpose flour
- 1 1/2 cups (360ml) warm water (about 100°F / 38°C)
- 1/4 teaspoon active dry yeast
- 1 teaspoon fine sea salt
Instructions
- Mix the dough (10 minutes): In a large mixing bowl, combine 3 cups (360g) all-purpose flour, 1/4 teaspoon active dry yeast, and 1 teaspoon salt. Stir to blend evenly. Add 1 1/2 cups (360ml) warm water and mix with a wooden spoon or spatula until a shaggy, sticky dough forms.
- First rise (12-18 hours): Cover the bowl loosely with plastic wrap or a clean kitchen towel. Leave it at room temperature (around 70°F / 21°C) overnight or for 12-18 hours until the dough expands and bubbles.
- Shape the dough (5 minutes): Generously flour a clean surface and your hands. Turn out the dough carefully, fold it over on itself a couple of times to form a rough ball, and let it rest uncovered for 15 minutes.
- Second rise (1-2 hours): Place the dough seam side down on parchment paper. Cover with a towel and let it rise until puffy and almost doubled, about 1 to 2 hours.
- Preheat oven (30 minutes): Preheat oven to 450°F (230°C). Place Dutch oven with lid inside to heat.
- Bake the bread (45 minutes): Remove hot pot from oven, lift dough with parchment paper into pot. Cover with lid and bake 30 minutes. Remove lid and bake an additional 15 minutes uncovered until golden and crispy.
- Cool completely (at least 1 hour): Transfer bread to a cooling rack and let cool before slicing.
Notes
Use a hot Dutch oven to create steam for a crispy crust. Avoid adding too much flour when handling sticky dough to prevent density. Let bread cool at least 1 hour before slicing to set crumb. Experiment with flour types or add herbs and seeds for variations.
Nutrition
- Serving Size: 1 slice (1/12th of l
- Calories: 150
- Sodium: 230
- Fat: 0.5
- Carbohydrates: 30
- Fiber: 1
- Protein: 5
Keywords: no-knead bread, artisan bread, easy bread recipe, homemade bread, crispy crust bread, beginner bread recipe



