Love this? Save it for later!
Share the inspiration with your friends
Introduction
There used to be this tiny bakery tucked away in the corner of a bustling Seattle farmers market that made the most unforgettable wild huckleberry pie. When they closed down suddenly one chilly autumn, I was crushed. Honestly, I never thought I’d find anything quite like that pie again — the way the wild huckleberries burst with tart sweetness balanced by that flaky, golden lattice crust was pure magic. After about a dozen messy attempts and a few near disasters involving spilled flour and a stubborn rolling pin, I finally got it right. This classic wild huckleberry pie with lattice crust is the result of that stubborn obsession.
I mean, you know that feeling when a dish sticks in your mind so vividly you can’t stop thinking about it? That pie haunted me for months. I remember one Saturday afternoon, the sun streaming through my kitchen window, my hands dusted with flour as I carefully wove the lattice strips. The smell of the baking berries and butter wafting through the house brought back memories of that market stall and the friendly woman who served me my first slice. Maybe you’ve been there — chasing a taste from the past, hoping to recreate a little piece of happiness. This pie stayed with me because it’s not just dessert; it’s a story in every bite.
Why You’ll Love This Recipe
This classic wild huckleberry pie recipe isn’t just another fruit pie; it’s a slice of nostalgia wrapped in buttery, flaky goodness. After testing it through several seasons and sharing it with family and friends, I can confidently say it’s a winner. Here’s why you’ll want to make it your go-to dessert:
- Quick & Easy: The filling comes together in under 15 minutes, making it perfect for spontaneous baking urges or last-minute gatherings.
- Simple Ingredients: Using pantry staples and fresh wild huckleberries (or frozen if you can’t find fresh), no hunting for obscure items needed.
- Perfect for Special Occasions: Whether it’s a summer picnic, a cozy autumn dinner, or a holiday celebration, this pie fits right in.
- Crowd-Pleaser: Kids and adults alike rave about that juicy, slightly tart filling paired with the buttery crust.
- Unbelievably Delicious: The lattice crust isn’t just for show — it bakes up crisp and golden, letting the berries peek through and caramelize beautifully.
What sets this recipe apart is the careful balance of tart wild huckleberries and just the right amount of sugar, plus a crust recipe I’ve tweaked for flaky layers without fuss. Plus, the lattice topping adds charm and a slight crunch that turns a simple pie into something memorable. Honestly, this isn’t just a recipe — it’s the kind of pie that makes you close your eyes and savor every bite.
What Ingredients You Will Need
To get that perfect wild huckleberry pie, we’re sticking to simple, wholesome ingredients that highlight the flavor of the berries while keeping the crust tender and flaky. Most of these you probably already have in your kitchen.
- For the Filling:
- 4 cups wild huckleberries (fresh or frozen; if frozen, thaw and drain excess liquid)
- 3/4 cup granulated sugar (adjust to taste depending on berry tartness)
- 2 tablespoons cornstarch (for thickening)
- 1 tablespoon fresh lemon juice (brightens the filling)
- 1/2 teaspoon ground cinnamon (optional, adds warmth)
- Pinch of salt (balances sweetness)
- For the Pie Crust:
- 2 1/2 cups all-purpose flour (I prefer King Arthur Flour for consistent texture)
- 1 teaspoon salt
- 1 cup unsalted butter, cold and cubed (use high-quality butter like Kerrygold for richness)
- 6-8 tablespoons ice water (add gradually to bring dough together)
- For the Egg Wash:
- 1 large egg, beaten with 1 tablespoon water (gives the crust a golden sheen)
- Optional Toppings:
- Coarse sugar for sprinkling (adds crunch and sparkle)
Pro tip: If you can’t find wild huckleberries, blueberries make a decent stand-in, though the flavor won’t be quite as bold. For a gluten-free crust option, swap all-purpose flour with a 1:1 gluten-free baking mix. Just keep in mind the texture will differ slightly.
Equipment Needed
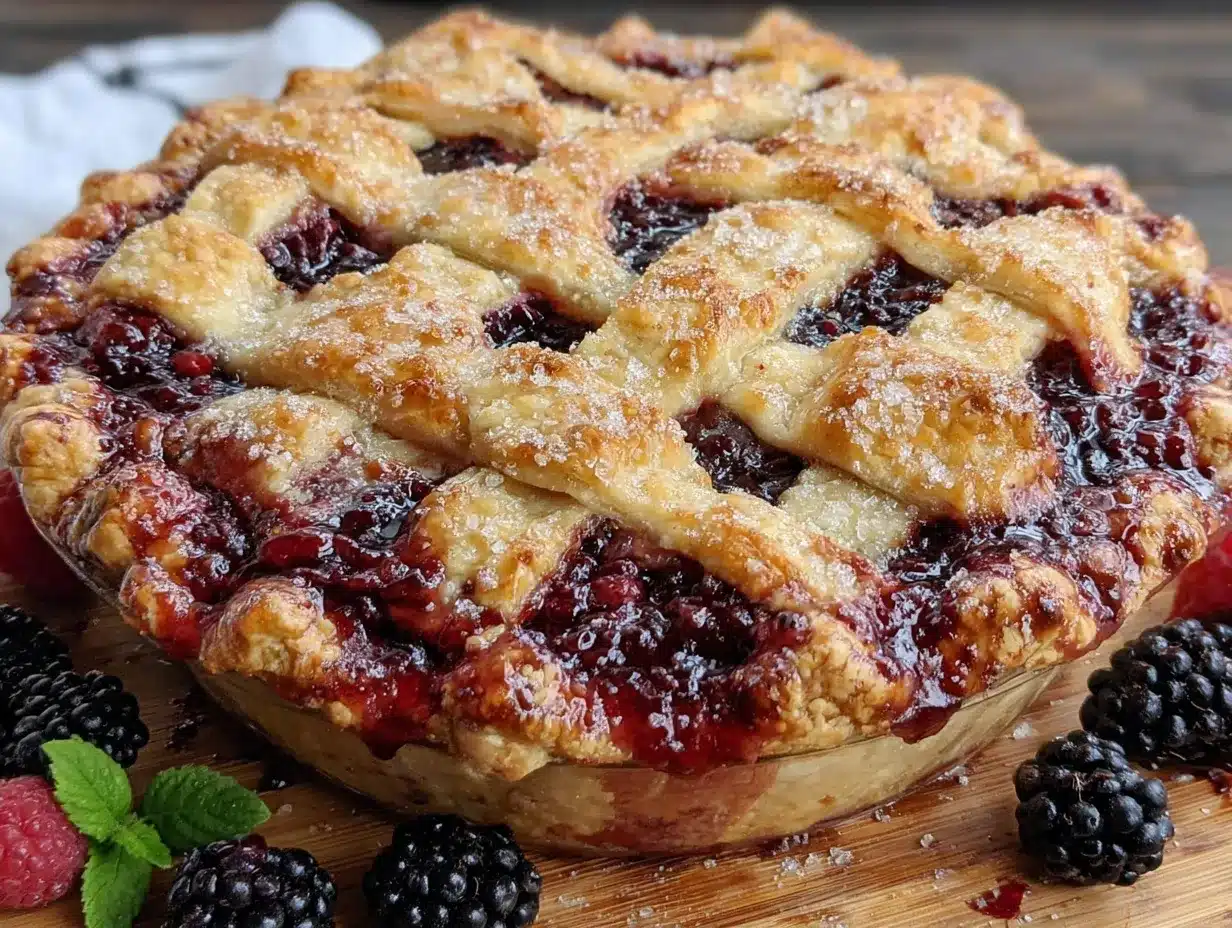
- 9-inch (23 cm) pie dish – glass or ceramic works best to monitor crust color
- Mixing bowls – one large for dough, one medium for filling
- Rolling pin – a classic wooden one or silicone, depending on your preference
- Pastry cutter or food processor (optional) for cutting butter into flour
- Bench scraper or sharp knife for making lattice strips
- Pastry brush for egg wash
- Measuring cups and spoons
Honestly, I’ve made this pie with everything from a trusty old rolling pin passed down from my grandma to a fancy stainless steel one. Each has its quirks, but I find a wooden rolling pin gives just the right amount of control when rolling out dough thinly. If you don’t have a pastry cutter, you can use two butter knives to cut the butter into the flour — it’s a bit messier but works just fine. A bench scraper is a game-changer for lifting the dough and shaping the lattice crisp and clean.
Preparation Method
- Make the Pie Dough: In a large bowl, whisk together 2 1/2 cups flour and 1 teaspoon salt. Add the cold, cubed butter. Using a pastry cutter or your fingers, quickly work the butter into the flour until the mixture resembles coarse crumbs with pea-sized pieces. This step is crucial for flaky layers — don’t overwork the dough.
(Time: 5-7 minutes) - Add Ice Water: Gradually drizzle in 6 tablespoons of ice water, mixing gently with a fork after each addition. Add just enough so the dough holds together when pressed. Form the dough into two discs, wrap in plastic wrap, and refrigerate for at least 1 hour.
(Time: 1 hour chilling) - Prepare the Filling: In a medium bowl, combine wild huckleberries, sugar, cornstarch, lemon juice, cinnamon (if using), and a pinch of salt. Gently toss to coat evenly. Let sit while dough chills to allow flavors to meld.
(Time: 10 minutes) - Roll Out Bottom Crust: On a lightly floured surface, roll out one dough disc into a 12-inch circle about 1/8 inch thick. Carefully transfer it to the pie dish, easing it into place without stretching. Trim any excess dough hanging over the edges.
(Time: 10 minutes) - Fill and Add Lattice Top: Pour the berry filling into the crust, spreading evenly. Roll out second dough disc into a 12-inch circle. Using a sharp knife or pizza cutter, slice into 1/2-inch wide strips. Lay half the strips parallel over the filling. Fold back every other strip, then lay one strip perpendicular, unfolding the folded strips over it. Repeat weaving until lattice is complete. Trim and tuck edges under bottom crust, pressing to seal.
(Time: 15-20 minutes) - Apply Egg Wash and Sugar: Brush the lattice and edges with the beaten egg wash. Sprinkle coarse sugar over top for sparkle and crunch.
(Time: 5 minutes) - Bake the Pie: Place the pie on a baking sheet to catch drips. Bake in a preheated 375°F (190°C) oven for 45-50 minutes, or until crust is golden and filling is bubbling. If edges brown too quickly, cover them with foil halfway through baking.
(Time: 45-50 minutes) - Cool and Serve: Allow pie to cool at least 2 hours to let filling set properly before slicing.
(Time: 2 hours)
Note: If your kitchen gets warm and dough becomes sticky, pop it back in the fridge for 10 minutes before continuing. I’ve found that patience during dough handling pays off big time in crust texture.
Cooking Tips & Techniques
Getting the perfect wild huckleberry pie is all about technique and timing. Here are some lessons I learned the hard way:
- Keep Ingredients Cold: Cold butter and ice water are your best friends. Warm butter melts into dough and ruins flakiness.
- Don’t Overwork Dough: Mix just until combined. Over-kneading develops gluten, making crust tough.
- Weave Lattice Carefully: Take your time to get neat strips and a tight weave. It looks fancy but isn’t too hard with practice.
- Prevent Soggy Bottom: Use cornstarch to thicken the filling; drain frozen berries well to avoid excess liquid.
- Watch Oven Temperature: Too hot and edges burn; too low and crust won’t crisp. Tent edges with foil if needed.
- Cool Completely: Slicing hot pie leads to runny filling. I always set a timer for at least 2 hours before serving.
One time, I forgot to brush the egg wash before baking — the crust baked up pale and dull. Lesson learned: that golden shine makes a huge difference in presentation and texture.
Variations & Adaptations
Want to change things up? Here are a few ways I’ve tweaked this classic wild huckleberry pie recipe:
- Dietary Variation: For a vegan version, swap butter with coconut oil and use a flax egg for the wash. The crust turns out slightly different but still delicious.
- Seasonal Twist: In summer, I like to mix wild huckleberries with fresh raspberries or blackberries for a mixed berry pie with a richer flavor.
- Flavor Boost: Adding a splash of vanilla extract or a teaspoon of almond extract to the filling can deepen flavor.
- Cooking Method: If you’re short on time, try making mini hand pies — bake at 400°F (205°C) for 20 minutes. Perfect for picnics or lunchboxes.
- Sweetness Adjustment: For a less sweet pie, reduce sugar to 1/2 cup and add a tablespoon of honey or maple syrup for complexity.
Personally, I once made this pie with a crumble topping instead of lattice when my hands were too tired to weave strips. It was a hit, though I do prefer that classic lattice look and texture.
Serving & Storage Suggestions
This wild huckleberry pie is best served slightly warm or at room temperature to really enjoy the juicy filling and flaky crust. I love pairing it with a scoop of vanilla ice cream or a dollop of whipped cream for added richness.
If you’re serving at a gathering, slice it just before serving so the crust stays crisp. Leftovers keep well in the fridge for up to 3 days, tightly covered. To reheat, warm slices in a 350°F (175°C) oven for 10-15 minutes to bring back that fresh-baked texture.
You can also freeze the pie before baking — wrap it tightly in plastic wrap and foil, then bake from frozen, adding about 15 extra minutes to baking time. Flavors actually deepen after a day or two, so it tastes even better the next day!
Nutritional Information & Benefits
This classic wild huckleberry pie offers a decent dose of antioxidants thanks to the wild huckleberries, which are rich in vitamins C and K. The berries also provide dietary fiber, supporting digestion. While the pie does have sugar and butter, using quality ingredients and portion control makes it a lovely occasional treat.
For those mindful of gluten, swapping the crust for a gluten-free version keeps the pie accessible. The recipe isn’t naturally low-carb, but you could experiment with almond flour crusts for a lower-carb take.
Overall, this pie is a satisfying way to enjoy seasonal fruit with homemade goodness, making dessert feel special without complicated ingredients or techniques.
Conclusion
After all those attempts and a few kitchen mishaps, this classic wild huckleberry pie with lattice crust feels like a small victory — a tribute to that little bakery that once inspired me. It’s a recipe that brings together simple ingredients, a bit of patience, and a lot of heart. I hope you find joy in making and sharing it as much as I do.
Don’t hesitate to adjust sweetness or crust thickness to match your preferences — this pie is forgiving and versatile. If you try it, I’d love to hear how your pie turned out or what variations you tried. Baking is as much about experimenting and sharing stories as it is about the final slice.
Here’s to many cozy moments with this pie, whether you’re chasing memories or creating new ones. Happy baking!
FAQs
Can I use frozen wild huckleberries for this pie?
Yes, frozen wild huckleberries work well. Just thaw them completely and drain excess liquid to avoid a watery filling.
How do I prevent the crust edges from burning?
Cover the edges with foil halfway through baking to protect them while the center finishes baking.
What can I substitute for cornstarch in the filling?
You can use arrowroot powder or tapioca starch as thickening alternatives if preferred.
Can I make this pie ahead of time?
Absolutely! You can assemble it a day ahead and refrigerate, then bake just before serving for fresh flavor.
How do I store leftover pie?
Cover leftovers tightly and store in the refrigerator for up to 3 days. Reheat slices in the oven to refresh the crust.
Pin This Recipe!
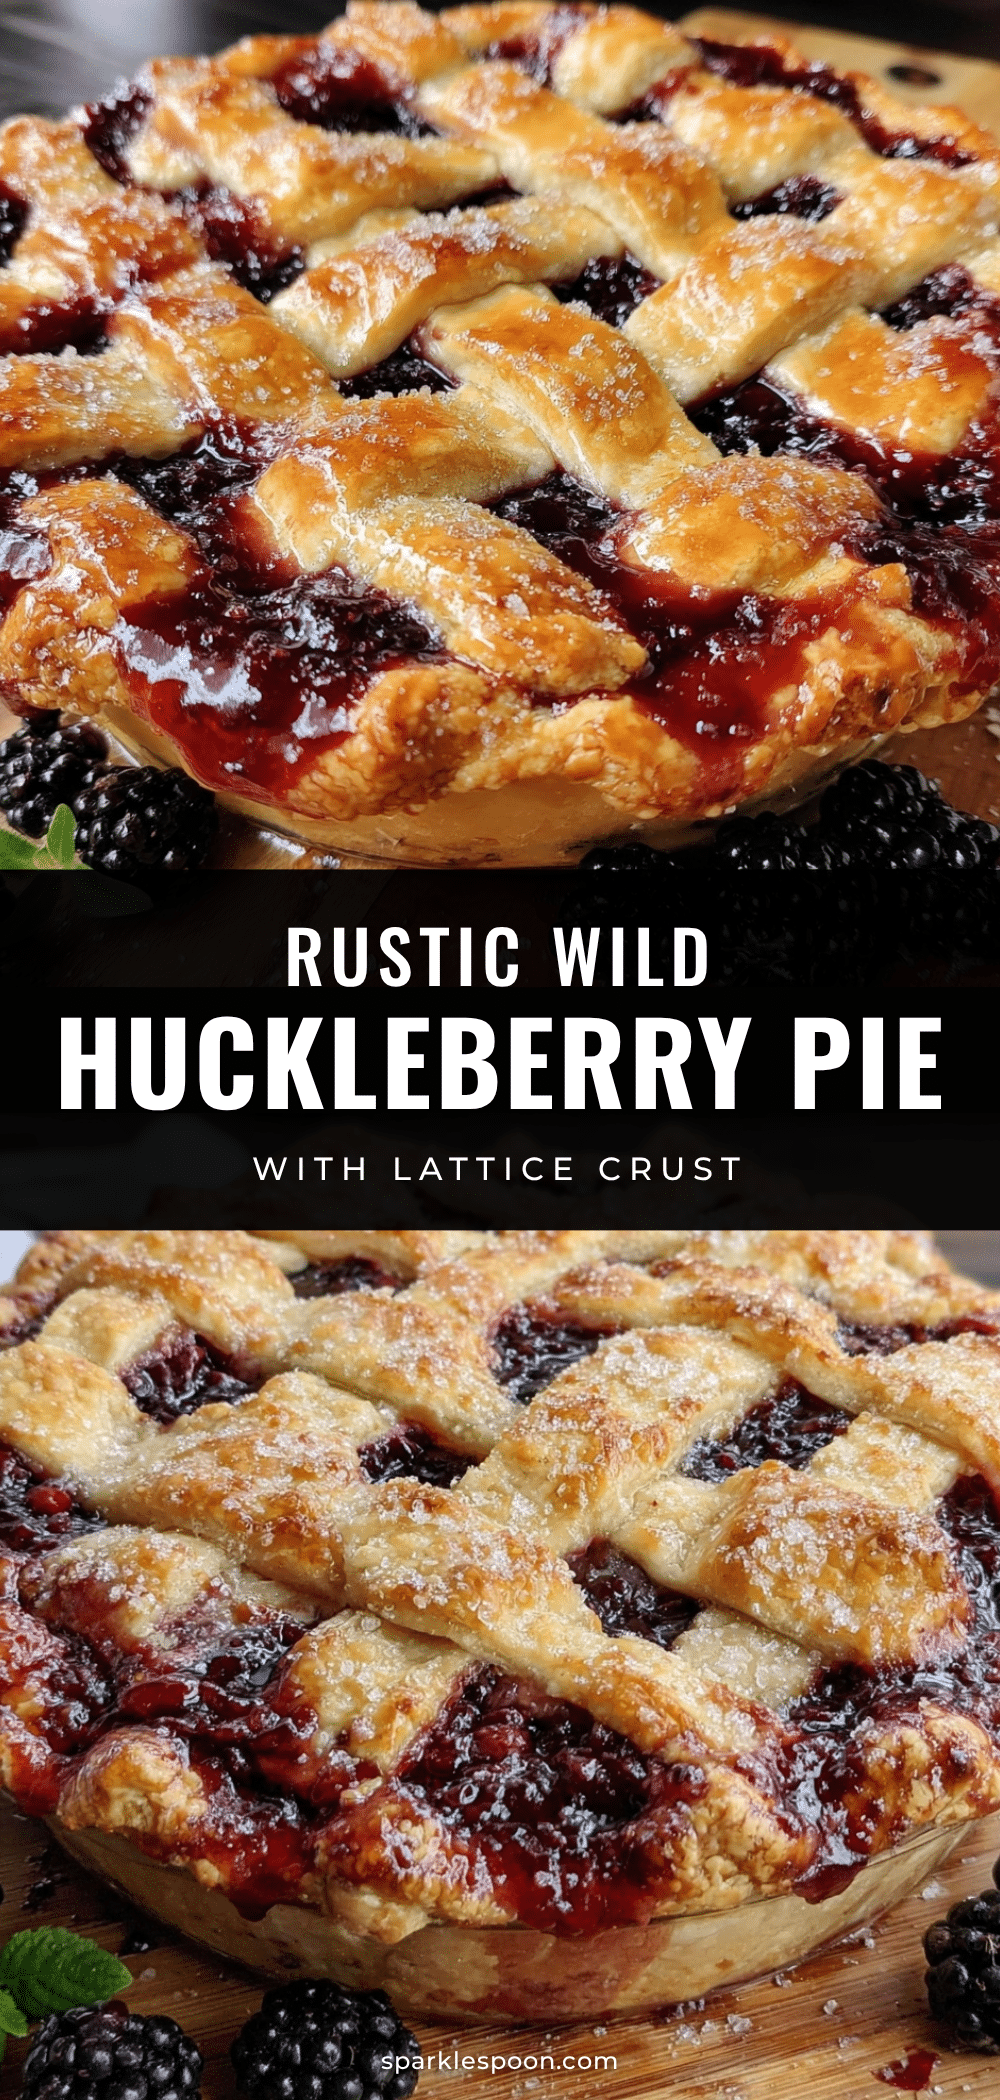
Classic Wild Huckleberry Pie Recipe Easy Homemade Lattice Crust Guide
A nostalgic wild huckleberry pie with a flaky, buttery lattice crust and a perfectly balanced tart and sweet filling. This recipe is easy to make and perfect for special occasions or cozy gatherings.
- Prep Time: 1 hour 30 minutes
- Cook Time: 45-50 minutes
- Total Time: 2 hours 15-20 minutes
- Yield: 8 servings 1x
- Category: Dessert
- Cuisine: American
Ingredients
- 4 cups wild huckleberries (fresh or frozen; if frozen, thaw and drain excess liquid)
- 3/4 cup granulated sugar (adjust to taste depending on berry tartness)
- 2 tablespoons cornstarch (for thickening)
- 1 tablespoon fresh lemon juice (brightens the filling)
- 1/2 teaspoon ground cinnamon (optional, adds warmth)
- Pinch of salt (balances sweetness)
- 2 1/2 cups all-purpose flour
- 1 teaspoon salt
- 1 cup unsalted butter, cold and cubed
- 6–8 tablespoons ice water (add gradually to bring dough together)
- 1 large egg, beaten with 1 tablespoon water (for egg wash)
- Coarse sugar for sprinkling (optional)
Instructions
- Make the Pie Dough: In a large bowl, whisk together 2 1/2 cups flour and 1 teaspoon salt. Add the cold, cubed butter. Using a pastry cutter or your fingers, quickly work the butter into the flour until the mixture resembles coarse crumbs with pea-sized pieces. Don’t overwork the dough. (5-7 minutes)
- Add Ice Water: Gradually drizzle in 6 tablespoons of ice water, mixing gently with a fork after each addition. Add just enough so the dough holds together when pressed. Form the dough into two discs, wrap in plastic wrap, and refrigerate for at least 1 hour.
- Prepare the Filling: In a medium bowl, combine wild huckleberries, sugar, cornstarch, lemon juice, cinnamon (if using), and a pinch of salt. Gently toss to coat evenly. Let sit while dough chills to allow flavors to meld. (10 minutes)
- Roll Out Bottom Crust: On a lightly floured surface, roll out one dough disc into a 12-inch circle about 1/8 inch thick. Carefully transfer it to the pie dish, easing it into place without stretching. Trim any excess dough hanging over the edges. (10 minutes)
- Fill and Add Lattice Top: Pour the berry filling into the crust, spreading evenly. Roll out second dough disc into a 12-inch circle. Using a sharp knife or pizza cutter, slice into 1/2-inch wide strips. Lay half the strips parallel over the filling. Fold back every other strip, then lay one strip perpendicular, unfolding the folded strips over it. Repeat weaving until lattice is complete. Trim and tuck edges under bottom crust, pressing to seal. (15-20 minutes)
- Apply Egg Wash and Sugar: Brush the lattice and edges with the beaten egg wash. Sprinkle coarse sugar over top for sparkle and crunch. (5 minutes)
- Bake the Pie: Place the pie on a baking sheet to catch drips. Bake in a preheated 375°F (190°C) oven for 45-50 minutes, or until crust is golden and filling is bubbling. If edges brown too quickly, cover them with foil halfway through baking. (45-50 minutes)
- Cool and Serve: Allow pie to cool at least 2 hours to let filling set properly before slicing. (2 hours)
Notes
Keep ingredients cold for flaky crust. Don’t overwork dough to avoid toughness. Weave lattice carefully for a neat appearance. Use cornstarch to prevent soggy bottom. Cover edges with foil if browning too fast. Cool pie completely before slicing to set filling. Frozen berries must be thawed and drained. For gluten-free crust, substitute flour with 1:1 gluten-free baking mix. Vegan option: use coconut oil and flax egg.
Nutrition
- Serving Size: 1 slice (1/8 of pie)
- Calories: 350
- Sugar: 22
- Sodium: 210
- Fat: 18
- Saturated Fat: 11
- Carbohydrates: 44
- Fiber: 3
- Protein: 3
Keywords: wild huckleberry pie, lattice crust, homemade pie, berry pie, dessert, easy pie recipe, fruit pie, baking



