Love this? Save it for later!
Share the inspiration with your friends
Introduction
The other afternoon, I was standing in the parking lot of my local farmers market, juggling a basket of fresh produce and a too-heavy tote bag, when the faint, tangy scent of dill and vinegar whipped past me on a warm breeze. Suddenly, I was ten years old again, crouched on the cool concrete porch of my neighbor Mrs. Hensley’s farmhouse, watching her carefully pack green beans into jars with that unmistakable clink of glass and the sharp rustle of dill sprigs. Her kitchen was always a jumble of jars and boiling water—organized chaos, really—and I remember the way the beans snapped when you bit into them, the perfect crunch that seemed almost magical. I wasn’t supposed to touch the jars, but I always peeked, fascinated by those crisp, emerald beans lined up like little soldiers.
Honestly, I forgot my shopping list that day, got distracted by the memory, and spilled a bit of my iced tea on the straps of my bag. But that moment stuck with me. I mean, you know that feeling when a simple smell or taste pulls you back to a place that feels both close and impossibly far? That’s exactly why I keep coming back to this crisp pressure canned dilly green beans recipe. It’s not just about preserving the beans; it’s about capturing that exact crunch and tang from Mrs. Hensley’s porch, now in my own kitchen, jar by jar. Maybe you’ve been there too—trying to catch a fleeting memory in a bite. If so, this recipe might just bring you home.
Why You’ll Love This Recipe
After years of experimenting with canning, I can say this crisp pressure canned dilly green beans recipe really stands out. It’s been tested in my kitchen multiple times, and I’ve learned what works and what trips you up (spoiler: timing is everything). Plus, it’s been family-approved and shared with friends who keep asking for the secret. Here’s why it’s a keeper:
- Quick & Easy: The prep and canning process usually takes under 90 minutes, so it’s perfect for busy days when you want homemade goodness without a marathon kitchen session.
- Simple Ingredients: No need for fancy spices or hard-to-find items—just fresh green beans, good-quality dill, vinegar, garlic, and salt. I personally recommend using fresh dill from your garden or a trusted local source for the best flavor.
- Perfect for Home Canning: Designed specifically for pressure canning, this recipe keeps your beans crisp and safe to store for months, making it ideal for preserving summer’s bounty or gifting to friends.
- Crowd-Pleaser: Kids and adults alike love the tangy crunch, and they’re fantastic as snacks, side dishes, or cocktail garnishes.
- Unbelievably Delicious: The balance between tart vinegar and bright dill packs a punch, while the pressure canning technique locks in that fresh snap you expect from just-picked beans.
This isn’t just any green bean recipe; it’s the one I come back to when I want that perfect jar of summer to open in the dead of winter. Honestly, it’s comfort food in a jar, no fuss, just pure, satisfying crunch.
What Ingredients You Will Need
This recipe relies on fresh, wholesome ingredients to create a vibrant, flavorful canned green bean that holds its crispness well. Most of these are pantry staples or easy to source from your local market or garden.
- Fresh green beans: 5 pounds (about 2.3 kg), preferably firm and bright green, trimmed to fit jars (I like using Kentucky Wonder beans for their size and texture)
- Fresh dill: 5 medium sprigs per quart jar (or about 15 sprigs total for 3 quarts), with fronds and stems (garden-fresh dill makes a huge flavor difference)
- Garlic cloves: 3 large cloves, peeled and halved per quart jar (adds a subtle spicy kick)
- Pickling salt: 3 tablespoons (use canning or pickling salt to avoid cloudiness)
- White vinegar (5% acidity): 4 cups (960 ml), for the pickling brine
- Water: 8 cups (1.9 liters), used to dilute the vinegar for the brine
- Optional: Red pepper flakes (1/2 teaspoon per jar for a gentle heat), or a bay leaf for subtle depth
For substitutions, if you’re looking for a low-sodium option, reduce salt to 2 tablespoons but be mindful it might affect preservation and flavor. If you don’t have fresh dill, dried won’t quite cut it here—the fresh herb is key to that bright dill taste. When it comes to vinegar, I recommend sticking to white distilled vinegar for its clean, sharp acidity, essential for safe canning.
Equipment Needed
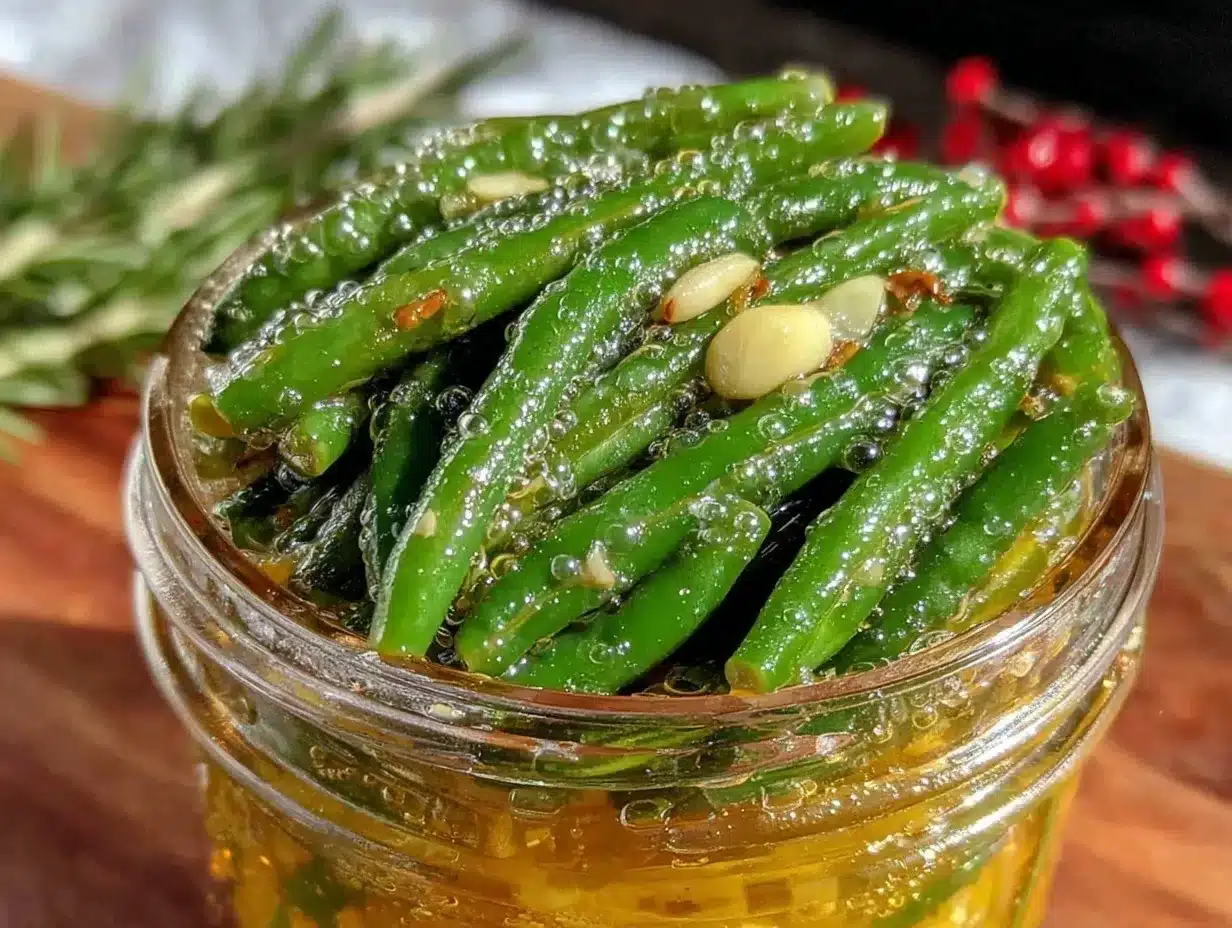
Pressure canning green beans requires some specific tools, but nothing too fancy or expensive if you’re just starting out. Here’s what you’ll want on hand:
- Pressure canner: Essential for safe canning of low-acid vegetables like green beans. I’ve used the Presto 23-quart model with great results—budget-friendly and reliable.
- Wide-mouth quart canning jars: 3 jars, sterilized and inspected for chips or cracks.
- Lids and bands: New lids are a must for a proper seal; bands can be reused if in good shape.
- Jar lifter: For safely moving hot jars in and out of the canner—trust me, you don’t want to skip this.
- Large pot: To blanch beans if you prefer, or to prepare the brine.
- Funnel: Makes filling jars mess-free and easy.
- Clean towels and a magnetic lid lifter: Handy for wiping rims and removing lids from hot water.
If you don’t have a pressure canner, this recipe isn’t safe to do with a water bath canner due to the low acidity of green beans. But trust me, once you get one, you’ll find yourself canning all sorts of vegetables. Just remember to calibrate your pressure canner regularly for accuracy!
Preparation Method
- Prepare your jars and lids: Sterilize 3 quart jars by boiling them or running through a dishwasher cycle. Keep lids in hot water to soften sealing compound. Time needed: ~15 minutes.
- Wash and trim green beans: Rinse beans thoroughly, then snap or cut off stem ends, trimming to fit jars vertically (about 4 inches). Tip: Keeping beans whole helps maintain crispness. Time needed: ~20 minutes.
- Prepare brine: In a large pot, combine 4 cups white vinegar (5% acidity), 8 cups water, and 3 tablespoons pickling salt. Bring to a simmer, stirring to dissolve salt. Do not boil vigorously to avoid evaporation. Time needed: ~10 minutes.
- Pack jars: Into each sterilized jar, place 5 sprigs dill and 3 halved garlic cloves. Then pack green beans snugly but not overly tight to allow brine circulation.
- Fill jars with hot brine: Using a funnel, pour the hot brine over the beans, leaving 1/2-inch (1.3 cm) headspace. Remove air bubbles by running a non-metallic spatula around the jar’s inside. Adjust headspace if needed.
- Wipe rims and seal: Wipe jar rims with a clean, damp cloth to ensure a good seal. Place lids on jars and screw bands until fingertip-tight—don’t overtighten.
- Process in pressure canner: Place jars on rack inside the pressure canner with 2-3 inches (5-7.5 cm) water. Seal the lid and vent steam for 10 minutes. Then close vent and bring pressure to 10 pounds (11 psi at altitudes above 1,000 feet). Process jars for 25 minutes.
- Cool and store: After processing, turn off heat and let pressure return to zero naturally. Wait 5 minutes, then remove lid carefully. Lift jars with a jar lifter and place on a towel to cool for 12-24 hours. Check seals before storing in a cool, dark place.
Note: If you notice cloudy brine or soft beans after canning, it might be a sign of improper processing or old jars. Always test your pressure canner’s accuracy and use fresh produce.
Cooking Tips & Techniques
One of the trickiest parts of pressure canning dilly green beans is maintaining that coveted crispness while making sure the beans are safely preserved. Here’s what I’ve learned the hard way:
- Use fresh, firm beans: Beans on the verge of wilting won’t hold up well in canning. I always pick green beans that snap when bent.
- Don’t overpack jars: Too tight and the brine can’t circulate, leading to uneven flavor and texture.
- Keep your brine hot: Pouring hot brine over beans helps maintain texture and ensures bacterial safety.
- Vent steam fully: Proper venting before pressurizing removes air and helps reach true processing pressure.
- Timing is key: Under-processing risks spoilage; over-processing can make beans mushy. Stick closely to recommended times.
- Test your seals: After cooling, press the center of lids—if they pop back, refrigerate and use those beans first.
Honestly, I once tried skipping the steam venting step and ended up with a batch of soft beans and frustrated nerves. Learned my lesson! Patience and precision make all the difference in this recipe’s success.
Variations & Adaptations
This crisp pressure canned dilly green beans recipe is flexible enough to suit different tastes and dietary needs. Here are some ways to switch it up:
- Spicy kick: Add 1/2 teaspoon red pepper flakes per jar for a subtle heat that pairs beautifully with the dill.
- Garlic lovers’ delight: Double the garlic cloves for a more pronounced garlicky flavor that’s perfect for snacking.
- Low-sodium version: Reduce pickling salt to 2 tablespoons or use a salt substitute, but be mindful this may affect preservation and flavor.
- Alternative herbs: Swap dill for fresh tarragon or basil for a different herbal note; just remember it changes the flavor profile.
- Smoked beans: For a unique twist, briefly smoke the green beans before canning, adding a subtle smoky aroma that pairs well with the tang.
Personally, I once tried adding a bay leaf to each jar for a hint of warmth during fall canning season—it was a hit at our family potluck. Feel free to experiment, but keep the core acid and salt levels consistent for safety.
Serving & Storage Suggestions
Once your crisp pressure canned dilly green beans are ready, the fun really begins. Serve them chilled or at room temperature—perfect as a crunchy side dish, a snack straight from the jar, or a garnish for Bloody Mary cocktails. They add a bright pop of flavor to any charcuterie board or picnic spread.
Store your sealed jars in a cool, dark place like a pantry or cellar. Properly canned beans will keep for up to one year, though I find the flavor and texture are best within six months. Once opened, refrigerate and consume within 2-3 weeks.
To reheat, you can warm them gently in a saucepan or microwave, but honestly, they’re best eaten cold to preserve that snap. Over time, the flavors mellow and blend, so if you let them sit a few weeks, you’ll get a deeper, mellower dill bite.
Nutritional Information & Benefits
This recipe offers a low-calorie, nutrient-rich snack or side dish. Green beans provide dietary fiber, vitamins A and C, and minerals like manganese, while dill adds antioxidants and digestive benefits. The vinegar in the brine can help with blood sugar control and adds probiotic potential when naturally fermented (though this recipe is cooked).
Per serving (about 1/2 cup), expect roughly 15-20 calories, minimal fat, and about 2 grams of fiber. This recipe is naturally gluten-free, vegan, and low-carb, making it suitable for many diets. Just note the sodium content from pickling salt is moderate, so enjoy in balance if watching salt intake.
Conclusion
Making this crisp pressure canned dilly green beans recipe is more than just preserving produce—it’s capturing a moment, a crunch, and a flavor that sticks with you. Whether you’re new to pressure canning or looking for a dependable recipe to add to your pantry, this method delivers crisp, tangy beans every time.
Feel free to tweak the garlic, spice level, or herbs to your taste—you’ll find your own perfect jar to open when you need a quick snack or a side dish with punch. I love this recipe because it reminds me of those summer afternoons on Mrs. Hensley’s porch and brings a little bit of that magic to my table all year long.
If you try it, please share your experience or any twists you’ve made—I’m always excited to hear how this recipe fits into your kitchen adventures. Happy canning!
Frequently Asked Questions
- Can I use frozen green beans for this recipe? It’s best to use fresh, firm green beans as frozen ones tend to be softer and won’t hold their crispness after canning.
- What if I don’t have a pressure canner? Because green beans are low acid, pressure canning is necessary for safety. Water bath canning is not recommended for this recipe.
- How do I know if my jars sealed properly? After cooling, press the lid center—if it doesn’t pop back and is concave, it’s sealed. Otherwise, refrigerate and use those beans soon.
- Can I add other vegetables to the jars? This recipe is designed specifically for green beans. Adding other vegetables may affect processing times and safety.
- How long do canned dilly green beans last? Properly canned and sealed jars last up to 1 year in a cool, dark place. Flavor is best within 6 months.
Pin This Recipe!
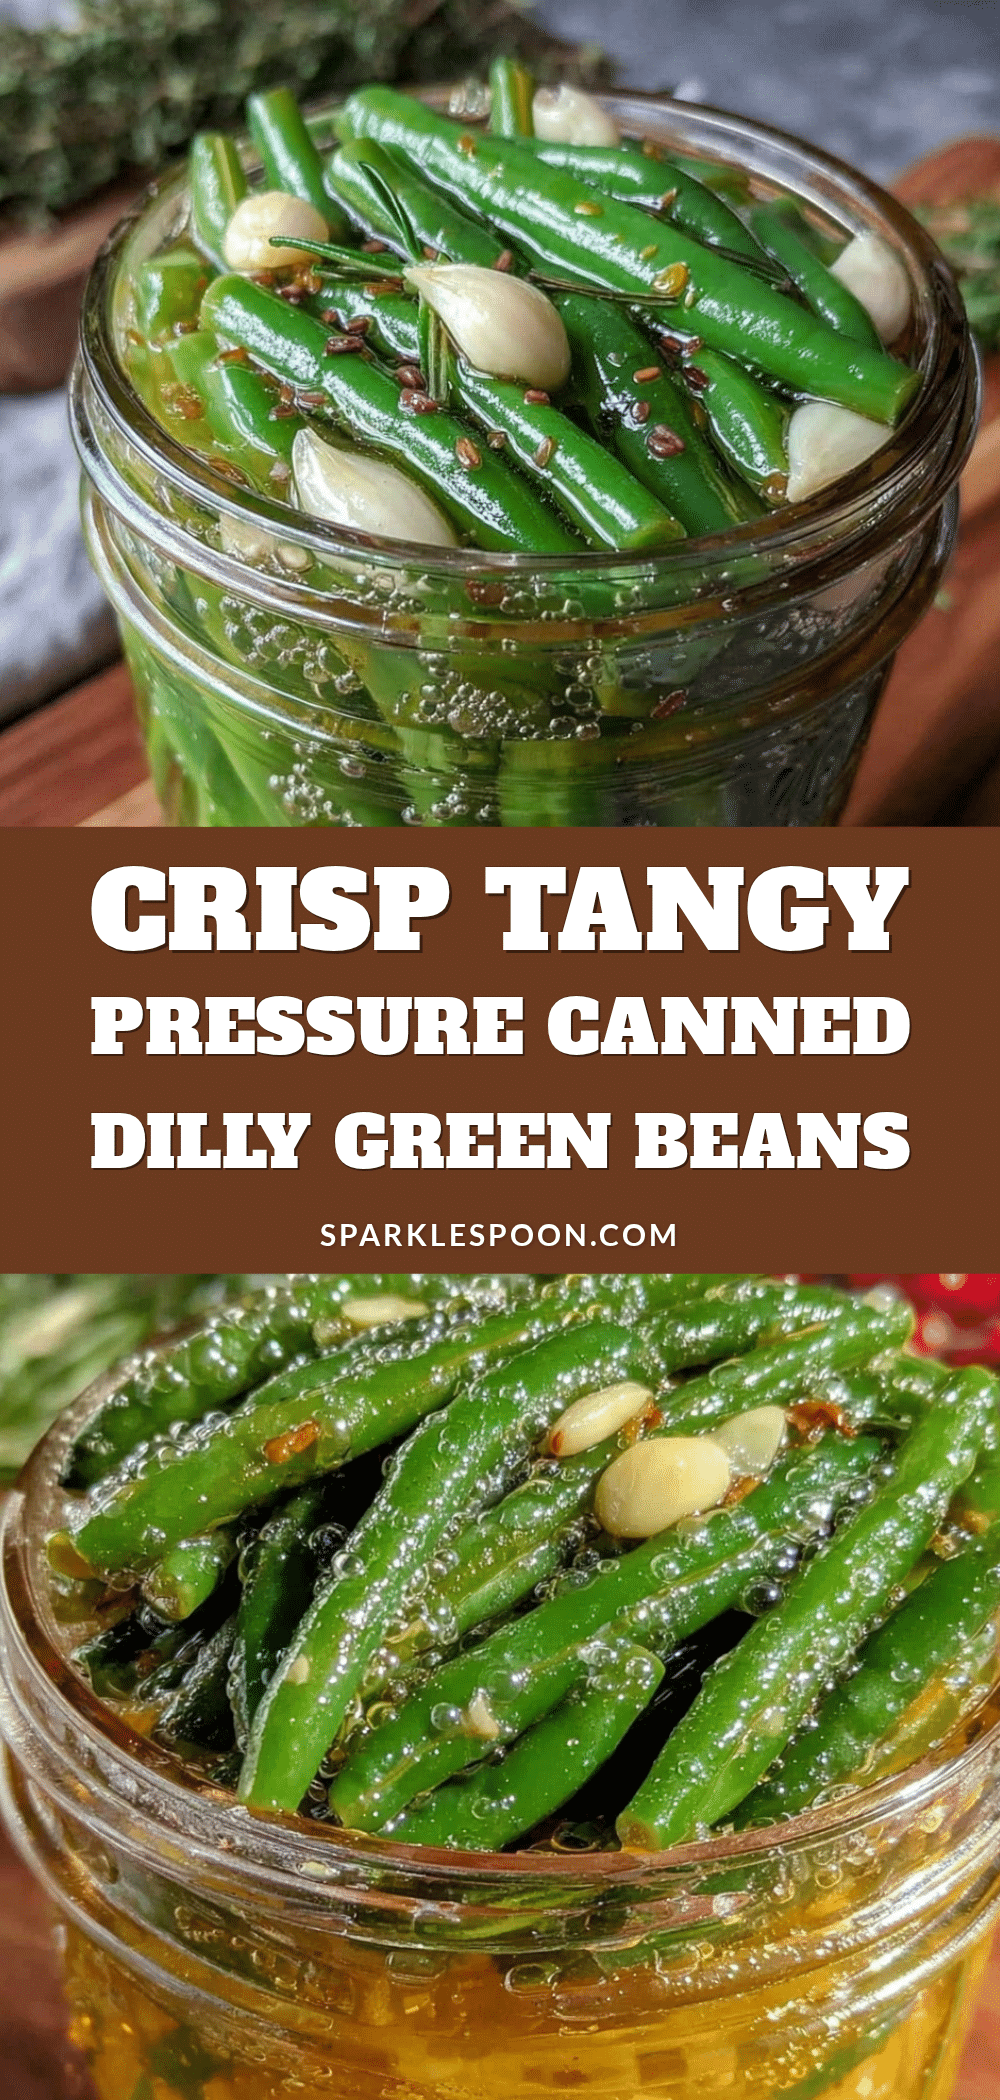
Crisp Pressure Canned Dilly Green Beans
A tested and family-approved recipe for pressure canning green beans with fresh dill and garlic, preserving their crispness and tangy flavor for up to a year.
- Prep Time: 35 minutes
- Cook Time: 25 minutes
- Total Time: 60 minutes
- Yield: 3 quart jars 1x
- Category: Preserved Vegetables
- Cuisine: American
Ingredients
- 5 pounds fresh green beans, trimmed to fit jars
- 5 medium sprigs fresh dill per quart jar (about 15 sprigs total for 3 quarts)
- 3 large garlic cloves, peeled and halved per quart jar
- 3 tablespoons pickling salt
- 4 cups white vinegar (5% acidity)
- 8 cups water
- Optional: 1/2 teaspoon red pepper flakes per jar
- Optional: bay leaf per jar
Instructions
- Sterilize 3 quart jars by boiling or running through a dishwasher cycle. Keep lids in hot water to soften sealing compound.
- Rinse green beans thoroughly, snap or cut off stem ends, trimming to about 4 inches to fit jars vertically.
- In a large pot, combine 4 cups white vinegar, 8 cups water, and 3 tablespoons pickling salt. Bring to a simmer, stirring to dissolve salt. Avoid boiling vigorously.
- Place 5 sprigs dill and 3 halved garlic cloves into each sterilized jar. Pack green beans snugly but not overly tight.
- Pour hot brine over beans using a funnel, leaving 1/2-inch headspace. Remove air bubbles with a non-metallic spatula. Adjust headspace if needed.
- Wipe jar rims with a clean, damp cloth. Place lids on jars and screw bands until fingertip-tight.
- Place jars on rack inside pressure canner with 2-3 inches of water. Seal lid and vent steam for 10 minutes.
- Close vent and bring pressure to 10 pounds (11 psi above 1,000 feet altitude). Process jars for 25 minutes.
- Turn off heat and let pressure return to zero naturally. Wait 5 minutes, then remove lid carefully.
- Lift jars with jar lifter and place on towel to cool for 12-24 hours. Check seals before storing.
Notes
Use fresh, firm green beans that snap when bent. Do not overpack jars to allow brine circulation. Keep brine hot when filling jars. Fully vent steam before pressurizing. Test seals after cooling; refrigerate any jars that did not seal properly. Calibrate your pressure canner regularly for accuracy. Avoid using frozen beans or water bath canning for safety.
Nutrition
- Serving Size: About 1/2 cup (appro
- Calories: 18
- Sugar: 2
- Sodium: 600
- Carbohydrates: 4
- Fiber: 2
- Protein: 1
Keywords: pressure canned green beans, dilly green beans, homemade canning, pickled green beans, pressure canning recipe, crisp green beans, dill recipe



