Love this? Save it for later!
Share the inspiration with your friends
“I never thought a rainy Saturday could turn into such a fun adventure,” my neighbor Mia said one afternoon as we watched the kids gather around the kitchen island, armed with marshmallows, chocolate, and an assortment of curious ingredients. It all started when the power flickered out unexpectedly, and instead of the usual screen time battle, the kids decided to create their own indoor campfire — complete with s’mores. But these weren’t just any s’mores. They were wild, gooey, imaginative twists that had everyone laughing, sticky fingers and all.
That day was the birth of my favorite “Fun and Gooey S’mores Variations for Kids” recipe collection. Honestly, who knew that swapping the usual graham crackers for pretzels or folding in peanut butter cups could make this classic treat even more irresistible? I mean, maybe you’ve been there too—trying to keep kids entertained and fed during a storm, only to discover a simple twist on an old favorite made the whole day unforgettable.
Let me tell you, these s’mores variations stuck with me not just because of their flavors, but the joy they sparked. The sticky marshmallow strings, the crunch of unexpected crackers, and the surprise of fruity or nutty additions made every bite a tiny celebration. Plus, the mess was part of the fun—there was a cracked bowl, a spilled bag of chocolate chips, and a marshmallow that somehow landed on the ceiling. But hey, those little imperfect moments? That’s what cooking with kids is all about.
Whether you’re stuck indoors on a rainy day, planning a backyard campfire, or just looking for a playful treat to brighten the week, these s’mores variations for kids bring smiles and sticky fingers guaranteed. So, grab your marshmallows and let’s get to the gooey, crunchy, chocolatey magic!
Why You’ll Love This Recipe
After testing these fun and gooey s’mores variations several times with neighborhood kids and my own crew, I can tell you, this recipe hits all the right notes. Here’s why it should be your go-to treat for kids’ snack time or any casual gathering:
- Quick & Easy: Most variations take under 10 minutes to assemble — perfect when you need a fast, crowd-pleasing snack.
- Simple Ingredients: You probably have everything in your pantry already — marshmallows, chocolate, and a few crunchy options.
- Perfect for Parties & Rainy Days: These s’mores are ideal for indoor fun, sleepovers, birthday parties, or even just an after-school treat.
- Crowd-Pleaser: Kids and adults both rave about the playful mix of textures and flavors.
- Unbelievably Delicious: The gooey marshmallow combined with melty chocolate and a crunchy base is timeless comfort food with a twist.
What really makes this recipe stand out is the variety of options that let kids experiment with flavors and textures. From swapping traditional graham crackers for salty pretzels or using peanut butter cups instead of plain chocolate bars, each version offers a new surprise. Plus, the hands-on nature makes it a fun cooking activity that even little chefs can manage (with a bit of supervision, of course!).
Honestly, this isn’t just your average s’mores recipe — it’s a playful invitation to get creative in the kitchen while enjoying a snack that’s equal parts nostalgic and fresh. Trust me, once you see the smiles and hear the giggles, you’ll understand why these gooey treats are a winner every time.
What Ingredients You Will Need
This recipe uses simple, kid-friendly ingredients that come together to create bold flavors and satisfying textures without any hassle. Most are pantry staples, and the variations let you swap in what you have on hand.
- Marshmallows: Large or mini (big marshmallows give that classic gooey pull, mini ones melt faster — I prefer mini for quicker melting)
- Chocolate: Milk chocolate bars or chips (I like Ghirardelli for smooth melting, but Hershey’s works great too)
- Crunchy Bases:
- Graham crackers (classic choice)
- Pretzels (for a salty-sweet twist)
- Chocolate chip cookies (adds extra indulgence)
- Rice cakes (light and airy option)
- Optional Add-ins:
- Peanut butter cups (for a nutty surprise)
- Strawberry or raspberry slices (fresh fruit brightens the flavor)
- Nutella or peanut butter (spread thinly on cracker for richness)
- Caramel sauce drizzle (for extra gooey sweetness)
- Extras: Wooden skewers or long forks for roasting marshmallows (if making over a fire or stove), parchment paper for easy cleanup
If you need substitutions, almond butter works well if peanut allergies are a concern, and dairy-free chocolate chips can make this treat vegan-friendly. For gluten-free options, try gluten-free graham crackers or substitute with rice cakes. The key is to keep the balance of crunchy, melty, and gooey — that’s the magic formula!
Equipment Needed
- Toaster oven or conventional oven: Perfect for indoor melting without a campfire. Alternatively, a microwave can work for quick melting in a pinch, but watch closely.
- Baking sheet lined with parchment paper: Makes cleanup a breeze and keeps everything from sticking.
- Long skewers or roasting sticks: If you’re lucky enough to have a backyard fire pit or grill, these are great for roasting marshmallows safely.
- Heatproof bowls or plates: For assembling and serving the s’mores.
- Butter knife or small spatula: Useful for spreading peanut butter or Nutella on crackers.
I once tried making s’mores with just a microwave and no parchment paper — let’s just say the kitchen looked like a sticky chocolate marshmallow battlefield afterward! So, parchment paper is definitely worth the small investment. For roasting indoors, a gas stove flame and long forks work well, but keep a close eye on little hands.
Preparation Method
- Preheat your oven or toaster oven to 350°F (175°C). This usually takes about 5-7 minutes. Line a baking sheet with parchment paper for easy cleanup.
- Prepare your crunchy base. If using graham crackers, pretzels, or cookies, arrange half of them spaced out on the lined baking sheet. These will hold your melted marshmallow and chocolate.
- Add chocolate pieces. Place a square or a few chocolate chips on each cracker or base. For peanut butter cups or other add-ins, place them on top of the chocolate now.
- Top with marshmallows. Place one large marshmallow or a small handful of mini marshmallows on each chocolate-topped base. Make sure they’re centered for even melting.
- Bake for 4-6 minutes. Watch closely — marshmallows should puff up and turn golden brown but not burn. The chocolate underneath will start to melt.
- Remove from oven and immediately top with remaining crunchy bases. Press gently but firmly to sandwich everything together. The marshmallow will be hot and gooey, so be careful!
- Let cool for 2-3 minutes. This helps everything set a bit so your s’mores don’t fall apart when you pick them up.
- Serve warm and enjoy! For outdoor roasting, simply toast marshmallows over the fire on skewers, then sandwich with chocolate and crackers as above.
Quick tip: If your marshmallows brown too fast, lower the oven temperature slightly or move the rack down one level. Also, if you want a crunchier s’more, toast marshmallows separately over a flame and then assemble. I’ve found that a little patience goes a long way with these gooey treats.
Cooking Tips & Techniques
Making s’mores with kids is fun, but it can get messy or tricky if you’re not careful. Here are some tips I’ve picked up after a few gooey mishaps:
- Use mini marshmallows for faster melting: They soften and melt more evenly in the oven without overheating the chocolate.
- Don’t overcrowd the baking sheet: Give each s’more some breathing room so heat circulates evenly.
- Watch your oven closely: Marshmallows can go from perfectly toasted to burnt in a blink, so stay near the kitchen timer.
- Press gently when sandwiching: Too much pressure squeezes out the gooey marshmallow and chocolate, making a sticky mess instead of a neat treat.
- Multitask smartly: While the marshmallows are baking, prepare toppings or set the table so everything is ready when the s’mores come out.
- For a smoky flavor, roast marshmallows over an open flame: This adds a campfire touch that kids love, but keep safety in mind and supervise closely.
I remember the first time my niece tried making these and accidentally dropped a marshmallow on the floor — instead of getting upset, she just laughed and made another. That’s the spirit you want when creating these fun treats: a balance of patience, laughter, and of course, a little mess!
Variations & Adaptations
One thing I love about these s’mores is how easy they are to customize. Here are a few of my favorite variations to suit different tastes and occasions:
- Nut-Free Version: Skip peanut butter cups and go for sunflower seed butter or just plain chocolate. Use gluten-free crackers if needed.
- Fruity S’mores: Add thin slices of strawberries, bananas, or raspberries inside the s’more for a fresh burst of flavor and color.
- Salted Caramel S’mores: Drizzle caramel sauce on the chocolate before adding marshmallows, then sprinkle a tiny pinch of sea salt on the top cracker.
- Mini S’mores Bites: Use mini crackers and mini marshmallows to create bite-sized treats perfect for parties or lunchboxes.
- Vegan Adaptation: Use dairy-free chocolate and marshmallows (like Dandies brand) and substitute graham crackers with vegan-friendly options.
Once, I tried a Halloween-themed s’more with dark chocolate, orange zest, and crushed candy corn on top — the kids thought it was spooky and delicious! Feel free to experiment with what you have around; the gooey magic works with so many combinations.
Serving & Storage Suggestions
Serve these s’mores warm for the best gooey experience. They’re perfect right out of the oven or fresh off the fire. If you’re serving to a crowd, keep them on a warm baking sheet to maintain that melty texture.
Pair your s’mores with cold milk, hot cocoa, or even a fruity punch for a balanced treat. For an outdoor twist, they go great with a simple campfire song or story session.
If you have leftovers (though rare!), store them in an airtight container at room temperature for up to 24 hours. Refrigeration can make the crackers soggy, so it’s best avoided. To reheat, pop them in a toaster oven at 300°F (150°C) for 3-4 minutes to soften the marshmallow again.
Fun fact: letting s’mores sit for a bit lets the flavors meld and the marshmallow firm up slightly, which some kids prefer for less messiness. So, whether you like them fresh and gooey or a bit settled, both ways are delicious.
Nutritional Information & Benefits
While s’mores are definitely a treat, these variations can offer some nutritional perks depending on your ingredients. For example, adding fruit slices introduces vitamins and fiber, while using whole-grain crackers adds a touch of extra nutrients.
| Nutrient | Per Serving (Approx.) |
|---|---|
| Calories | 150-200 kcal |
| Fat | 7-10 g |
| Carbohydrates | 20-25 g |
| Sugars | 12-15 g |
| Protein | 2-3 g |
If you’re mindful of allergens, keep in mind that traditional s’mores contain gluten, dairy, and sometimes peanuts. Substitutions like gluten-free crackers, dairy-free chocolate, and nut-free spreads can make these treats accessible for more kids.
From my perspective, these s’mores are a fun way to introduce kids to cooking and ingredient swapping, encouraging creativity and a bit of kitchen confidence, all while enjoying a classic sweet treat.
Conclusion
These fun and gooey s’mores variations for kids are more than just a snack — they’re a hands-on experience full of laughter, experimentation, and sweet memories. Whether you stick to the classic graham cracker and chocolate or get adventurous with salty pretzels and fresh fruit, there’s a version here for every little palate.
Honestly, I love this recipe because it turns simple ingredients into a playful moment that brings kids into the kitchen without fuss or stress. It’s a reminder that sometimes the best treats are the ones you make together, sticky fingers and all. So, go ahead, try out these variations, tweak them to your liking, and don’t forget to share your gooey creations!
Got a favorite s’mores twist or a funny cooking story? I’d love to hear all about it in the comments below!
FAQs About Fun and Gooey S’mores Variations for Kids
Can I make s’mores indoors without a campfire?
Absolutely! Use your oven or toaster oven to melt marshmallows and chocolate, or carefully toast marshmallows over a gas stove flame with supervision.
What can I use instead of graham crackers?
Pretzels, chocolate chip cookies, rice cakes, or gluten-free crackers all make great crunchy alternatives.
Are there vegan options for s’mores?
Yes! Use vegan marshmallows like Dandies, dairy-free chocolate, and vegan-friendly crackers to make a delicious vegan s’more.
How do I prevent marshmallows from burning in the oven?
Keep an eye on them and bake at 350°F (175°C) for no more than 6 minutes. If they start to brown too fast, lower the temperature or move the rack lower.
Can kids assemble s’mores on their own?
With adult supervision for roasting or oven use, kids can definitely enjoy putting together s’mores — it’s a fun way to build their cooking confidence!
For more playful dessert ideas that kids adore, you might enjoy our mini chocolate chip pizza or the easy peanut butter cookie bars recipes, which also bring simple ingredients to life with fun twists.
Pin This Recipe!
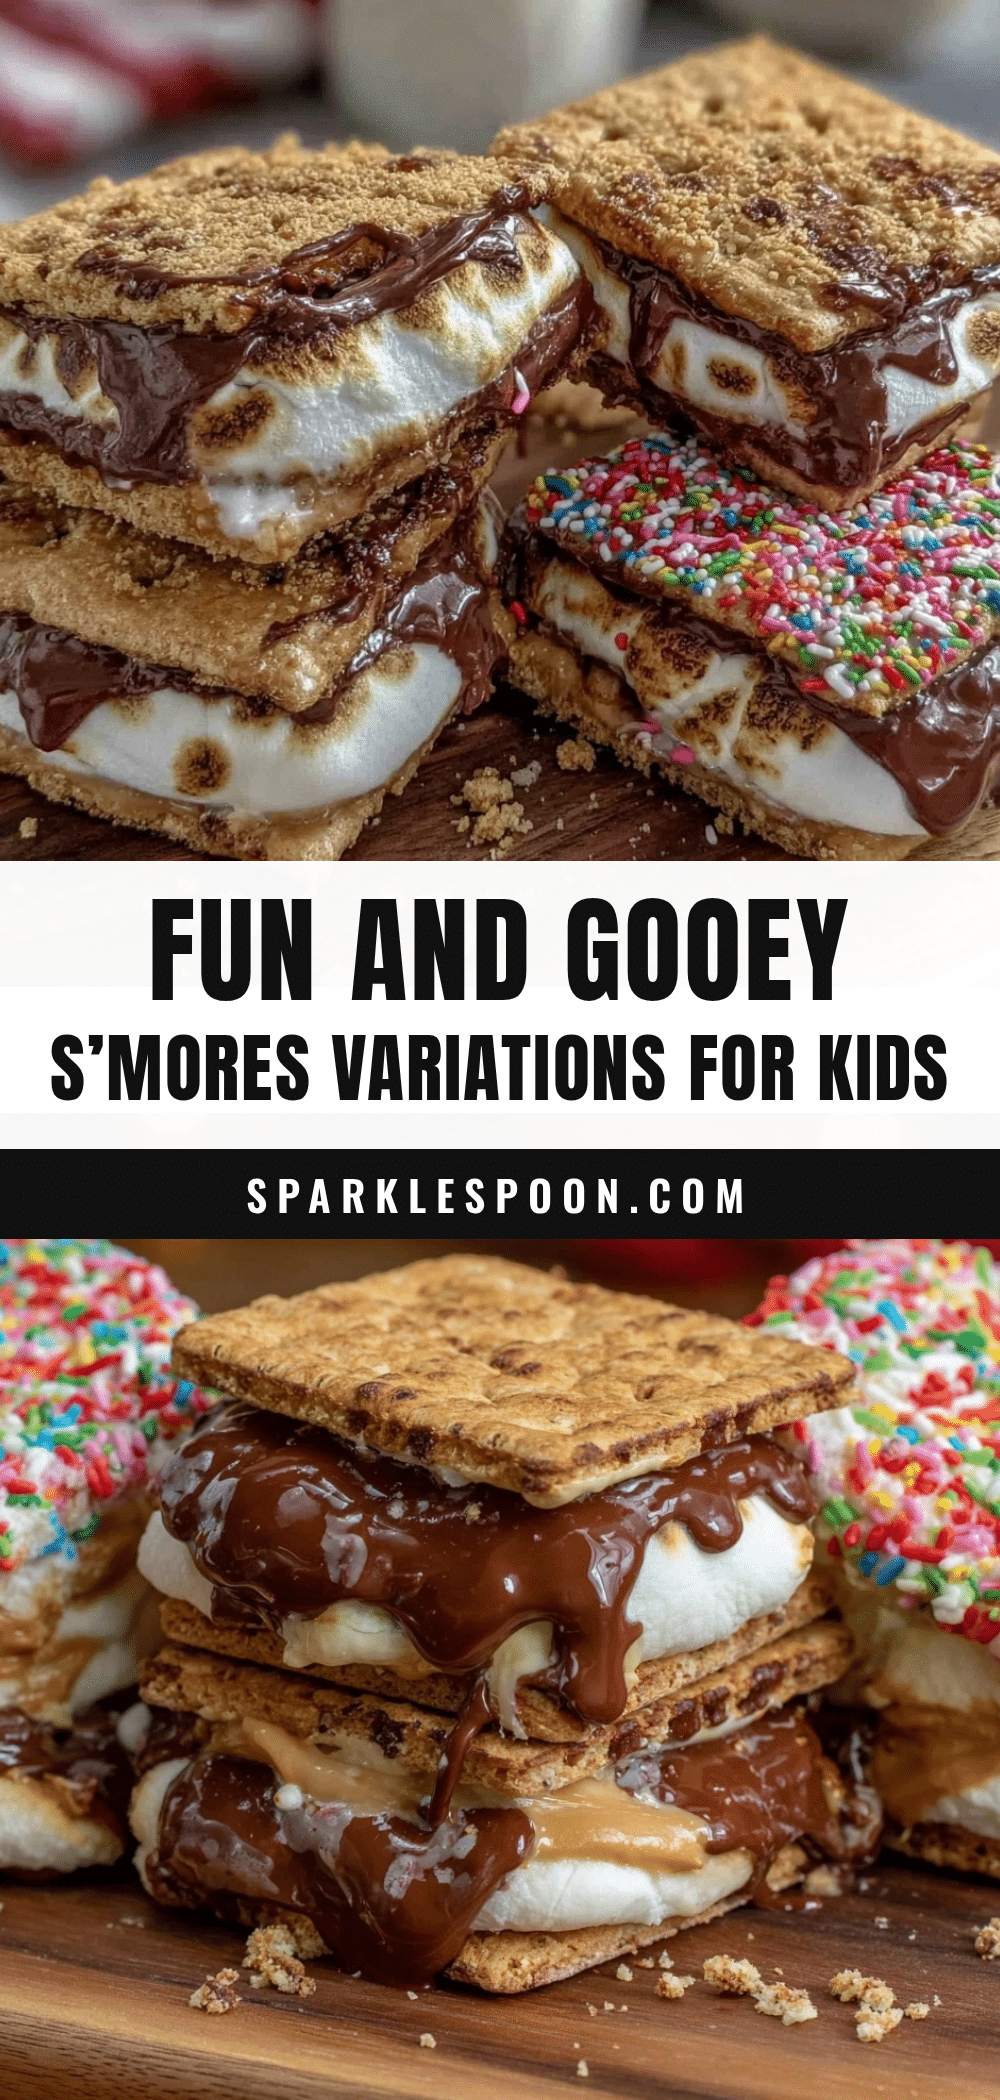
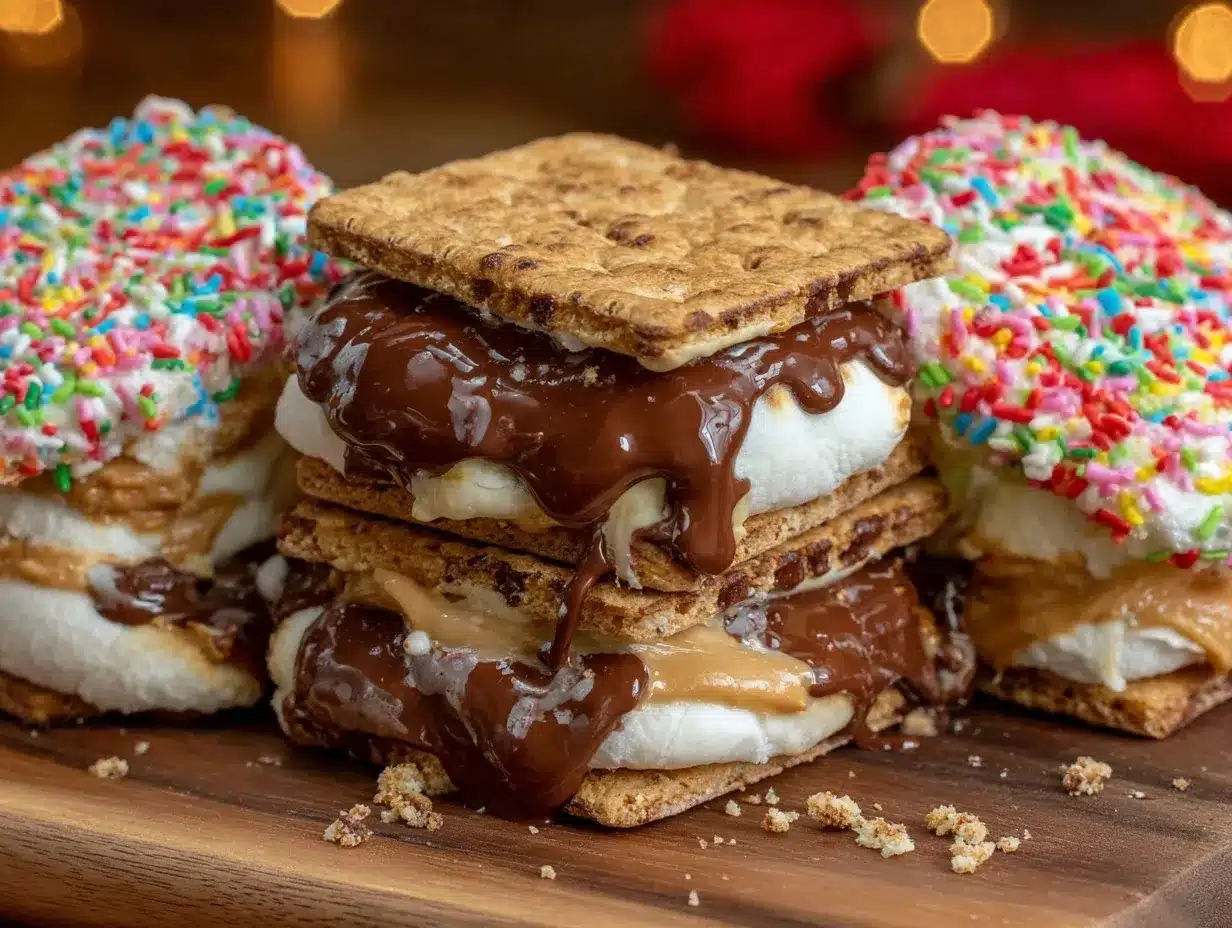
Fun and Gooey S’mores Variations Kids Will Love to Make

A playful and easy recipe collection of s’mores variations perfect for kids, featuring gooey marshmallows, melty chocolate, and crunchy bases with fun twists like pretzels, peanut butter cups, and fresh fruit.
- Prep Time: 5 minutes
- Cook Time: 6 minutes
- Total Time: 11 minutes
- Yield: 6 servings
- Category: Dessert
- Cuisine: American
Ingredients
- Marshmallows (large or mini)
- Milk chocolate bars or chocolate chips
- Graham crackers (classic choice)
- Pretzels (for a salty-sweet twist)
- Chocolate chip cookies (adds extra indulgence)
- Rice cakes (light and airy option)
- Optional add-ins: peanut butter cups, strawberry or raspberry slices, Nutella or peanut butter, caramel sauce drizzle
- Wooden skewers or long forks for roasting marshmallows
- Parchment paper for easy cleanup
Instructions
- Preheat your oven or toaster oven to 350°F (175°C). Line a baking sheet with parchment paper.
- Arrange half of your chosen crunchy bases (graham crackers, pretzels, or cookies) spaced out on the lined baking sheet.
- Place a square or a few chocolate chips on each base. Add peanut butter cups or other add-ins on top of the chocolate if using.
- Top each with one large marshmallow or a handful of mini marshmallows, centered for even melting.
- Bake for 4-6 minutes until marshmallows puff up and turn golden brown but do not burn, and chocolate starts to melt.
- Remove from oven and immediately top with the remaining crunchy bases. Press gently to sandwich together.
- Let cool for 2-3 minutes to set slightly.
- Serve warm and enjoy. For outdoor roasting, toast marshmallows over a fire on skewers, then assemble with chocolate and crackers.
Notes
Use mini marshmallows for faster melting. Watch marshmallows closely to prevent burning. Press gently when sandwiching to avoid squeezing out filling. For smoky flavor, roast marshmallows over an open flame with supervision. Parchment paper is recommended for easy cleanup. Gluten-free, nut-free, and vegan substitutions are possible.
Nutrition
- Serving Size: 1 s’more sandwich
- Calories: 150200
- Sugar: 1215
- Fat: 710
- Carbohydrates: 2025
- Protein: 23
Keywords: s’mores, kids recipe, gooey dessert, marshmallows, chocolate, easy snack, indoor campfire, fun treats, party snacks